Page 76 of 407

74
1. DESTINATION SEARCH
ISF_IS_ISC_Navi_EE
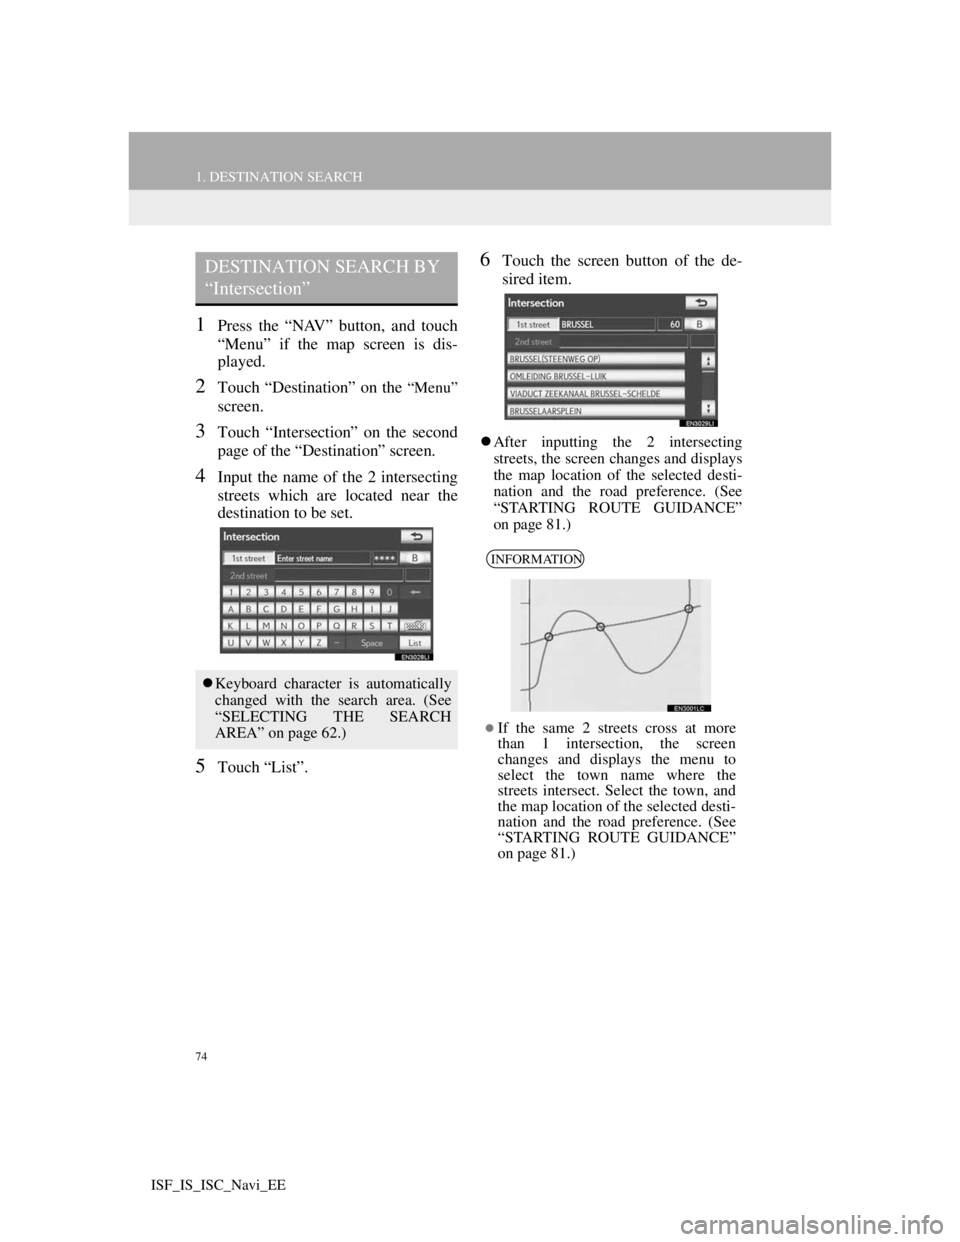
1Press the “NAV” button, and touch
“Menu” if the map screen is dis-
played.
2Touch “Destination” on the “Menu”
screen.
3Touch “Intersection” on the second
page of the “Destination” screen.
4Input the name of the 2 intersecting
streets which are located near the
destination to be set.
5Touch “List”.
6Touch the screen button of the de-
sired item.
After inputting the 2 intersecting
streets, the screen changes and displays
the map location of the selected desti-
nation and the road preference. (See
“STARTING ROUTE GUIDANCE”
on page 81.)
DESTINATION SEARCH BY
“Intersection”
Keyboard character is automatically
changed with the search area. (See
“SELECTING THE SEARCH
AREA” on page 62.)
INFORMATION
If the same 2 streets cross at more
than 1 intersection, the screen
changes and displays the menu to
select the town name where the
streets intersect. Select the town, and
the map location of the selected desti-
nation and the road preference. (See
“STARTING ROUTE GUIDANCE”
on page 81.)
Page 77 of 407
75
1. DESTINATION SEARCH
3
NAVIGATION SYSTEM
ISF_IS_ISC_Navi_EE
1Press the “NAV” button, and touch
“Menu” if the map screen is dis-
played.
2Touch “Destination” on the “Menu”
screen.
3Touch “Motorway ent./exit” on the
second page of the “Destination”
screen.
4Input a motorway name.
Be sure to use the complete name of the
motorway when entering the destina-
tion.
5Touch the screen button of the de-
sired motorway.
6Touch “Entrance” or “Exit”.
7Touch the screen button of the de-
sired entrance or exit name.
The screen changes and displays the
map location of the selected destination
and the road preference. (See “START-
ING ROUTE GUIDANCE” on page
81.)
DESTINATION SEARCH BY
“Motorway ent./exit”
Keyboard character is automatically
changed with the search area. (See
“SELECTING THE SEARCH
AREA” on page 62.)
Page 80 of 407

78
1. DESTINATION SEARCH
ISF_IS_ISC_Navi_EE
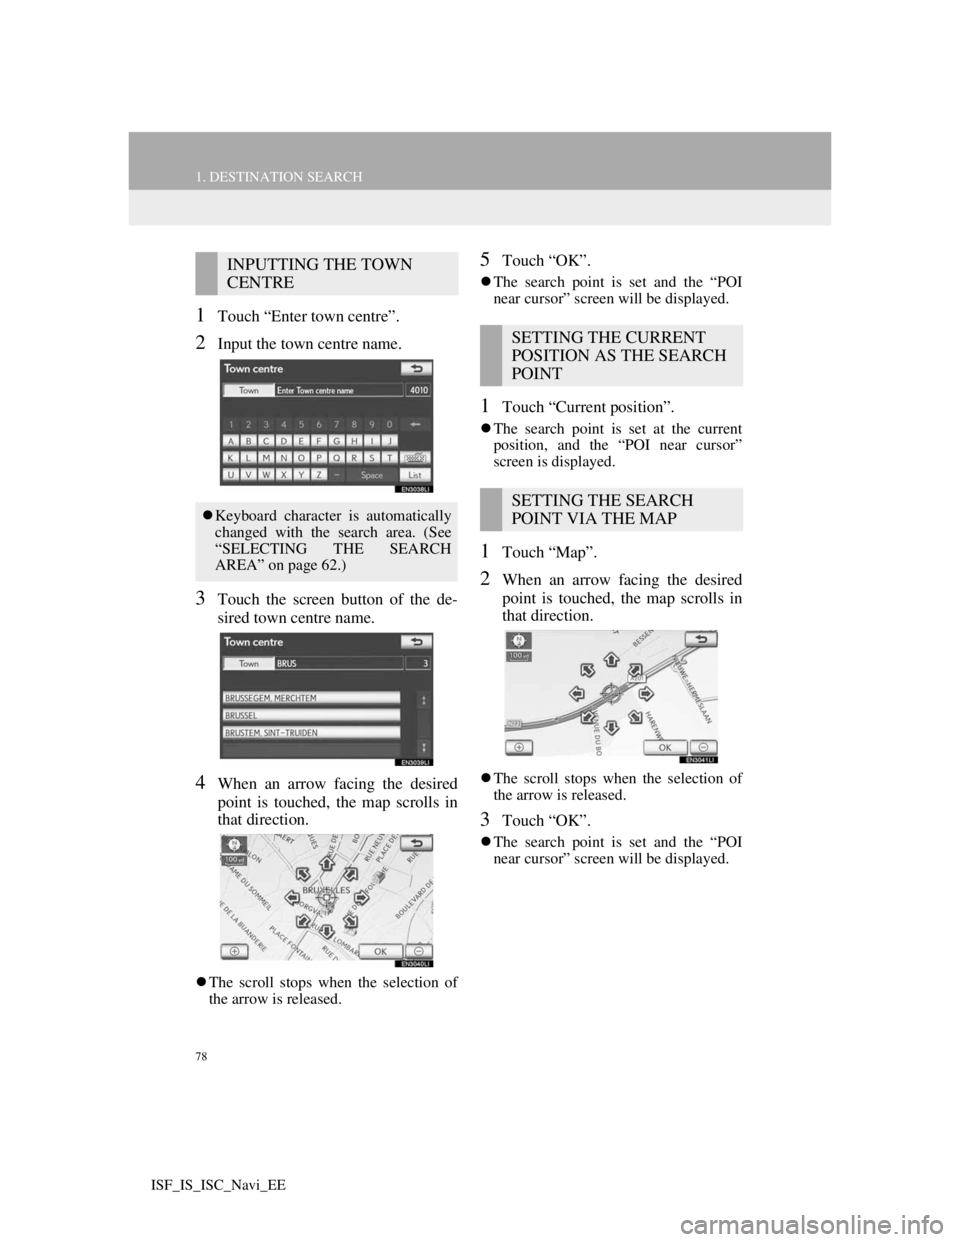
1Touch “Enter town centre”.
2Input the town centre name.
3Touch the screen button of the de-
sired town centre name.
4When an arrow facing the desired
point is touched, the map scrolls in
that direction.
The scroll stops when the selection of
the arrow is released.
5Touch “OK”.
The search point is set and the “POI
near cursor” screen will be displayed.
1Touch “Current position”.
The search point is set at the current
position, and the “POI near cursor”
screen is displayed.
1Touch “Map”.
2When an arrow facing the desired
point is touched, the map scrolls in
that direction.
The scroll stops when the selection of
the arrow is released.
3Touch “OK”.
The search point is set and the “POI
near cursor” screen will be displayed.
INPUTTING THE TOWN
CENTRE
Keyboard character is automatically
changed with the search area. (See
“SELECTING THE SEARCH
AREA” on page 62.)
SETTING THE CURRENT
POSITION AS THE SEARCH
POINT
SETTING THE SEARCH
POINT VIA THE MAP
Page 114 of 407
112
3. MEMORY POINTS
ISF_IS_ISC_Navi_EE
SOUND ICONS
1Touch the “With sound” tab on the
“Change icon” screen.
2Touch the desired sound icon.
The next screen appears when “Bell
(with direction)” is touched.
3Touch either or to adjust the
direction. Then touch “OK”.
TO CHANGE “Name”
1Touch “Name”.
2Enter the name using the alphanu-
meric keys.
Up to 70 characters can be entered.
3Touch “OK”.
The previous screen will be displayed.
A sound for some memory points
can be set. When the vehicle ap-
proaches the location of the memory
point, the selected sound will be
heard.
INFORMATION
The bell sounds only when the vehi-
cle approaches this point in the direc-
tion that has been set.
Page 115 of 407
113
3. MEMORY POINTS
3
NAVIGATION SYSTEM
ISF_IS_ISC_Navi_EE
DISPLAYING MEMORY POINT
NAMES
1To display a memory point name,
touch “Show name”. The indicator
will illuminate. To hide memory
point names, touch “Show name”
again. The indicator will turn off.
TO CHANGE “Location”
1Touch “Location”.
2Touch one of the 8 directional screen
buttons to move the cursor to the
desired point on the map.
3Touch “OK”.
The previous screen will be displayed.
TO CHANGE “Tel. no.” (TELE-
PHONE NUMBER)
1Touch “Tel. no.”.
2Enter the number using the number
keys.
3Touch “OK”.
The previous screen will be displayed.
The name of a memory point can be
set to be displayed on the map.
Page 120 of 407

118
3. MEMORY POINTS
ISF_IS_ISC_Navi_EE
6Touch the screen button to be edited.
7Touch “OK”.
TO CHANGE “Name”
1Touch “Name”.
2Enter the name using the alphanu-
meric keys.
Up to 70 characters can be entered.
3Touch “OK”.
The previous screen will be displayed.
DISPLAYING NAMES OF AR-
EAS TO BE AVOIDED
1To display a name of the area to
avoid, touch “Show name”. The in-
dicator will illuminate. To hide a
name of the area to avoid, touch
“Show name” again. The indicator
will turn off.
No.FunctionPage
Touch to turn the area to
avoid function on or off.
When the indicator is il-
luminated, the area to
avoid function is on.
Touch to edit the name of
the area to avoid. The
name can be displayed on
the map.
118
Touch to illuminate the
indicator. When the indi-
cator is illuminated, the
registered name is dis-
played on the upper part
of the map screen.
118
Touch to edit the area lo-
cation.119
Touch to edit the area
size.120
The name of an area to be avoided
can be displayed on the map.
Page 137 of 407
134
4. SETUP
ISF_IS_ISC_Navi_EE
TO EDIT “Dealer” OR “Contact”
1Touch “Dealer” or “Contact”.
2Enter the name using the alphanu-
meric keys.
Up to 70 characters can be entered for
“Dealer” and 24 characters for “Con-
tact”.
3Touch “OK”.
The previous screen will be displayed.
TO EDIT “Location”
1Touch “Location”.
2Touch one of the 8 directional screen
buttons to move the cursor to the
desired point on the map.
3Touch “OK”.
The previous screen will be displayed.
Page 138 of 407
135
4. SETUP
3
NAVIGATION SYSTEM
ISF_IS_ISC_Navi_EE
TO EDIT “Tel. no.” (TELEPHONE
NUMBER)
1Touch “Tel. no.”.
2Enter the number using number
keys.
3Touch “OK”.
The previous screen will be displayed.