Page 219 of 257
217
1. 12.3-INCH DISPLAY OPERATION
7
12.3-INCH DISPLAY
GS450h/250 (EE) NAVI 30C48E
13.12.17 15:42
Without rear air conditioning system
The above illustration is for a left-hand drive vehicle. The button positions
are reversed for right-hand drive vehicles.
AIR CONDITIONING SYSTEM
Operations such as changing the air outlets or fan speed are carried out on the
screen.
Air flow control buttonFan speed control buttons
Fan speed display
Passenger side
temperature
control buttons
Dual operation
switch
Passenger side temperature
display
Automatic mode Air conditioning
on/off switch Driver side
temperature
control buttons
Driver side temperature display
Page 220 of 257
218
1. 12.3-INCH DISPLAY OPERATION
GS450h/250 (EE) NAVI 30C48E
13.12.17 15:42
With rear air conditioning system
The above illustration is for a left-hand drive vehicle. The button positions
are reversed for right-hand drive vehicles.
Fan speed control but-Fan speed display
Passenger side
temperature
control buttons
Passenger side temperature
display
Automatic mode Air conditioning
on/off switch Driver side
temperature
control buttons Driver side Air flow
control buttonPassenger side
Air flow control button
3-zone operation
switch
Driver side temperature display
Page 221 of 257

219
1. 12.3-INCH DISPLAY OPERATION
7
12.3-INCH DISPLAY
GS450h/250 (EE) NAVI 30C48E
13.12.17 15:42
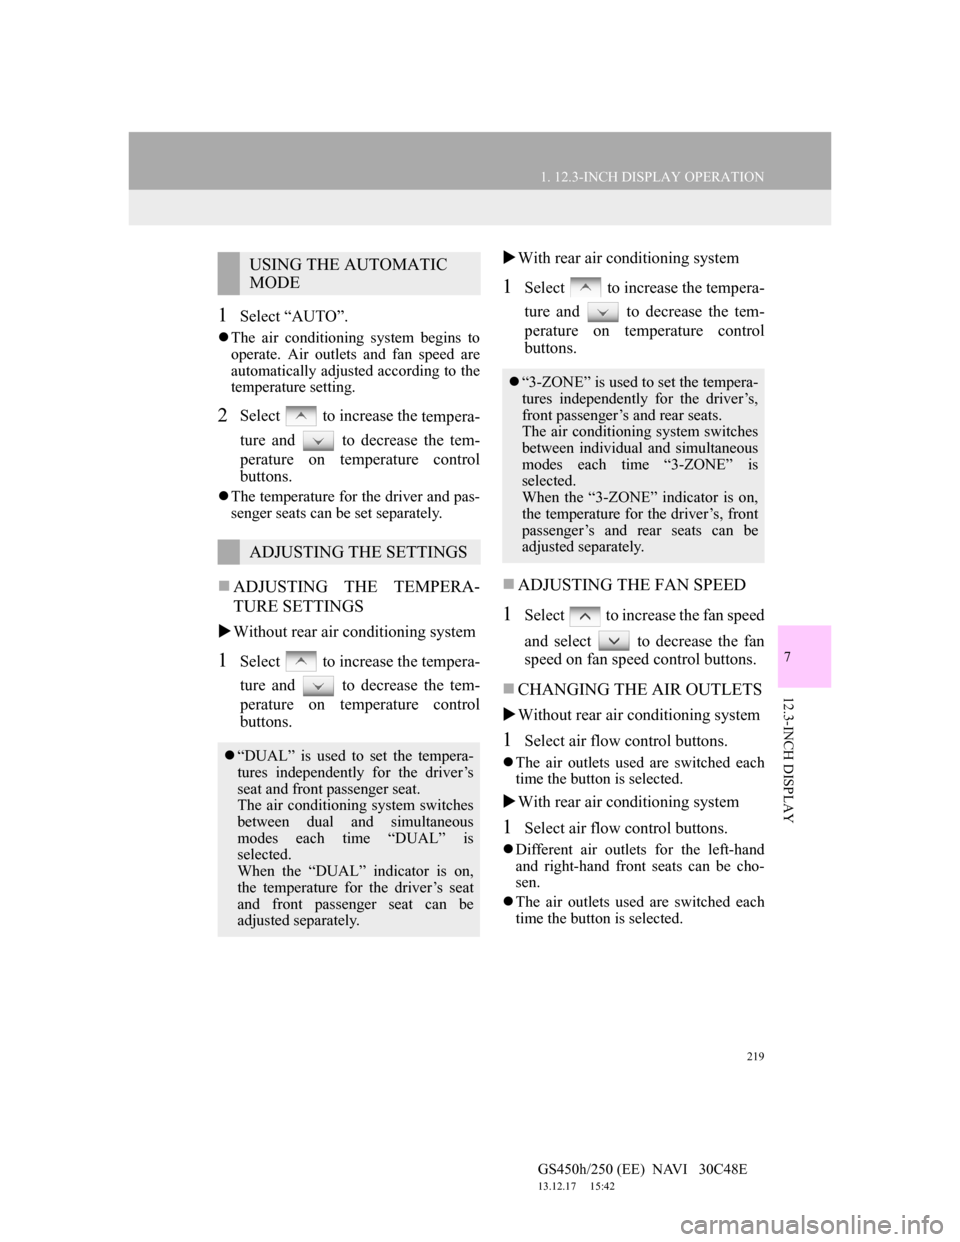
1Select “AUTO”.
The air conditioning system begins to
operate. Air outlets and fan speed are
automatically adjusted according to the
temperature setting.
2Select to increase the
tempera-
ture and to decrease the tem-
perature on temperature control
buttons.
The temperature for the driver and pas-
senger seats can be set separately.
ADJUSTING THE TEMPERA-
TURE SETTINGS
Without rear air conditioning system
1Select to increase the tempera-
ture and to decrease the tem-
perature on temperature control
buttons.With rear air conditioning system
1Select to increase the tempera-
ture and to decrease the tem-
perature on temperature control
buttons.
ADJUSTING THE FAN SPEED
1Select to increase the fan speed
and select to decrease the fan
speed on fan speed control buttons.
CHANGING THE AIR OUTLETS
Without rear air conditioning system
1Select air flow control buttons.
The air outlets used are switched each
time the button is selected.
With rear air conditioning system
1Select air flow control buttons.
Different air outlets for the left-hand
and right-hand front seats can be cho-
sen.
The air outlets used are switched each
time the button is selected.
USING THE AUTOMATIC
MODE
ADJUSTING THE SETTINGS
“DUAL” is used to set the tempera-
tures independently for the driver’s
seat and front passenger seat.
The air conditioning system switches
between dual and simultaneous
modes each time “DUAL” is
selected.
When the “DUAL” indicator is on,
the temperature for the driver’s seat
and front passenger seat can be
adjusted separately.
“3-ZONE” is used to set the tempera-
tures independently for the driver’s,
front passenger’s and rear seats.
The air conditioning system switches
between individual and simultaneous
modes each time “3-ZONE” is
selected.
When the “3-ZONE” indicator is on,
the temperature for the driver’s, front
passenger’s and rear seats can be
adjusted separately.
Page 228 of 257

226
ALPHABETICAL INDEX
GS450h/250 (EE) NAVI 30C48E
13.12.17 15:42
Numbers/Symbols
“ · ” button............................................ 10
“ ” button.......................................... 10
12.3-Inch display.................................... 209
Air conditioning system ..................... 217
Audio/video system ............................ 216
Bluetooth
® connection status............. 215
Fuel consumption ............................... 220
Switching the basic screen ................. 215
Switching the interruption screen ....... 222
Telephone (Hands-free system
for cellular phone)........................... 222
B
Basic function .......................................... 35
Basic information before operation ......... 36
Basic screens .......................................... 215
Air conditioning system ..................... 217
Audio/video system ............................ 216
Bluetooth
® connection status............. 215
Switching the basic screen ................. 215
To display on the “Main Display”...... 215
Vehicle information............................ 220
C
“Car” button............................................. 28
Command list......................................... 170
Connected services ........................ 185, 186
Connected services overview ................ 186
Before using connected services ........ 188
Current position calibration ................... 148
D
Deleting personal data ............................. 70
Destination search ............................. 76, 78
By “Address” ....................................... 82
By “Coordinates” ................................. 93
By home ............................................... 81
By “Intersection” ................................. 91
By “Map” ............................................. 90
By “Memory”....................................... 90
By “Motorway ent./exit”...................... 92
By “POI” .............................................. 86
By “POI near cursor” ........................... 94
By “Previous” ...................................... 91
By quick access .................................... 81
By “Telephone no.” ............................. 94
By “UK Postal code” ........................... 98
“Display” button .................................. 28
Selecting the search area ...................... 79
Display POI icons .................................. 120
Selecting POI icons to be displayed... 120
Distance and time to destination............ 110
ALPHABETICAL INDEX