Page 330 of 393

Maintenance
20
7
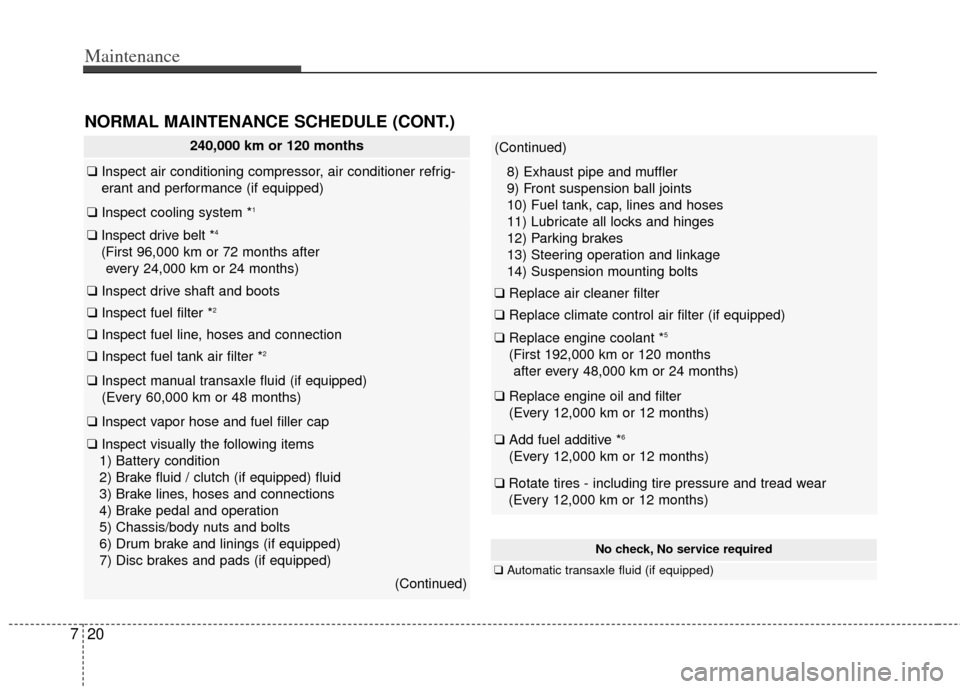
240,000 km or 120 months
❑ Inspect air conditioning compressor, air conditioner refrig-
erant and performance (if equipped)
❑ Inspect cooling system *1
❑Inspect drive belt *4
(First 96,000 km or 72 months after
every 24,000 km or 24 months)
❑ Inspect drive shaft and boots
❑ Inspect fuel filter *2
❑Inspect fuel line, hoses and connection
❑Inspect fuel tank air filter *2
❑Inspect manual transaxle fluid (if equipped)
(Every 60,000 km or 48 months)
❑ Inspect vapor hose and fuel filler cap
❑Inspect visually the following items
1) Battery condition
2) Brake fluid / clutch (if equipped) fluid
3) Brake lines, hoses and connections
4) Brake pedal and operation
5) Chassis/body nuts and bolts
6) Drum brake and linings (if equipped)
7) Disc brakes and pads (if equipped)
(Continued)
(Continued)
8) Exhaust pipe and muffler
9) Front suspension ball joints
10) Fuel tank, cap, lines and hoses
11) Lubricate all locks and hinges
12) Parking brakes
13) Steering operation and linkage
14) Suspension mounting bolts
❑ Replace air cleaner filter
❑Replace climate control air filter (if equipped)
❑Replace engine coolant *5
(First 192,000 km or 120 months
after every 48,000 km or 24 months)
❑ Replace engine oil and filter
(Every 12,000 km or 12 months)
❑Add fuel additive *6
(Every 12,000 km or 12 months)
❑Rotate tires - including tire pressure and tread wear
(Every 12,000 km or 12 months)
NORMAL MAINTENANCE SCHEDULE (CONT.)
No check, No service required
❑ Automatic transaxle fluid (if equipped)
Page 331 of 393

721
Maintenance
MAINTENANCE UNDER SEVERE USAGE CONDITIONS
The following items must be serviced more frequently on cars normally used under severe driving conditions. Refer
to the chart below for the appropriate maintenance intervals.
R : Replace I : Inspect and, after inspection, clean, adjust, repair or replace if neces\
sary
R
R
RI
I
I
I
R
R
R EVERY 6,000 km OR 6 months
MORE FREQUENTLY
MORE FREQUENTLY
MORE FREQUENTLY
MORE FREQUENTLY
MORE FREQUENTLY
EVERY 12,000 km OR 6 months
EVERY 120,000 km
EVERY 90,000 km
MORE FREQUENTLYA, B, C, D, E, F, G, H, I, J, K
C, E
A, B, H, I, K
C, D, G, H
C, D, G, H
C, D, E, F, G, H, I
C, D, E, F, G, H
A, C, D, E, F, G, H, I, J
A, C, E, F, G, H, I
C, EENGINE OIL AND FILTER
AIR CLEANER FILTER
SPARK PLUGS
DISC BRAKE/ PADS, CALIPERS AND ROTORS
REAR BRAKE DRUMS/ LININGS, PARKING BRAKE
STEERING GEAR BOX, LINKAGE & BOOTS/ LOWER
ARM BALL JOINT, UPPER ARM BSALL JOINT
DRIVE SHAFTS AND BOOTS
MANUAL TRANSAXLE OIL
AUTOMATIC TRANSAXLE FLUID
CLIMATE CONTROL AIR FILTER
(FOR EVAPORATOR AND BLOWER UNIT)
MAINTENANCE ITEM
MAINTENANCE
OPERATION MAINTENANCE
INTERVALS DRIVING
CONDITION
SEVERE DRIVING CONDITIONS
A - Repeatedly driving shorts distanse of less than 8 km in normal tem- perature or less than 16 km in freezing temperature
B - Extensive engine idling or low speed driving for long distances
C - Driving on rough, dusty, muddy, unpaved, graveled or salt-spread roads
D - Driving in areas using salt or other corrosive materials or in very cold weather E - Driving in sandy areas
F - Driving in heavy traffic area over 32°C (90°F)
G - Driving on uphill, downhill, or mountain road
H - Towing a Trailer, or using a camper, or roof rack
I - Driving as a patrol car, taxi, other commercial use or vehicle towing
J - Driving over 170 km/h
K - Frequently driving in stop-and-go conditions
Page 334 of 393

Maintenance
24
7
✽
✽
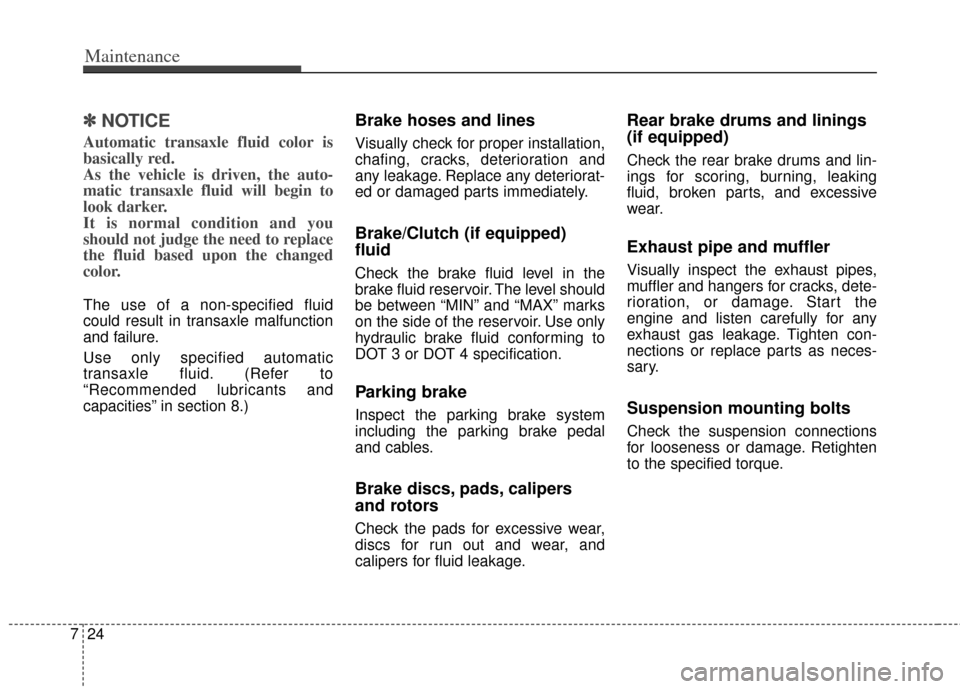
NOTICE
Automatic transaxle fluid color is
basically red.
As the vehicle is driven, the auto-
matic transaxle fluid will begin to
look darker.
It is normal condition and you
should not judge the need to replace
the fluid based upon the changed
color.
The use of a non-specified fluid
could result in transaxle malfunction
and failure.
Use only specified automatic
transaxle fluid. (Refer to
“Recommended lubricants and
capacities” in section 8.)
Brake hoses and lines
Visually check for proper installation,
chafing, cracks, deterioration and
any leakage. Replace any deteriorat-
ed or damaged parts immediately.
Brake/Clutch (if equipped)
fluid
Check the brake fluid level in the
brake fluid reservoir. The level should
be between “MIN” and “MAX” marks
on the side of the reservoir. Use only
hydraulic brake fluid conforming to
DOT 3 or DOT 4 specification.
Parking brake
Inspect the parking brake system
including the parking brake pedal
and cables.
Brake discs, pads, calipers
and rotors
Check the pads for excessive wear,
discs for run out and wear, and
calipers for fluid leakage.
Rear brake drums and linings
(if equipped)
Check the rear brake drums and lin-
ings for scoring, burning, leaking
fluid, broken parts, and excessive
wear.
Exhaust pipe and muffler
Visually inspect the exhaust pipes,
muffler and hangers for cracks, dete-
rioration, or damage. Start the
engine and listen carefully for any
exhaust gas leakage. Tighten con-
nections or replace parts as neces-
sary.
Suspension mounting bolts
Check the suspension connections
for looseness or damage. Retighten
to the specified torque.
Page 341 of 393

731
Maintenance
BRAKE/CLUTCH (IF EQUIPPED) FLUID
Checking the brake/clutch*
fluid level
Check the fluid level in the reservoir
periodically. The fluid level should be
between MAX and MIN marks on the
side of the reservoir.
Before removing the reservoir cap
and adding brake/clutch* fluid, clean
the area around the reservoir cap
thoroughly to prevent brake/clutch*
fluid contamination.
* if equippedIf the level is low, add fluid to the
MAX level. The level will fall with
accumulated mileage. This is a nor-
mal condition associated with the
wear of the brake linings and/or
clutch disc (if equipped). If the fluid
level is excessively low, have the
brake/clutch* system checked by an
authorized Kia dealer.
Use only the specified brake/clutch*
fluid. (Refer to “Recommended lubri-
cants and capacities” in section 8.)
Never mix different types of fluid.In the event the brake/clutch* system
requires frequent additions of fluid,
the vehicle should be inspected by
an authorized Kia dealer.
When changing and adding
brake/clutch* fluid, handle it carefully.
Do not let it come in contact with
your eyes. If brake/clutch* fluid
should come in contact with your
eyes, immediately flush them with a
large quantity of fresh tap water.
Have your eyes examined by a doc-
tor as soon as possible.
Brake/clutch* fluid, which has been
exposed to open air for an extended
time should never be used as its
quality cannot be guaranteed. It
should be disposed of properly.
OAM072007
CAUTION - Proper fluid
Only use brake/clutch fluid in
brake/clutch system. Smallamounts of improper fluids(such as engine oil) can causedamage to the brake/clutch sys-tem.
CAUTION - Brake/clutch fluid
Do not allow brake/clutch* fluid
to contact the vehicle's bodypaint, as paint damage willresult.
Page 343 of 393
733
Maintenance
PARKING BRAKE
Checking the parking brake
Check the stroke of the parking
brake by counting the number of
“clicks’’ heard while fully applying it
from the released position. Also, the
parking brake alone should securely
hold the vehicle on a fairly steep
grade.If the stroke is more or less than
specified, have the parking brake
adjusted by an authorized Kia dealer.
Stroke : 5~7 “clicks’’ at a force of
20 kg (44 lbs, 196 N).
OAM059004
Page 354 of 393

Maintenance
44
7
Disc brake pads should be inspected
for wear whenever tires are rotated.
Rotate radial tires that have an
asymmetric tread pattern only from
front to rear and not from right to left.
Do not use the compact spare tire (if
equipped) for tire rotation.Wheel alignment and tire bal-
ance
The wheels on your vehicle were
aligned and balanced carefully at the
factory to give you the longest tire life
and best overall performance.
In most cases, you will not need to
have your wheels aligned again.
However, if you notice unusual tire
wear or your vehicle pulling one way
or the other, the alignment may need
to be reset.
If you notice your vehicle vibrating
when driving on a smooth road, your
wheels may need to be rebalanced.
S2BLA790A
CBGQ0707A
Without a spare tire
Directional tires (if equipped)
WARNING - Mixing tire
types
Do not mix bias ply and radial
ply tires under any circum-
stances. This may cause unusu-
al handling characteristics.
CAUTION - Wheel weight
Improper wheel weights can
damage your vehicle's alu-minum wheels. Use onlyapproved wheel weights.
Page 355 of 393

745
Maintenance
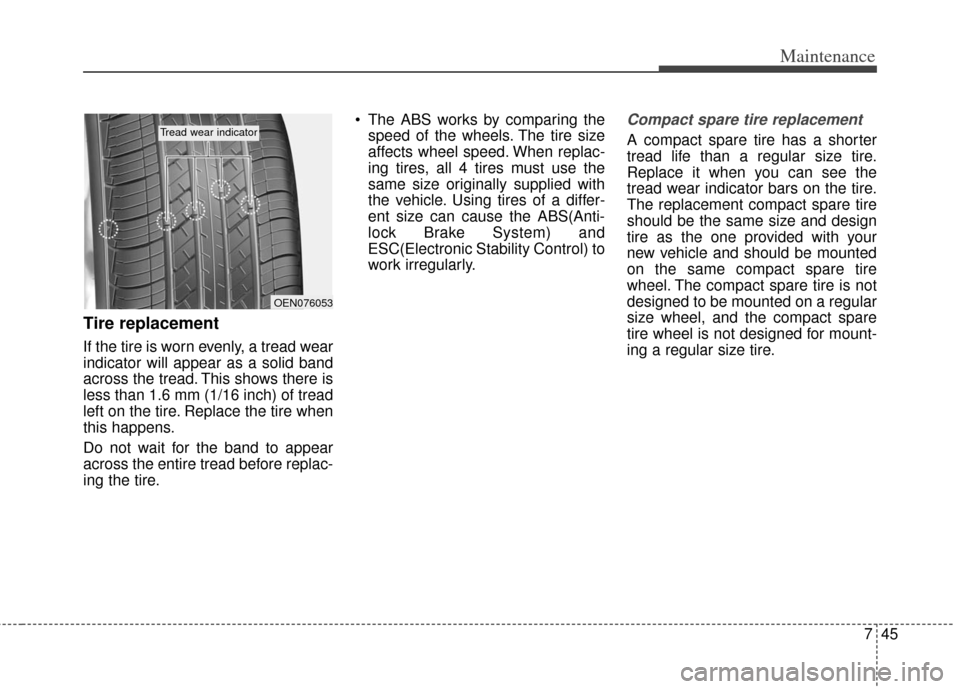
Tire replacement
If the tire is worn evenly, a tread wear
indicator will appear as a solid band
across the tread. This shows there is
less than 1.6 mm (1/16 inch) of tread
left on the tire. Replace the tire when
this happens.
Do not wait for the band to appear
across the entire tread before replac-
ing the tire. The ABS works by comparing the
speed of the wheels. The tire size
affects wheel speed. When replac-
ing tires, all 4 tires must use the
same size originally supplied with
the vehicle. Using tires of a differ-
ent size can cause the ABS(Anti-
lock Brake System) and
ESC(Electronic Stability Control) to
work irregularly.
Compact spare tire replacement
A compact spare tire has a shorter
tread life than a regular size tire.
Replace it when you can see the
tread wear indicator bars on the tire.
The replacement compact spare tire
should be the same size and design
tire as the one provided with your
new vehicle and should be mounted
on the same compact spare tire
wheel. The compact spare tire is not
designed to be mounted on a regular
size wheel, and the compact spare
tire wheel is not designed for mount-
ing a regular size tire.
OEN076053
Tread wear indicator
Page 376 of 393

Maintenance
66
7
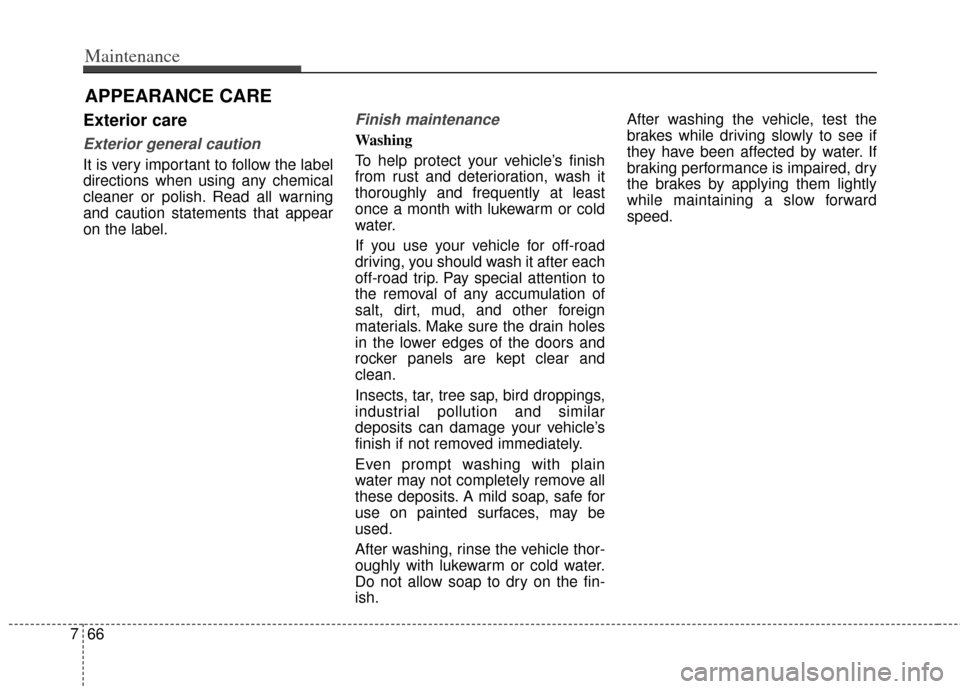
APPEARANCE CARE
Exterior care
Exterior general caution
It is very important to follow the label
directions when using any chemical
cleaner or polish. Read all warning
and caution statements that appear
on the label.
Finish maintenance
Washing
To help protect your vehicle’s finish
from rust and deterioration, wash it
thoroughly and frequently at least
once a month with lukewarm or cold
water.
If you use your vehicle for off-road
driving, you should wash it after each
off-road trip. Pay special attention to
the removal of any accumulation of
salt, dirt, mud, and other foreign
materials. Make sure the drain holes
in the lower edges of the doors and
rocker panels are kept clear and
clean.
Insects, tar, tree sap, bird droppings,
industrial pollution and similar
deposits can damage your vehicle’s
finish if not removed immediately.
Even prompt washing with plain
water may not completely remove all
these deposits. A mild soap, safe for
use on painted surfaces, may be
used.
After washing, rinse the vehicle thor-
oughly with lukewarm or cold water.
Do not allow soap to dry on the fin-
ish. After washing the vehicle, test the
brakes while driving slowly to see if
they have been affected by water. If
braking performance is impaired, dry
the brakes by applying them lightly
while maintaining a slow forward
speed.