Page 241 of 558
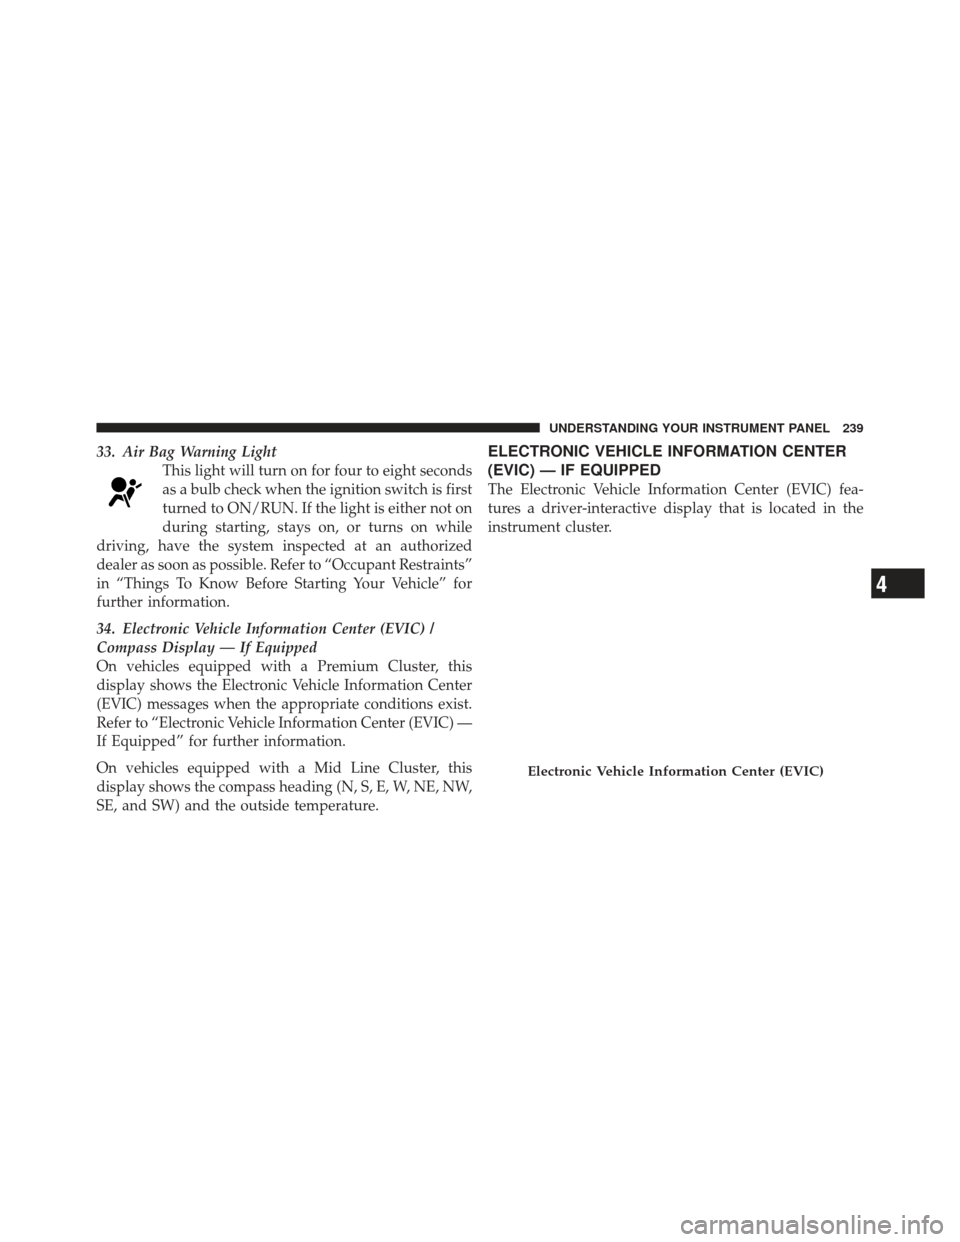
33. Air Bag Warning LightThis light will turn on for four to eight seconds
as a bulb check when the ignition switch is first
turned to ON/RUN. If the light is either not on
during starting, stays on, or turns on while
driving, have the system inspected at an authorized
dealer as soon as possible. Refer to “Occupant Restraints”
in “Things To Know Before Starting Your Vehicle” for
further information.
34. Electronic Vehicle Information Center (EVIC) /
Compass Display — If Equipped
On vehicles equipped with a Premium Cluster, this
display shows the Electronic Vehicle Information Center
(EVIC) messages when the appropriate conditions exist.
Refer to “Electronic Vehicle Information Center (EVIC) —
If Equipped” for further information.
On vehicles equipped with a Mid Line Cluster, this
display shows the compass heading (N, S, E, W, NE, NW,
SE, and SW) and the outside temperature.ELECTRONIC VEHICLE INFORMATION CENTER
(EVIC) — IF EQUIPPED
The Electronic Vehicle Information Center (EVIC) fea-
tures a driver-interactive display that is located in the
instrument cluster.
Electronic Vehicle Information Center (EVIC)
4
UNDERSTANDING YOUR INSTRUMENT PANEL 239
Page 243 of 558
MENU ButtonPress and release the MENU button to advance
the display to each of the EVIC Main Menu
features. Upon reaching the last item in the
Main Menu the EVIC will advance to the first
item in the Main Menu with the next MENU button press
and release.
DOWN Button Press and release the DOWN button when
prompted by the EVIC to step through stored
system warning message or Personal Settings
features.
SELECT Button Press and release the SELECT button when
prompted by the EVIC to reset features with a
reset capability or to change Personal Settings. COMPASS Button
Press and release the COMPASS/
TEMPERATURE button to display one of eight
compass readings and the outside temperature
when the current screen is not the Compass/
Outside Temp screen.
Electronic Vehicle Information Center (EVIC)
Displays
When the appropriate conditions exist, the EVIC displays
the following messages:
•Low Tire Pressure
•Spare Low Pressure
•Premium TPMS Graphic Display
•Key in Ignition
•Turn Signal On (with a continuous warning chime)
•Left Front Turn Signal Lamp Out (with a single chime)
4
UNDERSTANDING YOUR INSTRUMENT PANEL 241
Page 245 of 558
•Service TPM System (with a single chime). Refer to
“Tire Pressure Monitoring System” in “Starting And
Operating”.
•Check Gascap (refer to “Adding Fuel” in “Starting
And Operating” for more details)
•Service Park Assist System (with a single chime)
•Oil Change Required (with a single chime)
•ECO (Fuel Saver Indicator) — if equipped
Oil Change Required
Your vehicle is equipped with an engine oil change
indicator system. The “Oil Change Required” message
will flash in the EVIC display for approximately 10 sec-
onds after a single chime has sounded to indicate the next
scheduled oil change interval. The engine oil change
indicator system is duty cycle based, which means the
engine oil change interval may fluctuate dependent upon
your personal driving style.Unless reset, this message will continue to display each
time you turn the ignition switch to the ON position. To
turn off the message temporarily, press and release the
SELECT button. To reset the oil change indicator system
(after performing the scheduled maintenance), perform
the following procedure:
1. Turn the ignition switch to the ON position.
Do not
start the engine.
2. Fully depress the accelerator pedal slowly three times
within 10 seconds.
3. Turn the ignition switch to the LOCK position.
NOTE: If the indicator message illuminates when you
start the vehicle, the oil change indicator system did not
reset. If necessary, repeat this procedure.
4
UNDERSTANDING YOUR INSTRUMENT PANEL 243
Page 249 of 558
To Change The Compass Variance:
1. Turn the ignition switch ON.
2. Press the MENU button until the Personal Settings
(Customer-Programmable Features) menu displays in the
EVIC.3. Press the DOWN button until “Compass Variance”
displays in the EVIC.
4. Press and release the SELECT button until the proper
variance zone is selected according to the map.
NOTE:
The Variance Values will wrap around from 15
back to 1. The Default Variance is Zone 8.
5. Press and release the COMPASS button to exit.
Average Fuel Economy
Shows the average fuel economy since the last reset.
Average Fuel Economy can be reset by pressing and
holding the SELECT button (as prompted in the EVIC
display). Upon reset, the history information will be
erased, and the averaging will continue from the last fuel
average reading before the reset.
Compass Variance Map
4
UNDERSTANDING YOUR INSTRUMENT PANEL 247
Page 251 of 558
Elapsed Time
Shows the total elapsed time of travel since the last reset.
Elapsed time will increment when the ignition switch is
in the RUN or START position.
Elapsed time is displayed as follows:
hours:minutes:seconds
Elapsed time can be reset by pressing and holding the
SELECT button (as prompted in the EVIC display). Upon
reset all digits will change to zeros and time will start
incrementing again if the ignition switch is in RUN or
START.
EVIC Units Selection (UNITS IN Display)
Displays the units used for the Outside Temperature,
Average Fuel Economy, Distance to Empty and Tire
Pressure features. Press and release the SELECT button to
toggle units between�U.S.�and�METRIC�.
System Status
Displays SYSTEM OK if there are no active Warning
Messages stored. Pressing and releasing the DOWN
button when SYSTEM OK is displayed will do nothing.
Displays SYSTEM WARNINGS PRESENT if there are
active Warning Messages stored. Pressing and releasing
the DOWN button when SYSTEM WARNINGS PRES-
ENT is displayed will display each stored warning for
each button press. Press and Release the MENU button to
return to the Main Menu.
Personal Settings
(Customer-Programmable Features)
Personal Settings allows the driver to set and recall
features when the vehicle speed is at 0 mph (0 km/h)
(manual transmission) or when the shift lever is in PARK
(auto transmission).
Press and release the MENU button until Personal Set-
tings displays in the EVIC then press the SELECT button.
4
UNDERSTANDING YOUR INSTRUMENT PANEL 249
Page 254 of 558
NOTE:Turning the headlights on during the daytime
causes the instrument panel lights to dim. To increase the
brightness, refer to “Lights” in “Understanding The
Features Of Your Vehicle.”
Easy Exit Seat — If Equipped
This feature provides automatic driver seat positioning to
enhance driver mobility when entering and exiting the
vehicle. To make your selection, press and release the
SELECT button until “On” or “Off” appears.
NOTE: The seat will return to the memorized seat
location (if Recall Memory with Remote Key Unlock is set
to ON) when the RKE transmitter is used to unlock the
door. Refer to “Driver Memory Seat” in “Understanding
The Features Of Your Vehicle” for further information.
Key-Off Power Delay
When this feature is selected, the power window
switches, radio, hands–free system (if equipped), DVD
video system (if equipped), power sunroof (if equipped), and power outlets will remain active for up to 10 minutes
after the ignition switch is turned to the LOCK position.
Opening either front vehicle door will cancel this feature.
To make your selection, press and release the SELECT
button until “OFF,” “45 sec.,” “5 min.,” or “10 min.”
appears.
Illumination Approach
When this feature is selected, the headlights will activate
and remain on for up to 90 seconds when the doors are
unlocked with the RKE transmitter. To make your selec-
tion, press and hold the SELECT button until “OFF,”
“30 sec,” “60 sec,” or “90 sec” appears.
Park Assist
The Rear Park Assist system will scan for objects behind
the vehicle when the transmission is in the REVERSE
position and the vehicle speed is less than 11 mph
(18 km/h). The system can be enabled with Sound Only,
Sound and Display, or turned OFF through the EVIC, to
252 UNDERSTANDING YOUR INSTRUMENT PANEL
Page 256 of 558
MEDIA CENTER 230 (REQ) — AM/FM STEREO
RADIO AND 6–DISC CD/DVD CHANGER
(MP3/WMA AUX JACK)
NOTE:The radio sales code is located on the lower right
side of the radio faceplate.
Operating Instructions - Radio Mode
NOTE: The ignition switch must be in the ON or ACC
position to operate the radio.
Power Switch/Volume Control (Rotary)
Push the ON/VOLUME control knob to turn on the
radio. Press the ON/VOLUME control knob a second
time to turn off the radio.
Electronic Volume Control
The electronic volume control turns continuously (360
degrees) in either direction without stopping. Turning the
ON/VOLUME control knob to the right increases the
volume and to the left decreases it.
When the audio system is turned ON, the sound will be
set at the same volume level as last played.
Media Center 230 (REQ)
254 UNDERSTANDING YOUR INSTRUMENT PANEL
Page 265 of 558
CAUTION!
The radio may shut down during extremely hot
conditions. When this occurs, the radio will indicate
“Disc Hot” and shut off until a safe temperature is
reached. This shutdown is necessary to protect the
optics of the DVD player and other radio internal
components.
NOTE: The ignition switch must be in the ON or ACC
position to operate the radio.
LOAD Button — Loading Compact Disc(s)
Press the LOAD button and the pushbutton with the
corresponding number (1-6) where the CD is being
loaded. The radio will display PLEASE WAIT and
prompt when to INSERT DISC. After the radio displays
�INSERT DISC,� insert the CD into the player. Radio display will show
�LOADING DISC�when the disc
is loading and “READING DISC” when the radio is
reading the disc.
CAUTION!
This CD player will accept 4–3/4 in (12 cm) discs only.
The use of other sized discs may damage the CD
player mechanism.
Eject Button — Ejecting Compact Disc(s)
Press the EJECT button and the pushbutton
with the corresponding number (1-6) where the
CD was loaded and the disc will unload and
move to the entrance for easy removal. Radio
display will show �EJECTING DISC�when the disc is
being ejected and prompt the user to remove the disc.
Press and hold the EJECT button for five seconds and all
CDs will be ejected from the radio.
4
UNDERSTANDING YOUR INSTRUMENT PANEL 263