Page 98 of 558

▫To Deactivate ....................... 174
▫ To Resume Speed .................... 174
▫ To Vary The Speed Setting .............. 174
▫ To Accelerate For Passing .............. 175
� Parksense� Rear Park Assist — If Equipped . . . 176
▫ Parksense� Sensors................... 176
▫ Parksense� Warning Display ............ 176
▫ Parksense� Display................... 177
▫ Enabling And Disabling Parksense� ....... 180
▫ Service The Parksense� Rear Park Assist
System ............................ 181
▫ Cleaning The Parksense� System......... 181
▫ Parksense� System Usage Precautions ...... 182�
Garage Door Opener — If Equipped ........ 184
▫ Before You Begin Programming
HomeLink� ........................ 186
▫ Programming A Rolling Code ........... 186
▫ Programming A Non-Rolling Code ........ 188
▫ Canadian/Gate Operator Programming .... 189
▫ Using HomeLink� ................... 191
▫ Security ........................... 191
▫ Troubleshooting Tips .................. 192
▫ General Information .................. 193
� Power Sunroof — If Equipped ............ 193
▫ Opening Sunroof — Express ............ 194
▫ Opening Sunroof — Manual Mode ........ 194
96 UNDERSTANDING THE FEATURES OF YOUR VEHICLE
Page 152 of 558
2. Pull the release strap (toward the front of the vehicle).
3. Fold the rear seat completely forward.
4. If desired, push down on the seatback to lock it in the
folded position.To Raise The Rear Seat
NOTE:If interference from the cargo area prevents the
seatback from fully locking, you will have difficulty
returning the seat to its proper position.
1. If locked in the folded position, pull the release strap
(toward the front of the vehicle).
2. Raise the seatback and lock it into place.
WARNING!
Be certain that the seatback is securely locked into
position. If the seatback is not securely locked into
position the seat will not provide the proper stability
for child seats and/or passengers. An improperly
latched seat could cause serious injury.
Rear Seat Release Strap
150 UNDERSTANDING THE FEATURES OF YOUR VEHICLE
Page 159 of 558
Use the hood prop rod to secure the hood in the open
position. Place the upper end of the prop rod in the hole
on the underside of the hood.
CAUTION!
To prevent possible damage:
•Before closing hood, make sure the hood prop rod
is fully seated into its storage retaining clips.
•Lower the hood to approximately 6 in (15.2 cm)
above the closed position and drop the hood to
latch it.
•Never drive your vehicle unless the hood is fully
closed, with both latches engaged.
WARNING!
Be sure the hood is fully latched before driving your
vehicle. If the hood is not fully latched, it could open
when the vehicle is in motion and block your vision.
Failure to follow this warning could result in serious
injury or death.
3
UNDERSTANDING THE FEATURES OF YOUR VEHICLE 157
Page 186 of 558

•Before using the ParkSense�Rear Park Assist
System, it is strongly recommended that the ball
mount and hitch ball assembly is disconnected
from the vehicle when the vehicle is")
WARNING! (Continued)
•Before using the ParkSense�Rear Park Assist
System, it is strongly recommended that the ball
mount and hitch ball assembly is disconnected
from the vehicle when the vehicle is not used for
towing. Failure to do so can result in injury or
damage to vehicles or obstacles because the hitch
ball will be much closer to the obstacle than the
rear fascia when the warning display turns on the
single flashing arc and sounds the continuous
tone. Also, the sensors could detect the ball mount
and hitch ball assembly, depending on its size and
shape, giving a false indication that an obstacle is
behind the vehicle.
GARAGE DOOR OPENER — IF EQUIPPED
HomeLink� replaces up to three hand-held transmitters
that operate devices such as garage door openers, motor-
ized gates, lighting or home security systems. The
HomeLink� unit is powered by your vehicles 12 Volt
battery.
The HomeLink� buttons, located on either the overhead
console, headliner or sunvisor, designate the three differ-
ent HomeLink� channels. The HomeLink� indicator is
located above the center button.
184 UNDERSTANDING THE FEATURES OF YOUR VEHICLE
Page 187 of 558
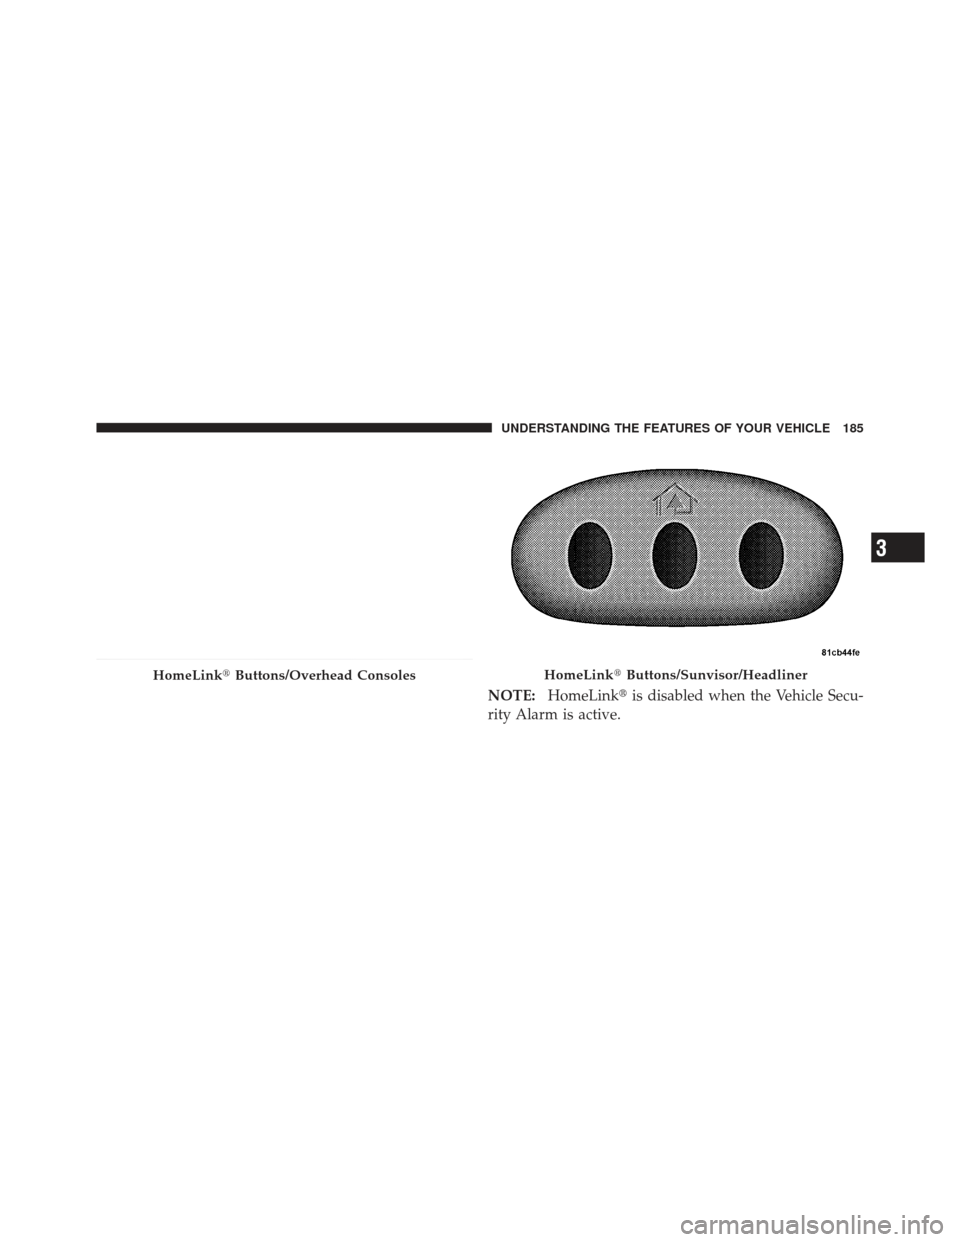
NOTE:HomeLink� is disabled when the Vehicle Secu-
rity Alarm is active.
HomeLink� Buttons/Overhead ConsolesHomeLink�Buttons/Sunvisor/Headliner
3
UNDERSTANDING THE FEATURES OF YOUR VEHICLE 185
Page 193 of 558

Reprogramming A Single HomeLink�Button
To reprogram a channel that has been previously trained,
follow these steps:
1. Turn the ignition switch to the ON/RUN position.
2. Press and hold the desired HomeLink� button until
the indicator light begins to flash after 20 seconds. Do not
release the button.
3. Without releasing the button proceed with
“Canadian/Gate Operator Programming” Step 2 and
follow all remaining steps.
Using HomeLink�
To operate, press and release the programmed
HomeLink� button. Activation will now occur for the
programmed device (i.e., garage door opener, gate opera-
tor, security system, entry door lock, home/office light-
ing, etc.,). The hand-held transmitter of the device may
also be used at any time.
Security
It is advised to erase all channels before you sell or turn
in your vehicle.
To do this, press and hold the two outside buttons for
20 seconds until the red indicator flashes. Note that all
channels will be erased. Individual channels cannot be
erased.
The HomeLink� Universal Transceiver is disabled when
the Vehicle Security Alarm is active.
3
UNDERSTANDING THE FEATURES OF YOUR VEHICLE 191
Page 196 of 558

WARNING!
•Never leave unattended children in a vehicle with
the key in the ignition switch. Occupants, particu-
larly unattended children, can become entrapped
by the power sunroof while operating the power
sunroof switch. Such entrapment may result in
serious injury or death.
•In a collision, there is a greater risk of being
thrown from a vehicle with an open sunroof. You
could also be seriously injured or killed. Always
fasten your seat belt properly and make sure all
passengers are properly secured too.
•Do not allow small children to operate the sun-
roof. Never allow your fingers, other body parts, or
any object to project through the sunroof opening.
Injury may result.
Opening Sunroof — Express
Press the switch rearward and release it within one-half
second and the sunroof will open automatically from any
position. The sunroof will open fully and stop automati-
cally. This is called “Express Open”. During Express
Open operation, any movement of the sunroof switch
will stop the sunroof.
Opening Sunroof — Manual Mode
To open the sunroof, press and hold the switch rearward
to full open. Any release of the switch will stop the
movement and the sunroof will remain in a partially
opened condition until the switch is pushed and held
rearward again.
Closing Sunroof — Express
Press the switch forward and release it within one-half
second and the sunroof will close automatically from any
194 UNDERSTANDING THE FEATURES OF YOUR VEHICLE
Page 200 of 558

WARNING!
Failure to follow these warnings can result in injuries
that are serious or fatal to you, your passengers, and
others around you:
•In an accident, there is a greater risk of being
thrown from a vehicle with the Sky Slider™ open.
Always fasten your seat belt properly and make
sure all passengers are properly secured too.
•Before operating the Sky Slider™ make sure that
no moving parts of the Sky Slider™ can injure a
person or animal.
•Never place any extremities (hands, feet, etc.) near
the Sky Slider™ components or the roof area
while operating the Sky Slider™.(Continued)
WARNING! (Continued)
•If potential danger exists while opening or closing
the Sky Slider™ in Automatic Mode, press and
release the switch immediately to interrupt the
operation.
•If potential danger exists while opening or closing
the Sky Slider™ in Operator Mode, release the
switch immediately to interrupt the operation.
•Do not allow small children to operate the Sky
Slider™.
•Never leave children in a vehicle, with the key in
the ignition switch. Occupants, particularly unat-
tended children, can become entrapped by the Sky
Slider™ while operating the Sky Slider™ switch.
Such entrapment may result in serious injury or
death.
198 UNDERSTANDING THE FEATURES OF YOUR VEHICLE
.
3. Fold the rear seat completely forward.
4. If desired, push down on the seatback to lock it in the
folded position.To Raise The Rear Seat")