2012 JEEP GRAND CHEROKEE steering
[x] Cancel search: steeringPage 36 of 148

WARNING!(Continued)
• Forward Collision Warning (FCW) is not intended to avoid acollision on its own. The driver has the responsibility to avoid a
collision by controlling the vehicle via braking and steering. Failure
to follow this warning could lead to serious injury or death.
ELECTRONIC RANGE SELECTION (ERS)
• Electronic Range Select (ERS)allows you to limit the highest
available transmission gear, and
can be activated during any
driving condition. When towing a
trailer or operating the vehicle in
off-road conditions, using ERS
shift control will help you
maximize both performance and
engine braking.
• To switch from DRIVE mode to ERS mode, tap the shift lever to the left (-) once. The instrument cluster will display the current gear and the
transmission will not upshift beyond that gear. Tapping the shift lever to
the left (-) or right (+) will decrease or increase the top available gear. To
disable ERS, simply hold the shift lever to the right (+) until “D” is again
displayed in the instrument cluster.
• Switching between ERS and DRIVE mode can be done at any vehicle speed.
• Refer to your Owner's Manual on the DVD for further details.
OPERATING YOUR VEHICLE
34
Page 72 of 148

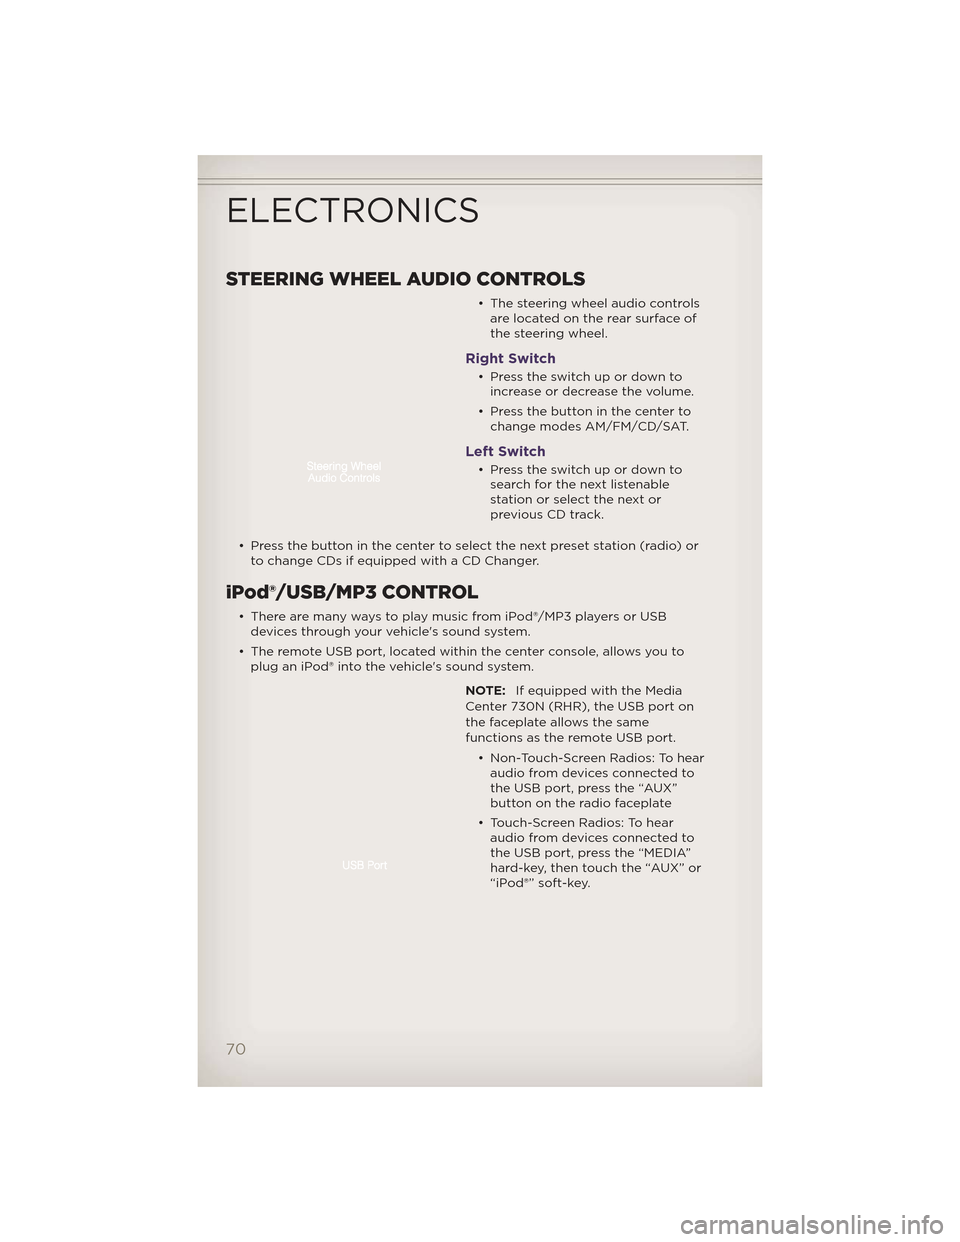
STEERING WHEEL AUDIO CONTROLS
• The steering wheel audio controlsare located on the rear surface of
the steering wheel.
Right Switch
• Presstheswitchupordowntoincrease or decrease the volume.
• Press the button in the center to change modes AM/FM/CD/SAT.
Left Switch
• Presstheswitchupordowntosearch for the next listenable
stationorselectthenextor
previous CD track.
• Press the button in the center to select the next preset station (radio) or to change CDs if equipped with a CD Changer.
iPod®/USB/MP3 CONTROL
• There are many ways to play music from iPod®/MP3 players or USBdevices through your vehicle's sound system.
• The remote USB port, located within the center console, allows you to plug an iPod® into the vehicle's sound system.
NOTE:If equipped with the Media
Center 730N (RHR), the USB port on
the faceplate allows the same
functions as the remote USB port.
• Non-Touch-Screen Radios: To hearaudio from devices connected to
the USB port, press the “AUX”
button on the radio faceplate
• Touch-Screen Radios: To hear audio from devices connected to
the USB port, press the “MEDIA”
hard-key, then touch the “AUX” or
“iPod®” soft-key.
ELECTRONICS
70
Page 76 of 148

WARNING!
• Any voice commanded system should be used only in safe drivingconditions following local laws and phone use. All attention should
be kept on the roadway ahead. Failure to do so may result in a
collision causing you and others to be severely injured or killed.
• In an emergency, to use Uconnect™ Phone, your mobile phone must be:
• turned on,
• paired to Uconnect™ Phone,
• and have network coverage.
Uconnect™ VOICE COMMAND
• The Uconnect™ Voice Command system allows you to control your AM, FM radio, satellite radio, disc player, HDD, Uconnect™ Phone, a memo
recorder, and supported portable media devices.
• When you press the “Voice Command” button
located on the
radio faceplate or steering wheel, you will hear a beep. The beep is your
signal to give a command. If you do not say a command within a few
seconds, the system will present you with a list of options. If you ever
wish to interrupt the system while it lists options, press the “Voice
Command” button
, listen for the BEEP, and say your command.
Voice Command Operation
• Start a dialogue by pressing the “Voice Command” button,
you will hear a beep. The beep is
your signal to give a command.
Below are a list of voice
commands for each of the
different modes.
Common Voice Commands (Examples)
Main Menu “Radio” (to switch to the radio mode) “Disc” (to switch to the disc mode)
“Memo” (to switch to the memo recorder)
“System Setup” (to switch to system setup)
Radio Mode “Frequency” (to change the frequency) “Next Station” (to select the next station)
“Previous Station” (to select the previous station)
“Radio Menu” (to switch to the radio menu)
“Main Menu” (to switch to the main menu)
ELECTRONICS
74
Page 80 of 148

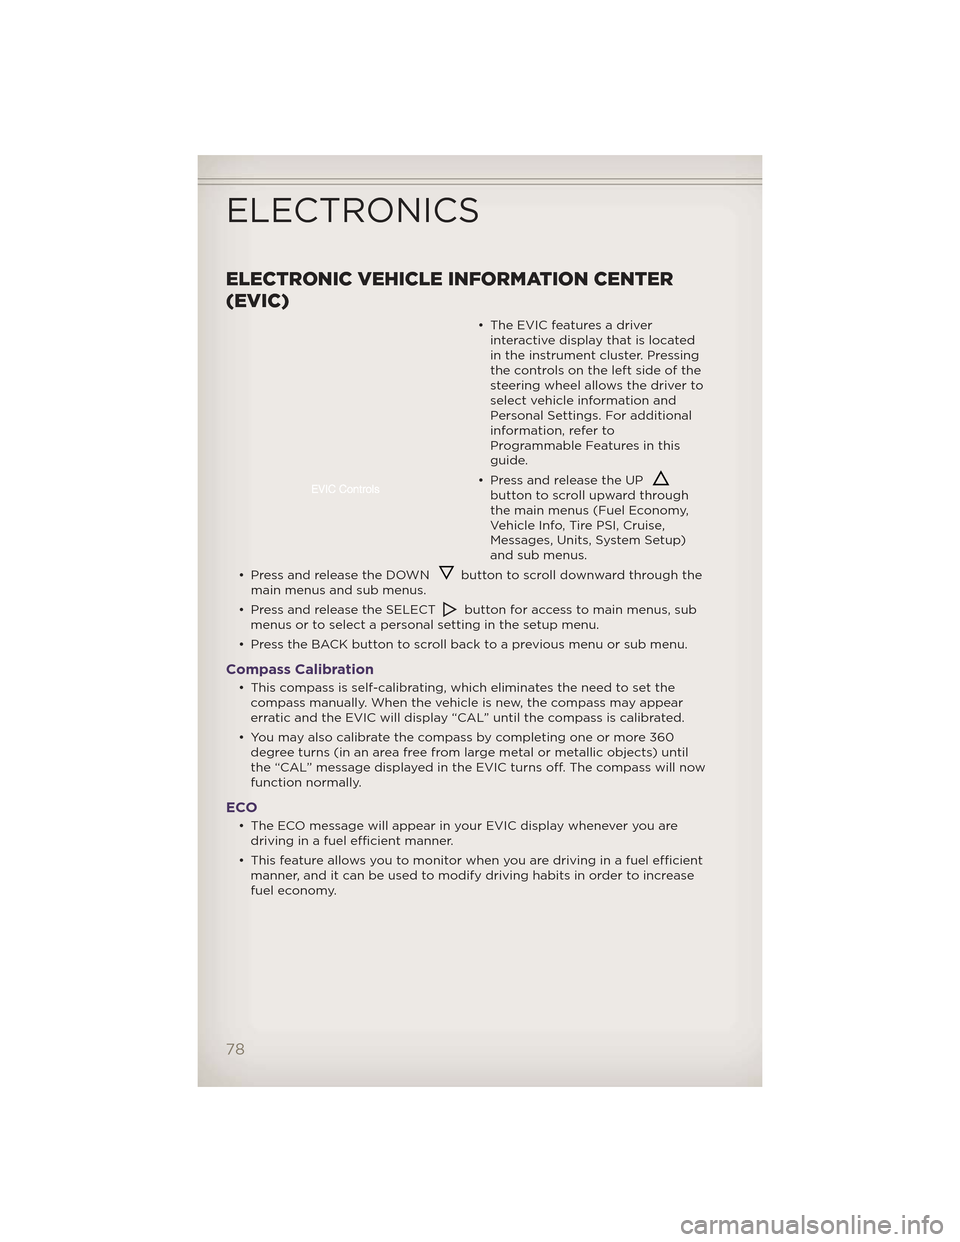
ELECTRONIC VEHICLE INFORMATION CENTER
(EVIC)
• The EVIC features a driverinteractive display that is located
in the instrument cluster. Pressing
thecontrolsontheleftsideofthe
steering wheel allows the driver to
select vehicle information and
Personal Settings. For additional
information, refer to
Programmable Features in this
guide.
• Press and release the UP
button to scroll upward through
the main menus (Fuel Economy,
Vehicle Info, Tire PSI, Cruise,
Messages, Units, System Setup)
and sub menus.
• Press and release the DOWN
button to scroll downward through the
main menus and sub menus.
• Press and release the SELECT
button for access to main menus, sub
menus or to select a personal setting in the setup menu.
• Press the BACK button to scroll back to a previous menu or sub menu.
Compass Calibration
• This compass is self-calibrating, which eliminates the need to set the compass manually. When the vehicle is new, the compass may appear
erratic and the EVIC will display “CAL” until the compass is calibrated.
• You may also calibrate the compass by completing one or more 360 degree turns (in an area free from large metal or metallic objects) until
the “CAL” message displayed in the EVIC turns off. The compass will now
function normally.
ECO
• The ECO message will appear in your EVIC display whenever you aredriving in a fuel efficient manner.
• This feature allows you to monitor when you are driving in a fuel efficient manner, and it can be used to modify driving habits in order to increase
fuel economy.
ELECTRONICS
78
Page 88 of 148

SELEC-TERRAIN™
• Selec-Terrain™ combines the capabilities of the vehicle control systems,along with driver input, to provide the best performance for all terrains.
Rotate the mode control knob to select the following Selec-Terrain™
positions: •Sport – Dry weather, on-road calibration. Only available in 4WD High
range. Performance-based tuning that provides a rear wheel drive feel
but with improved handling and acceleration over a two-wheel drive
vehicle. The Electronic Stability Control will set to allow more driver
control of the vehicle while maintaining safe handling controls. The
vehicle will lower (if equipped with Air Suspension) by 0.59 inches
(15 mm) in the SPORT mode.
• Snow – The Electronic Stability Control is set for additional stability in
inclement weather. Use on and off road on loose traction surfaces such
as snow.
• Auto – Fully automatic full-time four-wheel drive operation can be used
on and off road. Balances traction with steering feel to provide improved
handling and acceleration over two-wheel drive vehicles.
• Sand/Mud – Off-road calibration for use on low traction surfaces such as
mud, sand, or wet grass. Driveline is maximized for traction. Some
binding may be felt on less forgiving surfaces. The electronic brake
controls are set to limit traction control management of throttle and
wheel spin.
• Rock – Off-road calibration only available in 4WD Low range. The vehicle
is raised (if equipped with Air Suspension) for improved ground
clearance. Traction based tuning with improved steer-ability for use on
high traction off-road surfaces. Activates the Hill Descent Control for
steep downhill control. Use for low speed obstacles such as large rocks,
deep ruts, etc.
Quadra-Lift™
• The Quadra-Lift™ air suspension system provides full time load
leveling capability along with the
benefit of being able to adjust
vehicle height by the push of a
button. Quadra-Lift™ is available
with both Quadra-Trac II® and
Quadra-Drive II™.
• The system requires that the engine be running for all changes.
When lowering the vehicle all of
the doors, including the liftgate,
must be closed.
OFF-ROAD CAPABILITIES
86
Page 95 of 148

AUTOSTICK®
• AutoStick® is a driver-interactivetransmission feature that offers
manual gear shifting to provide
youwithmorecontrolofthe
vehicle. AutoStick® allows you to
maximize engine braking,
eliminate undesirable upshifts and
downshifts, and improve overall
vehicle performance.
• This system can also provide you with more control during passing,
city driving, cold slippery
conditions, mountain driving,
trailer towing, and many other
situations.
Operation
• When the shift lever is in the DRIVE position, the transmission willoperate automatically, shifting between the five available gears. To
engage AutoStick®, simply tap the shift lever to the right or left (+/-)
while in the DRIVE position, or tap one of the steering wheel-mounted
shift paddles (+/-). Tapping (-) to enter AutoStick® mode will downshift
the transmission to the next lower gear, while using (+) to enter
AutoStick® mode will retain the current gear. When AutoStick® is active,
the current transmission gear is displayed in the instrument cluster. In
AutoStick® mode, the transmission will shift up or down when (+/-) is
manually selected by the driver (using the shift lever, or the shift
paddles), unless an engine lugging or overspeed condition would result.
It will remain in the selected gear until another upshift or downshift is
chosen, except as described below:
• Normally, in AutoStick® mode, the transmission will automatically shift up when maximum engine speed is reached. If, h owever, AutoStick® is
engaged while in SPORT mode, the transmission will remain in the
selected gear even when maximum engine speed is reached. The
transmission will upshift only when commanded by the driver.
• The transmission will automatically downshift as the vehicle slows (to prevent engine lugging) and will display the current gear.
• The transmission will automatically downshift to first gear when coming to a stop. After a stop, the driver should manually upshift (+) the
transmission as the vehicle is accelerated.
• You can start out in first or second gear. Tapping (+) (at a stop) will allow starting in second gear. Starting out in second gear is helpful in
snowy or icy conditions.
• The system will ignore attempts to upshift at too low of a vehicle speed.
• Avoid using speed control when AutoStick® is engaged.
SRT8
93
Page 96 of 148

• Transmission shifting will be more noticeable when AutoStick® isengaged.
• To disengage AutoStick® mode, hold the shift lever to the right or press and hold the (+) shift paddle until “D” is once again displayed in the
instrument cluster. You can shift in or out of the AutoStick® mode at any
time without taking your foot off the accelerator pedal.
WARNING!
Do not downshift for additional engine braking on a slippery surface.
The drive wheels could lose their grip and the vehicle could skid,
causing a collision or personal injury.
SELEC-TRACK™
• Selec-Track™ combines the capabilities of the vehicle control systems,along with driver input, to provide the best performance for all terrains.
• Rotate the mode control knob toselect the following Selec-Track™
positions:
• Sport – Dry weather, on-road
calibration. Performance based
tuning that provides a rear wheel
drive feel but with improved
handling and acceleration over a
two-wheel drive vehicle. The
active suspension system will be
in Semi Firm mode, and a green
flag will light up in the instrument
cluster.
• Snow – Tuning set for additional stability in inclement weather. Use on
and off road on loose traction surfaces such as snow.
• Auto – Fully automatic full time four-wheel drive operation can be used
on and off road. This position balances traction with seamless steering
feel to provide improved handling and acceleration over two-wheel
drive vehicles.
• Track – This position offers track road calibration for use on high
traction surfaces. Driveline is maximized for traction. Some binding may
be felt on less forgiving surfaces.
• To w – Use this mode for towing. Vehicle suspension will go to Firm
mode and peak power will be limited in the engine controls.
SRT8
94
Page 116 of 148

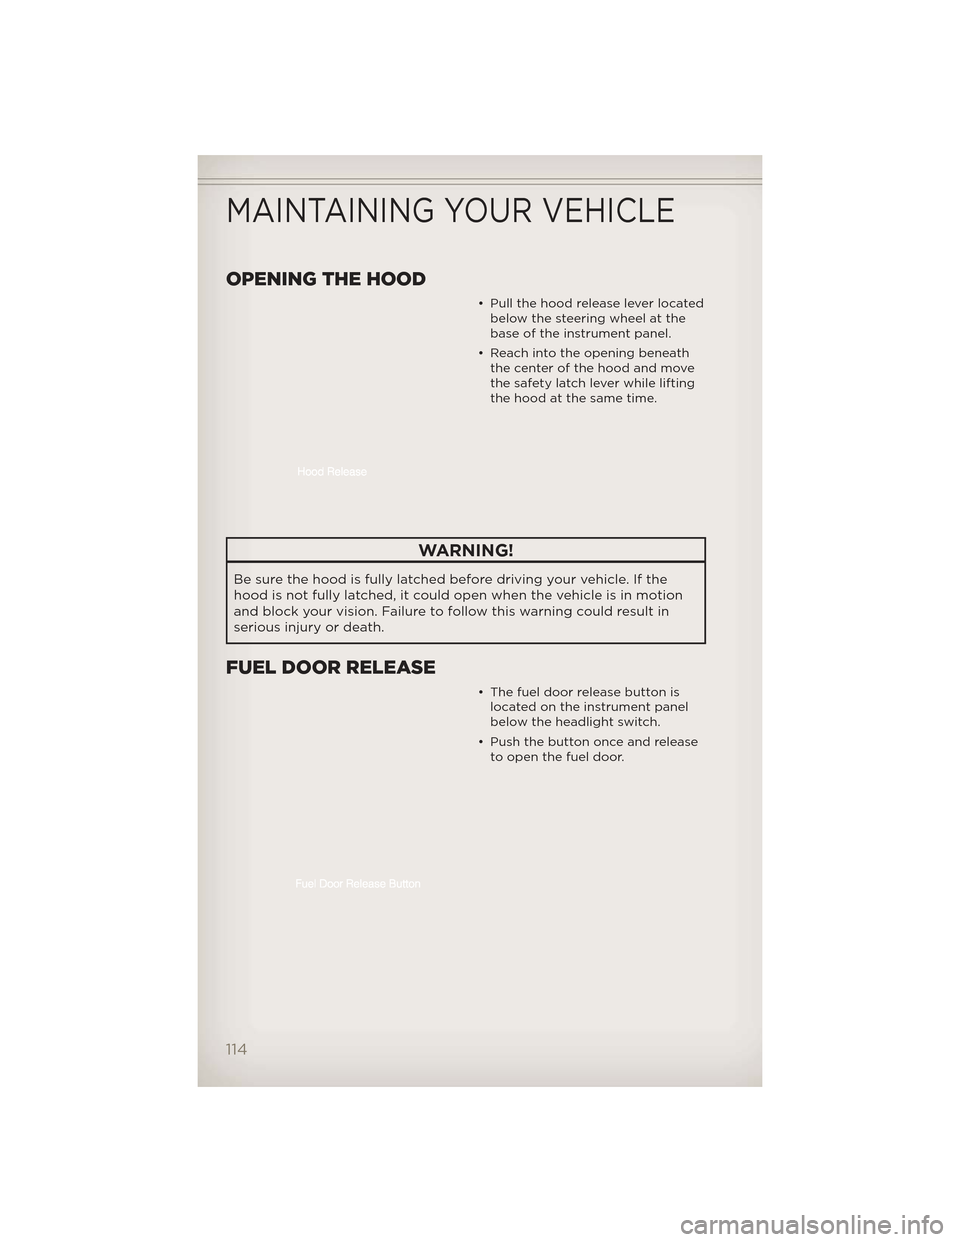
OPENING THE HOOD
• Pull the hood release lever locatedbelow the steering wheel at the
base of the instrument panel.
• Reach into the opening beneath the center of the hood and move
the safety latch lever while lifting
the hood at the same time.
WARNING!
Be sure the hood is fully latched before driving your vehicle. If the
hood is not fully latched, it could open when the vehicle is in motion
and block your vision. Failure to follow this warning could result in
serious injury or death.
FUEL DOOR RELEASE
• The fuel door release button islocated on the instrument panel
below the headlight switch.
• Push the button once and release to open the fuel door.
MAINTAINING YOUR VEHICLE
114