Page 23 of 148

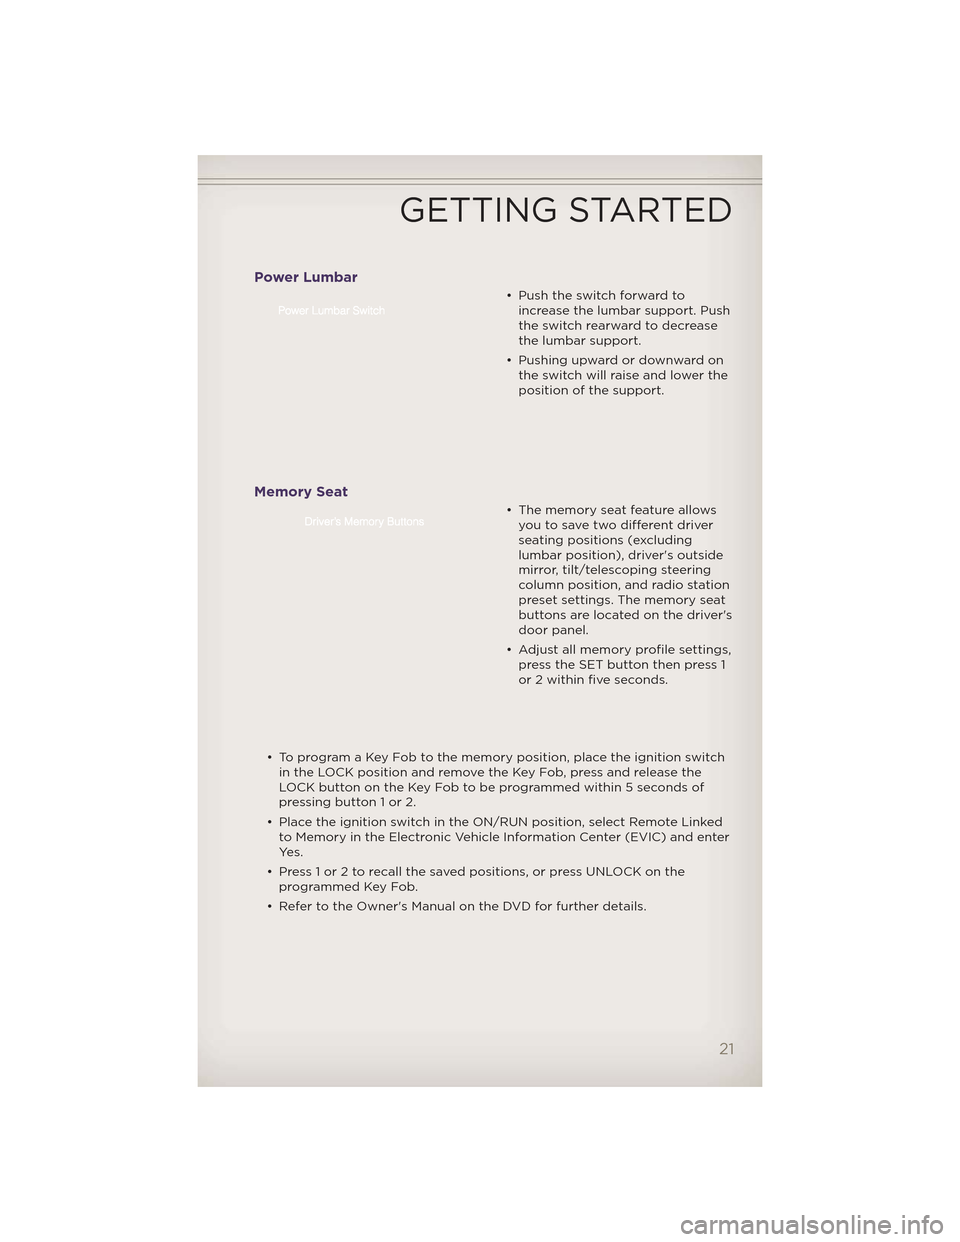
Power Lumbar
• Push the switch forward toincrease the lumbar support. Push
the switch rearward to decrease
the lumbar support.
• Pushing upward or downward on the switch will raise and lower the
position of the support.
Memory Seat
• The memory seat feature allowsyou to save two different driver
seating positions (excluding
lumbar position), driver's outside
mirror, tilt/telescoping steering
column position, and radio station
preset settings. The memory seat
buttons are located on the driver's
door panel.
• Adjust all memory profile settings, press the SET button then press 1
or 2 within five seconds.
• To program a Key Fob to the memory position, place the ignition switch in the LOCK position and remove the Key Fob, press and release the
LOCK button on the Key Fob to be programmed within 5 seconds of
pressing button 1 or 2.
• Place the ignition switch in the ON/RUN position, select Remote Linked to Memory in the Electronic Vehicle Information Center (EVIC) and enter
Ye s .
• Press 1 or 2 to recall the saved positions, or press UNLOCK on the programmed Key Fob.
• Refer to the Owner's Manual on the DVD for further details.
GETTING STARTED
21
Page 30 of 148

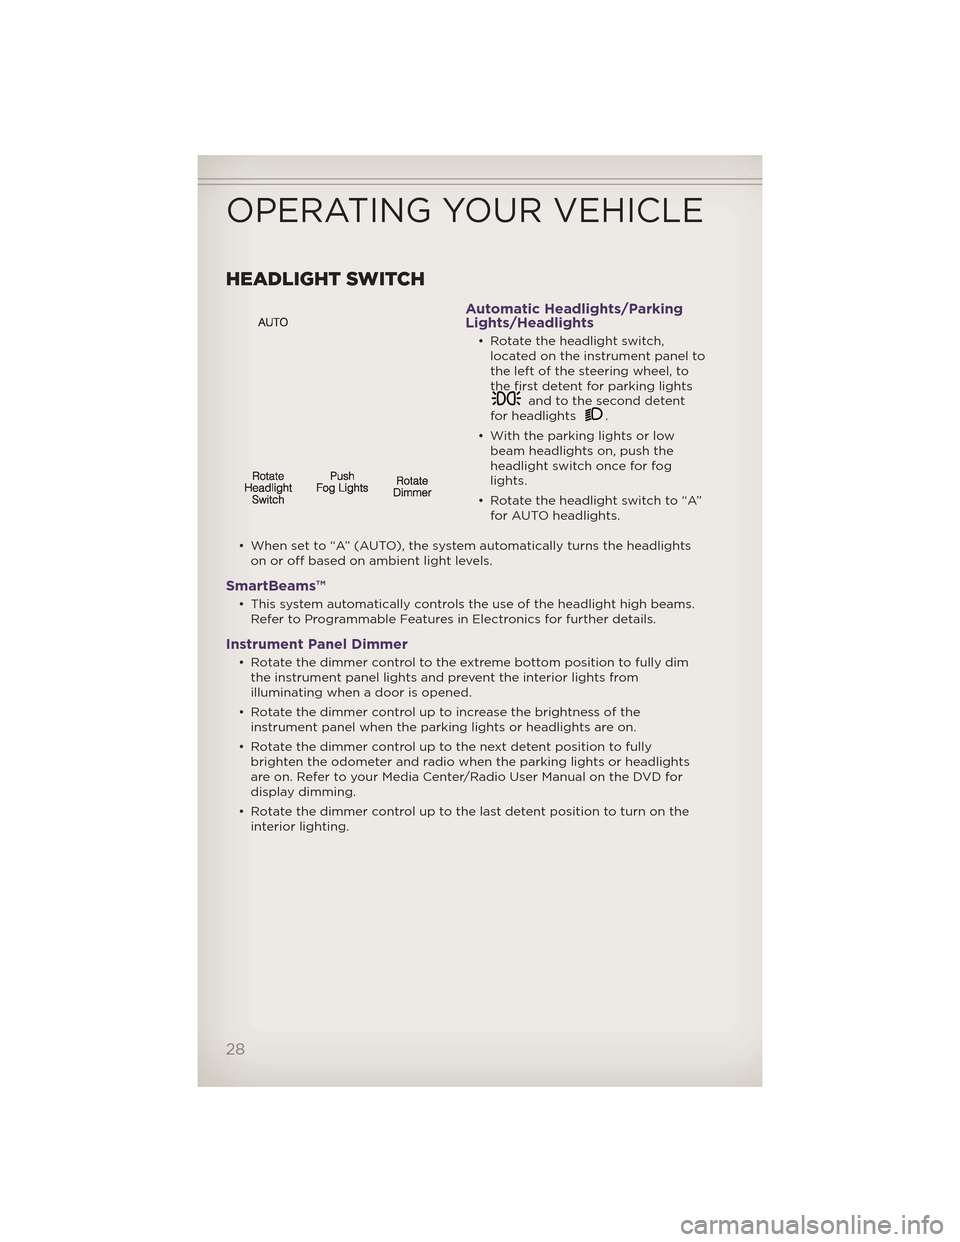
HEADLIGHT SWITCH
Automatic Headlights/Parking
Lights/Headlights
• Rotate the headlight switch,located on the instrument panel to
the left of the steering wheel, to
the first detent for parking lights
and to the second detent
for headlights.
• With the parking lights or low beam headlights on, push the
headlight switch once for fog
lights.
• Rotate the headlight switch to “A” for AUTO headlights.
• When set to “A” (AUTO), the system automatically turns the headlights on or off based on ambient light levels.
SmartBeams™
• This system automatically controls the use of the headlight high beams.Refer to Programmable Features in Electronics for further details.
Instrument Panel Dimmer
• Rotate the dimmer control to the extreme bottom position to fully dimthe instrument panel lights and prevent the interior lights from
illuminating when a door is opened.
• Rotate the dimmer control up to increase the brightness of the instrument panel when the parking lights or headlights are on.
• Rotate the dimmer control up to the next detent position to fully brighten the odometer and radio when the parking lights or headlights
are on. Refer to your Media Center/Radio User Manual on the DVD for
display dimming.
• Rotate the dimmer control up to the last detent position to turn on the interior lighting.
OPERATING YOUR VEHICLE
28
Page 51 of 148

• Your radio has many features that add to the comfort and convenience ofyou and your passengers. Some of these radio features should not be used
when driving because they take your eyes from the road or your attention
from driving.
Clock Setting
• Turn the radio on, then touch the screen where the time is displayed.
• Touch the “USER CLOCK” soft-key (Navigation radio only).
• To adjust the hours, touch either the “HOUR FORWARD” or “HOURBACKWARD” soft-key.
• To adjust the minutes, touch either the “MINUTE FORWARD” or “MINUTE BACKWARD” soft-key.
• To save the new time setting, touch the screen where the word “Save” is displayed.
Menu
• Press the “MENU” hard-key to access the System Setup menu and the MyFiles menu.
• Press the “MENU” hard-key in an active mode (SAT, CD, AUX, etc.) in order to change mode specific settings.
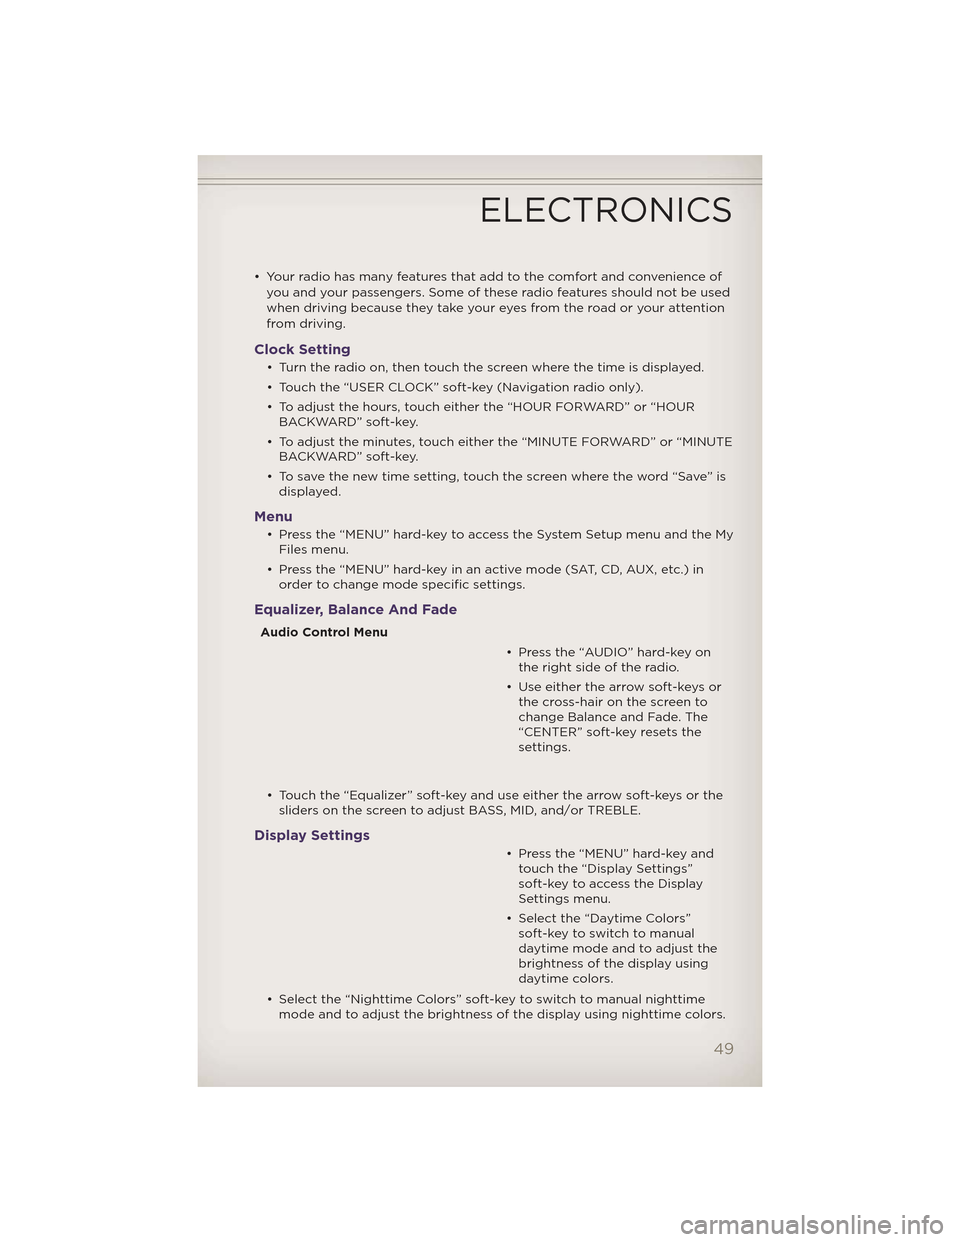
Equalizer, Balance And Fade
Audio Control Menu
• Press the “AUDIO” hard-key onthe right side of the radio.
• Use either the arrow soft-keys or the cross-hair on the screen to
change Balance and Fade. The
“CENTER” soft-key resets the
settings.
• Touch the “Equalizer” soft-key and use either the arrow soft-keys or the sliders on the screen to adjust BASS, MID, and/or TREBLE.
Display Settings
• Press the “MENU” hard-key andtouch the “Display Settings”
soft-key to access the Display
Settings menu.
• Select the “Daytime Colors” soft-key to switch to manual
daytime mode and to adjust the
brightness of the display using
daytime colors.
• Select the “Nighttime Colors” soft-key to switch to manual nighttime mode and to adjust the brightness of the display using nighttime colors.
ELECTRONICS
49
Page 60 of 148

Menu
• Press the “MENU” hard-key to access the System Setup menu and the MyFiles menu.
• Press the “MENU” hard-key in an active mode (SAT, CD, AUX, etc.) in order to change mode specific settings.
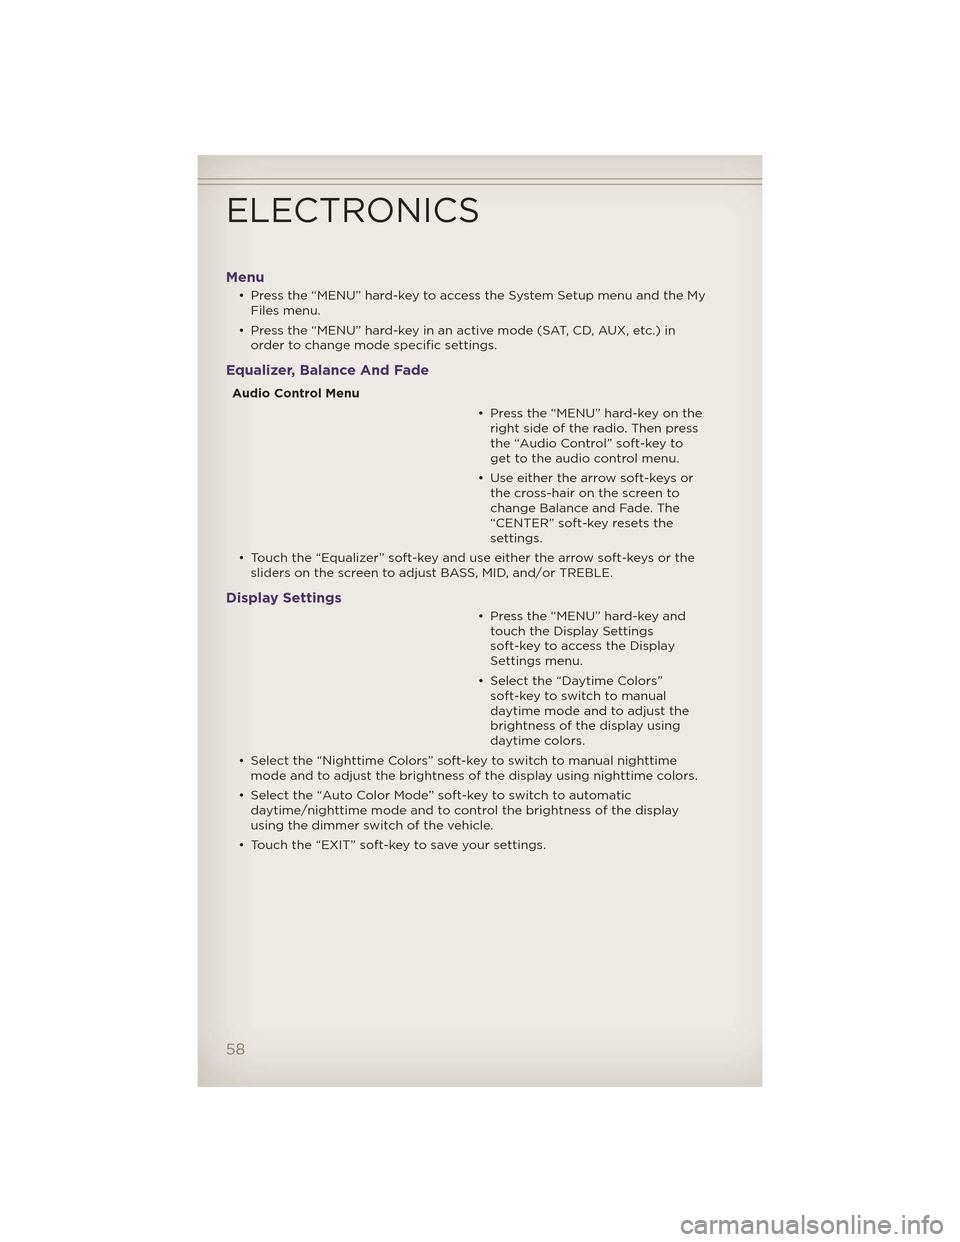
Equalizer, Balance And Fade
Audio Control Menu
• Press the “MENU” hard-key on theright side of the radio. Then press
the “Audio Control” soft-key to
get to the audio control menu.
• Use either the arrow soft-keys or the cross-hair on the screen to
change Balance and Fade. The
“CENTER” soft-key resets the
settings.
• Touch the “Equalizer” soft-key and use either the arrow soft-keys or the sliders on the screen to adjust BASS, MID, and/or TREBLE.
Display Settings
• Press the “MENU” hard-key andtouch the Display Settings
soft-key to access the Display
Settings menu.
• Select the “Daytime Colors” soft-key to switch to manual
daytime mode and to adjust the
brightness of the display using
daytime colors.
• Select the “Nighttime Colors” soft-key to switch to manual nighttime mode and to adjust the brightness of the display using nighttime colors.
• Select the “Auto Color Mode” soft-key to switch to automatic daytime/nighttime mode and to control the brightness of the display
using the dimmer switch of the vehicle.
• Touch the “EXIT” soft-key to save your settings.
ELECTRONICS
58