Page 163 of 497
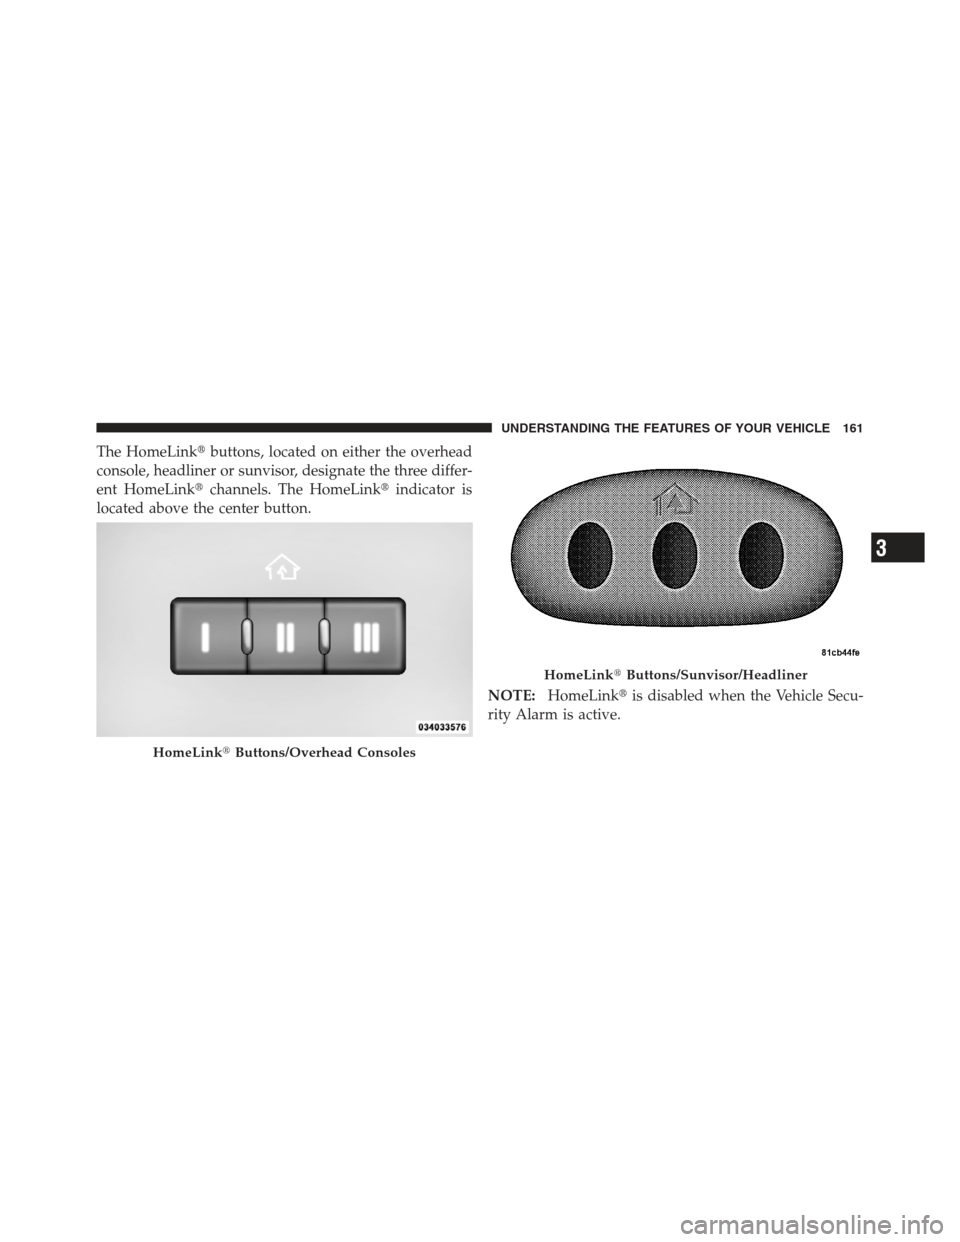
The HomeLink�buttons, located on either the overhead
console, headliner or sunvisor, designate the three differ-
ent HomeLink� channels. The HomeLink� indicator is
located above the center button.
NOTE:HomeLink� is disabled when the Vehicle Secu-
rity Alarm is active.
HomeLink� Buttons/Overhead Consoles
HomeLink�Buttons/Sunvisor/Headliner
3
UNDERSTANDING THE FEATURES OF YOUR VEHICLE 161
Page 178 of 497
POWER INVERTER — IF EQUIPPED
A 115 Volt (150 Watt) AC power inverter is located on the
front of the center console for added convenience. This
outlet can power cellular phones, electronics and other
low power devices requiring power up to 150 Watts.
Certain high-end video games, such as Playstation3 and
XBox360 will exceed this power limit, as will most power
tools.
The power inverter is designed with built-in overload
protection. If the power rating of 150 Watts is exceeded,
the power inverter will automatically shut down. Once
the electrical device has been removed from the outlet the
inverter should automatically reset. If the power rating
exceeds approximately 170 Watts, the power inverter
may have to be reset manually. To reset the inverter
manually, unplug the device and plug it in again. To
avoid overloading the circuit, check the power ratings on
electrical devices prior to using the inverter.
115 Volt Power Outlet
176 UNDERSTANDING THE FEATURES OF YOUR VEHICLE
Page 268 of 497
 you wish to lock onto this channel
and press and release that button. If a button is not
selected within five seconds after pressing the SET but-
ton, the channel will continue")
Select the button (1-6) you wish to lock onto this channel
and press and release that button. If a button is not
selected within five seconds after pressing the SET but-
ton, the channel will continue to play but will not be
stored into pushbutton memory.
You may add a second channel to each pushbutton by
repeating the above procedure with this exception: Press
the SET button twice and SET 2 will show in the display
window. Each button can be set for SET 1 and SET 2. This
allows a total of 12 Satellite channels to be stored into
pushbutton memory. The channels stored in SET 2
memory can be selected by pressing the pushbutton
twice.
Every time a preset button is used, a corresponding
button number will display.
Buttons1-6
These buttons tune the radio to the channels that you
commit to pushbutton memory (12 Satellite stations).
Operating Instructions - Uconnect™ Phone
(If Equipped)
Refer to “Uconnect™ Phone” in “Understanding The
Features Of Your Vehicle”.
iPod�/USB/MP3 CONTROL — IF EQUIPPED
NOTE:This section is for sales code RES and REQ/
REL/RET radios only with Uconnect™. For sales code
RBZ/RHB, RHR, RHP, RHW or RB2 touch-screen radio
iPod�/USB/MP3 control feature, refer to the separate
RBZ/RHB, RHR, RHP, RHW or RB2 User’s Manual.
iPod�/USB/MP3 control is available only if equipped as
an option with these radios.
This feature allows an iPod� or external USB device to be
plugged into the USB port, located in the center console
or glove compartment.
266 UNDERSTANDING YOUR INSTRUMENT PANEL
Page 269 of 497

iPod�control supports Mini, 4G, Photo, Nano, 5G iPod�
and iPhone� devices. Some iPod� software versions may
not fully support the iPod� control features. Please visit
Apple’s website for software updates.
NOTE:
•If the radio has a USB port, refer to the appropriate
Uconnect™ Multimedia radio User ’s Manual for
iPod� or external USB device support capability.
•Connecting an iPod� or consumer electronic audio
device to the AUX port located in the radio faceplate,
plays media, but does not use the iPod� /MP3 control
feature to control the connected device.
Connecting The iPod� Or External USB Device
Use the connection cable to connect an iPod� or external
USB device to the vehicle’s USB/AUX connector port
which is located in the center console or glove compart-
ment. Once the audio device is connected and synchronized to
the vehicle’s iPod�/USB/MP3 control system (iPod�
or
external USB device may take a few minutes to connect),
the audio device starts charging and is ready for use by
pressing radio switches, as described below.
USB/AUX Connector Port
4
UNDERSTANDING YOUR INSTRUMENT PANEL 267
Page 312 of 497

CAUTION!
Do not use chemical flushes in your power steering
system as the chemicals can damage your power
steering components. Such damage is not covered by
the New Vehicle Limited Warranty.
WARNING!
Fluid level should be checked on a level surface and
with the engine off to prevent injury from moving
parts and to ensure accurate fluid level reading. Do
not overfill. Use only manufacturer’s recommended
power steering fluid.If necessary, add fluid to restore to the proper indicated
level. With a clean cloth, wipe any spilled fluid from all
surfaces. Refer to “Fluids, Lubricants, and Genuine
Parts” in “Maintaining Your Vehicle” for further
information.
PARKING BRAKE
Before leaving the vehicle, make sure that the parking
brake is fully applied. Also, be certain to leave an
automatic transmission in PARK, or manual transmission
in REVERSE or first gear.
The parking brake lever is located in the center console.
To apply the parking brake, pull the lever up as firmly as
possible. To release the parking brake, pull the lever up
slightly, press the center button, then lower the lever
completely.
310 STARTING AND OPERATING
Page 480 of 497

Cargo CompartmentLight ............................. 182
Cargo Light ............................ 182
Cargo Load Floor ........................ 185
Cargo Tie-Downs ........................ 185
Cellular Phone ........................ 98,275
Center High Mounted Stop Light ............ 444
Chains, Tire ............................ 346
Changing A Flat Tire ..................... 382
Chart, Tire Sizing ........................ 328
Check Engine Light
(Malfunction Indicator Light) ............... 406
Checking Your Vehicle For Safety ............. 85
Checks, Safety ........................... 85
Child Restraint ........................ 75,77
Child Restraint Tether Anchors ............... 80
Child Restraint with Automatic Belts ........... 78
Child Safety Locks ........................ 34
Child Seat .............................. 82 Clean Air Gasoline
....................... 357
Cleaning Wheels ............................ 434
Climate Control ......................... 275
Clock ........................... 224,243,252
Clutch ............................... 427
Clutch Fluid ........................... 427
Coin Holder ........................... 181
Compact Disc (CD) Maintenance ............. 274
Compact Spare Tire ...................... 340
Compass .............................. 209
Compass Calibration ..................... 220
Compass Variance ....................... 221
Connector UCI .............................. 266
Universal Consumer Interface (UCI) ....... 266
Console .............................. 181
Contract, Service ........................ 469
Coolant (Antifreeze) ................... 445,446
478 INDEX
 AC power inverter is located on the
front of the center console for added convenience. This
outlet can power cellular phones, electronics and other")