Page 306 of 411

611
What to do in an emergency
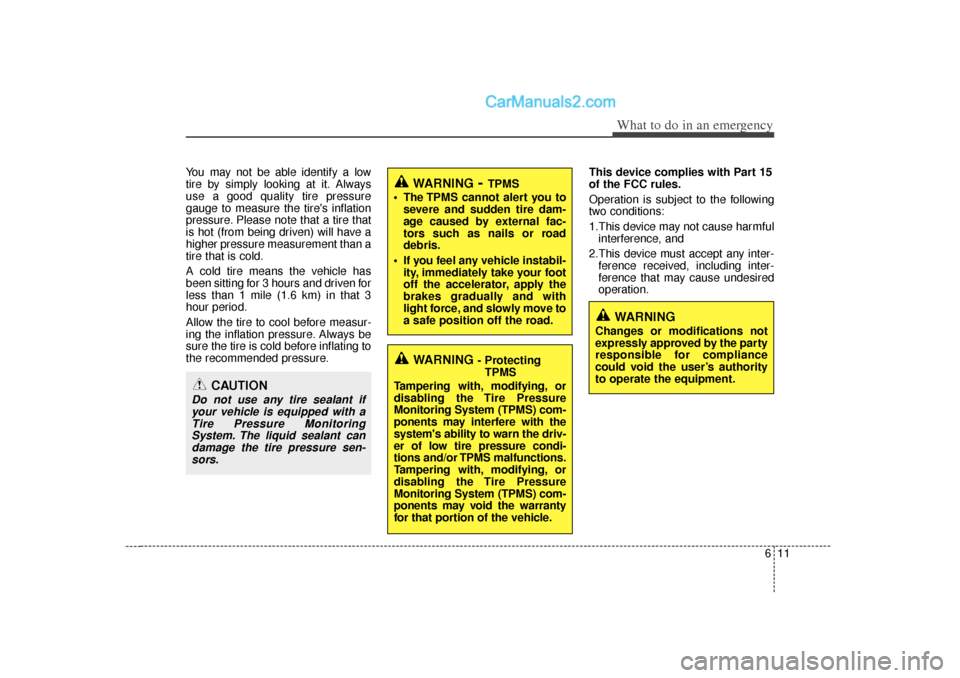
You may not be able identify a low
tire by simply looking at it. Always
use a good quality tire pressure
gauge to measure the tire's inflation
pressure. Please note that a tire that
is hot (from being driven) will have a
higher pressure measurement than a
tire that is cold.
A cold tire means the vehicle has
been sitting for 3 hours and driven for
less than 1 mile (1.6 km) in that 3
hour period.
Allow the tire to cool before measur-
ing the inflation pressure. Always be
sure the tire is cold before inflating to
the recommended pressure.This device complies with Part 15
of the FCC rules.
Operation is subject to the following
two conditions:
1.This device may not cause harmful
interference, and
2.This device must accept any inter- ference received, including inter-
ference that may cause undesired
operation.
CAUTION
Do not use any tire sealant ifyour vehicle is equipped with aTire Pressure MonitoringSystem. The liquid sealant candamage the tire pressure sen-sors.
WARNING
- Protecting TPMS
Tampering with, modifying, or
disabling the Tire Pressure
Monitoring System (TPMS) com-
ponents may interfere with the
system's ability to warn the driv-
er of low tire pressure condi-
tions and/or TPMS malfunctions.
Tampering with, modifying, or
disabling the Tire Pressure
Monitoring System (TPMS) com-
ponents may void the warranty
for that portion of the vehicle.
WARNING
- TPMS
The TPMS cannot alert you to severe and sudden tire dam-
age caused by external fac-
tors such as nails or road
debris.
If you feel any vehicle instabil- ity, immediately take your foot
off the accelerator, apply the
brakes gradually and with
light force, and slowly move to
a safe position off the road.
WARNING
Changes or modifications not
expressly approved by the party
responsible for compliance
could void the user’s authority
to operate the equipment.
Page 308 of 411
613
What to do in an emergency
Removing and storing the spare
tire
Turn the tire hold-down wing bolt
counterclockwise.
Store the tire in the reverse order of
removal.
To prevent the spare tire and tools
from “rattling” while the vehicle is in
motion, store them properly.Changing tires
1. Park on a level surface and apply
the parking brake firmly.
2. Shift the shift lever into R (Reverse) with manual transaxle
or P (Park) with automatic
transaxle.
3. Activate the hazard warning flash- er.
OYF069005N
(Continued)
Do not start or run the enginewhile the vehicle is on the
jack.
Do not allow anyone to remain in the vehicle while it is on the
jack.
Make sure any children pres- ent are in a secure place away
from the road and from the
vehicle to be raised with the
jack.
OBH068002L
Page 309 of 411
What to do in an emergency14
64. Remove the wheel lug nut wrench,
jack, jack handle, and spare tire
from the vehicle.
5. Block both the front and rear of the wheel that is diagonally opposite
the jack position. 6. Loosen the wheel lug nuts coun-
terclockwise one turn each, but do
not remove any nut until the tire
has been raised off the ground.
1JBA6504
WARNING
- Changing a tire
To prevent vehicle movementwhile changing a tire, always
set the parking brake fully,
and always block the wheel
diagonally opposite the wheel
being changed.
We recommend that the wheels of the vehicle be
blocked, and that no person
remain in a vehicle that is
being jacked.
ONF068002
Page 316 of 411
621
What to do in an emergency
When towing your vehicle in an emer-
gency without wheel dollies :
1. Set the ignition switch in the ACC posi-tion.
2. Place the shift lever in N (Neutral).
3. Release the parking brake.
CAUTION
Failure to place the transaxle shift lever in N (Neutral) may cause inter-nal damage to the transaxle.
Page 317 of 411
7
Engine compartment / 7-2
Maintenance services / 7-4
Owner maintenance / 7-5
Scheduled maintenance service / 7-7
Explanation of scheduled maintenance items / 7-19
Engine oil / 7-22
Engine coolant / 7-24
Brake fluid / 7-26
Washer fluid / 7-27
Parking brake / 7-28
Air cleaner / 7-29
Climate control air filter / 7-30
Wiper blades / 7-32
Battery / 7-34
Tires and wheels / 7-37
Fuses / 7-50
Light bulbs / 7-59
Appearance care / 7-67
Emission control system / 7-73
California perchlorate notice / 7-76
Maintenance
Page 318 of 411
Maintenance27ENGINE COMPARTMENT
OYF071060
* The actual engine room in the vehicle may differ from the illustration.1. Engine coolant reservoir
2. Engine oil filler cap
3. Brake fluid reservoir
4. Air cleaner
5. Fuse box
6. Positive battery terminal
7. Negative battery terminal
8. Windshield washer fluid reservoir
9. Radiator cap
10. Engine oil dipstick
* : if equipped
■
■
2.4 GDI
Page 319 of 411
73
Maintenance
1. Engine coolant reservoir
2. Engine oil filler cap
3. Brake fluid reservoir
4. Air cleaner
5. Fuse box
6. Positive battery terminal
7. Negative battery terminal
8. Windshield washer fluid reservoir
9. Radiator cap
10. Engine oil dipstick
* : if equipped
OYF071200N
* The actual engine room in the vehicle may differ from the illustration.
■
■
2.0 TGDI
Page 322 of 411

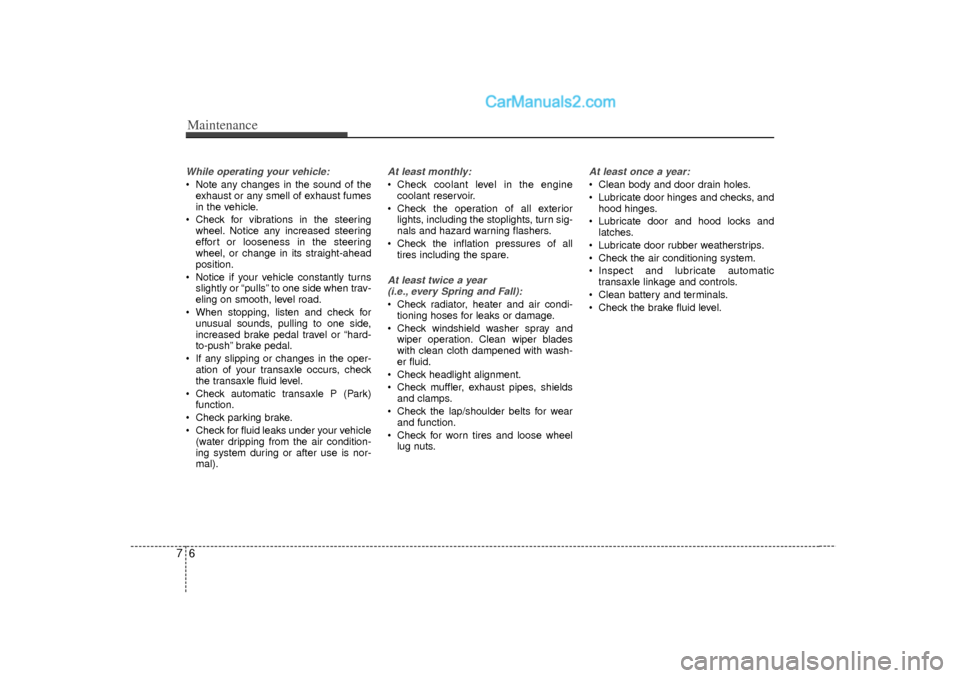
Maintenance67While operating your vehicle: Note any changes in the sound of theexhaust or any smell of exhaust fumes
in the vehicle.
Check for vibrations in the steering wheel. Notice any increased steering
effort or looseness in the steering
wheel, or change in its straight-ahead
position.
Notice if your vehicle constantly turns slightly or “pulls” to one side when trav-
eling on smooth, level road.
When stopping, listen and check for unusual sounds, pulling to one side,
increased brake pedal travel or “hard-
to-push” brake pedal.
If any slipping or changes in the oper- ation of your transaxle occurs, check
the transaxle fluid level.
Check automatic transaxle P (Park) function.
Check parking brake.
Check for fluid leaks under your vehicle (water dripping from the air condition-
ing system during or after use is nor-
mal).
At least monthly: Check coolant level in the enginecoolant reservoir.
Check the operation of all exterior lights, including the stoplights, turn sig-
nals and hazard warning flashers.
Check the inflation pressures of all tires including the spare.At least twice a year (i.e., every Spring and Fall): Check radiator, heater and air condi- tioning hoses for leaks or damage.
Check windshield washer spray and wiper operation. Clean wiper blades
with clean cloth dampened with wash-
er fluid.
Check headlight alignment.
Check muffler, exhaust pipes, shields and clamps.
Check the lap/shoulder belts for wear and function.
Check for worn tires and loose wheel lug nuts.
At least once a year: Clean body and door drain holes.
Lubricate door hinges and checks, andhood hinges.
Lubricate door and hood locks and latches.
Lubricate door rubber weatherstrips.
Check the air conditioning system.
Inspect and lubricate automatic transaxle linkage and controls.
Clean battery and terminals.
Check the brake fluid level.