Page 97 of 363
425
Features of your vehicle
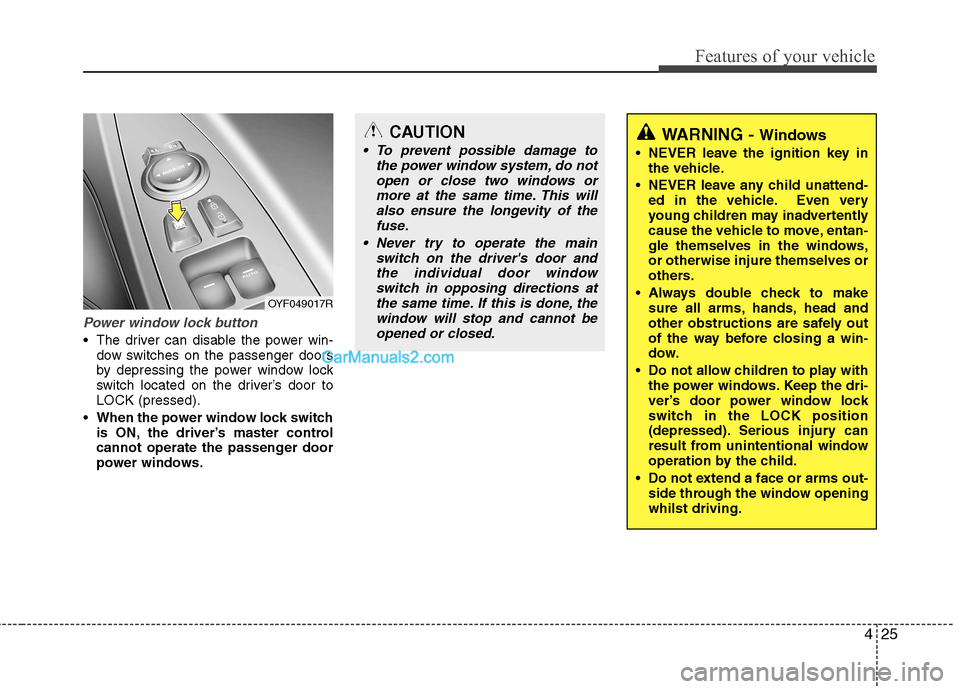
Power window lock button
The driver can disable the power win-dow switches on the passenger doors
by depressing the power window lock
switch located on the driver’s door toLOCK (pressed).
When the power window lock switch is ON, the driver’s master control
cannot operate the passenger door
power windows.
CAUTION
To prevent possible damage to
the power window system, do not
open or close two windows ormore at the same time. This willalso ensure the longevity of the fuse.
Never try to operate the main switch on the driver's door andthe individual door windowswitch in opposing directions at
the same time. If this is done, the window will stop and cannot beopened or closed.WARNING - Windows
NEVER leave the ignition key in the vehicle.
NEVER leave any child unattend- ed in the vehicle. Even very
young children may inadvertently
cause the vehicle to move, entan-
gle themselves in the windows,or otherwise injure themselves or
others.
Always double check to make sure all arms, hands, head and
other obstructions are safely out
of the way before closing a win-
dow.
Do not allow children to play with the power windows. Keep the dri-
ver’s door power window lock
switch in the LOCK position
(depressed). Serious injury can
result from unintentional window
operation by the child.
Do not extend a face or arms out- side through the window openingwhilst driving.
OYF049017R
Page 103 of 363
431
Features of your vehicle
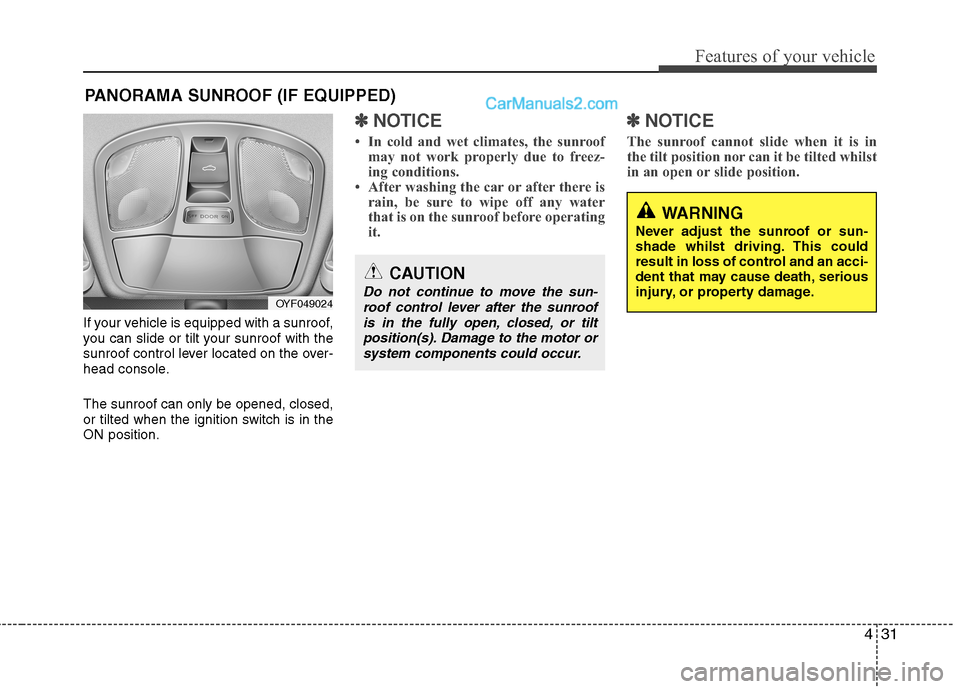
If your vehicle is equipped with a sunroof,
you can slide or tilt your sunroof with the
sunroof control lever located on the over-
head console. The sunroof can only be opened, closed,
or tilted when the ignition switch is in theON position.
✽✽NOTICE
In cold and wet climates, the sunroof may not work properly due to freez-
ing conditions.
After washing the car or after there is
rain, be sure to wipe off any water
that is on the sunroof before operating
it. ✽✽
NOTICE
The sunroof cannot slide when it is in
the tilt position nor can it be tilted whilst
in an open or slide position.
PANORAMA SUNROOF (IF EQUIPPED)
OYF049024
CAUTION
Do not continue to move the sun- roof control lever after the sunroof is in the fully open, closed, or tilt
position(s). Damage to the motor orsystem components could occur.
WARNING
Never adjust the sunroof or sun-
shade whilst driving. This could
result in loss of control and an acci-
dent that may cause death, serious
injury, or property damage.
Page 106 of 363
Features of your vehicle
34
4
Resetting the sunroof
Whenever the vehicle battery is discon- nected or discharged, or related fuse is
blown, you must reset your sunroof sys-
tem as follows:
1. Turn the ignition switch to the ON posi-
tion and close the sunroof glass and
sunshade completely.
2. Release the control lever.
3. Push the sunroof control lever forward in the direction of close (about 10 sec-
onds) until the sunroof is moved a little.
Then, release the lever.
4. Push the sunroof control lever forward in the direction of close until the sun-
roof operates as follows; SUNSHADE OPEN �TILT OPEN �
SLIDE OPEN �SLIDE CLOSE �
SUNSHADE CLOSE
Then, release the control lever.
When this is complete, the sunroof system is reset.
❈ For more detailed information, contact
an authorised HYUNDAI dealer.
Page 107 of 363
435
Features of your vehicle
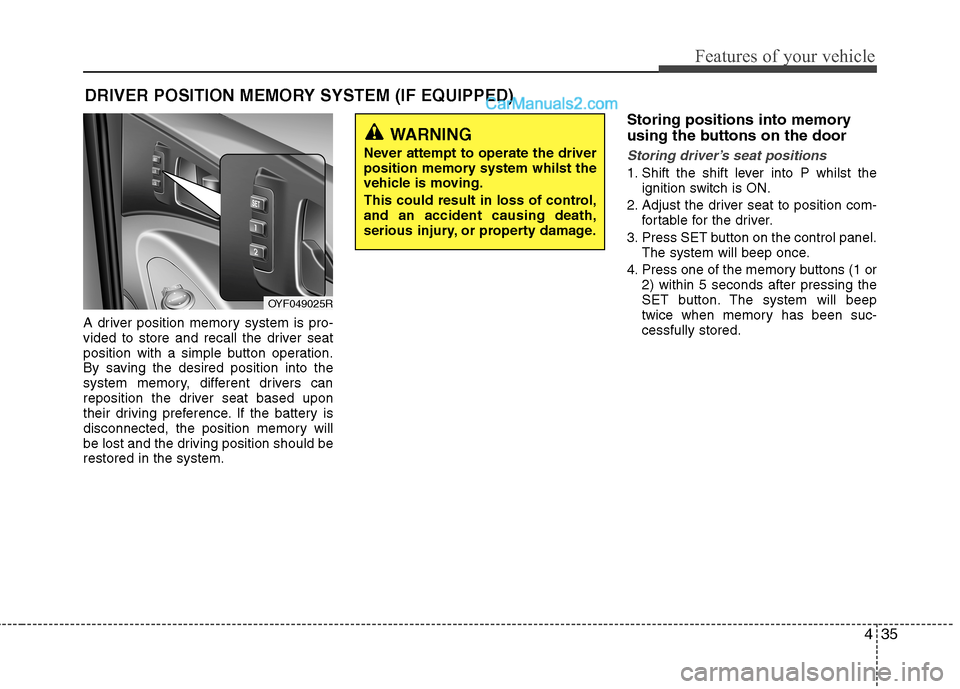
A driver position memory system is pro-
vided to store and recall the driver seat
position with a simple button operation.
By saving the desired position into the
system memory, different drivers can
reposition the driver seat based upon
their driving preference. If the battery is
disconnected, the position memory will
be lost and the driving position should berestored in the system.Storing positions into memory
using the buttons on the door
Storing driver’s seat positions
1. Shift the shift lever into P whilst the
ignition switch is ON.
2. Adjust the driver seat to position com- fortable for the driver.
3. Press SET button on the control panel. The system will beep once.
4. Press one of the memory buttons (1 or 2) within 5 seconds after pressing the
SET button. The system will beep
twice when memory has been suc-cessfully stored.
DRIVER POSITION MEMORY SYSTEM (IF EQUIPPED)
WARNING
Never attempt to operate the driver
position memory system whilst the
vehicle is moving.
This could result in loss of control, and an accident causing death,
serious injury, or property damage.
OYF049025R
Page 108 of 363
Features of your vehicle
36
4
Recalling positions from memory
1. Shift the shift lever into P whilst the
ignition switch is ON.
2. To recall the position in memory, press the desired memory button (1 or 2).
The system will beep once, then the
driver seat will automatically adjust to
the stored positions.
Adjusting the control switch for the driverseat whilst the system is recalling the
stored position will cause the movement
to stop and move in the direction that the
control switch is moved. Easy access function (if equipped)
With the shift lever in the P position, the
system will move the driver's seat auto-
matically as follows.
Without smart key system
- It will move the driver’s seat rearwardwhen the ignition key is removed.
- It will move the driver’s seat forward when the ignition key is inserted.
With smart key system
- It will move the driver’s seat rearwardwhen the engine start/stop button is
turned to the OFF position or the
smart key is removed from the smart
key holder.
- It will move the driver’s seat forward when the engine start/stop button is
turned to the ACC or START position
or the smart key is inserted into the
smart key holder.
Canceling/setting the easy access
function
To cancel or set the easy access func-
tion, do as follows.
1. Whilst ignition switch is in the ON posi- tion or engine is running, shift the shift
lever to the P position.
2. Press SET button for about 10 sec- onds.
3. If the function is canceled, the beep sound operates once. If the function is
set, the beep sound operates twice.
WARNING
Use caution when recalling adjust-
ment memory whilst sitting in the
vehicle. Push the seat position con-
trol knob to the desired position
immediately if the seat moves too
far in any direction.
Page 112 of 363
Features of your vehicle
40
4
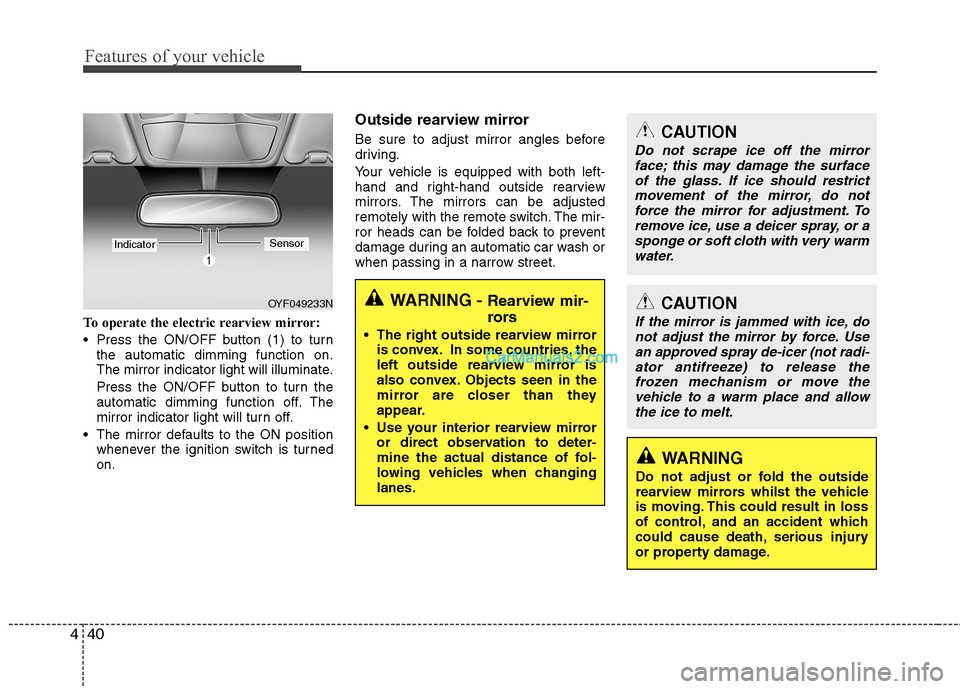
To operate the electric rearview mirror:
Press the ON/OFF button (1) to turn
the automatic dimming function on.
The mirror indicator light will illuminate.
Press the ON/OFF button to turn the
automatic dimming function off. The
mirror indicator light will turn off.
The mirror defaults to the ON position whenever the ignition switch is turnedon. Outside rearview mirror
Be sure to adjust mirror angles before
driving.
Your vehicle is equipped with both left-
hand and right-hand outside rearview
mirrors. The mirrors can be adjusted
remotely with the remote switch. The mir-
ror heads can be folded back to prevent
damage during an automatic car wash or
when passing in a narrow street.
OYF049233N
IndicatorSensor
CAUTION
Do not scrape ice off the mirror
face; this may damage the surface
of the glass. If ice should restrict movement of the mirror, do notforce the mirror for adjustment. To remove ice, use a deicer spray, or a
sponge or soft cloth with very warmwater.
CAUTION
If the mirror is jammed with ice, do not adjust the mirror by force. Usean approved spray de-icer (not radi-
ator antifreeze) to release thefrozen mechanism or move thevehicle to a warm place and allow the ice to melt.
WARNING
Do not adjust or fold the outside
rearview mirrors whilst the vehicle
is moving. This could result in loss
of control, and an accident which
could cause death, serious injury
or property damage.
WARNING - Rearview mir-
rors
The right outside rearview mirror is convex. In some countries, the
left outside rearview mirror is
also convex. Objects seen in the
mirror are closer than they
appear.
Use your interior rearview mirror or direct observation to deter-
mine the actual distance of fol-
lowing vehicles when changinglanes.
Page 113 of 363
441
Features of your vehicle
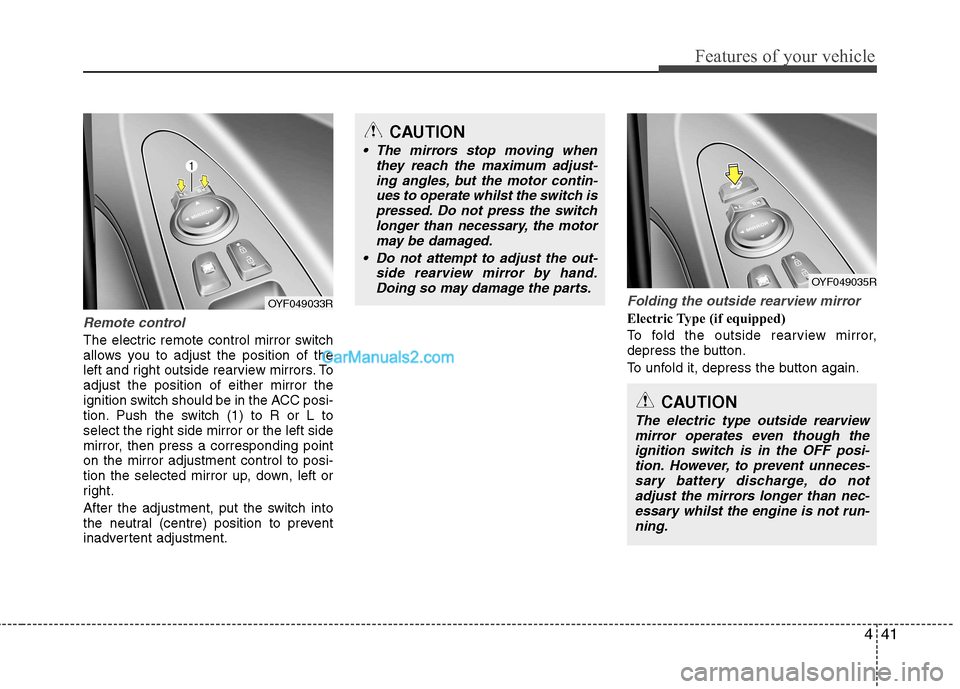
Remote control
The electric remote control mirror switch
allows you to adjust the position of the
left and right outside rearview mirrors. Toadjust the position of either mirror the
ignition switch should be in the ACC posi-
tion. Push the switch (1) to R or L to
select the right side mirror or the left side
mirror, then press a corresponding pointon the mirror adjustment control to posi-
tion the selected mirror up, down, left or
right.
After the adjustment, put the switch into
the neutral (centre) position to prevent
inadvertent adjustment.
Folding the outside rearview mirror
Electric Type (if equipped)
To fold the outside rearview mirror,
depress the button.
To unfold it, depress the button again.OYF049033R
CAUTION
The mirrors stop moving whenthey reach the maximum adjust-
ing angles, but the motor contin-ues to operate whilst the switch ispressed. Do not press the switch longer than necessary, the motor
may be damaged.
Do not attempt to adjust the out- side rearview mirror by hand.Doing so may damage the parts.
OYF049035R
CAUTION
The electric type outside rearviewmirror operates even though the
ignition switch is in the OFF posi-tion. However, to prevent unneces- sary battery discharge, do notadjust the mirrors longer than nec-
essary whilst the engine is not run-ning.
Page 117 of 363
445
Features of your vehicle
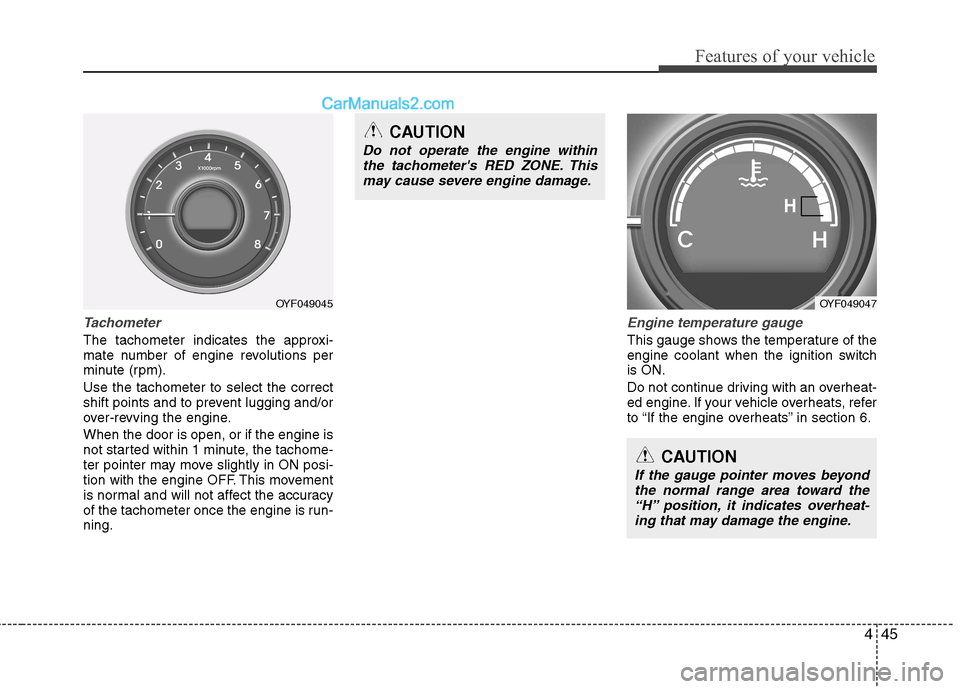
Tachometer
The tachometer indicates the approxi-
mate number of engine revolutions per
minute (rpm). Use the tachometer to select the correct
shift points and to prevent lugging and/or
over-revving the engine. When the door is open, or if the engine is
not started within 1 minute, the tachome-
ter pointer may move slightly in ON posi-
tion with the engine OFF. This movement
is normal and will not affect the accuracy
of the tachometer once the engine is run-ning.
Engine temperature gauge
This gauge shows the temperature of the
engine coolant when the ignition switchis ON.
Do not continue driving with an overheat-
ed engine. If your vehicle overheats, refer
to “If the engine overheats” in section 6.
CAUTION
If the gauge pointer moves beyondthe normal range area toward the“H” position, it indicates overheat-ing that may damage the engine.
CAUTION
Do not operate the engine within the tachometer's RED ZONE. This
may cause severe engine damage.
OYF049045OYF049047
H