2012 HYUNDAI IX35 change time
[x] Cancel search: change timePage 224 of 560
4149
Features of your vehicle
A phone call can be made by dialing the
spoken numbers. The system can recog-
nize single digits from zero to nine.
1. Press button.
2. Say “Call”.
3. Say “Number” when prompted.
4. Say desired phone numbers.
5. Say “Dial” to complete the number andmake a call.
✽
✽ TIP
A shortcut to each of the following
functions is available:
1. Say “Dial Number”
2. Say “Dial
■
Receiving a Phone Call
When receiving a phone call, a ringtone
is audible from speakers and the audio
system changes into telephone mode.
When receiving a phone call, “Incoming”
message and incoming phone number
(if available) are displayed on the audio.
- Press button on the steering wheel.
- Press button on the steering wheel.
- Use VOLUME buttons on the steering wheel.
Call):
- Press and hold button on the steer- ing wheel until the audio system trans-
fers a call to the phone. ■■
Talking on the Phone
When talking on the phone, “Active Calls”
message and the other party’s phone
number (if available) are displayed on the
audio.
- Press button on the steering wheel.
- Press button on the steering wheel.
✽
✽ NOTICE
In the following situations, you or the
other party may have difficulty hearing
each other:
1. Speaking at the same time, your voice
may not reach each other parties.
(This is not a malfunction.) Speak
alternately with the other party on the
phone.
2. Keep the Bluetooth(R) volume to a
low level. High-level volume may
result in distortion and echo.
3. When driving on a rough road.
4. When driving at high speeds.
5. When the window is open.
6. When the air conditioning vents are facing the microphone.
7. When the sound of the air condition-
ing fan is loud.
Page 250 of 560
525
Driving your vehicle
For safe four-wheel drive opera- tion
Do not drive in deep standing water ormud conditions since such conditions
can damage your engine and/or
restrict your exhaust pipes. Do not
drive down steep hills since it requires
extreme skill to maintain control of the
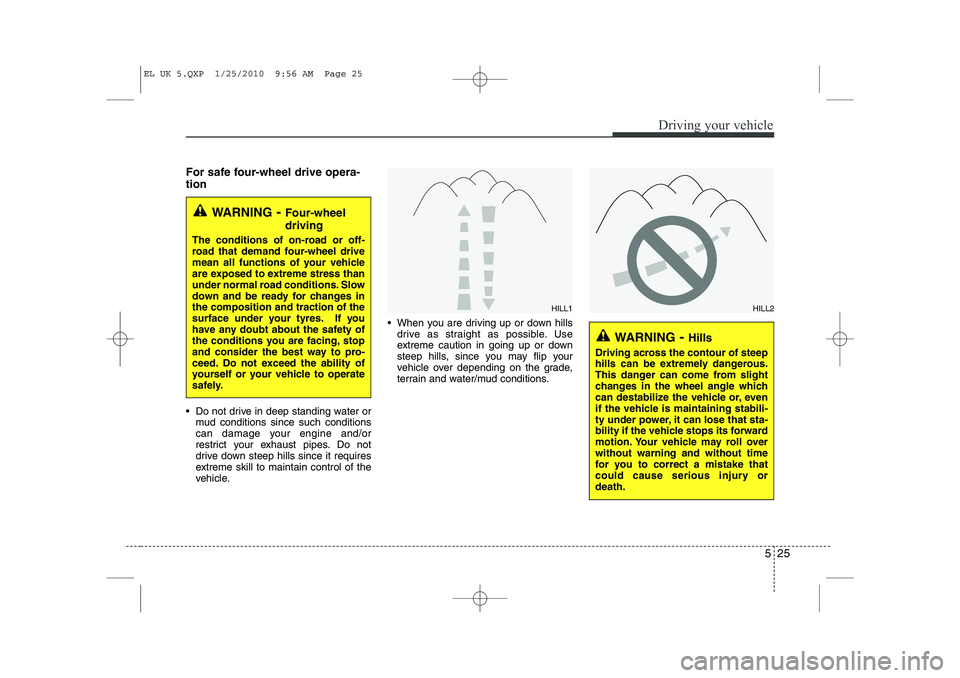
vehicle. When you are driving up or down hills
drive as straight as possible. Use
extreme caution in going up or down
steep hills, since you may flip your
vehicle over depending on the grade,
terrain and water/mud conditions.
WARNING - Four-wheel driving
The conditions of on-road or off-
road that demand four-wheel drive
mean all functions of your vehicle
are exposed to extreme stress than
under normal road conditions. Slow
down and be ready for changes inthe composition and traction of the
surface under your tyres. If you
have any doubt about the safety of
the conditions you are facing, stop
and consider the best way to pro-
ceed. Do not exceed the ability of
yourself or your vehicle to operate
safely.
WARNING - Hills
Driving across the contour of steep
hills can be extremely dangerous.
This danger can come from slight
changes in the wheel angle which
can destabilize the vehicle or, even
if the vehicle is maintaining stabili-
ty under power, it can lose that sta-
bility if the vehicle stops its forward
motion. Your vehicle may roll overwithout warning and without time
for you to correct a mistake that
could cause serious injury ordeath.
HILL1HILL2
EL UK 5.QXP 1/25/2010 9:56 AM Page 25
Page 270 of 560
545
Driving your vehicle
To decrease the cruising speed:
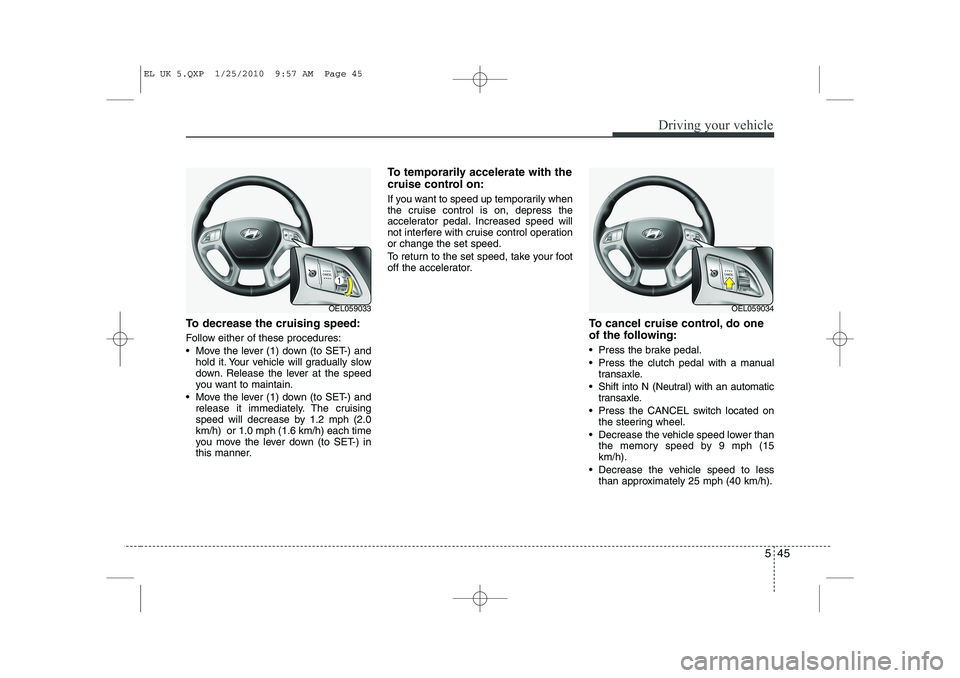
Follow either of these procedures:
Move the lever (1) down (to SET-) andhold it. Your vehicle will gradually slow
down. Release the lever at the speed
you want to maintain.
Move the lever (1) down (to SET-) and release it immediately. The cruising
speed will decrease by 1.2 mph (2.0km/h) or 1.0 mph (1.6 km/h) each time
you move the lever down (to SET-) in
this manner. To temporarily accelerate with the
cruise control on:
If you want to speed up temporarily when
the cruise control is on, depress the
accelerator pedal. Increased speed will
not interfere with cruise control operationor change the set speed.
To return to the set speed, take your foot
off the accelerator.
To cancel cruise control, do one
of the following:
Press the brake pedal.
Press the clutch pedal with a manualtransaxle.
Shift into N (Neutral) with an automatic transaxle.
Press the CANCEL switch located on the steering wheel.
Decrease the vehicle speed lower than the memory speed by 9 mph (15 km/h).
Decrease the vehicle speed to less than approximately 25 mph (40 km/h).
OEL059033OEL059034
EL UK 5.QXP 1/25/2010 9:57 AM Page 45
Page 281 of 560

Driving your vehicle
56
5
Use high quality ethylene glycol coolant
Your vehicle is delivered with high quality
ethylene glycol coolant in the cooling
system. It is the only type of coolant that
should be used because it helps prevent
corrosion in the cooling system, lubri-
cates the water pump and prevents
freezing. Be sure to replace or replenish
your coolant in accordance with the
maintenance schedule. Before winter,
have your coolant tested to assure that
its freezing point is sufficient for the tem-
peratures anticipated during the winter.
Check battery and cables
Winter puts additional burdens on the
battery system. Visually inspect the bat-
tery and cables as described in section
7. The level of charge in your battery can
be checked by a HYUNDAI authorised
repairer or a service station. Change to "winter weight" oil if
necessary In some climates it is recommended that
a lower viscosity "winter weight" oil be
used during cold weather. See section 8
for recommendations. If you aren't sure
what weight oil you should use, consult a
HYUNDAI authorised repairer.
Check spark plugs and ignition system
Inspect your spark plugs and replace
them if necessary. Also check all ignition
wiring and components to be sure they
are not cracked, worn or damaged in any
way.
CAUTION
Chains that are the wrong size or
improperly installed can damage
your vehicle's brake lines, sus-pension, body and wheels.
Stop driving and retighten the chains any time you hear them
hitting the vehicle.
WARNING - Tyre chains
The use of chains may adversely affect vehicle handling.
Do not exceed 20 mph (30 km/h) or the chain manufacturer’s rec-
ommended speed limit, whichev-
er is lower.
Drive carefully and avoid bumps, holes, sharp turns, and other
road hazards, which may cause
the vehicle to bounce.
Avoid sharp turns or locked- wheel braking.
EL UK 5.QXP 1/25/2010 9:57 AM Page 56
Page 286 of 560
561
Driving your vehicle
Following distance
Stay at least twice as far behind the vehi-
cle ahead as you would when driving
your vehicle without a trailer. This can
help you avoid situations that require
heavy braking and sudden turns.
Passing
You’ll need more passing distance up
ahead when you’re towing a trailer. And,
because of the increased vehicle length,
you’ll need to go much farther beyond the
passed vehicle before you can return to
your lane.
Backing up
Hold the bottom of the steering wheel
with one hand. Then, to move the trailer
to the left, just move your hand to the left.
To move the trailer to the right, move your
hand to the right. Always back up slowly
and, if possible, have someone guide
you.
Making turns
When you’re turning with a trailer, make
wider turns than normal. Do this so your
trailer won’t strike soft shoulders, kerbs,
road signs, trees, or other objects. Avoid
jerky or sudden manoeuvres. Signal well
in advance.
Turn signals when towing a trailer
When you tow a trailer, your vehicle has
to have a different turn signal flasher and
extra wiring. The green arrows on your
instrument panel will flash whenever you
signal a turn or lane change. Properly
connected, the trailer lights will also flash
to alert other drivers you’re about to turn,
change lanes, or stop.
When towing a trailer, the green arrows
on your instrument panel will flash for
turns even if the bulbs on the trailer are
burned out. Thus, you may think drivers
behind you are seeing your signals
when, in fact, they are not. It’s important
to check occasionally to be sure the trail-
er bulbs are still working. You must also
check the lights every time you discon-
nect and then reconnect the wires.
Do not connect a trailer lighting system
directly to your vehicle’s lighting system.
Use only an approved trailer wiring har-
ness.
A HYUNDAI authorised repairer can
assist you in installing the wiring harness.
EL UK 5.QXP 1/25/2010 9:57 AM Page 61
Page 408 of 560
I7
Index
Label
Air bag warning label ··············································3-63
Tyre sidewall labeling ··············································7-35Tyre specification and pressure label ·························8-8
Vehicle certification label ··········································8-7
Latch system, see ISOFIX system ·································3-35
License plate light bulb replacement ·····························7-55
Light bulbs ·····································································7-49 Front fog light bulb replacement ·····························7-52
Headlight bulb replacement ·····································7-50
High mounted stop light replacement ······················7-55
Interior light bulb replacement ································7-56
License plate light bulb replacement ·······················7-55
Position light bulb replacement ·······························7-52
Rear combination light bulb replacement ················7-53
Rear fog light bulb replacement································7-55
Side repeater light bulb replacement ·······················7-52
Turn signal light bulb replacement ··························7-51
Lighting ··········································································4-72 Battery saver function ··············································4-72
Daytime running light ···············································4-76
Front fog light ···························································4-75
Headlight escort function ·········································4-72
Headlight levelling device ········································4-77
Lighting control·························································4-72
Rear fog light ····························································4-76 Turn signals and lane change signals························4-75
Lubricants and capacities ·················································8-4
Luggage net (holder) ···················································4-112Luggage rack, see roof rack ·········································4-115
Luggage room lamp ························································4-83
Lumbar support ································································3-6
Main fuse and multi fuse ···············································7-42 Maintenance Explanation of scheduled maintenance items ·············7-9Maintenance services ················································· 7-4
Owner maintenance ····················································7-6
Scheduled maintenance service ·································7-8
Tyre maintenance ·····················································7-35
Maintenance services ·······················································7-4
Manual climate control system ······································4-87 Air conditioning ·······················································4-92
Climate control air filter ··········································4-94
Heating and air conditioning ····································4-88
Manual heating and air conditioning ·····························4-98
Manual transaxle ····························································5-14
Map lamp ········································································4-82
Memory fuse ··································································7-41Mirrors ···········································································4-35 Day/night rearview mirror ·······································4-35
Electric chromic mirror (ECM) ·······························4-35
L
M
EL UK INDEX.QXP 1/12/2010 3:27 PM Page 7
Page 461 of 560
449
Features of your vehicle
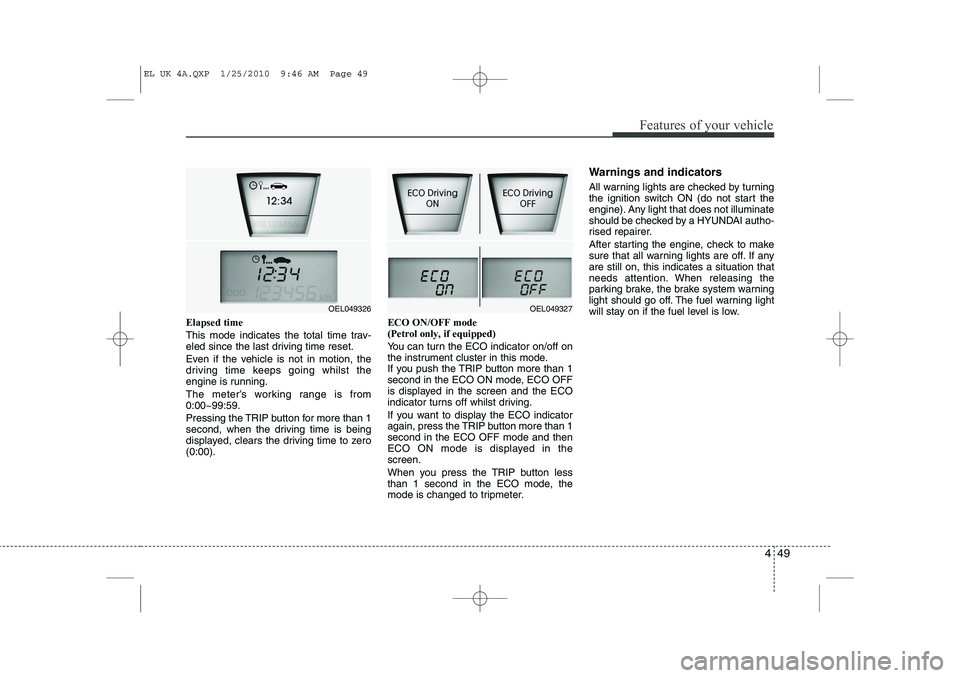
Elapsed time
This mode indicates the total time trav-
eled since the last driving time reset.
Even if the vehicle is not in motion, the
driving time keeps going whilst the
engine is running.
The meter’s working range is from 0:00~99:59.
Pressing the TRIP button for more than 1
second, when the driving time is being
displayed, clears the driving time to zero(0:00).ECO ON/OFF mode (Petrol only, if equipped)
You can turn the ECO indicator on/off on
the instrument cluster in this mode.
If you push the TRIP button more than 1
second in the ECO ON mode, ECO OFF
is displayed in the screen and the ECO
indicator turns off whilst driving.
If you want to display the ECO indicator
again, press the TRIP button more than 1second in the ECO OFF mode and then
ECO ON mode is displayed in thescreen.
When you press the TRIP button less
than 1 second in the ECO mode, the
mode is changed to tripmeter.Warnings and indicators
All warning lights are checked by turning
the ignition switch ON (do not start the
engine). Any light that does not illuminate
should be checked by a HYUNDAI autho-
rised repairer.
After starting the engine, check to make
sure that all warning lights are off. If anyare still on, this indicates a situation that
needs attention. When releasing the
parking brake, the brake system warning
light should go off. The fuel warning light
will stay on if the fuel level is low.
OEL049327OEL049326
EL UK 4A.QXP 1/25/2010 9:46 AM Page 49
Page 462 of 560
Features of your vehicle
50
4
ECO indicator
(if equipped)
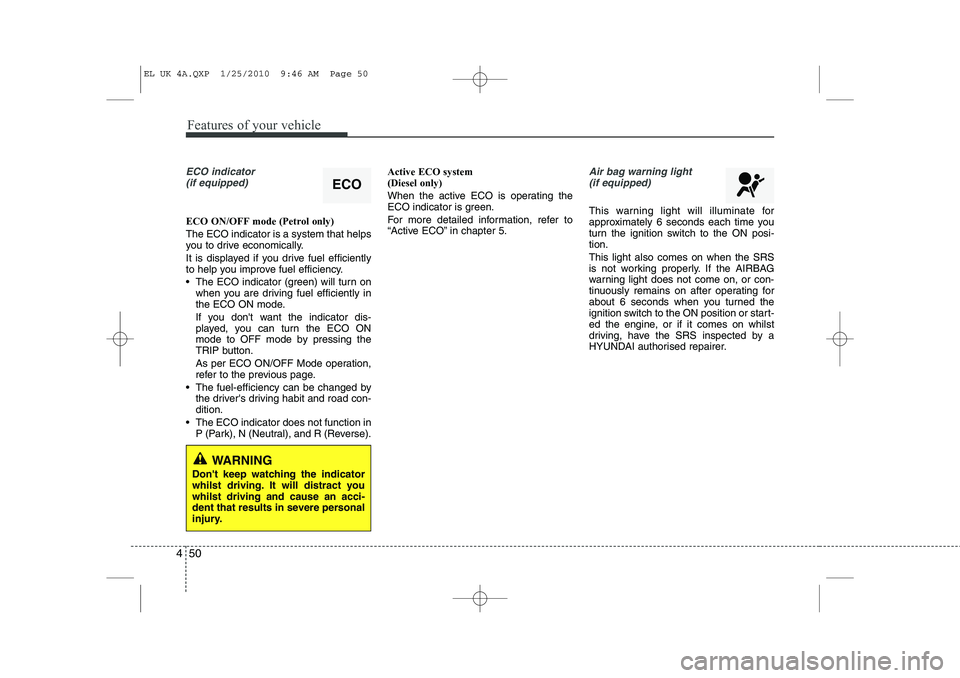
ECO ON/OFF mode (Petrol only) The ECO indicator is a system that helps
you to drive economically.
It is displayed if you drive fuel efficiently
to help you improve fuel efficiency.
The ECO indicator (green) will turn on when you are driving fuel efficiently in
the ECO ON mode.
If you don't want the indicator dis-
played, you can turn the ECO ON
mode to OFF mode by pressing the
TRIP button.
As per ECO ON/OFF Mode operation,
refer to the previous page.
The fuel-efficiency can be changed by the driver's driving habit and road con-dition.
The ECO indicator does not function in P (Park), N (Neutral), and R (Reverse). Active ECO system (Diesel only)
When the active ECO is operating the
ECO indicator is green.
For more detailed information, refer to
“Active ECO” in chapter 5.
Air bag warning light
(if equipped)
This warning light will illuminate for
approximately 6 seconds each time you
turn the ignition switch to the ON posi-tion. This light also comes on when the SRS
is not working properly. If the AIRBAG
warning light does not come on, or con-
tinuously remains on after operating for
about 6 seconds when you turned the
ignition switch to the ON position or start-
ed the engine, or if it comes on whilst
driving, have the SRS inspected by a
HYUNDAI authorised repairer.
ECO
WARNING
Don't keep watching the indicator
whilst driving. It will distract youwhilst driving and cause an acci-
dent that results in severe personal
injury.
EL UK 4A.QXP 1/25/2010 9:46 AM Page 50