Page 160 of 286
159
Continued
Driving
Towing a TrailerYour vehicle is not designed to tow a trailer. Attempting to do so can void your
warranties.Towing Your VehicleYour vehicle can be towed behind a motorhome.
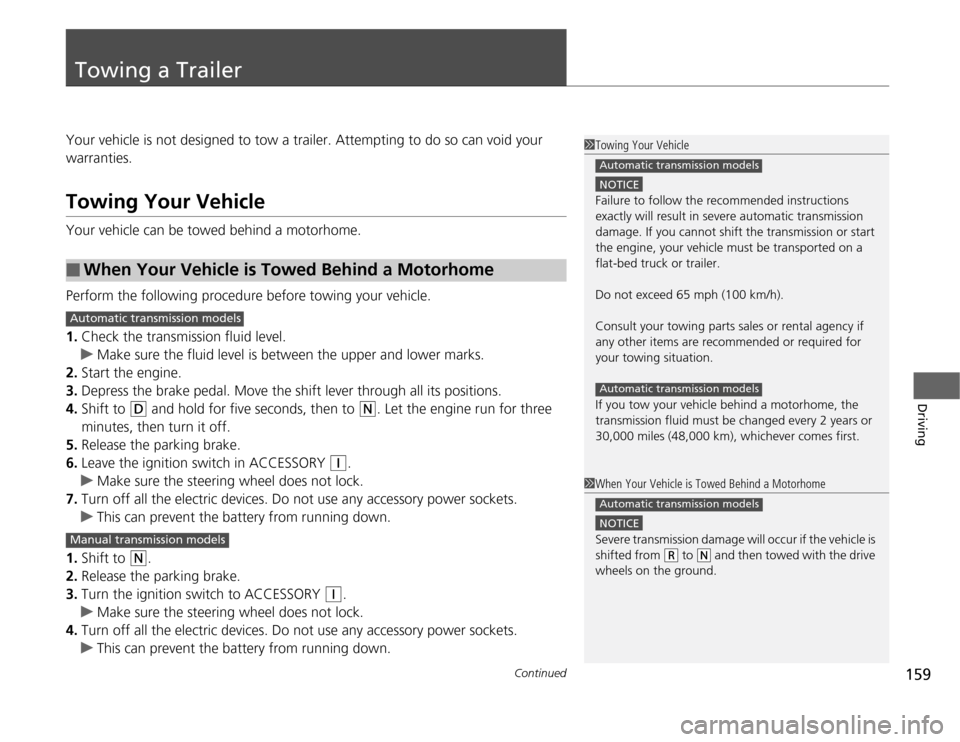
Perform the following procedure before towing your vehicle.
1.Check the transmission fluid level.
uMake sure the fluid level is between the upper and lower marks.
2.Start the engine.
3.Depress the brake pedal. Move the shift lever through all its positions.
4.Shift to
(D
and hold for five seconds, then to
(N
. Let the engine run for three
minutes, then turn it off.
5.Release the parking brake.
6.Leave the ignition switch in ACCESSORY
(q
.
uMake sure the steering wheel does not lock.
7.Turn off all the electric devices. Do not use any accessory power sockets.
uThis can prevent the battery from running down.
1.Shift to
(N
.
2.Release the parking brake.
3.Turn the ignition switch to ACCESSORY
(q
.
uMake sure the steering wheel does not lock.
4.Turn off all the electric devices. Do not use any accessory power sockets.
uThis can prevent the battery from running down.
■
When Your Vehicle is Towed Behind a Motorhome
1Towing Your Vehicle
NOTICEFailure to follow the recommended instructions
exactly will result in severe automatic transmission
damage. If you cannot shift the transmission or start
the engine, your vehicle must be transported on a
flat-bed truck or trailer.
Do not exceed 65 mph (100 km/h).
Consult your towing parts sales or rental agency if
any other items are recommended or required for
your towing situation.
If you tow your vehicle behind a motorhome, the
transmission fluid must be changed every 2 years or
30,000 miles (48,000 km), whichever comes first.Automatic transmission modelsAutomatic transmission models
1When Your Vehicle is Towed Behind a Motorhome
NOTICESevere transmission damage will occur if the vehicle is
shifted from
(R
to
(N
and then towed with the drive
wheels on the ground.
Automatic transmission models
Automatic transmission modelsManual transmission models
Page 162 of 286

161
Continued
Driving
When DrivingStarting the Engine
1.Make sure the parking brake is applied.
2.Check that the shift lever is in
(P
, then
depress the brake pedal.
uAlthough it is possible to start the vehicle
in
(N
, it is safer to start it in
(P
.
2.Check that the shift lever is in
(N
. Then
depress the brake pedal with your right
foot, and the clutch pedal with your left
foot.
uThe clutch pedal must be fully depressed
to start the engine.
1Starting the Engine
Keep your foot firmly on the brake pedal when
starting the engine.
The engine is harder to start in cold weather and in
thinner air found at altitudes above 8,000 feet (2,400
meters).
When starting the engine in cold weather, turn off all
electrical accessories such as the lights, heating and
cooling
* system, and rear defogger in order to reduce
battery drain.
If the exhaust system sounds abnormal or you can
smell exhaust gas inside the vehicle, have your vehicle
checked by a dealer. There may be a problem with
the engine or exhaust system.
Brake Pedal
Automatic transmission models
Brake Pedal Clutch Pedal
Manual transmission models
* Not available on all models
Page 172 of 286
171
uuWhen DrivinguShifting
Continued
Driving
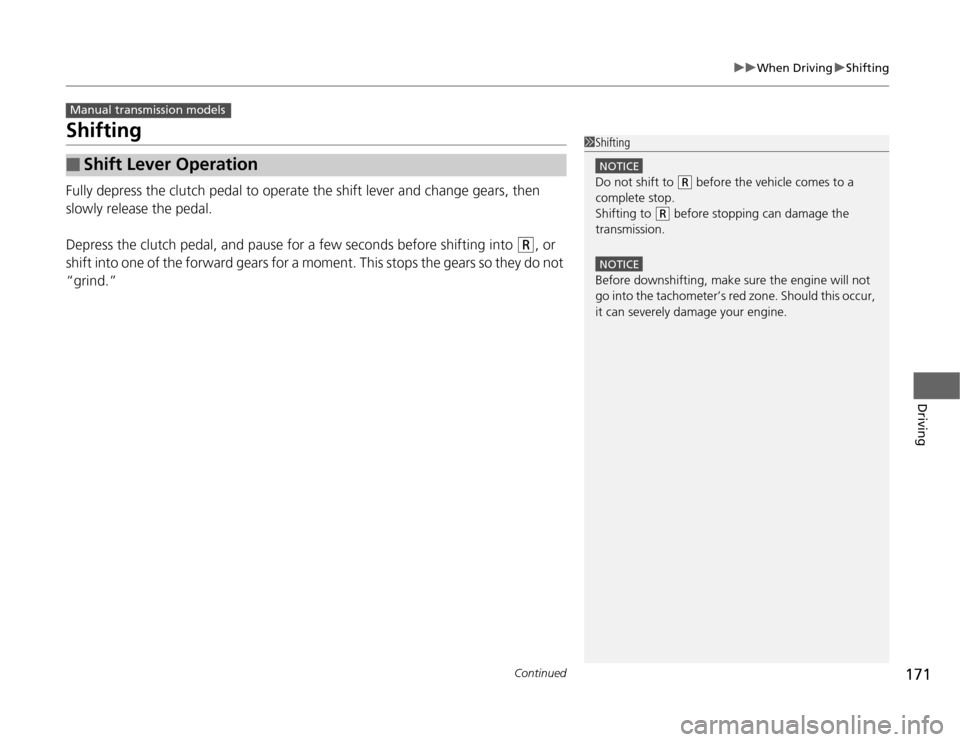
ShiftingFully depress the clutch pedal to operate the shift lever and change gears, then
slowly release the pedal.
Depress the clutch pedal, and pause for a few seconds before shifting into
(R
, or
shift into one of the forward gears for a moment. This stops the gears so they do not
“grind.”
■
Shift Lever Operation
Manual transmission models
1Shifting
NOTICEDo not shift to
(R
before the vehicle comes to a
complete stop.
Shifting to
(R
before stopping can damage the
transmission.
NOTICEBefore downshifting, make sure the engine will not
go into the tachometer’s red zone. Should this occur,
it can severely damage your engine.
Page 182 of 286

181
Continued
Driving
BrakingBrake SystemUse the parking brake to keep the vehicle stationary when parking.
To apply:
Pull the lever fully up without pressing the
release button.
To release:
1.Pull the lever slightly, and press and hold
the release button.
2.Lower the lever down all the way, then
release the button.■
Parking Brake
1Parking Brake
NOTICERelease the parking brake fully before driving. The
rear brakes and axle can be damaged if you drive
with the parking brake applied.
If you start driving without fully releasing the parking
brake, a buzzer sounds as a warning.
Always apply the parking brake when parking.
To prevent the parking brake from freezing when the
outside temperature is extremely cold, do not apply
it, but do the following:
Put the shift lever in
(P
, then use a block or other
wheel chock to stop the wheels from turning.
Put the shift lever in
(R
or
(1
, then use a block or
other wheel chock to stop the wheels from turning.
Automatic transmission modelsManual transmission models
a
b
Page 183 of 286

uuBrakinguBrake System
182Driving
Your vehicle is equipped with front disc brakes. The brakes on the rear wheels may
be disc or drum, depending on the model. A power assist helps reduce the effort
needed on the brake pedal. The brake assist system increases the stopping force
when you depress the brake pedal hard in an emergency situation. The anti-lock
brake system (ABS) helps you retain steering control when braking very hard.
2Brake Assist System P. 184
2ABS (Anti-lock Brake System) P. 183
■
Foot Brake
1Foot Brake
Check the brakes after driving through deep water,
or if there is a buildup of road surface water. If
necessary, dry the brakes by lightly depressing the
pedal several times.
If you hear a continuous metallic friction sound when
applying the brakes, the brake pads need to be
replaced. Have the vehicle checked by a dealer.
Constantly using the brake pedal while going down a
long hill builds up heat, which reduces the brake
effectiveness. Apply engine braking by taking your
foot off the accelerator pedal and downshifting to a
lower gear. With manual transmission use a lower
gear for greater engine braking.
Do not rest your foot on the brake pedal while
driving, as it will lightly apply the brakes and cause
them to lose effectiveness over time and reduce pad
life. It will also confuse drivers behind you.
Page 193 of 286

192Maintenance
Before Performing MaintenanceInspection and MaintenanceFor your safety, perform all listed inspections and maintenance to keep your vehicle
in good condition. If you become aware of any abnormality (noise, smell, insufficient
brake fluid, oil residue on the ground, etc.), have your vehicle inspected by a dealer.
(Note, however, that service at a dealer is not mandatory to keep your warranties in
effect.) Refer to the separate maintenance booklet for detailed maintenance and
inspection information.■
Daily inspections
Perform inspections before long distance trips, when washing the vehicle, or when
refueling.
■
Periodic inspections
•Check the automatic transmission fluid level monthly.
2Automatic Transmission Fluid P. 208
•Check the brake fluid level monthly.
2Brake/Clutch Fluid P. 210
•Check the tire pressure monthly. Examine the tread for wear and foreign objects.
2Checking and Maintaining Tires P. 222
•Check the operation of the exterior lights monthly.
2Replacing Light Bulbs P. 212
•Check the condition of the wiper blades at least every six months.
2Checking and Maintaining Wiper Blades P. 218
■
Types of Inspection and Maintenance
1Inspection and Maintenance
Maintenance, replacement, or repair of
emissions control devices and systems may be
done by any automotive repair establishment or
individuals using parts that are “certified” to
EPA standards.
According to state and federal regulations, failure to
perform maintenance on the maintenance main
items marked with # will not void your emissions
warranties. However, all maintenance services should
be performed in accordance with the intervals
indicated by the information display.
2Maintenance Service Items P. 197
If you want to perform complex maintenance tasks
that require more skills and tools, you can purchase a
subscription to the Service Express website at
www.techinfo.honda.com.
2Authorized Manuals P. 277
If you want to perform maintenance yourself, make
sure that you have the necessary tools and skills first.
After performing maintenance, update the records in
the separate maintenance booklet.
U.S. models
Page 200 of 286
199
Maintenance
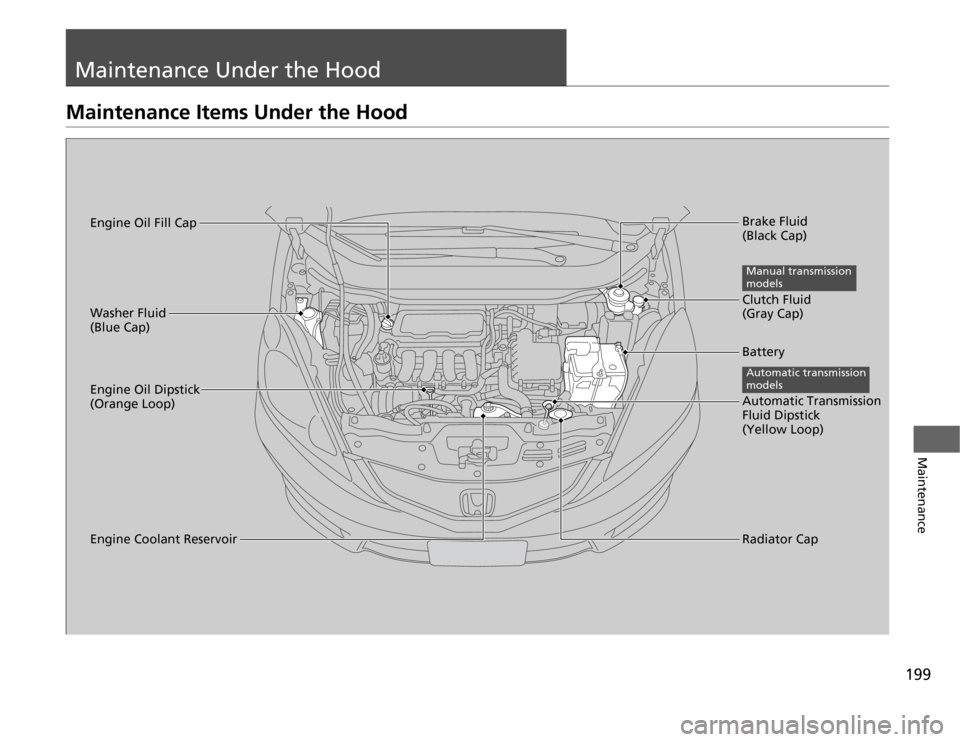
Maintenance Under the HoodMaintenance Items Under the Hood
Brake Fluid
(Black Cap)
Engine Coolant ReservoirRadiator Cap Washer Fluid
(Blue Cap)
Engine Oil Dipstick
(Orange Loop)Clutch Fluid
(Gray Cap)Manual transmission
models
Engine Oil Fill Cap
Automatic Transmission
Fluid Dipstick
(Yellow Loop)
Automatic transmission
modelsBattery
Page 210 of 286

209
uuMaintenance Under the HooduTransmission Fluid
Maintenance
Check the fluid level when the engine is at normal operating temperature.
1.Park the vehicle on level ground.
2.Remove the transmission filler bolt and
washer. Carefully feel inside the bolt hole
with your fingers.
uCheck if the fluid level is up to the edge
of the bolt hole.
3.If the fluid level is not up to the edge of the
bolt hole, add Honda Manual Transmission
Fluid (MTF) until it runs out of the hole.
4.Put a new washer on the filler bolt, then
reinstall the filler bolt.
uTightening torque:
33 lbf∙ft (44 N∙m, 4.5 kgf∙m)■
Manual Transmission Fluid
Specified fluid: Honda Manual Transmission Fluid (MTF)
1Manual Transmission Fluid
If Honda MTF is not available, you may use the API
certificated SAE 10W-30 or 10W-40 viscosity motor
oil as a temporary measure.
Replace with MTF as soon as possible. Motor oil does
not contain the proper additives for the transmission
and continued use can cause decreased shifting
performance and lead to transmission damage.
Filter Bolt
Washer