Page 140 of 361

Continued139
uuInterior Lights/Interior Convenience ItemsuInterior Convenience Items
Controls
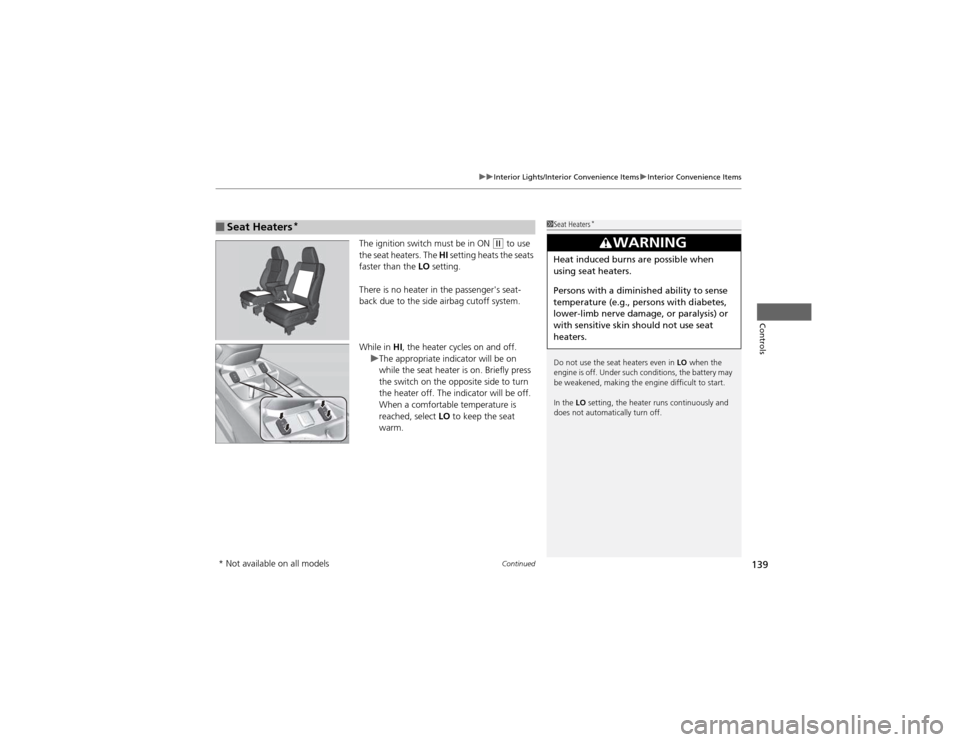
The ignition switch must be in ON (w to use
the seat heaters. The HI setting heats the seats
faster than the LO setting.
There is no heater in the passenger's seat-
back due to the side airbag cutoff system.
While in HI, the heater cycles on and off.
uThe appropriate indicator will be on
while the seat heater is on. Briefly press
the switch on the opposite side to turn
the heater off. The indicator will be off.
When a comfortable temperature is
reached, select LO to keep the seat
warm.
■Seat Heaters *1Seat Heaters
*
Do not use the seat heaters even in LO when the
engine is off. Under such conditions, the battery may
be weakened, making the engine difficult to start. In the LO setting, the heater runs continuously and
does not automatically turn off.
3WARNING
Heat induced burns are possible when
using seat heaters.
Persons with a diminish ed ability to sense
temperature (e.g., persons with diabetes,
lower-limb nerve damage, or paralysis) or
with sensitive skin should not use seat
heaters.
* Not available on all models
Page 153 of 361

152
uuAudio SystemuAudio Antenna
Features
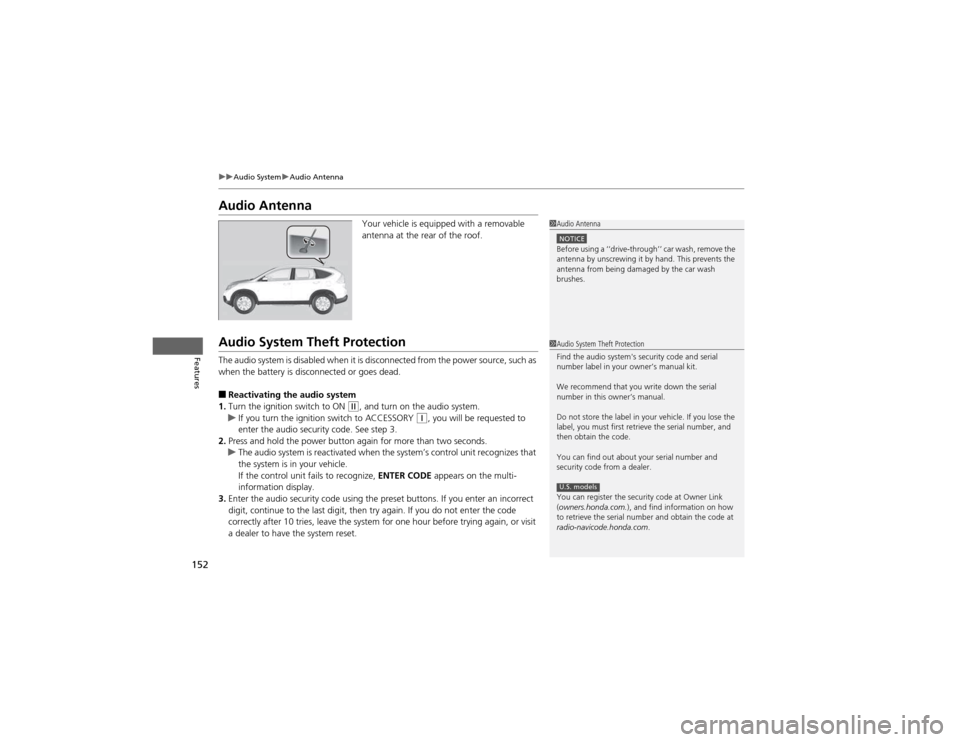
Audio AntennaYour vehicle is equipped with a removable
antenna at the rear of the roof.
Audio System Theft Protection
The audio system is disabled when it is disconnected from the power source, such as
when the battery is disconnected or goes dead. ■Reactivating the audio system
1. Turn the ignition switch to ON
(w , and turn on the audio system.uIf you turn the ignition switch to ACCESSORY (q, you will be requested to
enter the audio security code. See step 3.
2. Press and hold the power button again for more than two seconds.
uThe audio system is reactivated when the system’s control unit recognizes that
the system is in your vehicle.
If the control unit fails to recognize, ENTER CODE appears on the multi-
information display.
3. Enter the audio security code using the preset buttons. If you enter an incorrect
digit, continue to the last digit, then try again. If you do not enter the code
correctly after 10 tries, leave the system for one hour before trying again, or visit
a dealer to have the system reset.
1Audio Antenna
NOTICEBefore using a ‘‘drive-through’’ car wash, remove the
antenna by unscrewing it by hand. This prevents the
antenna from being damaged by the car wash brushes.
1Audio System Theft Protection
Find the audio system's security code and serial
number label in your owner’s manual kit.
We recommend that you write down the serial
number in this owner’s manual.
Do not store the label in your vehicle. If you lose the
label, you must first retrieve the serial number, and
then obtain the code.
You can find out about your serial number and
security code from a dealer.
You can register the security code at Owner Link (owners.honda.com. ), and find information on how
to retrieve the serial number and obtain the code at
radio-navicode.honda.com .
U.S. models
Page 154 of 361

153
Features
Audio System Basic Operation
To use the audio system function, the ignition switch must be in ACCESSORY (q or
ON (w .
Use the selector knob or SETUP button to
access some audio functions.
Press to switch between the normal and
extended display for some functions.
Selector knob: Rotate left or right to scroll
through the available choices. Press to set
your selection.
SETUP button: Press to select any mode such
as the Auto Select, RDS Information, Sound
Settings, Play Mode, Resume/Pause, or Adjust
Clock. button: Press to go back to the
previous display.1Audio System Basic Operation
These indications are used to show how to operate
the selector knob.
Rotate to select.
Press to enter.
Press the SOURCE,
(+, (-, or button on the
steering wheel to change any audio setting. 2 Audio Remote Controls P. 189
SETUP Menu Items 2 Auto Select P. 156
2 RDS information P. 157
2 Sound Settings P. 154
2 Play Mode P. 162
2 Resume/Pause P. 172
2 Adjust Clock P. 96
Button
Selector Knob
SETUP
Button
Menu Display
Page 175 of 361
uuRear Entertainment System*uOperating the System
174
Features
Pull down the screen to the first or second
detent until it latches.
Operating the System
To operate the system, turn the ignition switch to ON
(w or ACCESSORY (q. Press
the REAR POWER button to turn on the system (the indicator on).
■Overhead Screen1Overhead Screen
NOTICEThis vehicle's overhead mounted video display, if so
equipped, includes mercury-containing components.
Upon removal, please reuse, recycle, or dispose of as
hazardous waste.
Open
Button
Overhead
Screen
Page 197 of 361
196
uuBluetooth® HandsFreeLink ®uHFL Menus
Features
HFL Menus
The ignition switch must be in ACCESSORY
(q or ON (w to use HFL.
*1: Appears only when a phone is connected to HFL.1HFL Menus
To use HFL, you must first pair your Bluetooth-
compatible cell phone to the system while the vehicle is parked.
Some functions are limited while driving. A message
appears on the screen when the vehicle is moving
and the operation is canceled.
Display your speed dial entry lists.
(up to 15 entries per paired phone)
Display the last 20
outgoing calls.
Display the last 20
incoming calls.
Display the last 20
missed calls.
Display the paired phone’s phonebook.
Enter a phone number to dial.
or
PHONE
Phone
Speed Dial
*1
Call History*1
Phonebook *1
Dial
*1
Dialed Calls
Received Calls
Missed Calls
Page 224 of 361

223
Features
Compass
When you turn the ignition switch to ON (w, the compass self-calibrates, and the
compass display appears.
Compass Calibration
If the compass indicates the wrong direction, or the CAL indicator blinks, you need
to manually calibrate the system. 1.Turn the ignition switch to ON
(w .
2. Press and hold the SETUP button until the
display shows the compass setting menu.
3. Rotate to select Calibration, then press
.
4. When the display changes to Calibration
Start , press .
5. Drive the vehicle slowly in two circles.
uThe compass starts to show a direction
after the calibration. The CAL indicator
goes off.
1Compass
Compass operation can be affected under the
following conditions: • Driving near power lines or stations
• Crossing a bridge
• Passing a large vehicle, or driving near a large
object that can cause a magnetic disturbance
• When accessories such as antennas and roof racks
are mounted by magnets
Compass Setting Menu Items
1Compass Calibration
Calibrate the compass in an open area.
While setting the compass:
• The button returns to the previous screen.
• The SETUP button cancels the setting mode.
Page 225 of 361
224
uuCompassuCompass Zone Selection
Features
Compass Zone Selection1.Turn the ignition switch to ON
(w .
2. Press and hold the SETUP button until the
display shows the compass setting menu.
3. Rotate to select Zone, then press .
The display shows the current zone number.
4. Rotate to select the zone number of
your area (See Zone Map), then press .
Zone Number
1
23
4
5 6
78910 11121314
15
Zone Map
Guam Island : Zone 8
Puerto Rico : Zone 11
1Compass Zone Selection
The zone selection is done to compensate the
variation between magnetic north and true north.
If the calibration starts while the audio system is in
use, the display returns to normal after the calibration is completed.
Page 236 of 361

235
uuTowing a TraileruTowing Your Vehicle
Continued
Driving
Towing Your Vehicle
Your vehicle can be towed behind a motorhome.
Perform the following procedure before towing your vehicle. 1.Check the transmission fluid level.
uMake sure the fluid level is between the upper and lower marks.
2. Start the engine.
3. Depress the brake pedal. Move the shift lever through all its positions.
4. Shift to
(D and hold for five seconds, then to (N. Let the engine run for three
minutes, then turn it off.
5. Release the parking brake.
6. Leave the ignition switch in ACCESSORY
(q .uMake sure the steering wheel does not lock.
7. Turn off all the electric devices. Do not use any accessory power sockets.
uThis can prevent the battery from running down.
■When Your Vehicle is Towed Behind a Motorhome
1Towing Your Vehicle
NOTICEFailure to follow the recommended instructions
exactly will result in severe automatic transmission
damage. If you cannot shift the transmission or start
the engine, your vehicle must be transported on a
flat-bed truck or trailer.
Do not exceed 65 mph (100 km/h).
To avoid damage to the AWD system, your vehicle
must be towed with all four wheels on the ground.
Consult your towing parts sales or rental agency if
any other items are recommended or required for
your towing situation.
If you tow your vehicle behind a motorhome, the
transmission fluid must be changed every 2 years or
30,000 miles (48,000 km), whichever comes first.
AWD models
1When Your Vehicle is Towed Behind a Motorhome
NOTICESevere transmission damage will occur if the vehicle is
shifted from (R to (N and then towed with the drive
wheels on the ground.