Page 133 of 345

132
uuAdjusting the SeatsuRear Seats
Controls
Rear Seats1.Remove the center shoulder belt from the
guide.
2. Pull the release lever in the trunk to release
the lock.
3. Fold the seat-back down.
If the rear head restraints get caught on the
front seat-backs, remove the head restraints. 2 Removing and Reinstalling the Head
Restraints P. 130
■Folding Down the Rear Seats1Folding Down the Rear Seats
The rear seat-back(s *
) can be folded down to
accommodate bulkier items in the trunk.
Never drive with the seat-back folded down and the
trunk lid open.
2 Exhaust Gas Hazard P. 62
To lock the seat-back upright, push it backwards until
it locks.
When returning a seat-back to its original position,
push it firmly back. Also, make sure all rear shoulder
belts are positioned in front of the seat-back, and the
center shoulder belt is re-positioned in the guide.
Make sure that the folded seat-back does not press against the front passenger seat, as this can cause the
weight sensors in the front passenger seat to work
improperly. 2 Passenger Airbag Off Indicator P. 47
Also make sure all items in the trunk or items
extending through the opening into the rear
seats are properly secured. Loose items can fly
forward if you have to brake hard.
Guide
Center
Shoulder
Belt
Release Lever
* Not available on all models
Page 147 of 345

146
uuAudio System*uAudio System Theft Protection
*
Features
Audio System Theft Protection *
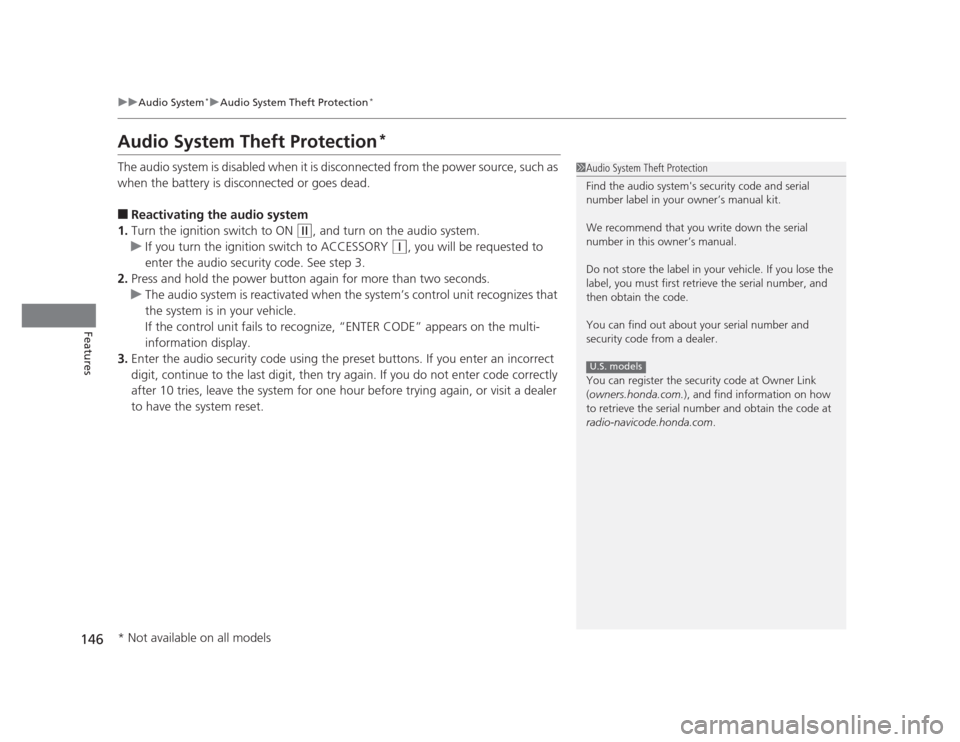
The audio system is disabled when it is disconnected from the power source, such as
when the battery is disconnected or goes dead. ■ Reactivating the audio system
1. Turn the ignition switch to ON
(w , and turn on the audio system.
uIf you turn the ignition switch to ACCESSORY (q, you will be requested to
enter the audio security code. See step 3.
2. Press and hold the power button again for more than two seconds.
uThe audio system is reactivated when the system’s control unit recognizes that
the system is in your vehicle.
If the control unit fails to recognize, “ENTER CODE” appears on the multi- information display.
3. Enter the audio security code using the preset buttons. If you enter an incorrect
digit, continue to the last digit, then try again. If you do not enter code correctly
after 10 tries, leave the system for one hour before trying again, or visit a dealer
to have the system reset.
1Audio System Theft Protection
Find the audio system's security code and serial
number label in your owner’s manual kit.
We recommend that you write down the serial
number in this owner’s manual.
Do not store the label in your vehicle. If you lose the
label, you must first retrieve the serial number, and
then obtain the code.
You can find out about your serial number and
security code from a dealer.
You can register the security code at Owner Link (owners.honda.com. ), and find information on how
to retrieve the serial number and obtain the code at
radio-navicode.honda.com .
U.S. models
* Not available on all models
Page 177 of 345

176
uuGeneral Information on the Audio System*uCompatible iPod®
and USB Flash Drives
Features
Compatible iPod ®
and USB Flash Drives
• Use a recommended USB flash drive of 256 MB or higher.
• Some digital audio players may not be compatible.
• Some USB flash drives (e.g., a device with security lockout) may not work.
• Some software files may not allow for audio play or text data display.
• Some versions of MP3, WMA, or AAC formats may be unsupported.
■iPod ®
Model Compatibility
Model
iPod classic ®
(80/160G)
iPod classic ®
(120G)
iPod ®
with video (iPod ®
5th generation)
iPod nano ®
iPod nano
®
2nd generation
iPod nano ®
3rd generation
iPod nano ®
4th generation
iPod nano ®
5th generation
iPod touch ®
iPod touch ®
2nd generation
■USB Flash Drives
Models with multi-information display
1iPod ®
Model Compatibility
This system may not work with all software versions
of these devices.
1USB Flash Drives
Files on the USB flash drive are played in their stored
order. This order may be different from the order
displayed on your PC or device.
Page 183 of 345
182
uuBluetooth®
HandsFreeLink ®*uHFL Menus
Features
*1: Appears only when a phone is connected to HFL.
Set calls to automatically transfer from your phone to HFL when you enter
the vehicle.
Prioritize the caller’s name as the caller ID.
Prioritize the caller’s phone number as the caller ID.
Create a security PIN for a paired phone.
Clear the system of all paired phones, phonebook entries, and security
codes.
Passcode *1
Auto Transfer
Caller ID Info
System Clear
Name Priority
Number Priority
Page 189 of 345
uuBluetooth®
HandsFreeLink ®*uHFL Menus
188
Features
You can protect each of the six cell phones with a security PIN. 1.Press the PHONE button or the button.
2. Rotate to select Phone Setup, then
press .
uRepeat the procedure to select
Passcode .
3. Select a phone you want to add a security
PIN to.
uRotate to select a phone you want to
add a security PIN to, then press .
4. You will receive a confirmation message on the screen.
uRotate to select Yes, then press .
5. Enter a new four-digit number.
uRotate to select, then press . Press
to delete. Press to enter the
security PIN.
6. Re-enter the four-digit number.
uThe screen returns to the screen in step 2.
■To Create a Security PIN1To Create a Security PIN
In the phone is already security PIN protected, you
need to enter the current security PIN before clearing
the PIN or creating a new one.
002300
75°F miles
PHONE#4
PHONE#3 PHONE#5
Page 191 of 345
190
uuBluetooth®
HandsFreeLink ®*uHFL Menus
Features
Security codes, paired phones,
all stored voice tag, all speed dial entries, and all
imported phonebook data are erased.
1.Press the PHONE button or the button.
2. Rotate to select Phone Setup, then
press .
uRepeat the procedure to select System
Clear .
3. Rotate to select Yes, then press .
4. You will receive a notification message on
the screen. Rotate to select Yes, then
press .
5. You will receive a confirmation message on
the screen. Press to finish.
■To Clear the System
002300
75°F miles
Page 203 of 345

202
Driving
Before Driving
Driving Preparation
Check the following items before you start driving. •Make sure there are no obstructions on the windows, door mirrors, exterior
lights, or other parts of the vehicle.
uRemove any frost, snow, or ice.
uRemove any snow on the roof, as this can slip down and obstruct your field of
vision while driving. If frozen solid, remove ice once it has softened.
uWhen removing ice from around the wheels, be sure not to damage the wheel
or wheel components.
• Make sure the hood is securely closed.
uIf the hood opens while driving, your front view will be blocked.
• Make sure the tires are in good condition.
uCheck air pressure, check for damage and excessive wear.
2 Checking and Maintaining Tires P. 280
• Make sure there are no people or objects behind or around the vehicle.
uThere are blind spots from the inside.
■Exterior Checks1Exterior Checks
NOTICE
When doors are frozen shut, use warm water around
the door edges to melt any ice. Do not try to force
them open, as this can damage the rubber trim
around the doors. When done, wipe dry to avoid further freezing.
Do not pour warm water into the key cylinder.
You will be unable to insert key if the water freezes in
the hole.
Page 204 of 345

Continued203
uuBefore DrivinguDriving Preparation
Driving
•Store or secure all items on board properly.
uCarrying too much cargo, or improp erly storing it, can affect your vehicle's
handling, stability, stopping distance, and tires, and make it unsafe. 2 Maximum Load Limit P. 205
• Do not pile items higher than the seat height.
uThey can block your view and may be thrown forward in the event of sudden
braking.
• Do not place anything in the front seat footwells. Make sure to secure the floor mat *
.
uAn object or unsecured floor mat can interfere with your brake and accelerator
pedal operation while driving.
• If you have any animals on board, do not let them move around in the vehicle.
uThey may interfere with driving and a crash could occur.
• Securely close and lock all doors and the trunk.
2 Locking/Unlocking the Doors from the Inside P. 103
• Adjust your seating position properly.
uAdjust the head restraint, too.
2 Adjusting the Seats P. 126
2 Adjusting the Head Restraints P. 129
• Adjust the mirrors and steering wheel properly for your driving.
uAdjust them while sitting in the proper driving position.
2 Adjusting the Mirrors P. 125
2 Adjusting the Steering Wheel P. 124
■Interior Checks1Interior Checks
The headlight aim is set by the factory, and does not
need to be adjusted. However, if you regularly carry
heavy items in the trunk or tow a trailer, have the
aiming readjusted at a dealer or by a qualified
technician.
* Not available on all models