Page 232 of 345

231
uuBrakinguABS (Anti-lock Brake System)
Driving
ABS (Anti-lock Brake System)
Helps prevent the wheels from locking up, and helps you retain steering control by
pumping the brakes rapidly, much faster than you.
The electronic brake distribution (EBD) system, which is part of the ABS, also
balances the front-to-rear braking distribution according to vehicle loading.
You should never pump the brake pedal. Let the ABS work for you by always
keeping firm, steady pressure on the brake pedal. This is sometimes referred to as
"stomp and steer." ■ABS operation
The brake pedal may pulsate slightly when the ABS is working. Keep holding the
pedal firmly down. On dry pavement, you will need to press on the brake pedal very
hard before the ABS activates. However, you may feel the ABS activate immediately
if you are trying to stop on snow or ice.
When the vehicle speed goes under 6 mph (10 km/h), the ABS stops.
■ABS1ABS (Anti-lock Brake System)
NOTICE
The ABS may not function correctly if you use an
incorrect tire type and size.
When the ABS indicator comes on while driving,
there may be a problem with the system.
While normal braking is not affected, there is a
possibility of the ABS not operating. Have the vehicle checked by a dealer immediately.
The ABS does not reduce the time or distance it takes
to stop the vehicle. It only helps with steering control
during hard braking.
In the following cases, your vehicle may need more
stopping distance than a vehicle without the ABS: • When driving on rough road surfaces, including
when driving on uneven surfaces, such as gravel or
snow.
• When tire chains are installed.
You may hear a motor sound coming from the
engine compartment while system checks are being
performed immediately after starting the engine or
while driving. This is normal.
Page 236 of 345

Continued235
uuRefuelinguHow to Refuel
Driving
Qualifying gasoline retailers will, in most cases, identify their gasoline as having met
"TOP TIER Detergent Gasoline" standards at the retail location. This fuel is
guaranteed to contain the proper level of detergent additives and be free of metallic
additives. The proper level of detergent additives, and absence of harmful metallic
additives in gasoline, help avoid build-up of deposits in your engine and emission
control system.
For further important fuel-related information for your vehicle, or on information on
gasoline that does not contain MMT, visit www.hondacars.com. In Canada, visit
www.honda.ca for additional information on gasoline. For more information on top
tier gasoline, visit www.toptiergas.com .
■ Fuel tank capacity: 13.2 US gal (50 liters)
How to Refuel
1.Stop your vehicle with the service station
pump on the left side of the vehicle in the rear.
2. Turn off the engine.
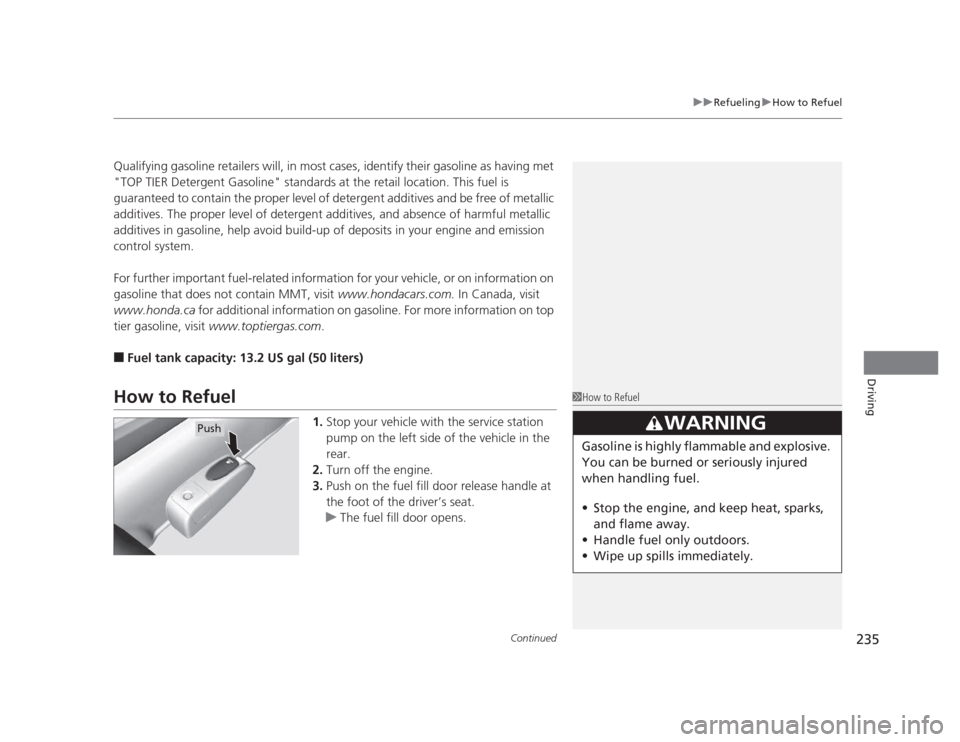
3. Push on the fuel fill door release handle at
the foot of the driver’s seat.
uThe fuel fill door opens.
1How to Refuel
3WARNING
Gasoline is highly flammable and explosive.
You can be burned or seriously injured
when handling fuel. • Stop the engine, and keep heat, sparks,
and flame away.
• Handle fuel only outdoors.
• Wipe up spills immediately.
Push
Page 277 of 345
276
uuReplacing Light BulbsuRear License Plate Light Bulb
Maintenance
Rear License Plate Light Bulb
When replacing, use the following bulb.1.Remove the screw from the center of the
fastener using a Phillips-head screwdriver.
2. Remove the holding clips using a flat-tip
screwdriver, then pull the lining back.
2 Low Beam Headlights P. 271
3. Remove the license plate light assembly by
squeezing the tabs on both sides of the
socket.
4. Remove the old bulb and insert a new bulb.
Rear License Plate Light: 5 W
Lining
Clip
FastenerModels with trunk lid lining
Bulb
Socket
All models
Page 287 of 345
286
uuChecking and Maintaining TiresuTire and Wheel Replacement
Maintenance
Tire and Wheel Replacement
Replace your tires with radials of the same size, load range, speed rating, and
maximum cold tire pressure rating (as shown on the tire’s sidewall). Using tires of a
different size or construction can cause the ABS and VSA®
(vehicle stability assist)
system to work incorrectly.
It is best to replace all four tires at the same time. If that isn’t possible, replace the
front or rear tires in pairs.
Make sure that the wheel’s specifications match those of the original wheels.
If you replace a wheel, only use TPMS specified wheels approved for your vehicle.
1Tire and Wheel Replacement
3WARNING
Installing improper tires on your vehicle can
affect handling and stability. This can cause
a crash in which you can be seriously hurt or
killed.
Always use the size and type of tires
recommended in this owner’s manual.
U.S. models only
Page 291 of 345
290
Maintenance
Remote Transmitter Care*
Replacing the Battery
If the indicator does not co
me on when the button is pressed, replace the battery.
1.Unscrew the cover with a small Phillips-
head screwdriver. Press a button to pry
open the transmitter.
2. Open the keypad.
uSeparate the inner cover from the
keypad by releasing the two tabs on the
cover.
3. Make sure to replace the battery with the
correct polarity.
1Replacing the Battery
NOTICE
An improperly disposed of battery can damage the
environment. Always confirm local regulations for battery disposal.
Replacement batteries are commercially available or
at a dealer.
Keypad
Screw
Battery type: CR1616
Battery
Tab
* Not available on all models
Page 316 of 345

315
uuIndicator, Coming On/BlinkinguIf the Brake System Indicator Comes On
Handling the Unexpected
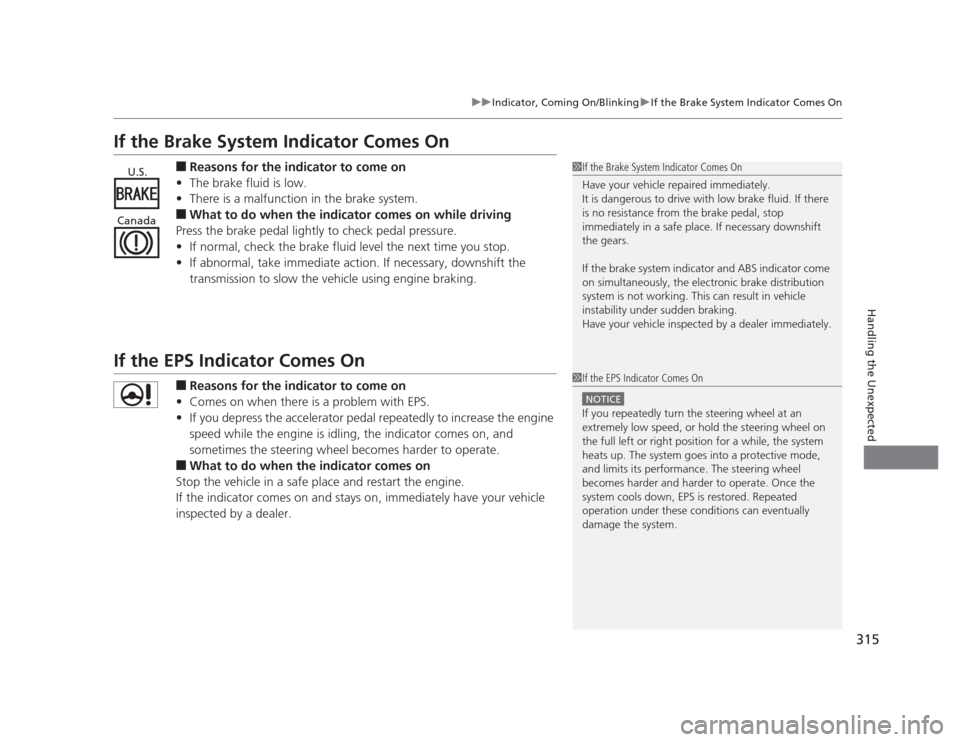
If the Brake System Indicator Comes On■Reasons for the indicator to come on
• The brake fluid is low.
• There is a malfunction in the brake system.
■ What to do when the indicator comes on while driving
Press the brake pedal lightly to check pedal pressure. • If normal, check the brake fluid level the next time you stop.
• If abnormal, take immediate action. If necessary, downshift the
transmission to slow the vehicle using engine braking.
If the EPS Indicator Comes On
■Reasons for the indicator to come on
• Comes on when there is a problem with EPS.
• If you depress the accelerator pedal repeatedly to increase the engine
speed while the engine is idling, the indicator comes on, and
sometimes the steering wheel becomes harder to operate.
■ What to do when the indicator comes on
Stop the vehicle in a safe place and restart the engine.
If the indicator comes on and stays on, immediately have your vehicle
inspected by a dealer.
1If the Brake System Indicator Comes On
Have your vehicle repaired immediately.
It is dangerous to drive with low brake fluid. If there
is no resistance from the brake pedal, stop
immediately in a safe place. If necessary downshift
the gears.
If the brake system indicator and ABS indicator come
on simultaneously, the electronic brake distribution
system is not working. This can result in vehicle
instability under sudden braking.
Have your vehicle inspected by a dealer immediately.U.S.
Canada
1If the EPS Indicator Comes On
NOTICE
If you repeatedly turn the steering wheel at an
extremely low speed, or hold the steering wheel on
the full left or right position for a while, the system
heats up. The system goes into a protective mode,
and limits its performance. The steering wheel
becomes harder and harder to operate. Once the
system cools down, EPS is restored. Repeated
operation under these conditions can eventually
damage the system.
Page 319 of 345

318
Handling the Unexpected
Fuses
Fuse Locations
If any electrical devices are not working,
turn the ignition switch to LOCK
(0 and
check to see if any applicable fuse is blown.
Fuse locations are shown on the fuse box
cover. Locate the fuse in question by the
fuse number and box cover number.
Located near the brake fluid reservoir. Push
the tabs to open the box.
■Engine Compartment Fuse Box
■ Circuit protected and fuse rating
Circuit ProtectedAmps
1
EPS70 A
−−
ABS/VSA Motor30 A
ABS/VSA FSR30 A
−−
Main Fuse100 A
2
IG Main50 A
Fuse Box Main 60 A
Fuse Box Main 260 A
Headlight Main 30 A
−−
Rear Defogger 30 A −−
Blower 40 A −−
Sub Fan Motor 20 A
Main Fan Motor 20 A
3−−
4 Left Headlight Low Beam 10 A
5Starter DIAG, ST MG7.5 A
6 Right Headlight Low Beam 10 A
7−−
8− −
9−−
10 − −
11Oil Level7.5 A
12 Fog Lights *
(20 A)
13Driver’s Power Seat Sliding *(20 A)
14 Hazard 10 A
15FI Sub15 A
16 IG Coil 15 A
17Stop15 A
18 Horn 10 A
19Premium Amp *(20 A)
20 INJ (15 A)
21IGP15 A
22 DBW 15 A
23H/L LO20 A
24 Driver’s Power Seat
Reclining * (20 A)
25MG Clutch7.5 A
26 − −
27SMALL20 A
28 Interior Lights 7.5 A
29Backup10 A
Circuit ProtectedAmps
* Not available on all models
Page 320 of 345

319
uuFusesuFuse Locations
Handling the Unexpected
Located under the dashboard.
Fuse locations are shown on the label on
the side panel.
Locate the fuse in question by the fuse
number and label number. ■Circuit protected and fuse rating
■Interior Fuse Box
Fuse Label
Circuit ProtectedAmps
1−−
2ACG15 A
3SRS10 A
4Fuel Pump15 A
5Meter7.5 A
6Power Window7.5 A
7VB SOL *(15 A)
8Door Lock Motor 2 (Unlock)15 A
9Door Lock Motor 1 (Unlock)15 A
10−−
11 Moonroof *
(20 A)
12Accessory Power Socket
(Center Console) *(15 A)
13 − −
14Seat Heaters *(15 A)
15 Driver’s Door Lock Motor
(Unlock) * (10 A)
16−−
17 − −
18−−
19 ACC 7.5 A
20ACC Key Lock7.5 A
21 Daytime Running Lights 7.5 A
22HAC7.5 A
23 − −
24ABS/VSA7.5 A
25 − −
26−−
27 Accessory Power Socket
(Front) 15 A
28Washer15 A
29 ODS 7.5 A
30Driver’s Door Lock Motor (Lock)*(10 A)
31 − −
32Door Lock Motor 2 (Lock)15 A
Circuit ProtectedAmps
33 Door Lock Motor 1 (Lock) 15 A
34Small Lights7.5 A
35 Illumination 7.5 A
36−−
37 − −
38Left Headlight High Beam10 A
39 Right Headlight High Beam 10 A
40TPMS *(7.5 A)
41 Door Lock 20 A
42Driver’s Power Window20 A
43 Rear Passenger’s Side
Power Window (20 A)
44Front Passenger’s Side
Power Window20 A
45 Rear Driver’s Side Power
Window (20 A)
46Wiper30 A
Circuit ProtectedAmps
* Not available on all models