Page 86 of 454
•To improve the A/C cool down, drive with the windows slightly open
for 2-3 minutes after start up or until the vehicle has been “aired out”.
•A small amount of air may be felt from the floor vent regardless of the
air distribution setting that is selected.
During extreme high ambient temperatures when idling stationary for
extended periods of time in gear, it is recommended to run the A/C in
the max A/C position, reduce blower fan speed from the highest setting
and put the vehicle’s transmission into the P (Park) gear position
(automatic transmission only) to continue to receive cool air from your
A/C system.
For maximum cooling performance:
•Automatic operation:
1. Press AUTO for full automatic operation.
2. Do not override A/C or
(recirculated air).
3. Set the temperature to 60°F (16°C).
•Manual operation:
1. Select MAX A/C. The system will automatically default to single zone
operation and set the temperature to 60°F (16°C).
•A/C and
(recirculated air) will be selected.
•Airflow will be directed out of the panel vents.
2. Fan speed will be automatically increased to the highest setting but
can be adjusted as desired.
To aid in side window defogging/demisting in cold weather:
1. Select
(panel/floor).
2. Select A/C.
3. Adjust the temperature control to maintain comfort.
4. Set the fan speed to the highest setting.
5. Direct the outer instrument panel vents towards the side windows.
To increase airflow to the outer instrument panel vents, close the vents
located in the middle of the instrument panel.
Climate Controls
86
2012 F-250/350/450/550(f23)
Owners Guide, 1st Printing
USA(fus)
Page 90 of 454
4. Turn the headlamp control to the autolamp position. The headlamps
will turn on.
5. Wait the desired amount of time for the exit delay you want (up to
three minutes), then turn the headlamps off.
Fog lamp control (if equipped)
The headlamp control also operates
the fog lamps. The fog lamps can be
turned on only when the headlamp
controlisinthe
,or
position and the high beams are not
turned on.
Pull headlamp control towards you
to turn fog lamps on. The fog lamp
indicator light
will illuminate.
High beams
Pull the lever fully past the detent
to activate. Pull the lever fully again
to deactivate.
Flash-to-pass
Pull toward you slightly to activate
and release to deactivate.
Lights
90
2012 F-250/350/450/550(f23)
Owners Guide, 1st Printing
USA(fus)
Page 92 of 454
Vertical aim adjustment
The headlamps on your vehicle can only be vertically adjusted. Your
vehicle does not require horizontal aim adjustments.
To adjust the headlamps:
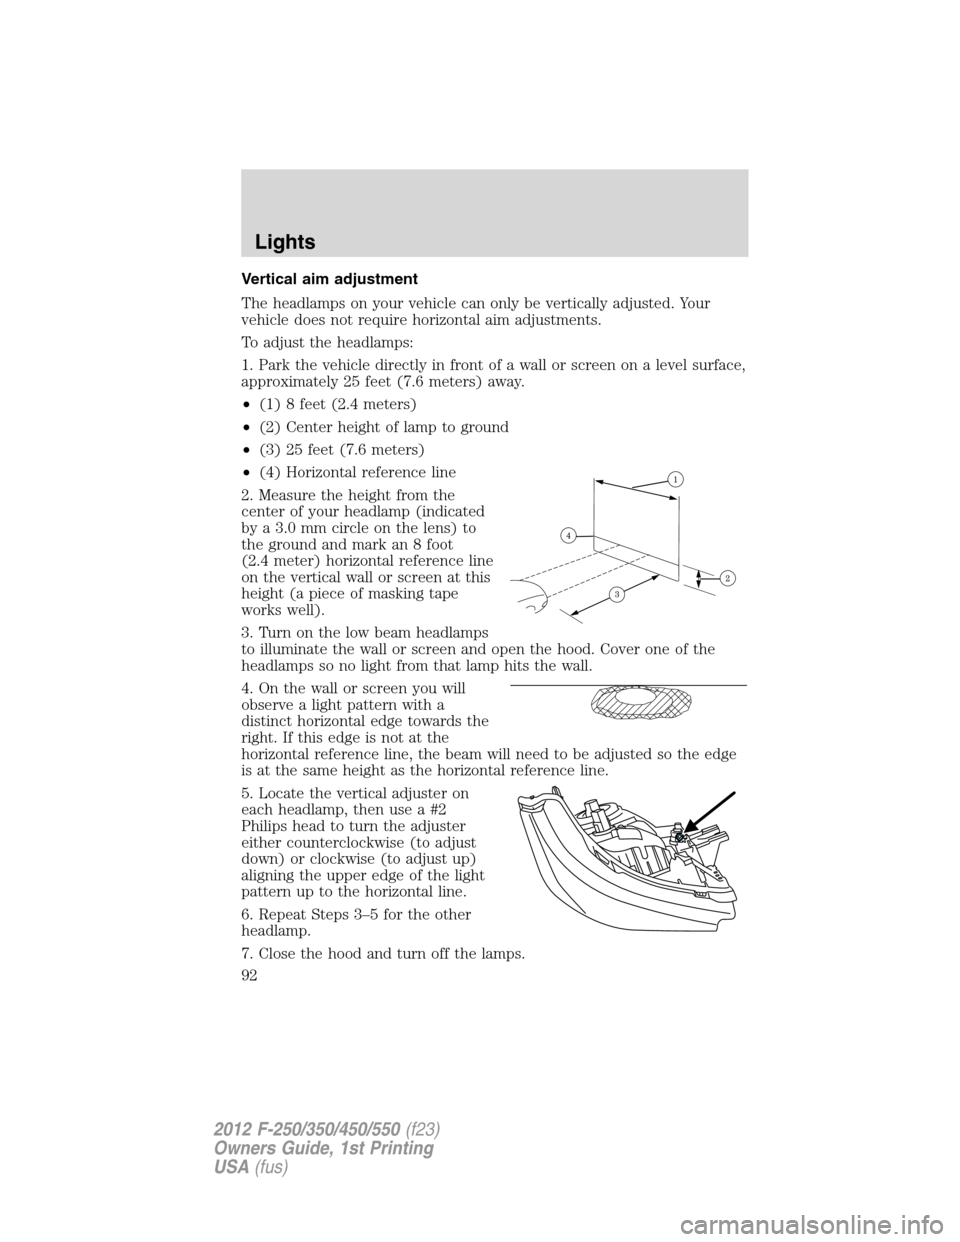
1. Park the vehicle directly in front of a wall or screen on a level surface,
approximately 25 feet (7.6 meters) away.
•(1) 8 feet (2.4 meters)
•(2) Center height of lamp to ground
•(3) 25 feet (7.6 meters)
•(4) Horizontal reference line
2. Measure the height from the
center of your headlamp (indicated
by a 3.0 mm circle on the lens) to
the ground and mark an 8 foot
(2.4 meter) horizontal reference line
on the vertical wall or screen at this
height (a piece of masking tape
works well).
3. Turn on the low beam headlamps
to illuminate the wall or screen and open the hood. Cover one of the
headlamps so no light from that lamp hits the wall.
4. On the wall or screen you will
observe a light pattern with a
distinct horizontal edge towards the
right. If this edge is not at the
horizontal reference line, the beam will need to be adjusted so the edge
is at the same height as the horizontal reference line.
5. Locate the vertical adjuster on
each headlamp, then use a #2
Philips head to turn the adjuster
either counterclockwise (to adjust
down) or clockwise (to adjust up)
aligning the upper edge of the light
pattern up to the horizontal line.
6. Repeat Steps 3–5 for the other
headlamp.
7. Close the hood and turn off the lamps.
Lights
92
2012 F-250/350/450/550(f23)
Owners Guide, 1st Printing
USA(fus)
Page 100 of 454
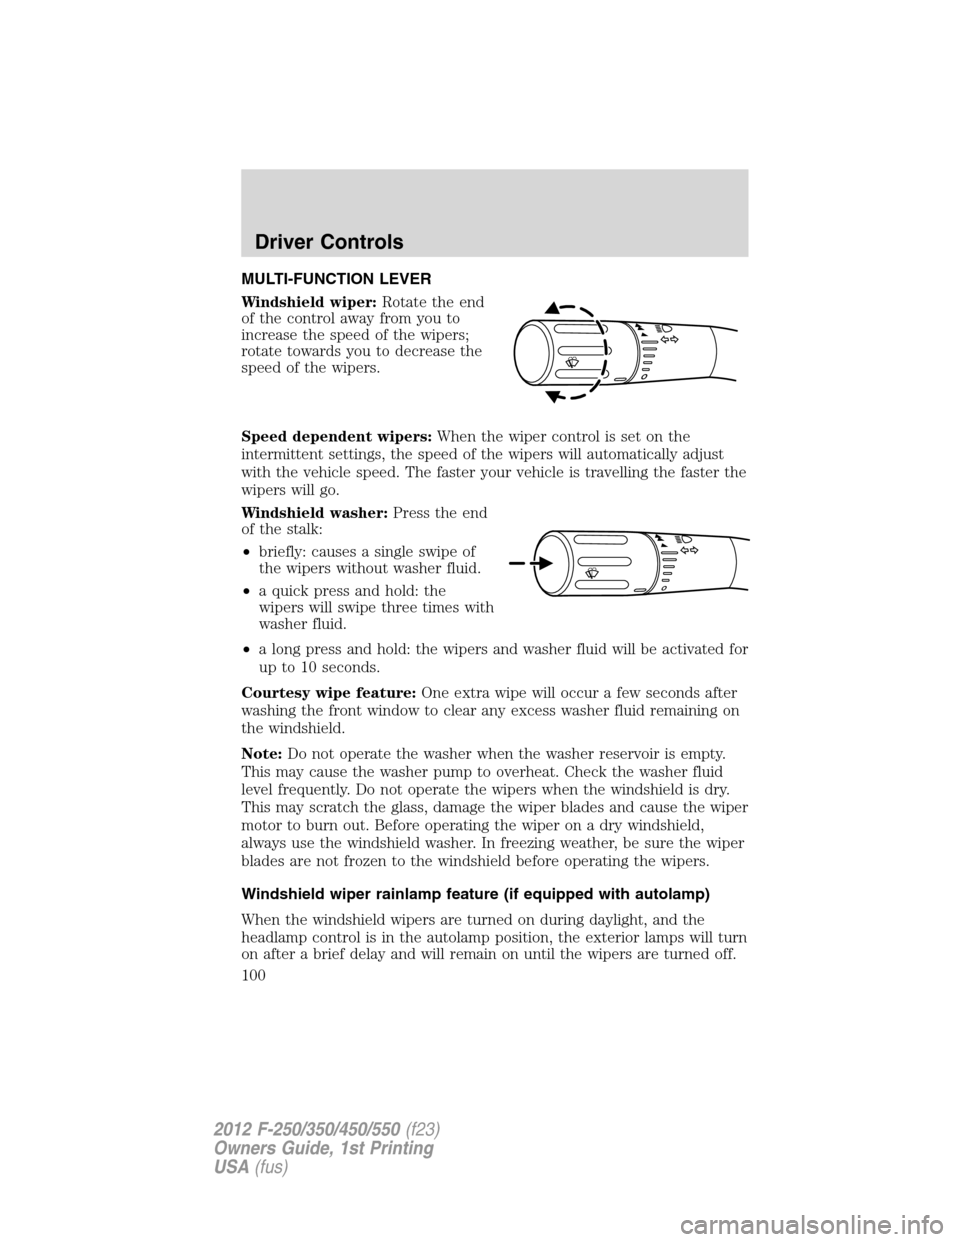
MULTI-FUNCTION LEVER
Windshield wiper:Rotate the end
of the control away from you to
increase the speed of the wipers;
rotate towards you to decrease the
speed of the wipers.
Speed dependent wipers:When the wiper control is set on the
intermittent settings, the speed of the wipers will automatically adjust
with the vehicle speed. The faster your vehicle is travelling the faster the
wipers will go.
Windshield washer:Press the end
of the stalk:
•briefly: causes a single swipe of
the wipers without washer fluid.
•a quick press and hold: the
wipers will swipe three times with
washer fluid.
•a long press and hold: the wipers and washer fluid will be activated for
up to 10 seconds.
Courtesy wipe feature:One extra wipe will occur a few seconds after
washing the front window to clear any excess washer fluid remaining on
the windshield.
Note:Do not operate the washer when the washer reservoir is empty.
This may cause the washer pump to overheat. Check the washer fluid
level frequently. Do not operate the wipers when the windshield is dry.
This may scratch the glass, damage the wiper blades and cause the wiper
motor to burn out. Before operating the wiper on a dry windshield,
always use the windshield washer. In freezing weather, be sure the wiper
blades are not frozen to the windshield before operating the wipers.
Windshield wiper rainlamp feature (if equipped with autolamp)
When the windshield wipers are turned on during daylight, and the
headlamp control is in the autolamp position, the exterior lamps will turn
on after a brief delay and will remain on until the wipers are turned off.
o
o
Driver Controls
100
2012 F-250/350/450/550(f23)
Owners Guide, 1st Printing
USA(fus)
Page 101 of 454
TILT/TELESCOPE STEERING WHEEL
To adjust the steering wheel:
1. Pull the lever down to unlock the
steering column.
2. While the lever is in the down
position, move the steering wheel
up or down and in or out until you
find the desired position.
3. While holding the steering wheel
in place, pull the lever up to its
original position to lock the steering
column.
WARNING:Never adjust the steering wheel when the vehicle is
moving.
ILLUMINATED VISOR MIRROR (IF EQUIPPED)
Lift the mirror cover to turn on the
visor mirror lamps.
Slide-on-rod feature (if
equipped)
Rotate the visor towards the side
window and extend it rearward for
additional sunlight coverage.
Note:To stow the visor back into
the headliner, visor must be
retracted before moving it back
towards the windshield.
Driver Controls
101
2012 F-250/350/450/550(f23)
Owners Guide, 1st Printing
USA(fus)
Page 111 of 454
Note:Ten or more switch activations within one minute, or repeated
fold/unfolding of the mirrors while holding the switch rearward during
the full travel may cause the system to disable the fold/unfold function to
protect the motors from overheating. Should this occur, wait
approximately 3
1�2minutes for the system to reset and function to return
to normal.
Note:The power-fold mirrors are designed to operate while the vehicle
is stationary or traveling at moderate speeds. If you attempt to
power-fold the mirrors at high speeds, they may not fully fold
forward/rearward - slow down and power-fold or manually fold the
mirrors in order to complete the fold operation.
Note:If the power fold/telescope mirror glass appears loose or vibrates
when driving, it is possible that the mirrors have been manually folded or
telescoped. To minimize the vibration, ensure that the mirrors are
electronically folded and telescoped in/out with the switches on the door
trim panel. If the power fold mirrors are out of sync, electronically
power-fold the mirrors to re-sync the motors. This will cause a loud
“click” and the mirrors will jerk during re-synchronization. This is
normal.
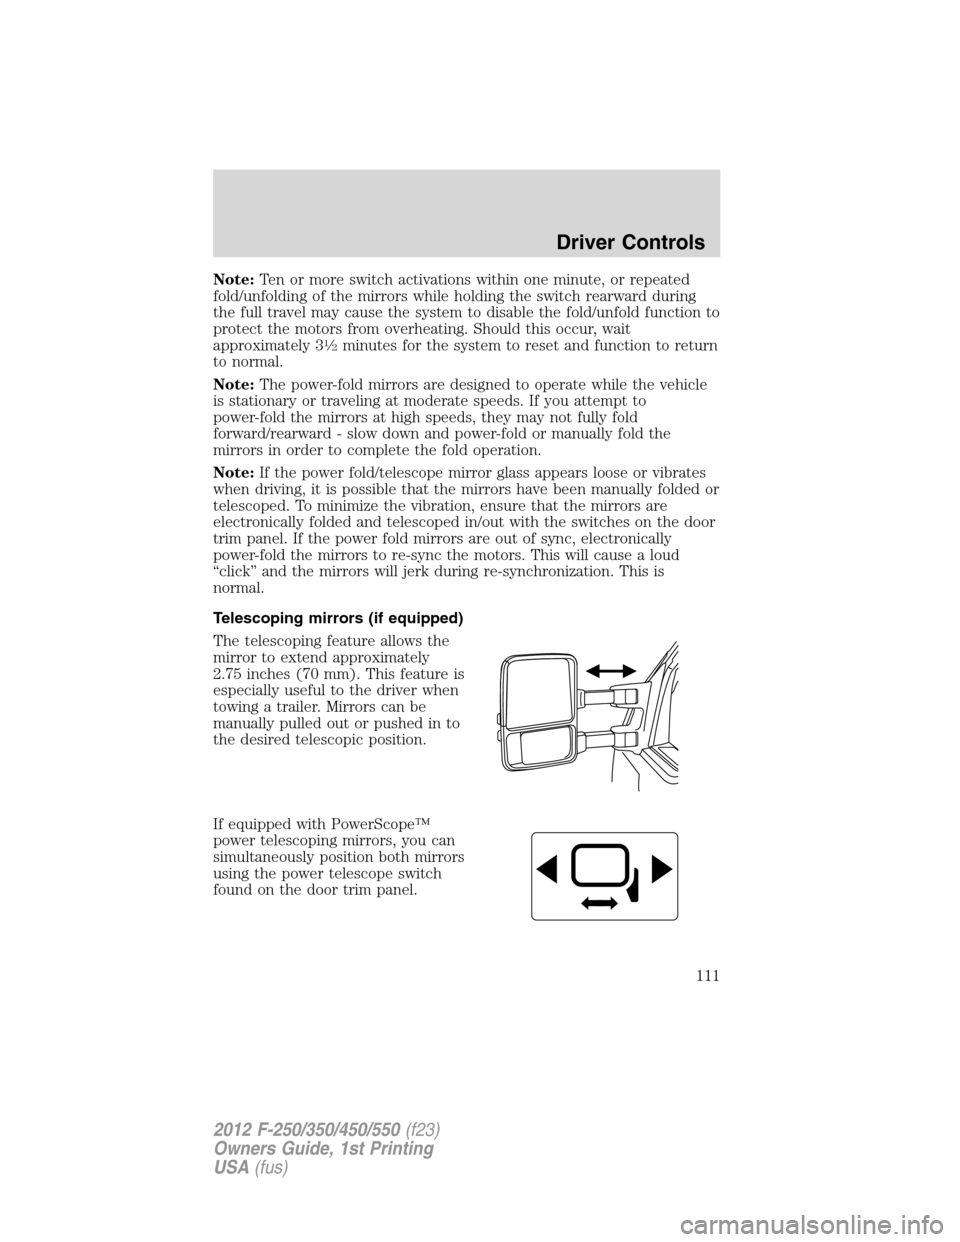
Telescoping mirrors (if equipped)
The telescoping feature allows the
mirror to extend approximately
2.75 inches (70 mm). This feature is
especially useful to the driver when
towing a trailer. Mirrors can be
manually pulled out or pushed in to
the desired telescopic position.
If equipped with PowerScope™
power telescoping mirrors, you can
simultaneously position both mirrors
using the power telescope switch
found on the door trim panel.
Driver Controls
111
2012 F-250/350/450/550(f23)
Owners Guide, 1st Printing
USA(fus)
Page 113 of 454
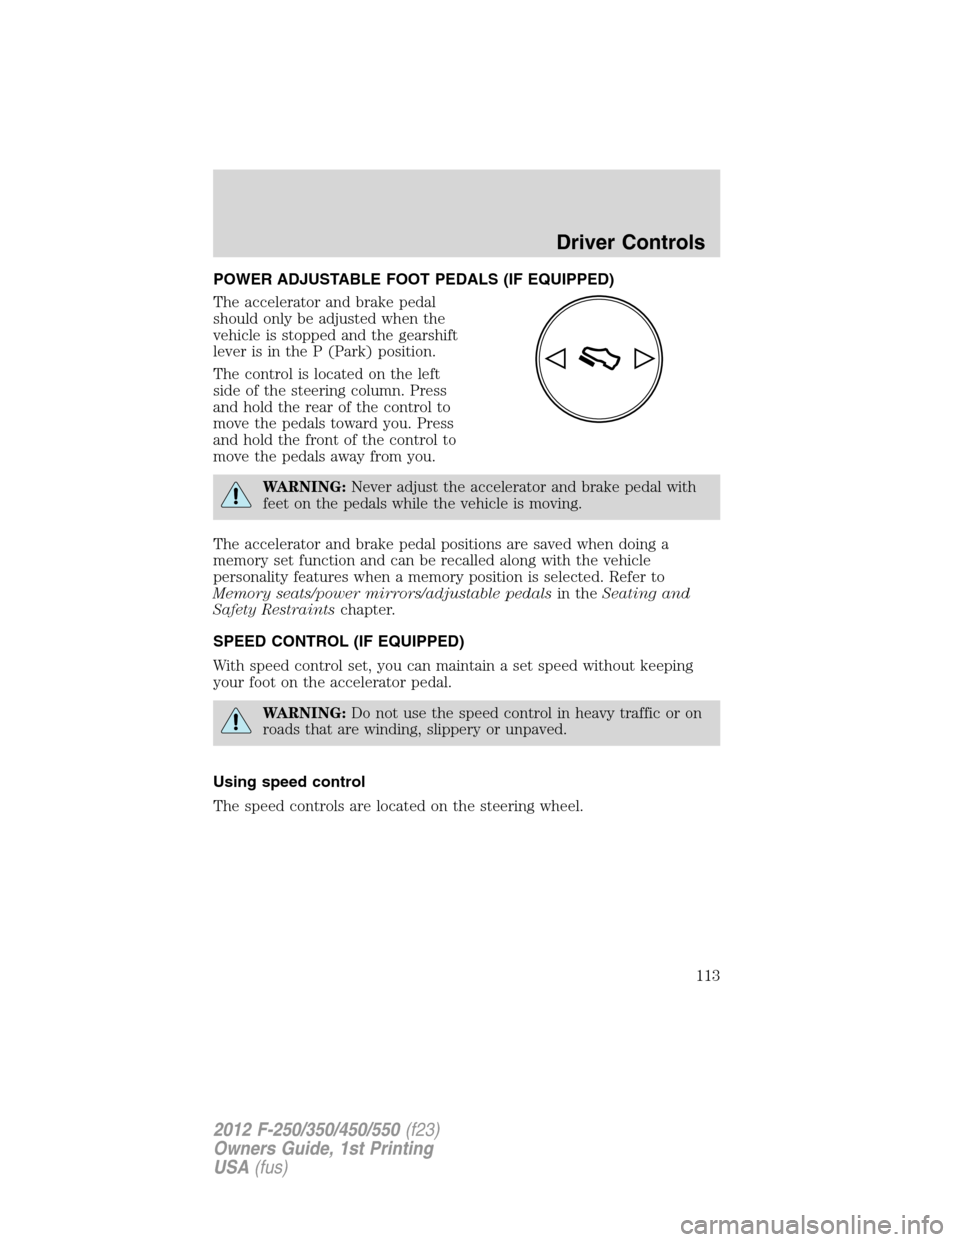
POWER ADJUSTABLE FOOT PEDALS (IF EQUIPPED)
The accelerator and brake pedal
should only be adjusted when the
vehicle is stopped and the gearshift
lever is in the P (Park) position.
The control is located on the left
side of the steering column. Press
and hold the rear of the control to
move the pedals toward you. Press
and hold the front of the control to
move the pedals away from you.
WARNING:Never adjust the accelerator and brake pedal with
feet on the pedals while the vehicle is moving.
The accelerator and brake pedal positions are saved when doing a
memory set function and can be recalled along with the vehicle
personality features when a memory position is selected. Refer to
Memory seats/power mirrors/adjustable pedalsin theSeating and
Safety Restraintschapter.
SPEED CONTROL (IF EQUIPPED)
With speed control set, you can maintain a set speed without keeping
your foot on the accelerator pedal.
WARNING:Do not use the speed control in heavy traffic or on
roads that are winding, slippery or unpaved.
Using speed control
The speed controls are located on the steering wheel.
Driver Controls
113
2012 F-250/350/450/550(f23)
Owners Guide, 1st Printing
USA(fus)
Page 119 of 454
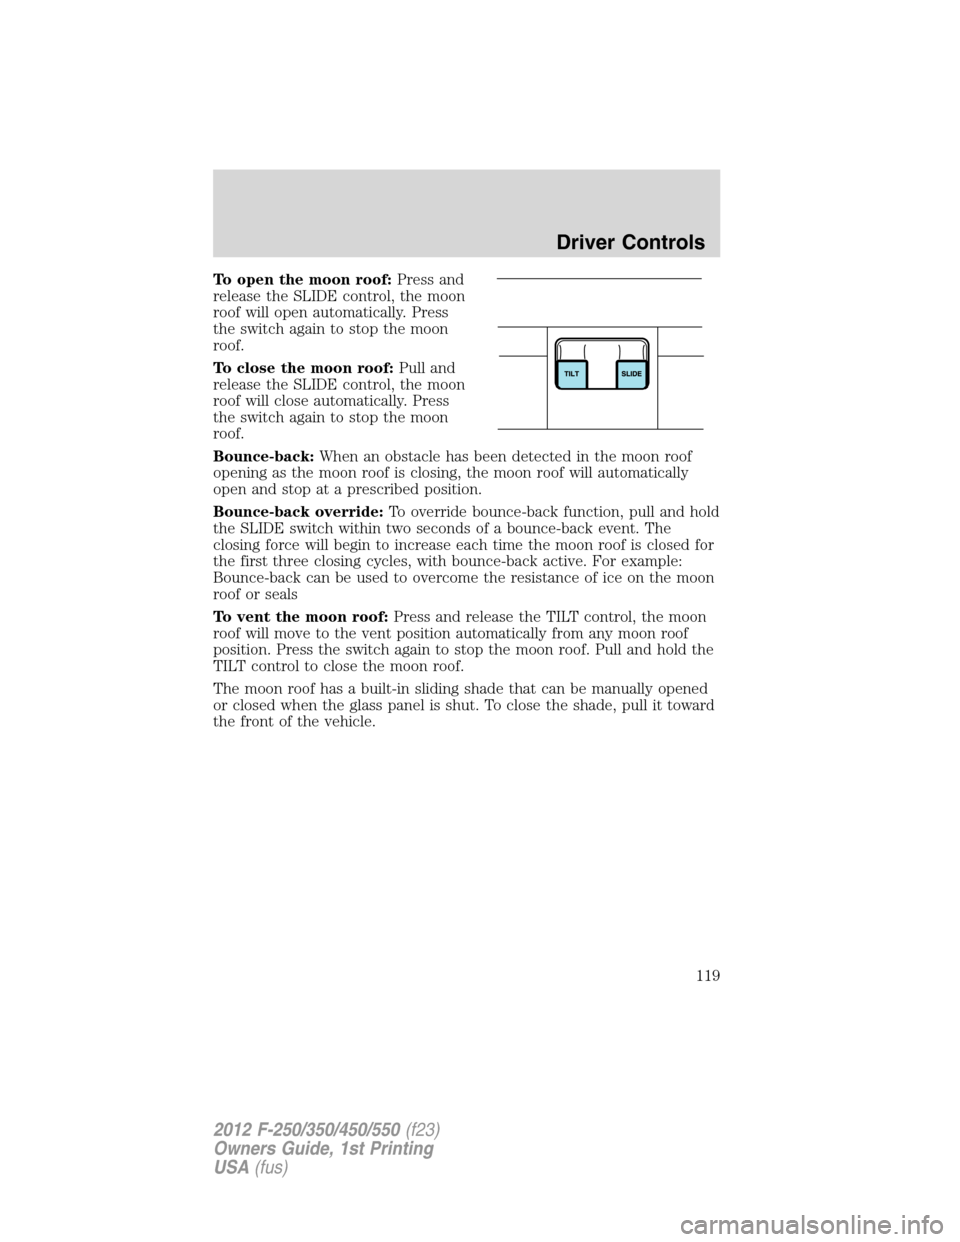
To open the moon roof:Press and
release the SLIDE control, the moon
roof will open automatically. Press
the switch again to stop the moon
roof.
To close the moon roof:Pull and
release the SLIDE control, the moon
roof will close automatically. Press
the switch again to stop the moon
roof.
Bounce-back:When an obstacle has been detected in the moon roof
opening as the moon roof is closing, the moon roof will automatically
open and stop at a prescribed position.
Bounce-back override:To override bounce-back function, pull and hold
the SLIDE switch within two seconds of a bounce-back event. The
closing force will begin to increase each time the moon roof is closed for
the first three closing cycles, with bounce-back active. For example:
Bounce-back can be used to overcome the resistance of ice on the moon
roof or seals
To vent the moon roof:Press and release the TILT control, the moon
roof will move to the vent position automatically from any moon roof
position. Press the switch again to stop the moon roof. Pull and hold the
TILT control to close the moon roof.
The moon roof has a built-in sliding shade that can be manually opened
or closed when the glass panel is shut. To close the shade, pull it toward
the front of the vehicle.
Driver Controls
119
2012 F-250/350/450/550(f23)
Owners Guide, 1st Printing
USA(fus)