2012 FORD F550 fuel
[x] Cancel search: fuelPage 265 of 448

STARTING
Positions of the ignition
1. Off— shuts off the engine and all
accessories/locks the steering wheel
and allows key removal. Note: In
order to switch off the engine while
the vehicle is in motion, shift to
neutral and use the brakes to bring
the vehicle to a safe stop. After the
vehicle has stopped, turn the engine
off and shift into park. Then, turn
the key to the accessory or off
position.
2. Accessory— allows the electrical accessories such as the radio to
operate while the engine is not running. This position also unlocks the
steering wheel.
3. On— all electrical circuits operational. Warning lights illuminated. Key
position when driving.
4. Start— cranks the engine. Release the key as soon as the engine
begins cranking.
Note: Do not store the key in the ignition after the vehicle is turned off
and you have left the vehicle. This could cause a drain on the battery.
Preparing to start your vehicle
Engine starting is controlled by the powertrain control system.
The powertrain control system meets all Canadian interference-causing
equipment standard requirements regulating the impulse electrical field
strength of radio noise.
When starting a fuel-injected engine, don’t press the accelerator before
or during starting. Only use the accelerator when you have difficulty
starting the engine. For more information on starting the vehicle, refer to
Starting the engine in this chapter.
WARNING: Extended idling at high engine speeds can produce
very high temperatures in the engine and exhaust system,
creating the risk of fire or other damage. Driving
265
2012 F-250/350/450/550 (f23)
Owners Guide, 4th Printing
USA (fus)
Page 268 of 448

the 4 (start) position, the engine may continue cranking for up to
10 seconds or until the vehicle starts.
Note: Cranking may be stopped at any time by turning the key to the off
position.
3. After idling for a few seconds, release the parking brake, apply the
brake, shift into gear and drive.
Note: If the engine does not start on the first try, turn the key to the off
position, wait 10 seconds and try Step 2 again. If the engine still fails to
start, press the accelerator to the floor and try Step 2 again, keeping the
accelerator on the floor until the engine begins to accelerate above
cranking speeds; this will allow the engine to crank with the fuel shut off
in case the engine is flooded with fuel.
Your vehicle may have remote start capability. Refer to Remote entry
system in the Locks and Security chapter.
Cold weather starting (flexible fuel vehicles only)
The starting characteristics of all grades of E 85
ethanol make it
unsuitable for use when ambient temperatures fall below 0°F (-18°C).
Consult your fuel distributor for the availability of winter grade ethanol.
As the outside temperature approaches freezing, ethanol fuel distributors
should supply winter grade ethanol (same as with unleaded gasoline). If
summer grade ethanol is used in cold weather conditions, 0°F to 32°F
(-18°C to 0°C), you may experience increased cranking times, rough idle
or hesitation until the engine has warmed up.
You may experience a decrease in peak performance when the engine is
cold when operating on E 85
ethanol.
Do not crank the engine for more than 10 seconds at a time as starter
damage may occur. If the engine fails to start, turn the key to off and
wait 30 seconds before trying again.
Do not use starting fluid such as ether in the air intake system. Such
fluid could cause immediate explosive damage to the engine and possible
personal injury.
If you should experience cold weather starting problems on E 85
ethanol,
and neither an alternative brand of E 85
ethanol nor an engine block
heater is available, the addition of unleaded gasoline to your tank will
improve cold starting performance. Your vehicle is designed to operate
on E 85
ethanol alone, unleaded gasoline alone, or any mixture of the two.
See Choosing the right fuel in the Maintenance and Specifications
chapter for more information on ethanol.Driving
268
2012 F-250/350/450/550 (f23)
Owners Guide, 4th Printing
USA (fus)
Page 269 of 448

If the engine fails to start using the preceding instructions (flexible
fuel vehicles only)
1. Press and hold down the accelerator 1/3 to 1/2 way to floor, then
crank the engine.
2. When the engine starts, release the key, then gradually release the
accelerator pedal as the engine speeds up. If the engine still fails to start,
repeat Step 1.
Guarding against Exhaust Fumes
WARNING: If you smell exhaust fumes inside your vehicle, have
this checked immediately. Do not drive your vehicle if you smell
exhaust fumes. Carbon monoxide is present in exhaust fumes. Take
precautions to avoid its dangerous effects.
Important Ventilating Information
If you stop your vehicle and leave the engine idling for long periods of
time, we recommend that you do one of the following:
• Open the windows at least one inch (2.5 centimeters).
• Set your climate control to outside air.
ENGINE BLOCK HEATER (IF EQUIPPED)
An engine block heater warms the engine coolant which aids in starting
and allows the heater/defroster system to respond quickly. If your vehicle
is equipped with this system, your equipment includes a heater element
which is installed in your engine block and a wire harness which allows
the user to connect the system to a grounded 120 volt A/C electrical
source. The engine block heater plug can be located through the center
opening of the lower front bumper assembly. The block heater system is
most effective when outdoor temperatures reach below 0°F (-18°C).
For flexible fuel vehicles, if operating with E85 ethanol, an engine block
heater must be used if ambient temperature is below 0°F (-18°C).
See Cold weather starting earlier in this chapter for more information
on starting with ethanol.
WARNING: Failure to follow engine block heater instructions
could result in property damage or physical injury. Driving
269
2012 F-250/350/450/550 (f23)
Owners Guide, 4th Printing
USA (fus)
Page 288 of 448

To put your vehicle in P (Park):
• Come to a complete stop
• Move the gearshift lever and securely latch it in P (Park)
WARNING: Always set the parking brake fully and make sure
the gearshift is latched in P (Park). Turn the ignition to the off
position and remove the key whenever you leave your vehicle.
R (Reverse)
With the gearshift lever in R (Reverse), the vehicle will move backward.
Always come to a complete stop before shifting into and out of R (Reverse).
N (Neutral)
With the gearshift lever in N (Neutral), the vehicle can be started and is
free to roll. Hold the brake pedal down while in this position.
D (Overdrive) with Tow/Haul Off
D (Overdrive) with tow/haul off is the normal driving position for the
best fuel economy. The overdrive function allows automatic upshifts and
downshifts through gears one through five.
D (Overdrive) with Tow/Haul On
The tow/haul feature improves transmission operation when towing a
trailer or a heavy load. All transmission gear ranges are available when
using tow/haul.
To activate tow/haul, press the
button on the end of the gearshift
lever.
The TOW HAUL indicator light will
illuminate in the instrument cluster.
Tow/haul delays upshifts to reduce
frequency of transmission shifting. Tow/haul also provides engine braking
in all forward gears when the transmission is in the D (Overdrive)
position; this engine braking will slow the vehicle and assist the driver in
controlling the vehicle when descending a grade. Depending on driving
conditions and load conditions, the transmission may downshift, slow the
vehicle and control the vehicle speed when descending a hill, without the
accelerator pedal being pressed. The amount of downshift braking
provided will vary based upon the amount the brake pedal is depressed.Driving
288
2012 F-250/350/450/550 (f23)
Owners Guide, 4th Printing
USA (fus)
Page 291 of 448

N (Neutral)
With the gearshift lever in N (Neutral), the vehicle can be started and is
free to roll. Hold the brake pedal down while in this position.
D (Overdrive) with Tow/Haul Off
D (Overdrive) with tow/haul off is the normal driving position for the
best fuel economy. The overdrive function allows automatic upshifts and
downshifts through gears one through six.
D (Overdrive) with Tow/Haul On
The tow/haul feature improves transmission operation when towing a
trailer or a heavy load. All transmission gear ranges are available when
using tow/haul.
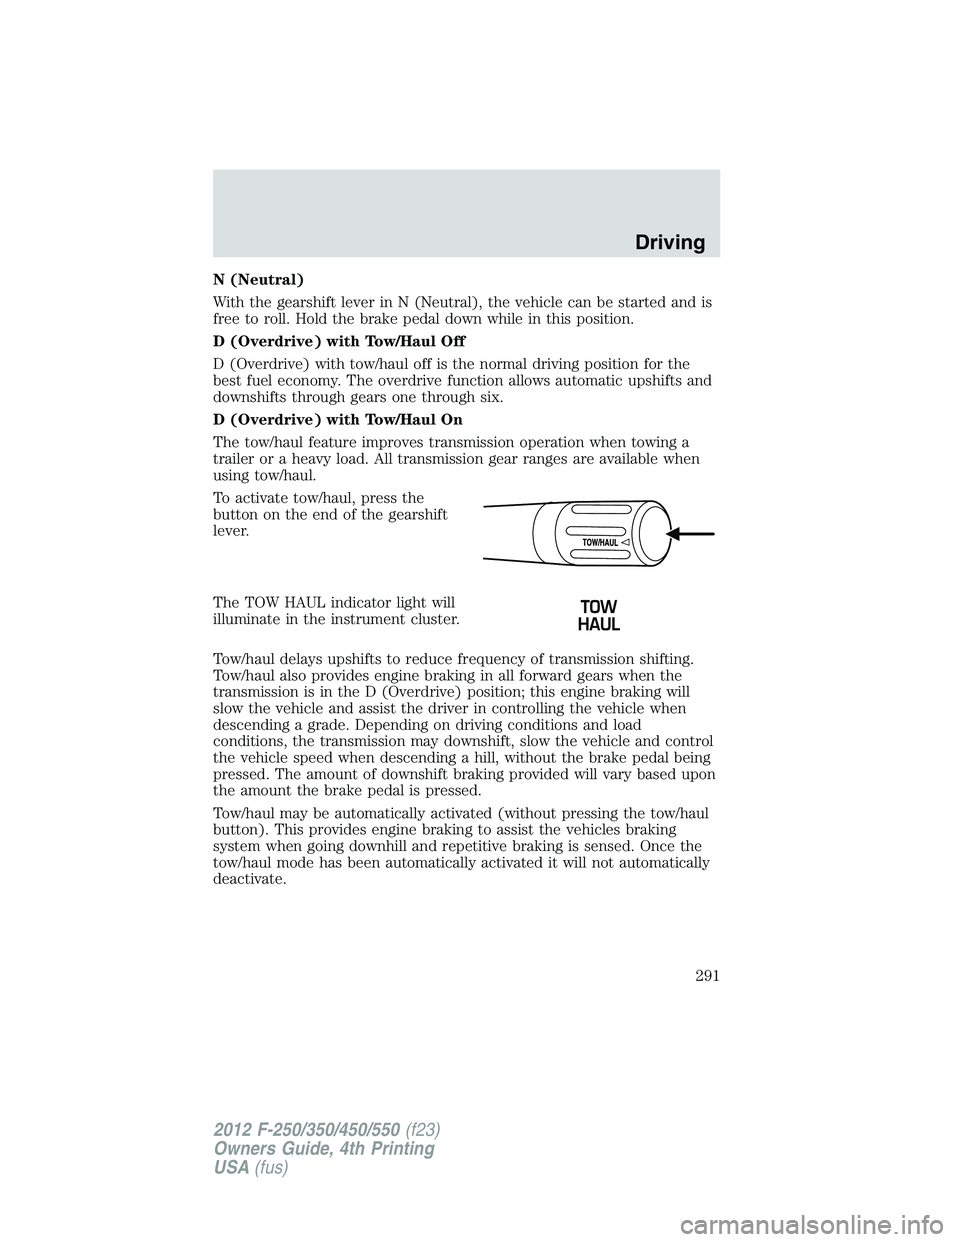
To activate tow/haul, press the
button on the end of the gearshift
lever.
The TOW HAUL indicator light will
illuminate in the instrument cluster.
Tow/haul delays upshifts to reduce frequency of transmission shifting.
Tow/haul also provides engine braking in all forward gears when the
transmission is in the D (Overdrive) position; this engine braking will
slow the vehicle and assist the driver in controlling the vehicle when
descending a grade. Depending on driving conditions and load
conditions, the transmission may downshift, slow the vehicle and control
the vehicle speed when descending a hill, without the brake pedal being
pressed. The amount of downshift braking provided will vary based upon
the amount the brake pedal is pressed.
Tow/haul may be automatically activated (without pressing the tow/haul
button). This provides engine braking to assist the vehicles braking
system when going downhill and repetitive braking is sensed. Once the
tow/haul mode has been automatically activated it will not automatically
deactivate. Driving
291
2012 F-250/350/450/550 (f23)
Owners Guide, 4th Printing
USA (fus)
Page 294 of 448

Recommended shift speeds
Upshift according to the following chart:
Upshifts when accelerating (recommended for best fuel economy)
Shift from: Gasoline engines Diesel engines
1 – 2 15 mph (24 km/h) 12 mph (19 km/h)
2 – 3 25 mph (40 km/h) 19 mph (31 km/h)
3 – 4 40 mph (64 km/h) 26 mph (42 km/h)
4 – 5 45 mph (72 km/h) 34 mph (55 km/h)
5 – 6 50 mph (80 km/h) 46 mph (74 km/h)
In order to prevent the engine from running at too low an RPM, which
may cause it to stall, the SST will still automatically make some
downshifts if it has determined that you have not downshifted in time.
Although the SST will make some downshifts for you, it will still allow
you to downshift at any time as long as the SST determines that the
engine will not be damaged from over-revving.
The SST will not automatically upshift, even if the engine is approaching
the RPM limit. It must be shifted manually by pressing the + button.
Engine damage may occur if excessive engine revving is held
without shifting.
Hill start assist (HSA)
The hill start assist feature makes it easier to pull away when the vehicle
is on a slope without the need to use the parking brake. When the hill
start assist feature is active, the vehicle will remain stationary on the
slope for up to two seconds after you release the brake pedal. During
this time, you have time to move your foot from the brake to the
accelerator pedal and pull away. The brakes are released automatically
once the engine has developed sufficient drive to prevent the vehicle
from rolling down the slope. This is an advantage when pulling away on a
slope; for example from a car park ramp, traffic lights or when reversing
uphill into a parking space.
WARNING: The hill start assist feature does not replace the
parking brake. When you leave the vehicle, always apply the
parking brake and select first or reverse gear.Driving
294
2012 F-250/350/450/550 (f23)
Owners Guide, 4th Printing
USA (fus)
Page 301 of 448

FOUR-WHEEL DRIVE (4WD) OPERATION (IF EQUIPPED)
WARNING: For important information regarding safe operation
of this type of vehicle, see Preparing to drive your vehicle in
this chapter.
When four–wheel drive (4WD) is engaged, power is supplied to all four
wheels through a transfer case. 4WD can be selected when additional
driving power is desired.
4WD operation is not recommended on dry pavement. Doing so could
result in difficult disengagement of the transfer case, increased tire wear
and decreased fuel economy.
Manual Shift On Stop (MSOS) 4x4 system (if equipped)
The 4WD system is engaged or
disengaged by rotating the control
for both front wheel hub locks from
the FREE or LOCK position, then
manually engaging or disengaging
the transfer case with the
floor-mounted shifter. For increased
fuel economy in 2WD, rotate both
hub locks to the FREE position.
• For proper operation, make
sure that each hub is fully
engaged and that both hub locks are set to the same position
(both set to LOCK or both set to FREE). To engage LOCK,
turn the hub locks completely clockwise; to disengage the hubs
(FREE), turn the hub locks completely counterclockwise.
• The vehicle should not be driven in 4X4 High or 4X4 Low
modes with the hub locks set to FREE as this condition may
damage driveline system components.
• Some vehicles may be equipped with wheel ornaments that cover the
4x4 manual hub lock. These ornaments must be removed to access
the manual hub locks.
Electronic Shift-On-the-Fly (ESOF) 4x4 system (if equipped)
If equipped with the electronic shift 4WD system, and 4X4 Low is
selected while the vehicle is moving above 3 mph (5 km/h), the
4WD system will not perform a shift. This is normal and should be
no reason for concern. Refer to Shifting to/from 4L (4X4 Low) for
proper system operation. Driving
301
2012 F-250/350/450/550 (f23)
Owners Guide, 4th Printing
USA (fus)
Page 302 of 448

The ESOF 4WD system:
• provides 4x4 High engagement and disengagement while the vehicle is
moving.
• is operated by a rotary control located on the instrument panel that
allows you select 4x2, 4x4 High or 4x4 Low operation.
• uses auto-manual hub locks that can be engaged and disengaged
automatically based on the 4x4 mode selected.
• auto-manual hub locks can be
manually overridden by rotating
the hub lock control from AUTO
to LOCK if desired.
• automatic operation of the
hub locks is recommended, and
will increase fuel economy
• For proper operation, make
sure that each hub is fully
engaged and that both hub
locks are set to the same position (both set to LOCK or both
set to AUTO). To engage LOCK, turn the hub locks completely
clockwise; to engage AUTO, turn the hub locks completely
counterclockwise.
4WD system indicator lights
The indicator lights illuminate in the message center in the
reconfigurable telltale (RTT) under the following conditions. Refer to
Warning lights and chimes in the Instrument Cluster chapter.
• 4X2 - Momentarily illuminates
when 2H is selected on electronic
shift 4WD systems only.
• 4X4 HIGH - Illuminates when 4H
(4x4 High) is engaged.
• 4X4 LOW - Illuminates when 4L
(4x4 Low) is engaged.
• CHECK 4X4 – Displays when a
4x4 system fault is present 4x2
4x4
HIGH
4x4
LOWDriving
302
2012 F-250/350/450/550 (f23)
Owners Guide, 4th Printing
USA (fus)