2012 FORD F250 SUPER DUTY tow
[x] Cancel search: towPage 88 of 448

3. Turn the ignition switch to on and then back to off.
4. Turn the headlamp control to the autolamp position. The headlamps
will turn on.
5. Wait the desired amount of time for the exit delay you want (up to
three minutes), then turn the headlamps off.
Fog lamp control (if equipped)
The headlamp control also operates
the fog lamps. The fog lamps can be
turned on only when the headlamp
controlisinthe , or
position and the high beams are not
turned on.
Pull headlamp control towards you
to turn fog lamps on. The fog lamp
indicator light will illuminate.
High beams
Pull the lever fully past the detent
to activate. Pull the lever fully again
to deactivate.
Flash-to-pass
Pull toward you slightly to activate
and release to deactivate.Lights
88
2012 F-250/350/450/550 (f23)
Owners Guide, 4th Printing
USA (fus)
Page 90 of 448

AIMING THE HEADLAMPS
Your vehicle is equipped with an aerodynamic headlamp system. The
aerodynamic headlamps can only be aimed in the vertical direction
(up/down) using the procedure following. The headlamps on your vehicle
are properly aimed at the assembly plant and should not normally need
adjustment.
Vertical aim adjustment
The headlamps on your vehicle can only be vertically adjusted. Your
vehicle does not require horizontal aim adjustments.
To adjust the headlamps:
1. Park the vehicle directly in front of a wall or screen on a level surface,
approximately 25 feet (7.6 meters) away.
• (1) 8 feet (2.4 meters)
• (2) Center height of lamp to
ground
• (3) 25 feet (7.6 meters)
• (4) Horizontal reference line
2. Measure the height from the
center of your headlamp (indicated
by a 3.0 mm circle on the lens) to
the ground and mark an 8 foot
(2.4 meter) horizontal reference line
on the vertical wall or screen at this height (a piece of masking tape
works well).
3. Turn on the low beam headlamps to illuminate the wall or screen and
open the hood. Cover one of the headlamps so no light from that lamp
hits the wall.
4. On the wall or screen you will
observe a light pattern with a
distinct horizontal edge towards the
right. If this edge is not at the
horizontal reference line, the beam will need to be adjusted so the edge
is at the same height as the horizontal reference line.Lights
90
2012 F-250/350/450/550 (f23)
Owners Guide, 4th Printing
USA (fus)
Page 98 of 448
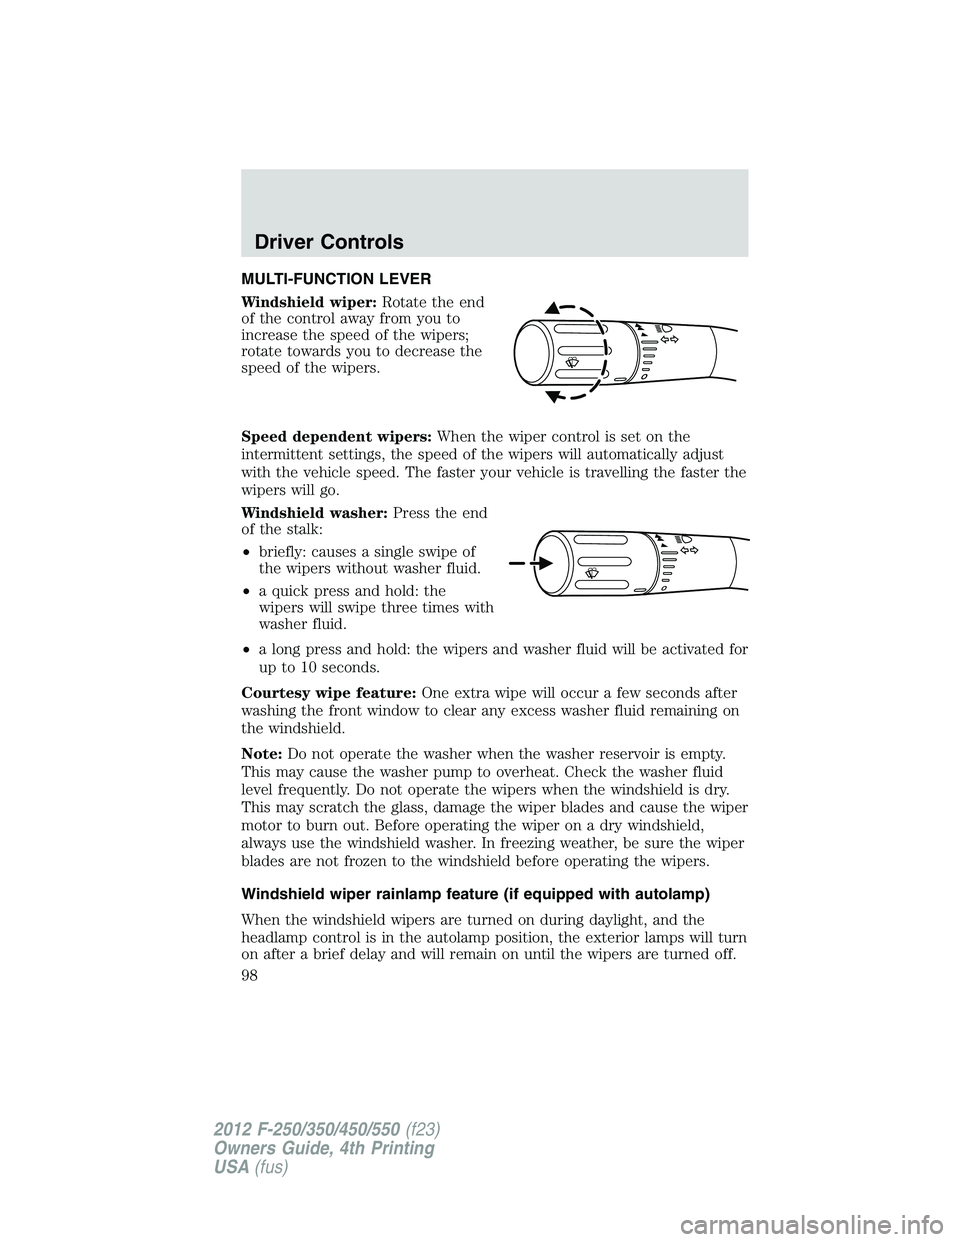
MULTI-FUNCTION LEVER
Windshield wiper: Rotate the end
of the control away from you to
increase the speed of the wipers;
rotate towards you to decrease the
speed of the wipers.
Speed dependent wipers: When the wiper control is set on the
intermittent settings, the speed of the wipers will automatically adjust
with the vehicle speed. The faster your vehicle is travelling the faster the
wipers will go.
Windshield washer: Press the end
of the stalk:
• briefly: causes a single swipe of
the wipers without washer fluid.
• a quick press and hold: the
wipers will swipe three times with
washer fluid.
• a long press and hold: the wipers and washer fluid will be activated for
up to 10 seconds.
Courtesy wipe feature: One extra wipe will occur a few seconds after
washing the front window to clear any excess washer fluid remaining on
the windshield.
Note: Do not operate the washer when the washer reservoir is empty.
This may cause the washer pump to overheat. Check the washer fluid
level frequently. Do not operate the wipers when the windshield is dry.
This may scratch the glass, damage the wiper blades and cause the wiper
motor to burn out. Before operating the wiper on a dry windshield,
always use the windshield washer. In freezing weather, be sure the wiper
blades are not frozen to the windshield before operating the wipers.
Windshield wiper rainlamp feature (if equipped with autolamp)
When the windshield wipers are turned on during daylight, and the
headlamp control is in the autolamp position, the exterior lamps will turn
on after a brief delay and will remain on until the wipers are turned off. o
o
Driver Controls
98
2012 F-250/350/450/550 (f23)
Owners Guide, 4th Printing
USA (fus)
Page 99 of 448
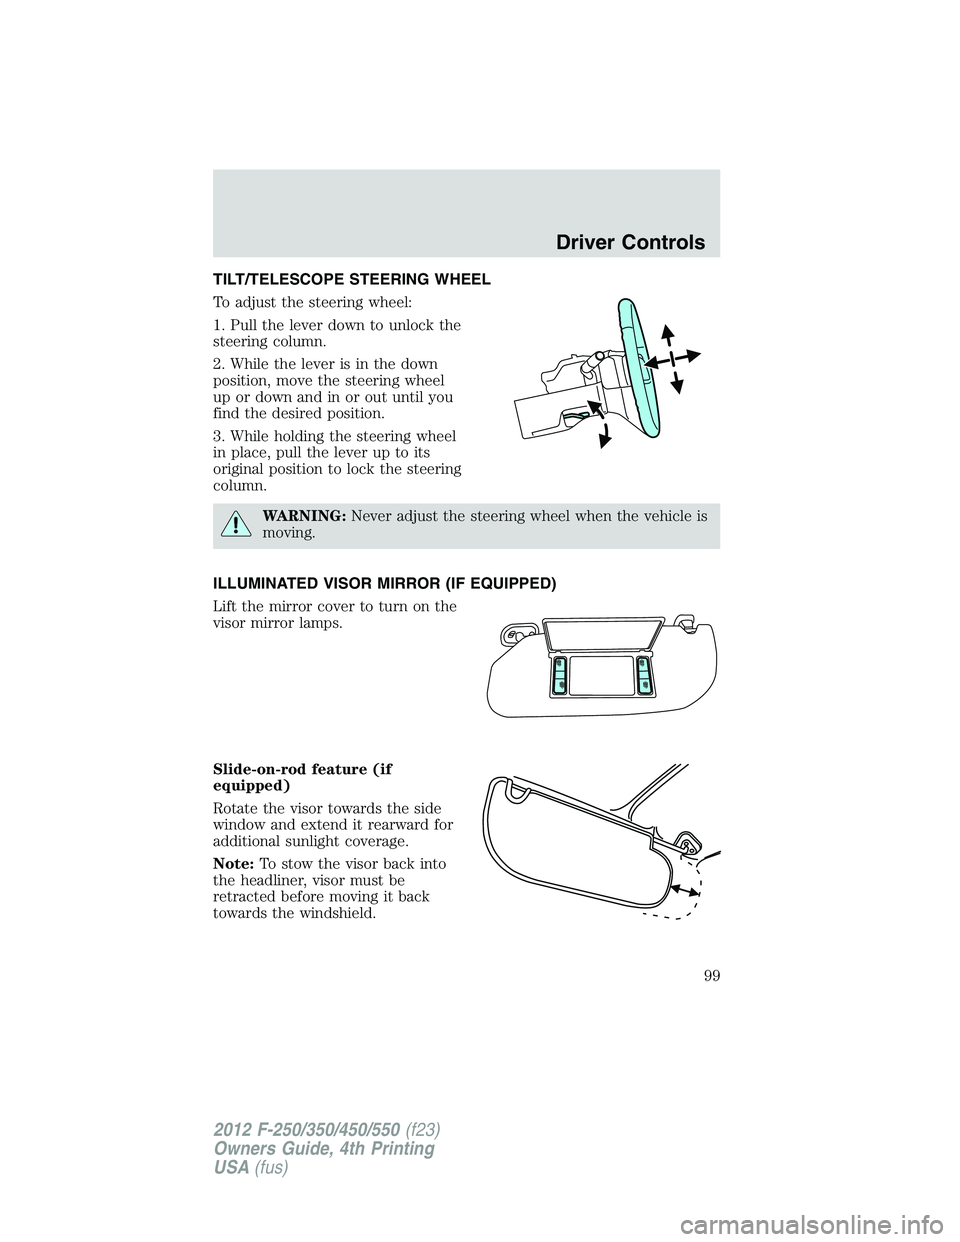
TILT/TELESCOPE STEERING WHEEL
To adjust the steering wheel:
1. Pull the lever down to unlock the
steering column.
2. While the lever is in the down
position, move the steering wheel
up or down and in or out until you
find the desired position.
3. While holding the steering wheel
in place, pull the lever up to its
original position to lock the steering
column.
WARNING: Never adjust the steering wheel when the vehicle is
moving.
ILLUMINATED VISOR MIRROR (IF EQUIPPED)
Lift the mirror cover to turn on the
visor mirror lamps.
Slide-on-rod feature (if
equipped)
Rotate the visor towards the side
window and extend it rearward for
additional sunlight coverage.
Note: To stow the visor back into
the headliner, visor must be
retracted before moving it back
towards the windshield. Driver Controls
99
2012 F-250/350/450/550 (f23)
Owners Guide, 4th Printing
USA (fus)
Page 108 of 448
Note: Ten or more switch activations within one minute, or repeated
fold/unfolding of the mirrors while holding the switch rearward during the
full travel may cause the system to disable the fold/unfold function to
protect the motors from overheating. Should this occur, wait approximately
3 1
� 2
minutes for the system to reset and function to return to normal.
Note: The power-fold mirrors are designed to operate while the vehicle
is stationary or traveling at moderate speeds. If you attempt to
power-fold the mirrors at high speeds, they may not fully fold
forward/rearward - slow down and power-fold or manually fold the
mirrors in order to complete the fold operation.
Note: If the power fold/telescope mirror glass appears loose or vibrates
when driving, it is possible that the mirrors have been manually folded or
telescoped. To minimize the vibration, ensure that the mirrors are
electronically folded and telescoped in/out with the switches on the door
trim panel. If the power fold mirrors are out of sync, electronically
power-fold the mirrors to re-sync the motors. This will cause a loud “click”
and the mirrors will jerk during re-synchronization. This is normal.
Telescoping mirrors (if equipped)
The telescoping feature allows the
mirror to extend approximately
2.75 inches (70 mm). This feature is
especially useful to the driver when
towing a trailer. Mirrors can be
manually pulled out or pushed in to
the desired telescopic position.
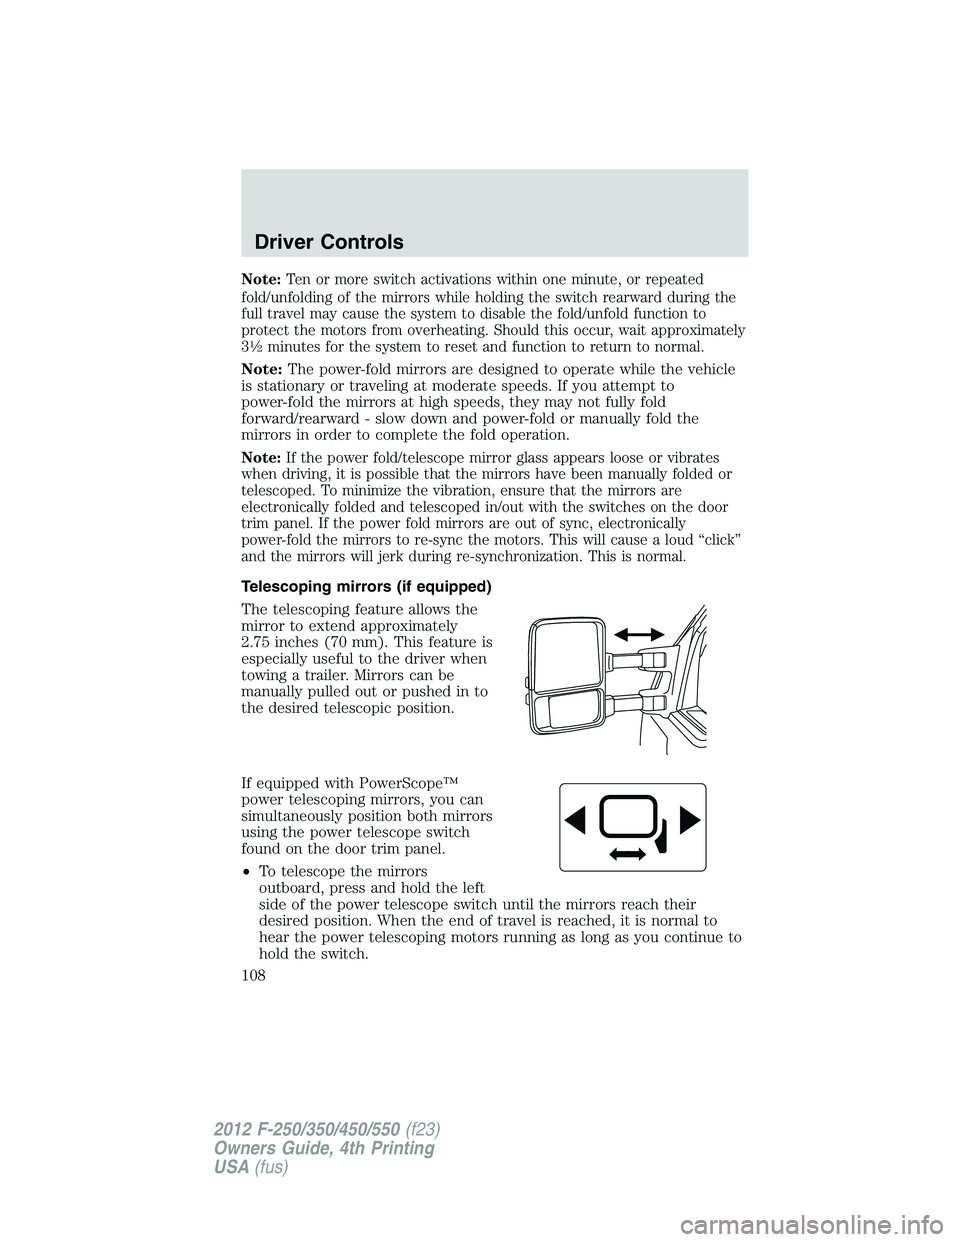
If equipped with PowerScope™
power telescoping mirrors, you can
simultaneously position both mirrors
using the power telescope switch
found on the door trim panel.
• To telescope the mirrors
outboard, press and hold the left
side of the power telescope switch until the mirrors reach their
desired position. When the end of travel is reached, it is normal to
hear the power telescoping motors running as long as you continue to
hold the switch.Driver Controls
108
2012 F-250/350/450/550 (f23)
Owners Guide, 4th Printing
USA (fus)
Page 110 of 448
POWER ADJUSTABLE FOOT PEDALS (IF EQUIPPED)
The accelerator and brake pedal
should only be adjusted when the
vehicle is stopped and the gearshift
lever is in the P (Park) position.
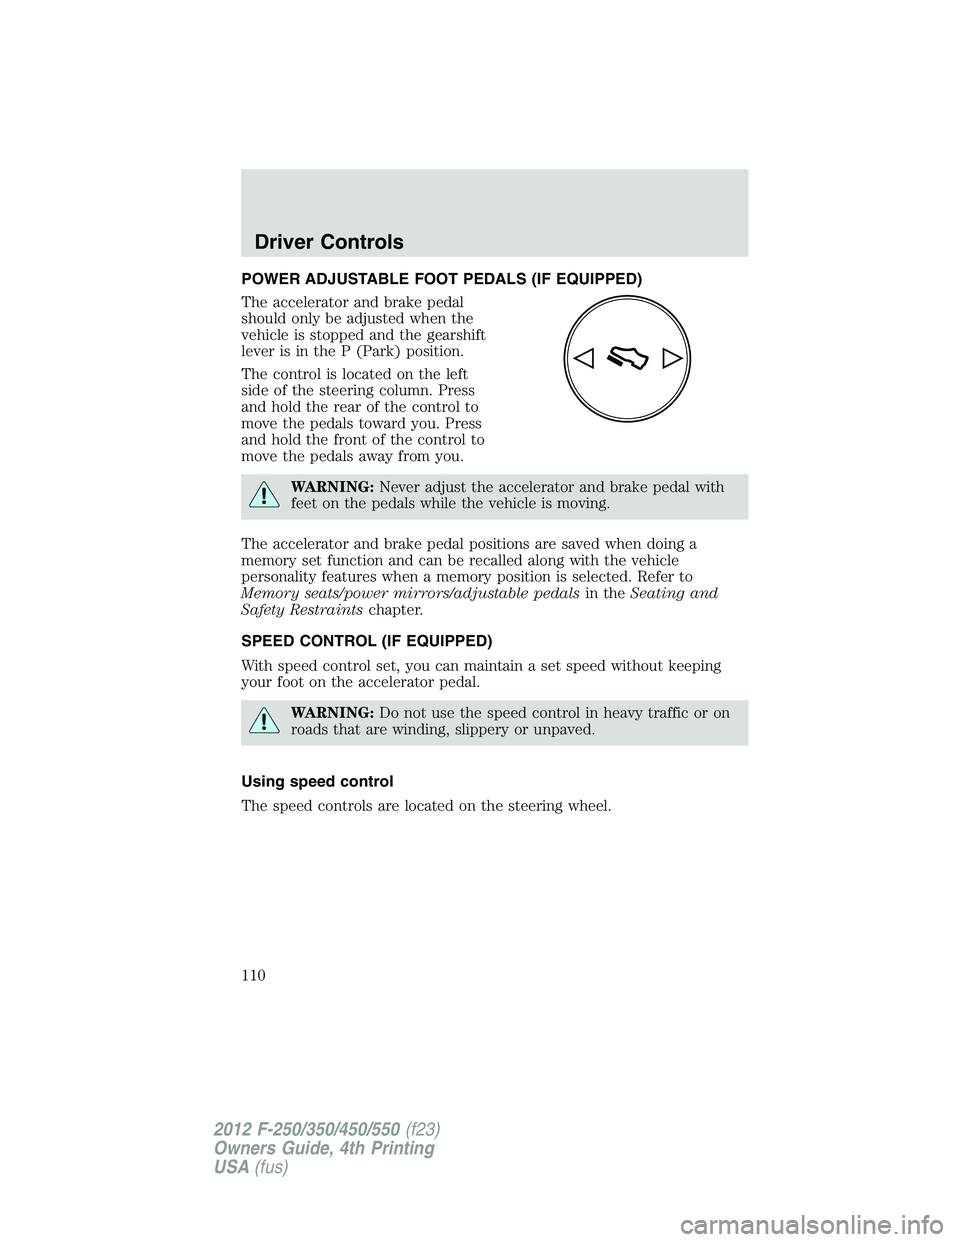
The control is located on the left
side of the steering column. Press
and hold the rear of the control to
move the pedals toward you. Press
and hold the front of the control to
move the pedals away from you.
WARNING: Never adjust the accelerator and brake pedal with
feet on the pedals while the vehicle is moving.
The accelerator and brake pedal positions are saved when doing a
memory set function and can be recalled along with the vehicle
personality features when a memory position is selected. Refer to
Memory seats/power mirrors/adjustable pedals in the Seating and
Safety Restraints chapter.
SPEED CONTROL (IF EQUIPPED)
With speed control set, you can maintain a set speed without keeping
your foot on the accelerator pedal.
WARNING: Do not use the speed control in heavy traffic or on
roads that are winding, slippery or unpaved.
Using speed control
The speed controls are located on the steering wheel.Driver Controls
110
2012 F-250/350/450/550 (f23)
Owners Guide, 4th Printing
USA (fus)
Page 116 of 448
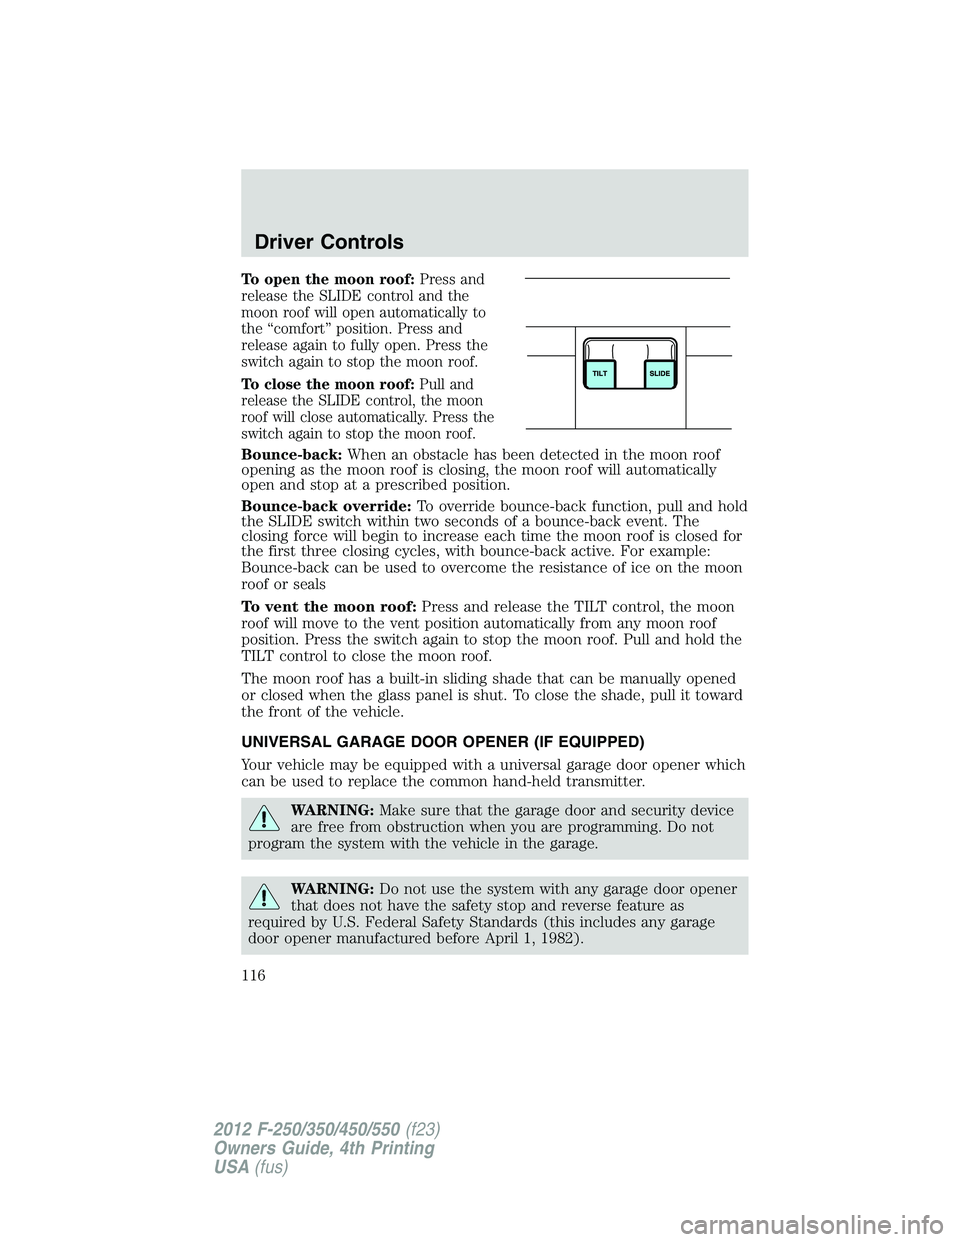
To open the moon roof: Press and
release the SLIDE control and the
moon roof will open automatically to
the “comfort” position. Press and
release again to fully open. Press the
switch again to stop the moon roof.
To close the moon roof: Pull and
release the SLIDE control, the moon
roof will close automatically. Press the
switch again to stop the moon roof.
Bounce-back: When an obstacle has been detected in the moon roof
opening as the moon roof is closing, the moon roof will automatically
open and stop at a prescribed position.
Bounce-back override: To override bounce-back function, pull and hold
the SLIDE switch within two seconds of a bounce-back event. The
closing force will begin to increase each time the moon roof is closed for
the first three closing cycles, with bounce-back active. For example:
Bounce-back can be used to overcome the resistance of ice on the moon
roof or seals
To vent the moon roof: Press and release the TILT control, the moon
roof will move to the vent position automatically from any moon roof
position. Press the switch again to stop the moon roof. Pull and hold the
TILT control to close the moon roof.
The moon roof has a built-in sliding shade that can be manually opened
or closed when the glass panel is shut. To close the shade, pull it toward
the front of the vehicle.
UNIVERSAL GARAGE DOOR OPENER (IF EQUIPPED)
Your vehicle may be equipped with a universal garage door opener which
can be used to replace the common hand-held transmitter.
WARNING: Make sure that the garage door and security device
are free from obstruction when you are programming. Do not
program the system with the vehicle in the garage.
WARNING: Do not use the system with any garage door opener
that does not have the safety stop and reverse feature as
required by U.S. Federal Safety Standards (this includes any garage
door opener manufactured before April 1, 1982).Driver Controls
116
2012 F-250/350/450/550 (f23)
Owners Guide, 4th Printing
USA (fus)
Page 124 of 448
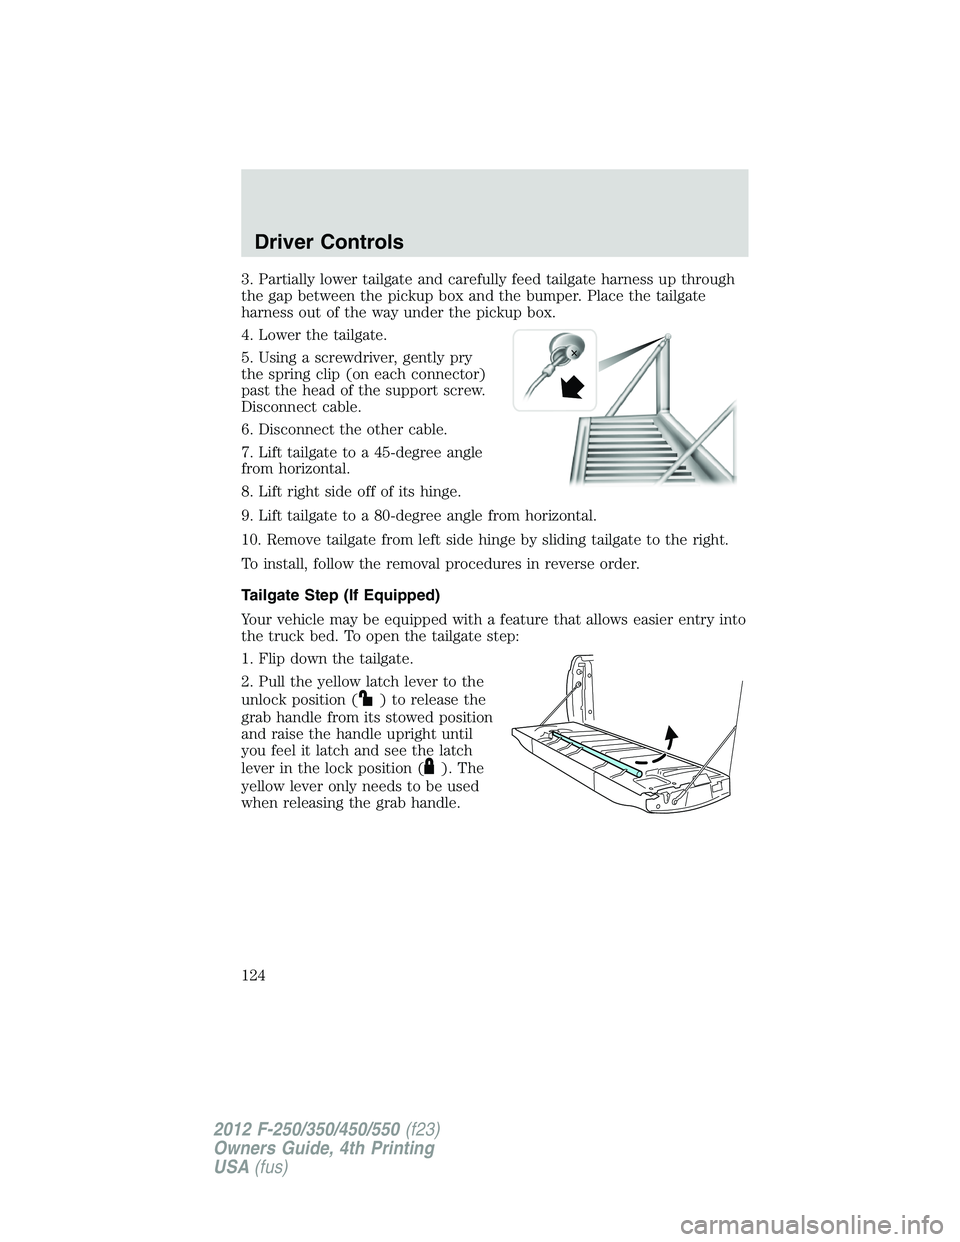
3. Partially lower tailgate and carefully feed tailgate harness up through
the gap between the pickup box and the bumper. Place the tailgate
harness out of the way under the pickup box.
4. Lower the tailgate.
5. Using a screwdriver, gently pry
the spring clip (on each connector)
past the head of the support screw.
Disconnect cable.
6. Disconnect the other cable.
7. Lift tailgate to a 45-degree angle
from horizontal.
8. Lift right side off of its hinge.
9. Lift tailgate to a 80-degree angle from horizontal.
10. Remove tailgate from left side hinge by sliding tailgate to the right.
To install, follow the removal procedures in reverse order.
Tailgate Step (If Equipped)
Your vehicle may be equipped with a feature that allows easier entry into
the truck bed. To open the tailgate step:
1. Flip down the tailgate.
2. Pull the yellow latch lever to the
unlock position (
) to release the
grab handle from its stowed position
and raise the handle upright until
you feel it latch and see the latch
lever in the lock position ( ). The
yellow lever only needs to be used
when releasing the grab handle.Driver Controls
124
2012 F-250/350/450/550 (f23)
Owners Guide, 4th Printing
USA (fus)