Page 13 of 36

Hill descent mode
Hill descent allows the driver to set and maintain vehicle speed while
descending steep grades regardless of surface conditions. Refer to
Message centerin theInstrument Clusterchapter of yourOwner’s
Guidefor hill-descent related messages.
Hill descent control can maintain vehicle speeds on downhill grades
between 2 and 20 mph (3 and 32 km/h). Between 20 and 40 mph (32
and 64 km/h), the system remains enabled, but descent speed cannot be
set or maintained. If vehicle speed is above 40 mph (64 km/h), the
system is disabled. After this point, vehicle speed must drop below
40 mph (64 km/h), and the hill descent control button must be pressed
again to engage the feature.
WARNING:Hill descent mode does not provide hill hold at zero
mph (0 km/h). When stopped, the parking brake must be applied
and/or the vehicle must be placed in P (Park) or it may roll away.
Hill descent control requires a cooling down interval after a period of
sustained use. The amount of time that the feature can remain active
before cooling varies with conditions. The system will provide a warning
in the message center and a chime will sound when the system is about
to disengage for cooling. At this time, manually apply the brakes as
needed to maintain descent speed.
Enabling hill descent control and setting the descent speed
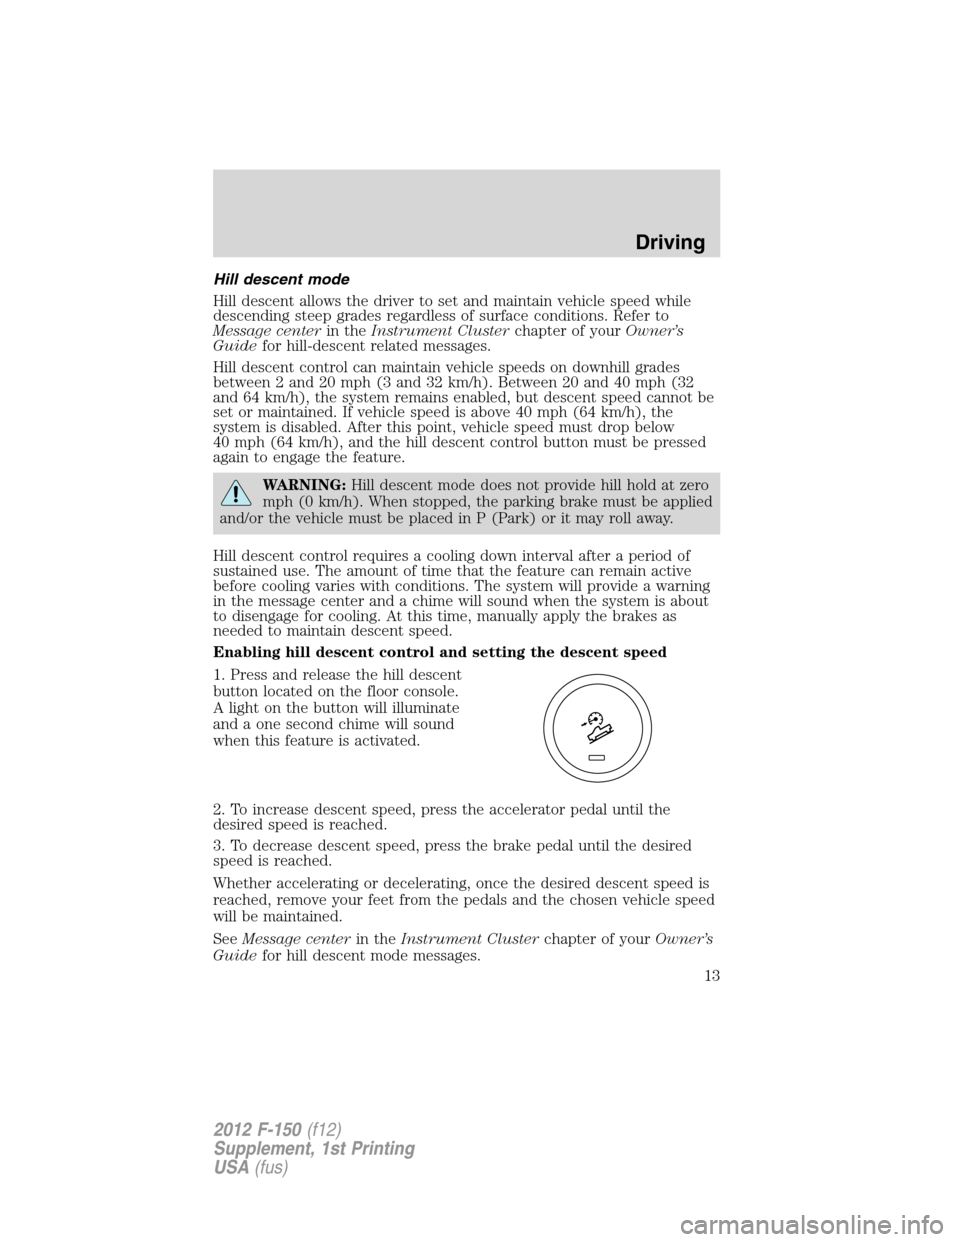
1. Press and release the hill descent
button located on the floor console.
A light on the button will illuminate
and a one second chime will sound
when this feature is activated.
2. To increase descent speed, press the accelerator pedal until the
desired speed is reached.
3. To decrease descent speed, press the brake pedal until the desired
speed is reached.
Whether accelerating or decelerating, once the desired descent speed is
reached, remove your feet from the pedals and the chosen vehicle speed
will be maintained.
SeeMessage centerin theInstrument Clusterchapter of yourOwner’s
Guidefor hill descent mode messages.
Driving
13
2012 F-150(f12)
Supplement, 1st Printing
USA(fus)
Page 25 of 36

•While driving in desert conditions, the midpoint of the day is the most
difficult time to see many of the small ridges and dips due to�flat
shadows�from the sun being at its highest point. Extreme care should
be taken at these times to not inadvertently run into these obstacles.
•It is highly encouraged that you switch to off-road mode and perform
an�AdvanceTrac single press�to ensure improved off-road braking
performance under these conditions. Be sure to disengage the
�off-road mode�and switch back to�AdvanceTrac key-on mode�before
performing any street driving. Please see the Off-road mode section of
this supplement for more details.
After off-road driving
It is important to complete a full vehicle inspection after off-road driving.
Some items to check include:
•Ensure that tires are inflated to proper tire pressure as indicated on
the tire placard.
•Check the wheels and undercarriage for built up mud or debris which
can cause vehicle vibration.
•Ensure that the grille and radiator are clear of any obstructions that
may affect cooling.
•Ensure that the brakes are in proper working order and free of any
mud, stones etc., which can become trapped around the brake rotor,
backing plate and caliper.
•Check that the air filter is clean and dry.
•Inspect for torn or punctured boots on ball joints, half shafts, steering
gears.
•Inspect exhaust system for damage or looseness.
•Inspect undercarriage fasteners. If any are loose or damaged, tighten
or replace ensuring that the proper torque specification is used.
•Inspect the tires for any cuts in the tread or sidewall area. Also
inspect the sidewall for any bulge indicating damage to the tire.
•Inspect the wheels for dents, cracks, or other damage.
Driving
25
2012 F-150(f12)
Supplement, 1st Printing
USA(fus)
Page 30 of 36

Item CapacityFord part name or
equivalentFord part number /
Ford Specification
Rear axle fluid friction
modifier4 oz. (118 ml) Additive Friction ModifierXL-3
EST-M2C118-A
Fuel tank26 gallons
(98.4L)——
Transmission fluid
3
12.4L
(13.1 quarts)
4
Motorcraft
MERCON�LV AT FXT-10-QLV /
MERCON�LV
Transfer case lubricant1.4-1.5L
(2.9-3.1 pints)Motorcraft Transfer Case
FluidXL-12 / —
1Add the coolant type originally equipped in your vehicle.2Fill 6 mm to 14 mm (1/4 inch to 9/16 inch) below bottom of fill hole.
Your vehicle’s rear axle is filled with a synthetic rear axle lubricant and is considered lubricated for
life. These lubricants do not need to be checked or changed unless a leak is suspected, service is
required or the axle assembly has been submerged in water. The axle lubricant should be changed
any time the rear axle has been submerged in water.3Ensure the correct automatic transmission fluid is used. Transmission fluid requirements are
indicated on the dipstick or on the dipstick handle. Check the container to verify the fluid being
added is of the correct type. Refer to yourscheduled maintenance informationto determine the
correct service interval.4Approximate dry fill capacity including transmission fluid cooling system, actual refill capacities
will vary based on vehicle application and transmission fluid cooling system (i.e. coolers size,
cooling lines, auxiliary cooler capacities). The amount of transmission fluid and fluid level should
be set by the indication on the dipstick’s normal operating range.5Use of synthetic or synthetic blend motor oil is not mandatory. Engine oil need only meet the
requirements of Ford specification WSS-M2C945-A and the API Certification mark.
Maintenance
30
2012 F-150(f12)
Supplement, 1st Printing
USA(fus)