Page 74 of 391
▫Seat Height Adjustment ................. 90
▫ Ez Entry Feature ...................... 90
▫ Memory Feature ...................... 91
▫ Heated Seats — If Equipped ............. 91
▫ Head Restraints ...................... 92
� To Open And Close The Hood ............. 94
� Lights .............................. 96
▫ Multifunction Lever ................... 96
▫ Headlights .......................... 96
▫ High Beams ......................... 97
▫ Flash-To-Pass ........................ 97
▫ Parking Lights ....................... 97
▫ Daytime Running Lights — If Equipped ..... 97▫
Turn Signals ......................... 98
▫ Lane Change Assist .................... 98
▫ Follow Me Home/Headlight Delay ........ 98
▫ Interior Lights ....................... 99
▫ Front Fog Lights — If Equipped .......... 100
� Windshield Wipers And Washers .......... 101
▫ Front Windshield Wiper Operation ........ 101
▫ Rear Windshield Wiper ................ 103
� Tilt Steering Column — If Equipped ........ 104
� Electronic Speed Control ................ 105
▫ To Activate ......................... 106
▫ To Set A Desired Speed ................ 106
▫ To Deactivate ....................... 106
72 UNDERSTANDING THE FEATURES OF YOUR VEHICLE
Page 98 of 391
LIGHTS
Multifunction Lever
The multifunction lever, located on the left side of the
steering wheel, controls the operation of the headlights,
headlight beam selection, passing light and turn signals.
NOTE:The external lights can only be turned on with
the ignition in the ON/RUN position.
Headlights
Rotate the end of the multifunction lever up-
ward to the first detent for headlight operation.
NOTE:When the headlights are turned on, the Daytime
Running Lights will be deactivated.
Headlight Operation
96 UNDERSTANDING THE FEATURES OF YOUR VEHICLE
Page 99 of 391
High Beams
With the low beams activated, push the multifunc-
tion lever towards the instrument panel to turn on
the high beams. Pull the multifunction lever toward the
steering wheel to turn off the high beams.
Flash-To-Pass
You can signal another vehicle with your headlights by
lightly pulling the multifunction lever toward the steer-
ing wheel. This will turn on the high beams until the
lever is released.
Parking Lights
To turn on the parking lights, remove the key
or turn the ignition to OFF/LOCK position and
turn on the headlights.
Daytime Running Lights — If Equipped
To activate the Daytime Running Lights (DRL), rotate the
end of the multifunction lever to the Osymbol.
NOTE: The low beams and side/taillights will not be on
with DRL.
The DRL function can be turned on or off using the
display menus. Refer to “Electronic Vehicle Information
Center (EVIC)” in “Understanding Your Instrument
Panel” for further information.
3
UNDERSTANDING THE FEATURES OF YOUR VEHICLE 97
Page 100 of 391
Turn Signals
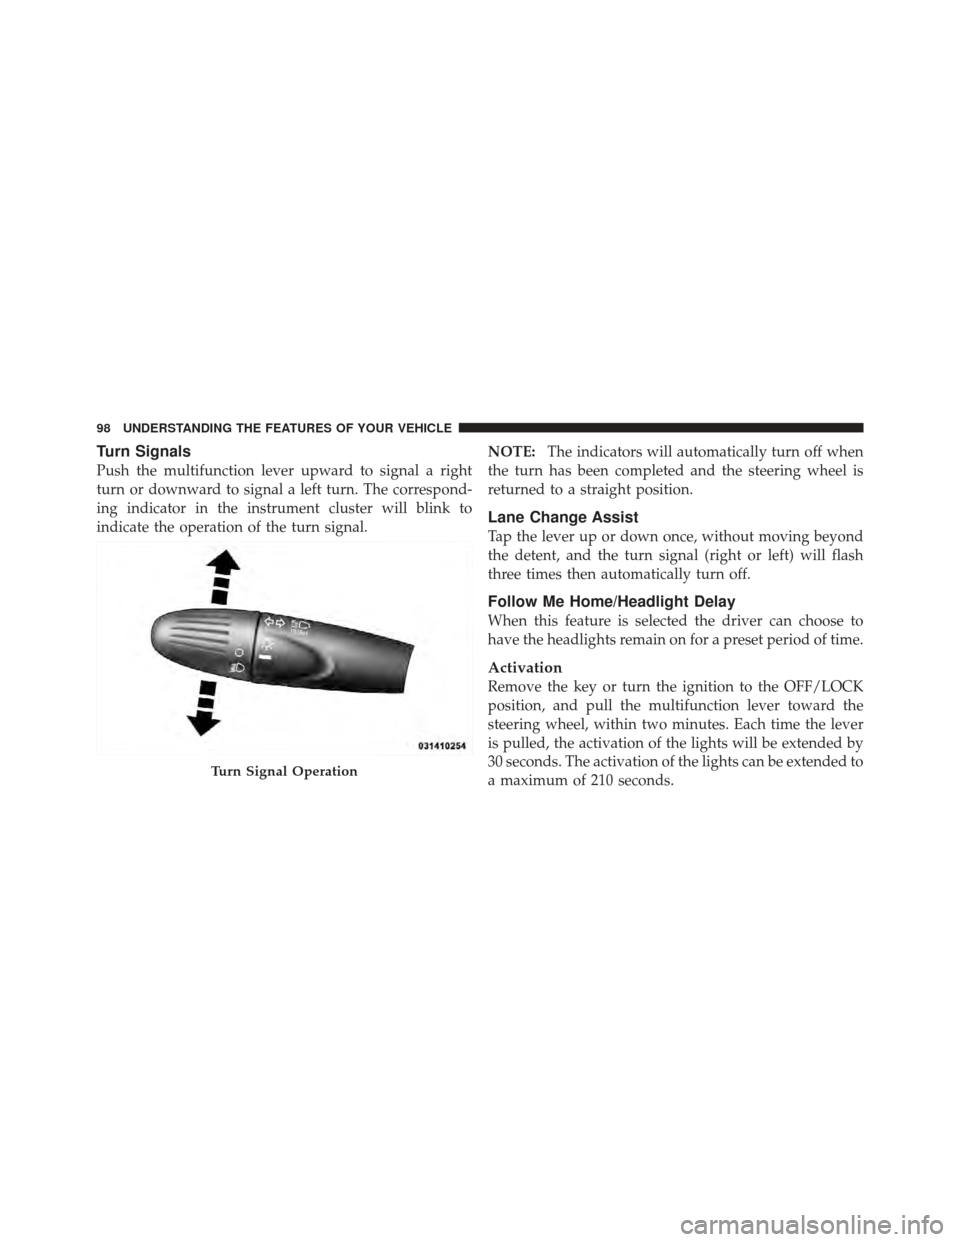
Push the multifunction lever upward to signal a right
turn or downward to signal a left turn. The correspond-
ing indicator in the instrument cluster will blink to
indicate the operation of the turn signal.NOTE:
The indicators will automatically turn off when
the turn has been completed and the steering wheel is
returned to a straight position.
Lane Change Assist
Tap the lever up or down once, without moving beyond
the detent, and the turn signal (right or left) will flash
three times then automatically turn off.
Follow Me Home/Headlight Delay
When this feature is selected the driver can choose to
have the headlights remain on for a preset period of time.
Activation
Remove the key or turn the ignition to the OFF/LOCK
position, and pull the multifunction lever toward the
steering wheel, within two minutes. Each time the lever
is pulled, the activation of the lights will be extended by
30 seconds. The activation of the lights can be extended to
a maximum of 210 seconds.
Turn Signal Operation
98 UNDERSTANDING THE FEATURES OF YOUR VEHICLE
Page 132 of 391
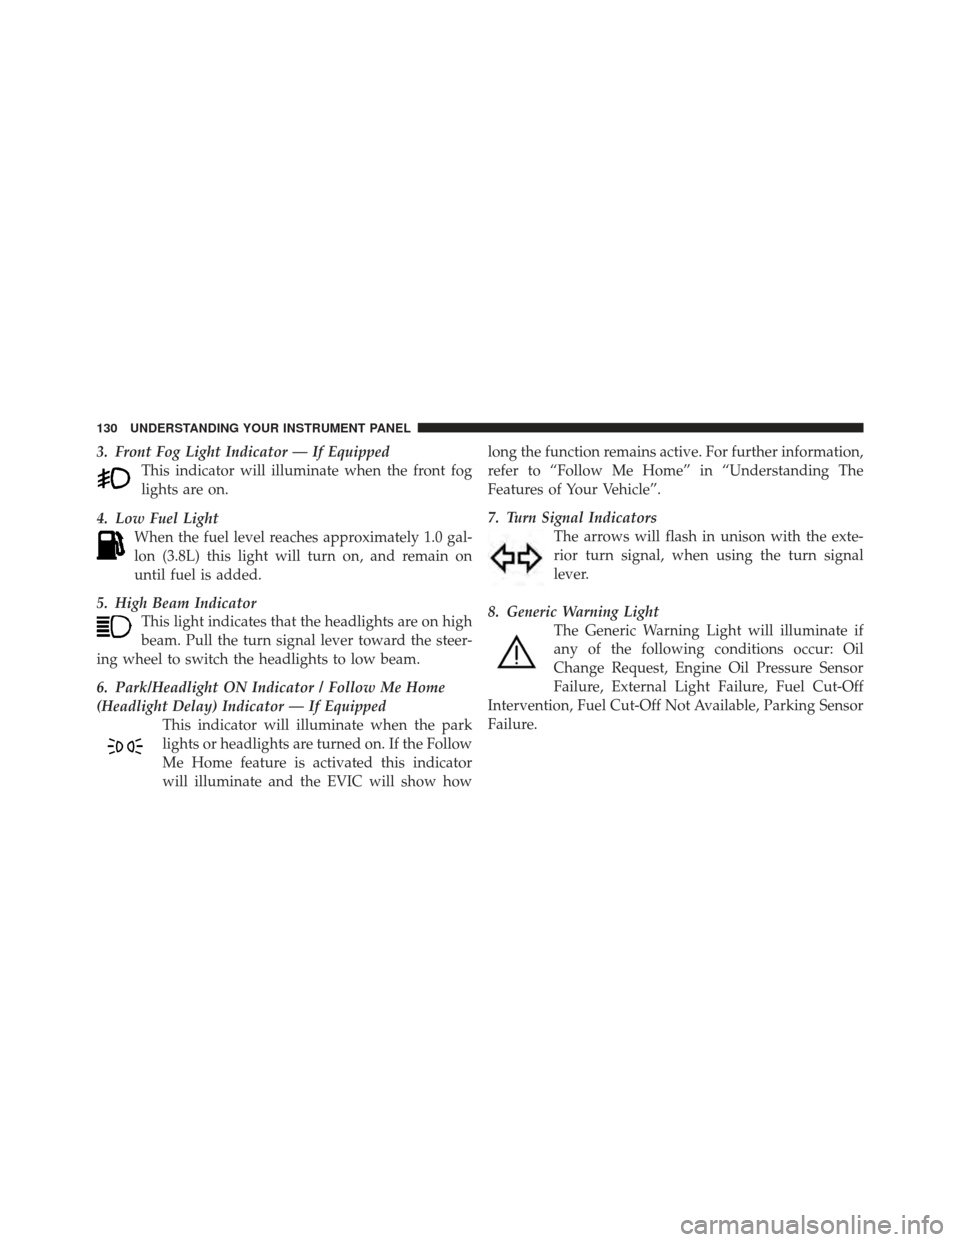
3. Front Fog Light Indicator — If EquippedThis indicator will illuminate when the front fog
lights are on.
4. Low Fuel Light When the fuel level reaches approximately 1.0 gal-
lon (3.8L) this light will turn on, and remain on
until fuel is added.
5. High Beam Indicator This light indicates that the headlights are on high
beam. Pull the turn signal lever toward the steer-
ing wheel to switch the headlights to low beam.
6. Park/Headlight ON Indicator / Follow Me Home
(Headlight Delay) Indicator — If Equipped This indicator will illuminate when the park
lights or headlights are turned on. If the Follow
Me Home feature is activated this indicator
will illuminate and the EVIC will show how long the function remains active. For further information,
refer to “Follow Me Home” in “Understanding The
Features of Your Vehicle”.
7. Turn Signal Indicators
The arrows will flash in unison with the exte-
rior turn signal, when using the turn signal
lever.
8. Generic Warning Light The Generic Warning Light will illuminate if
any of the following conditions occur: Oil
Change Request, Engine Oil Pressure Sensor
Failure, External Light Failure, Fuel Cut-Off
Intervention, Fuel Cut-Off Not Available, Parking Sensor
Failure.
130 UNDERSTANDING YOUR INSTRUMENT PANEL
Page 332 of 391
Your leather upholstery can be best preserved by regular
cleaning with a damp, soft cloth. Small particles of dirt
can act as an abrasive and damage the leather upholstery
and should be removed promptly with a damp cloth.
Stubborn soils can be removed easily with a soft cloth
and MOPAR�Total Clean or equivalent. Care should be
taken to avoid soaking your leather upholstery with any
liquid. Please do not use polishes, oils, cleaning fluids,
solvents, detergents, or ammonia-based cleaners to clean
your leather upholstery. Application of a leather condi-
tioner is not required to maintain the original condition.
WARNING!
Do not use volatile solvents for cleaning purposes.
Many are potentially flammable, and if used in
closed areas, they may cause respiratory harm.
Cleaning Headlights
Your vehicle has plastic headlights that are lighter and
less susceptible to stone breakage than glass headlights.
Plastic is not as scratch resistant as glass and, therefore,
different lens cleaning procedures must be followed.
To minimize the possibility of scratching the lenses and
reducing light output, avoid wiping with a dry cloth. To
remove road dirt, wash with a mild soap solution fol-
lowed by rinsing.
Do not use abrasive cleaning components, solvents, steel
wool or other aggressive material to clean the lenses.
Glass Surfaces
All glass surfaces should be cleaned on a regular basis
with MOPAR� Glass Cleaner or any commercial
household-type glass cleaner. Never use an abrasive type
cleaner. Use caution when cleaning the inside rear win-
dow equipped with electric defrosters or the right rear
330 MAINTAINING YOUR VEHICLE
Page 381 of 391
Light............................. 130
Octane Rating ....................... 257
Requirements ....................... 257
Tank Capacity ....................... 343
Fuel System Caution ..................... 262
Gas Cap (Fuel Filler Cap) ...............262,263
Gasoline (Fuel) ....................... 257,343
Gasoline, Clean Air ...................... 257
Gasoline, Reformulated ................... 258
Gauges Coolant Temperature .................. 138
Fuel .............................. 140
Odometer .......................... 139
Tachometer ......................... 140
Gear Ranges ........................... 209
Gear Select Lever Override ................. 294
General Information .................... 15,256
General Maintenance ..................... 305 Glass Cleaning
.......................... 330
Hazard Driving Through Flowing, Rising, or Shallow
Standing Water ...................... 217
Headlights ............................. 96
Cleaning ........................... 330
High Beam ......................... 130
Switch ............................. 97
Heated Seats ............................ 91
Heater ............................... 186
Hill Start Assist ......................... 227
Holder, Cup ........................... 120
Hood Release ........................... 94
Ignition ............................... 12
Key ............................. 1 1,12
Ignition Key Removal ..................... 12
Immobilizer (Sentry Key) ................... 14
10
INDEX 379