2012 DODGE JOURNEY manual radio set
[x] Cancel search: manual radio setPage 29 of 108

• Rotate the dimmer control up to increase the brightness of the instrument panelwhen the parking lights or headlights are on.
• Rotate the dimmer control up to the next detent position to fully brighten the odometer and radio when the parking lights or headlights are on. Refer to your
Media Center/Radio User Manual on the DVD for display dimming.
• Rotate the dimmer control up to the last detent position to turn on the interior lighting.
SPEED CONTROL
• The speed control switches are locatedon the steering wheel.
Cruise ON/OFF
• Push the ON/OFF button to activatethe Speed Control.
• CRUISE
will appear on the
instrument cluster to indicate the
Speed Control is on.
• Push the ON/OFF button a second time to turn the system off.
Set
• With the Speed Control on, push and release the SET – button to set a desiredspeed.
Accel/Decel
• Once a speed is set, pushing the RES + button once or the SET – button once willincrease or decrease the set speed approximately 1 mph (2 km/h).
• Push and hold the RES + button to accelerate in 5mph (8 km/h) increments or push and hold the SET – button to decelerate in 5mph (8 km/h) increments;
release the button to save the new set speed.
Resume
• To resume a previously selected set speed in memory, push the RES + button andrelease.
OPERATING YOUR VEHICLE
27
Page 41 of 108

Setting the Time
• Model 8.4N synchronizes time automatically via GPS, so should not require anytime adjustment. If you do need to set the time manually, follow the instructions
below for Model 8.4.
• For Model 8.4, turn the unit on, then touch the time display at the top of the screen. Touch Yes.
• If the time is not displayed at the top of the screen, touch More soft-key and then Settings soft-key. In the Settings screen, touch the Clock soft-key, then check or
uncheck this option.
• Touch + or – next to Set Time Hours and Set Time Minutes to adjust the time.
• If these features are not available, uncheck the Sync with GPS box.
• Touch X to save your settings and exit out of the Clock Setting screen.
Audio Settings
• Touch the Audio soft-key to activate the Audio settings screen to adjust Balance\Fade, Equalizer, and Speed Adjusted Volume.
• You can return to the Radio screen by touching the X located at the top right.
Balance/Fade • Touch the Balance/Fade soft-key to Balance audio between the front speakers or fade the audio between the rear and front speakers.
• Touching the Front, Rear, Left, or Right soft-keys or touch and drag the red Speaker Icon to adjust the Balance/Fade.
Equalizer • Touch the Equalizer soft-key to activate the Equalizer screen.
• Touch the + or - soft-keys, or by touching and dragging over the level bar for each of the equalizer bands. The level value, which spans between ±9, is displayed at
the bottom of each of the Bands.
Speed Adjusted Volume • Touch the Speed Adjusted Volume soft-key to activate the Speed Adjusted Volume screen. The Speed Adjusted Volume is adjusted by touching the + and - buttons or
by touching and dragging over the level bar. This alters the automatic adjustment
of the audio volume with variation to vehicle speed.
ELECTRONICS
39
Page 54 of 108

• Refer to the Understand The Features Of Your Vehicle section of your vehicle'sOwner's Manual on the DVD for further details.
NOTE: The Uconnect™ Phone requires a mobile phone equipped with the Bluetooth
®
Hands-Free Profile, Version 1.0 or higher. For Uconnect™ customer support, call
1–877–855–8400 or visit www.UconnectPhone.com.
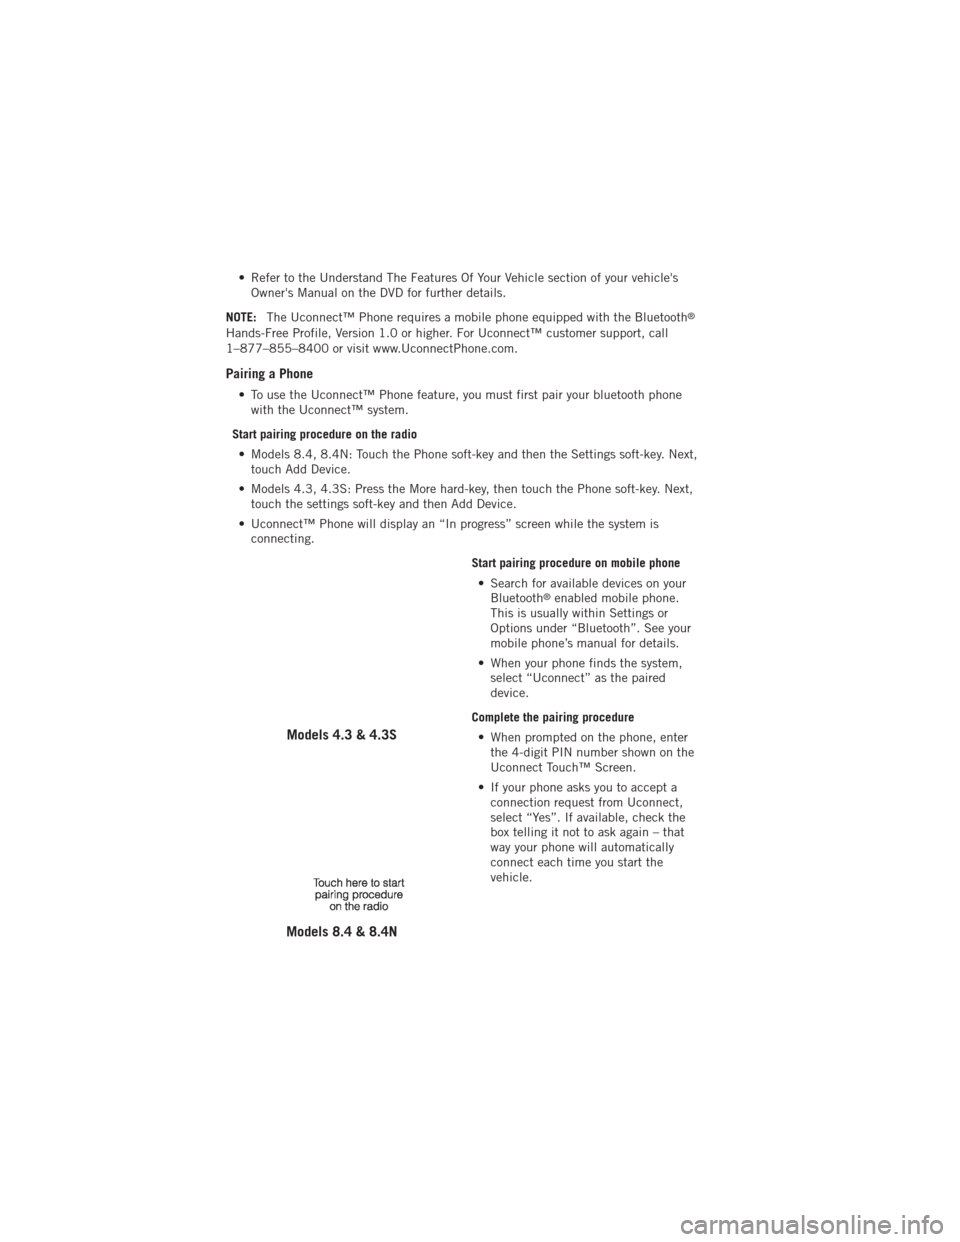
Pairing a Phone
• To use the Uconnect™ Phone feature, you must first pair your bluetooth phone
with the Uconnect™ system.
Start pairing procedure on the radio • Models 8.4, 8.4N: Touch the Phone soft-key and then the Settings soft-key. Next, touch Add Device.
• Models 4.3, 4.3S: Press the More hard-key, then touch the Phone soft-key. Next, touch the settings soft-key and then Add Device.
• Uconnect™ Phone will display an “In progress” screen while the system is connecting.
Start pairing procedure on mobile phone• Search for available devices on your Bluetooth
®enabled mobile phone.
This is usually within Settings or
Options under “Bluetooth”. See your
mobile phone’s manual for details.
• When your phone finds the system, select “Uconnect” as the paired
device.
Complete the pairing procedure • When prompted on the phone, enter the 4-digit PIN number shown on the
Uconnect Touch™ Screen.
• If your phone asks you to accept a connection request from Uconnect,
select “Yes”. If available, check the
box telling it not to ask again – that
way your phone will automatically
connect each time you start the
vehicle.
Models 4.3 & 4.3S
Models 8.4 & 8.4N
ELECTRONICS
52
Page 57 of 108

Making A Phone Call
• Press the Uconnect™ Phone button.
• (After the BEEP), say “dial” then the number (or “call” then the name as listed in your phone; see Phonebook below).
NOTE: You can also initiate a call by using the touch-screen on the Phone main screen.
Receiving A Call – Accept (And End)
• When an incoming call rings/is announced on Uconnect™, press the Phone button.
• To end a call, press the Phone button
.
Mute (Or Unmute) Microphone During Call
• During a call, touch the mute soft-key on the Phone main screen to mute and unmute the call.
Transfer Ongoing Call Between Handset And Vehicle
• During a call, touch the Transfer soft-key on the Phone main screen to transfer anon going call between handset and vehicle.
Common Phone Commands
“Call John Smith”
“Call John Smith mobile”
“Dial 1 248 555 12XX”
“Call Emergency”
“Call Towing Assistance”
“Redial”
Phonebook
• Uconnect Touch™ radios will automatically download your phonebook from yourpaired phone, if this feature is supported by your phone. Entries are updated each
time that the phone is paired. If your phone book entries do not appear, check the
settings on your phone. Some phones require you to enable this feature manually.
• Your phonebook can be browsed on your radio screen, but editing can only be done on your phone. To browse, touch the Phone soft-key, then the Phonebook soft-key.
• Favorite phonebook entries can be saved as Favorites for quicker access. Favorites are shown at the top of your main phone screen (8.4 & 8.4N Only).
Voice Command Tips
• Use longer names that are less easily mistaken for others. For examples, say “CallJohn Doe” instead of “Call John”.
• You can “chain” commands together for faster results. Say “Call John Doe, mobile”, for example.
• You can interrupt while the system is talking to you, enabling you to say your response without waiting. Just press the
button on the steering wheel to
say your command.
ELECTRONICS
55
Page 59 of 108

• You can “chain” commands together for faster results. Say “Call John Doe,mobile”, for example.
Changing The Volume
• Start a dialogue by pressing the Voice Command button, then say a
command (for example, “help”).
• Use the radio ON/OFF VOLUME rotary knob to adjust the volume to a comfortable level while the Voice Command system is speaking. The volume setting for Voice
Command is different than the audio system.
• Refer to the Understand The Features Of Your Vehicle section of your vehicle's Owner's Manual on the DVD for further details.
Common Voice Commands (Examples)
Switch Modes “FM”
“Satellite” “AM”
“Change Source to my iPod”
“Change Source to SD Card”
Radio (FM, AM) “95.5”
“95.5 FM”
“Go to preset 5”
Player “Play Album 'Greatest Hits”
“Play Artist 'Scott Joplin” “Play Genre 'Rock” “Play Song
'Maple Leaf Rag”
Sirius XM™ Satellite
Radio “39”
“Foxxhole”
Sirius Travel Link “Show fuel prices”
“Show movie listings”
“Show current weather”
“Show extended weather”
“Show Travel Link favorites”
“Show NFL headlines”
“Show NBA rankings”
“Show NFL schedules”
“Show NBA scores”
NOTE:
• You must have that particular mode selected for the command to be recognized. For example, if you are in Sirius XM™ Satellite Radio mode you can say “39”, but if you
are not in Sirius XM mode, you would need to say “Tune to Satellite Channel 39.”
ELECTRONICS
57