Page 270 of 643
NOTE:The front cupholder light ring and pass through
lighting is controlled by a dimming switch located on the
instrument panel, refer to “Lights” in “Understanding
The Features Of Your Vehicle” for further information.
Located in the back of the super console is a storage
drawer and cupholders for the rear passengers.
Super Console
1 — Front Sliding Tambour Door
2 — Cupholder Light Ring
3 — Rear Sliding Tambour Door
Rear Drawer Storage
3
UNDERSTANDING THE FEATURES OF YOUR VEHICLE 267
Page 282 of 643
UNDERSTANDING YOUR INSTRUMENT PANEL
CONTENTS
�Instrument Panel Features ............... 283
� Instrument Cluster — Base ............... 284
� Instrument Cluster — Premium ........... 285
� Instrument Cluster Descriptions ........... 286
� Electronic Vehicle Information Center
(EVIC) — If Equipped ................... 300
▫ Electronic Vehicle Information Center
(EVIC) Displays ..................... 302
▫ EVIC White Telltale Lights .............. 305
▫ EVIC Amber Telltale Lights ............. 306▫
EVIC Red Telltale Lights ............... 306
▫ Oil Change Required .................. 309
▫ Fuel Economy ...................... 310
▫ Vehicle Speed ....................... 311
▫ Trip Info .......................... 311
▫ TirePSI ........................... 312
▫ Units ............................. 312
▫ Vehicle Info
(Customer Information Features) ......... 312
4
Page 289 of 643

INSTRUMENT CLUSTER DESCRIPTIONS
1. Tachometer
The red segments indicate the maximum permissible
engine revolutions per minute (RPM x 1000) for each gear
range. Before reaching the red area, ease up on the
accelerator.
2. Front Fog Light Indicator — If EquippedThis indicator will illuminate when the front fog
lights are on.
3. Park/Headlight ON Indicator — If Equipped This indicator will illuminate when the park
lights or headlights are turned on.
4. Turn Signal Indicators The arrow will flash with the exterior turn signal
when the turn signal lever is operated. If the vehicle is driven more than 1 mile (1.6 km) with
either turn signal on, a continuous chime will sound to
alert you to turn the signal off. If either indicator flashes
at a rapid rate, check for a defective outside light bulb.
5. High Beam Indicator
This indicator shows that the high beam head-
lights are on. Push the multifunction lever forward
to switch the headlights to high beam, and pull toward
yourself (normal position) to return to low beam.
6. Odometer Display / Electronic Vehicle Information
Center (EVIC) Display — If Equipped
Odometer Display / Trip Odometer Display
The odometer display shows the total distance the ve-
hicle has been driven.
U.S. Federal regulations require that upon transfer of
vehicle ownership, the seller certify to the purchaser the
correct mileage that the vehicle has been driven. If your
286 UNDERSTANDING YOUR INSTRUMENT PANEL
Page 306 of 643
•Unstored Messages
This message type is displayed indefinitely or until the
condition that activated the message is cleared. Examples
of this message type are �Turn Signal On�(if a turn signal
is left on) and �Lights On�(if driver leaves the vehicle).
•Unstored Messages Until RUN
These messages deal primarily with the Remote Start
feature. This message type is displayed until the ignition
is in the RUN state. Examples of this message type are
�Remote Start Aborted - Door Ajar� and�Press Brake
Pedal and Push Button to Start�.
•Five Second Unstored Messages
When the appropriate conditions occur, this type of
message takes control of the main display area for five
seconds and then returns to the previous screen. Ex-
amples of this message type are �Memory System Un-
available - Not in Park� and�Automatic High Beams On�. The Reconfigurable Telltales section is divided into the
white telltales area on the right, amber telltales in the
middle, and red telltales on the left.
When the appropriate conditions exist, the EVIC displays
the following messages:
•Key in ignition
•Ignition or Accessory On
•Remote start aborted — Door ajar
•Remote start aborted — Hood ajar
•Remote start aborted — L/Gate ajar
•Remote start aborted — Fuel low
•Remote start disabled — Start Vehicle to Reset
•Remote start active — Key to Run
•Wrong Key
4
UNDERSTANDING YOUR INSTRUMENT PANEL 303
Page 308 of 643
•Blind Spot System Not Available — This message is
displayed to indicate the Blind Spot Monitor (BSM)
system is temporarily unavailable due to sensor block-
age, electronic interference, or other�temporary�con-
ditions. When this message is displayed both outside
rear view icons will be illuminated. If electronic inter-
ference is present, the BSM system will illuminate the
icon only on the side of interference as long as
interference is present.
•Service Blind Spot System — This message is dis-
played to indicate the Blind Spot Monitor (BSM)
system is permanently unavailable. The driver will
receive an EVIC message and the BSM display warn-
ing in both mirrors will be permanently illuminated. If
this message is present see an authorized dealer.
EVIC White Telltale Lights
This area will show reconfigurable white caution tell-
tales. These telltales include:
•Electronic Range Select (ERS) Status
The shift lever status “5,4,3,2,1” are displayed indicating
the shift lever position. Telltales “5,4,3,2,1” indicate the
Electronic Range Select (ERS) feature has been engaged
and the gear selected is displayed. For further informa-
tion on ERS, refer to “Starting And Operating”
•Electronic Speed Control Ready This light will turn on when the electronic
speed control is ready. For further information,
refer to “Electronic Speed Control” in “Under-
standing The Features Of Your Vehicle.”
4
UNDERSTANDING YOUR INSTRUMENT PANEL 305
Page 309 of 643
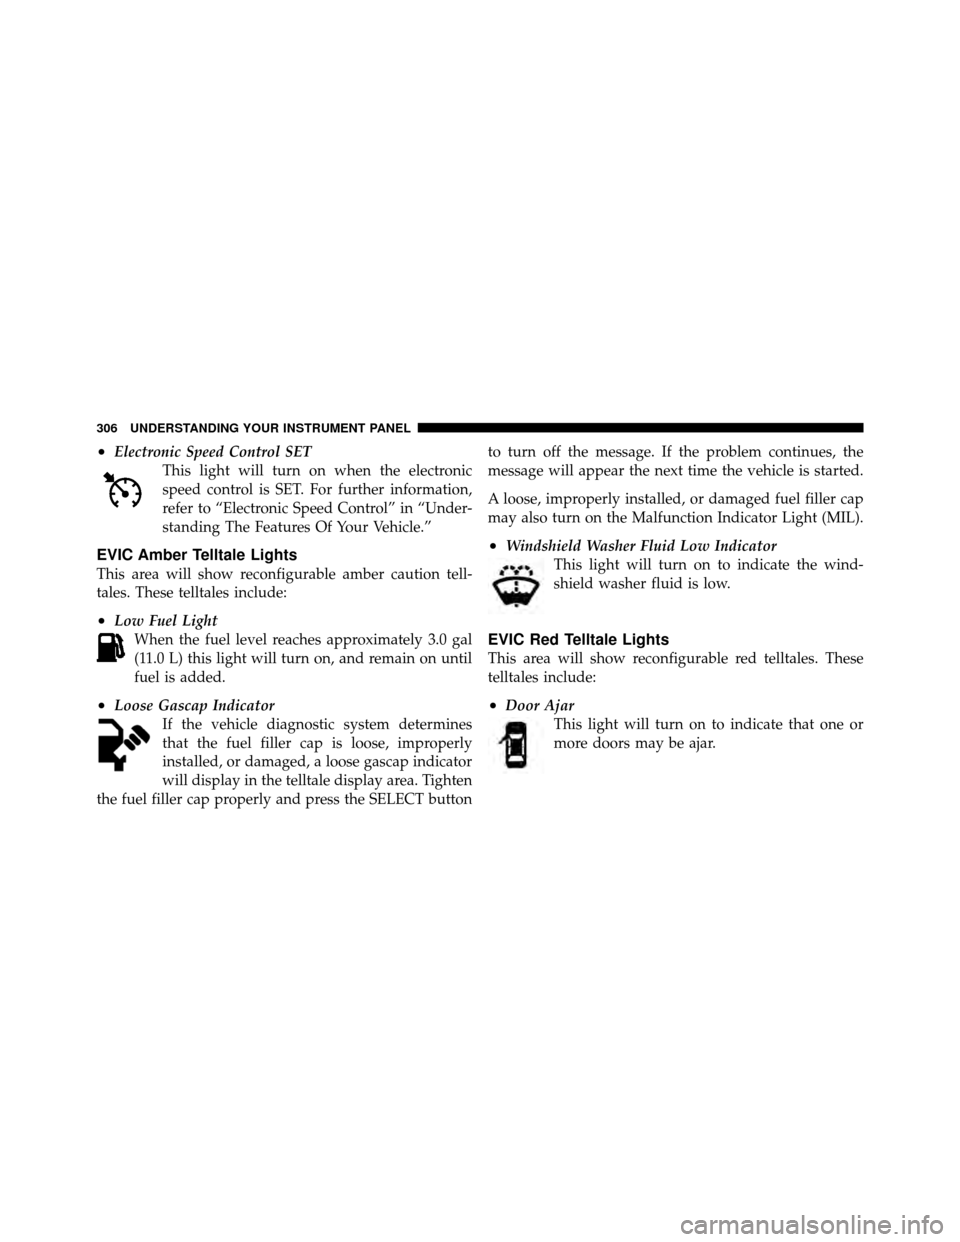
•Electronic Speed Control SETThis light will turn on when the electronic
speed control is SET. For further information,
refer to “Electronic Speed Control” in “Under-
standing The Features Of Your Vehicle.”
EVIC Amber Telltale Lights
This area will show reconfigurable amber caution tell-
tales. These telltales include:
•Low Fuel LightWhen the fuel level reaches approximately 3.0 gal
(11.0 L) this light will turn on, and remain on until
fuel is added.
•Loose Gascap Indicator If the vehicle diagnostic system determines
that the fuel filler cap is loose, improperly
installed, or damaged, a loose gascap indicator
will display in the telltale display area. Tighten
the fuel filler cap properly and press the SELECT button to turn off the message. If the problem continues, the
message will appear the next time the vehicle is started.
A loose, improperly installed, or damaged fuel filler cap
may also turn on the Malfunction Indicator Light (MIL).
•Windshield Washer Fluid Low Indicator
This light will turn on to indicate the wind-
shield washer fluid is low.
EVIC Red Telltale Lights
This area will show reconfigurable red telltales. These
telltales include:
•Door AjarThis light will turn on to indicate that one or
more doors may be ajar.
306 UNDERSTANDING YOUR INSTRUMENT PANEL
Page 321 of 643
In warm weather, the driver vented seat feature will
automatically turn on when the remote start is activated.
These features will stay on through the duration of
remote start or until the key is turned to RUN. To make
your selection, press and release the SELECT button until
a check-mark appears next to the feature showing the
system has been activated or the check-mark is removed
showing the system has been deactivated.
Horn with Remote Lock
When this feature is selected, a short horn sound will
occur when the RKE transmitter LOCK button is pressed.
This feature may be selected with or without the Flash
Lamps with Lock feature. To make your selection, press
and release the SELECT button until a check-mark ap-
pears next to the feature showing the system has been
activated or the check-mark is removed showing the
system has been deactivated.
Flash Lamps with Lock
When ON is selected, the front and rear turn signals will
flash when the doors are locked or unlocked with the
RKE transmitter. This feature may be selected with or
without the sound horn on lock feature selected. To make
your selection, press and release the SELECT button until
a check-mark appears next to the feature showing the
system has been activated or the check-mark is removed
showing the system has been deactivated.
Headlamp Off Delay
When this feature is selected, the driver can choose to
have the headlights remain on for 0, 30, 60, or 90 seconds
when exiting the vehicle. To make your selection, scroll
up or down until the preferred setting is highlighted,
then press and release the SELECT button until a check-
mark appears next to the setting, showing that the setting
has been selected.
318 UNDERSTANDING YOUR INSTRUMENT PANEL
Page 322 of 643
Headlamps with Wipers
(Available with Auto Headlights Only)
When ON is selected, and the headlight switch is in the
AUTO position, the headlights will turn on approxi-
mately 10 seconds after the wipers are turned on. The
headlights will also turn off when the wipers are turned
off if they were turned on by this feature. To make your
selection, press and release the SELECT button until a
check-mark appears next to the setting, showing that the
setting has been selected.
NOTE:Turning the headlights on during the daytime
causes the instrument panel lights to dim. To increase the
brightness, refer to “Lights” in “Understanding The
Features Of Your Vehicle.”
Intermittent Wiper Options — If Equipped
When ON is selected, the system will automatically
activate the windshield wipers if it senses moisture on
the windshield. To make your selection, press and release the SELECT button until a check-mark appears next to
the feature showing the system has been activated or the
check-mark is removed showing the system has been
deactivated. When the system is deactivated, the system
reverts to the standard intermittent wiper operation.
Key-Off Power Delay
When this feature is selected, the power window
switches, radio, Uconnect™ phone (if equipped), DVD
video system (if equipped), power sunroof (if equipped),
and power outlets will remain active for up to 10 minutes
after the ignition switch is turned OFF. Opening either
front vehicle door will cancel this feature. To make your
selection, scroll up or down until the preferred setting is
highlighted, then press and release the SELECT button
until a check-mark appears next to the setting, showing
that the setting has been selected.4
UNDERSTANDING YOUR INSTRUMENT PANEL 319