Page 205 of 643
NOTE:The key must be out of the ignition switch or the
ignition switch must be in the OFF position for this
feature to operate.
Interior Lighting Off
Rotate the left dimmer control to the off position (extreme
bottom). The interior lights will remain off when the
doors or liftgate are open.
Parade Mode (Daytime Brightness Feature)
Rotate the left dimmer control to the first detent. This
feature brightens the odometer, radio and overhead
displays when the parking lights or headlights are on.
Halo Lights — If Equipped
Halo lights are strategically placed soft lighting that help
to illuminate specific areas to aid the occupants in
locating specific features while driving at night.
The Halo control switch is located to the right of the
dimmer switch. To activate the Halo lights, rotate the Halo
switch control upward or downward to in-
crease or decrease the lighting.
Halo Control
202 UNDERSTANDING THE FEATURES OF YOUR VEHICLE
Page 206 of 643
Multifunction Lever
The multifunction lever is located on the left side of the
steering column.
The multifunction lever controls the:
•Turn Signals
•Headlight Beams Low/High
•Flash-To-Pass (Optical Horn)
•Front and Rear Wipers — Washer Functions
Turn Signals
Move the multifunction lever up or down and the arrows
on each side of the instrument cluster flash to show
proper operation of the front and rear turn signal lights.
NOTE:If either light remains on and does not flash, or
there is a very fast flash rate, check for a defective outside
light bulb. If an indicator fails to light when the lever is
moved, it would suggest that the indicator bulb is
defective.
Turn Signal Warning
If the vehicle electronics sense that the vehicle has
traveled at over 18 mph (29 km/h) for about 1 mile
(1.6 km) with the turn signals on, a chime will sound to
alert the driver.Multifunction Lever
3
UNDERSTANDING THE FEATURES OF YOUR VEHICLE 203
Page 207 of 643

Lane Change Assist
Tap the lever up or down once, without moving beyond
the detent, and the turn signal (right or left) will flash
three times then automatically turn off.
High/Low Beam Switch
When the headlights are turned on, pushing the multi-
function lever toward the instrument panel will switch
from low beams to high beams. Pulling back to the
neutral position returns the headlights to the low beam
operation.
Flash-To-Pass
You can signal another vehicle with your headlights by
lightly pulling the multifunction lever toward you. This
will cause the headlights to turn on at high beam and
remain on until the lever is released.
Battery Protection
This feature provides battery protection to avoid wearing
down the battery if the headlights, parking lights, or
front fog lights are left on for extended periods of time
when the ignition switch is in the LOCK position. After
eight minutes of the ignition switch being in the LOCK
position and the headlight switch in any position other
than OFF or AUTO, the lights will turn off automatically
until the next cycle of the ignition switch or headlight
switch.
The battery protection feature will be disabled if the
ignition switch is turned to any other position other than
LOCK during the eight minute delay.
WINDSHIELD WIPER AND WASHERS
The wipers and washers are operated by a switch within
the multifunction lever. Rotate the end of the multifunc-
tion lever to select the desired wiper speed.
204 UNDERSTANDING THE FEATURES OF YOUR VEHICLE
Page 230 of 643

4. Enable or disable the rear camera feature by selecting
“enable rear camera in reverse” soft-key.
5. Press the “save” soft-key.
Turning ParkView�On Or Off — Without
Navigation/Multimedia Radio
1. Press the “menu” hard-key.
2. Select “system setup” soft-key.
3. Enable or disable the rear camera feature by selecting
“enable rear camera in reverse” soft-key.
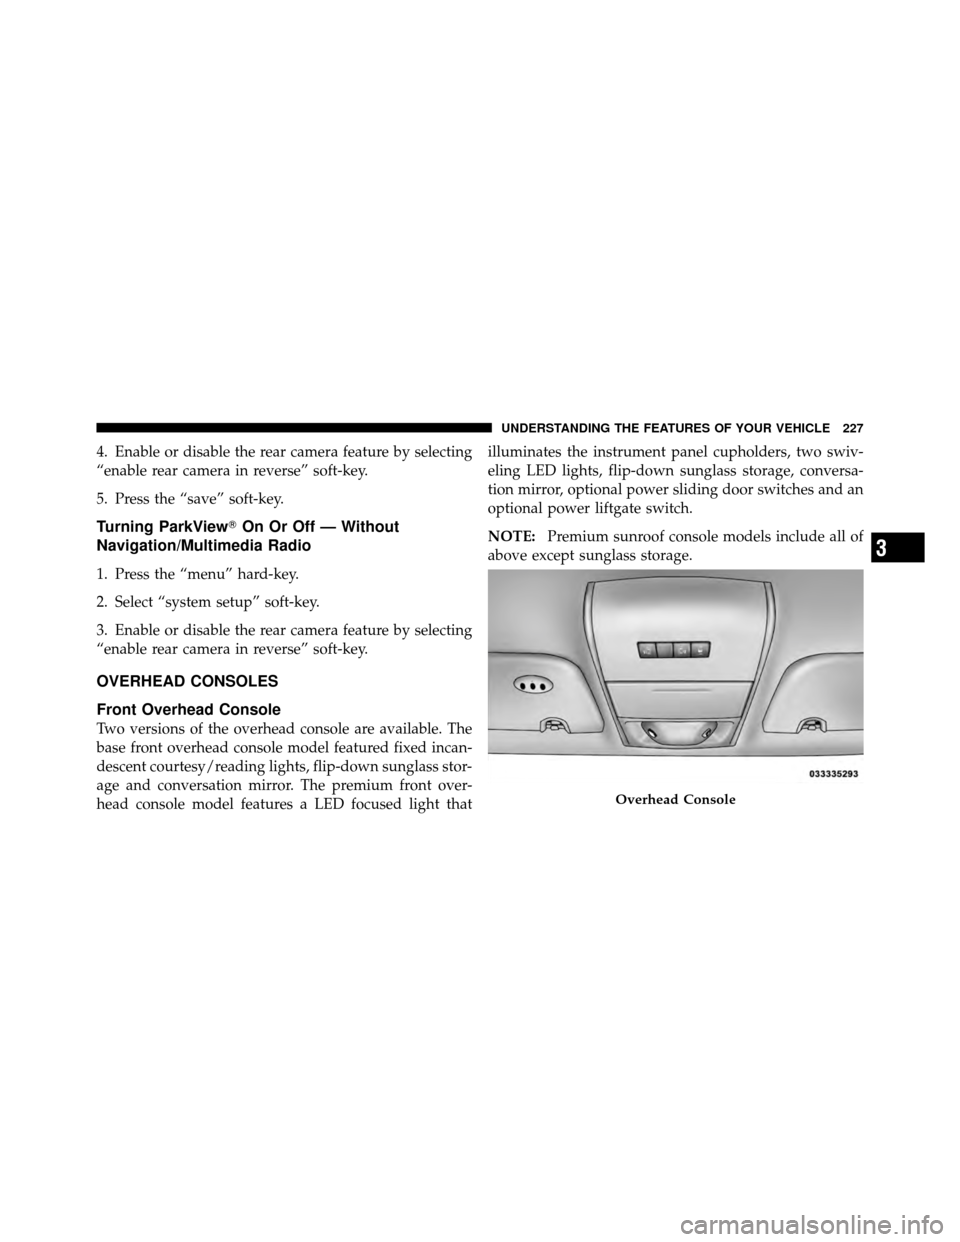
OVERHEAD CONSOLES
Front Overhead Console
Two versions of the overhead console are available. The
base front overhead console model featured fixed incan-
descent courtesy/reading lights, flip-down sunglass stor-
age and conversation mirror. The premium front over-
head console model features a LED focused light that illuminates the instrument panel cupholders, two swiv-
eling LED lights, flip-down sunglass storage, conversa-
tion mirror, optional power sliding door switches and an
optional power liftgate switch.
NOTE:
Premium sunroof console models include all of
above except sunglass storage.
Overhead Console
3
UNDERSTANDING THE FEATURES OF YOUR VEHICLE 227
Page 231 of 643

Courtesy/Interior Lighting
At the forward end of the console are two courtesy lights
(standard dome light has two buttons). The lights turn on
when a front door, a sliding door or the liftgate is opened.
If your vehicle is equipped with Remote Keyless Entry
(RKE) the lights will also turn on when the UNLOCK
button on the RKE transmitter is pressed.
The courtesy lights also function as reading lights. Press
in on each lens to turn these lights on while inside the
vehicle. Press a second time to turn each light off. You
may adjust the direction of these lights by pressing the
outside ring, which is identified with four directional
arrows (LED lamps only).
The area around the instrument panel cupholders is also
illuminated from a light in the overhead console (pre-
mium console only). This light is turned on when the
headlight switch is on, and will adjust in brightness when
the dimmer control is rotated up or down.
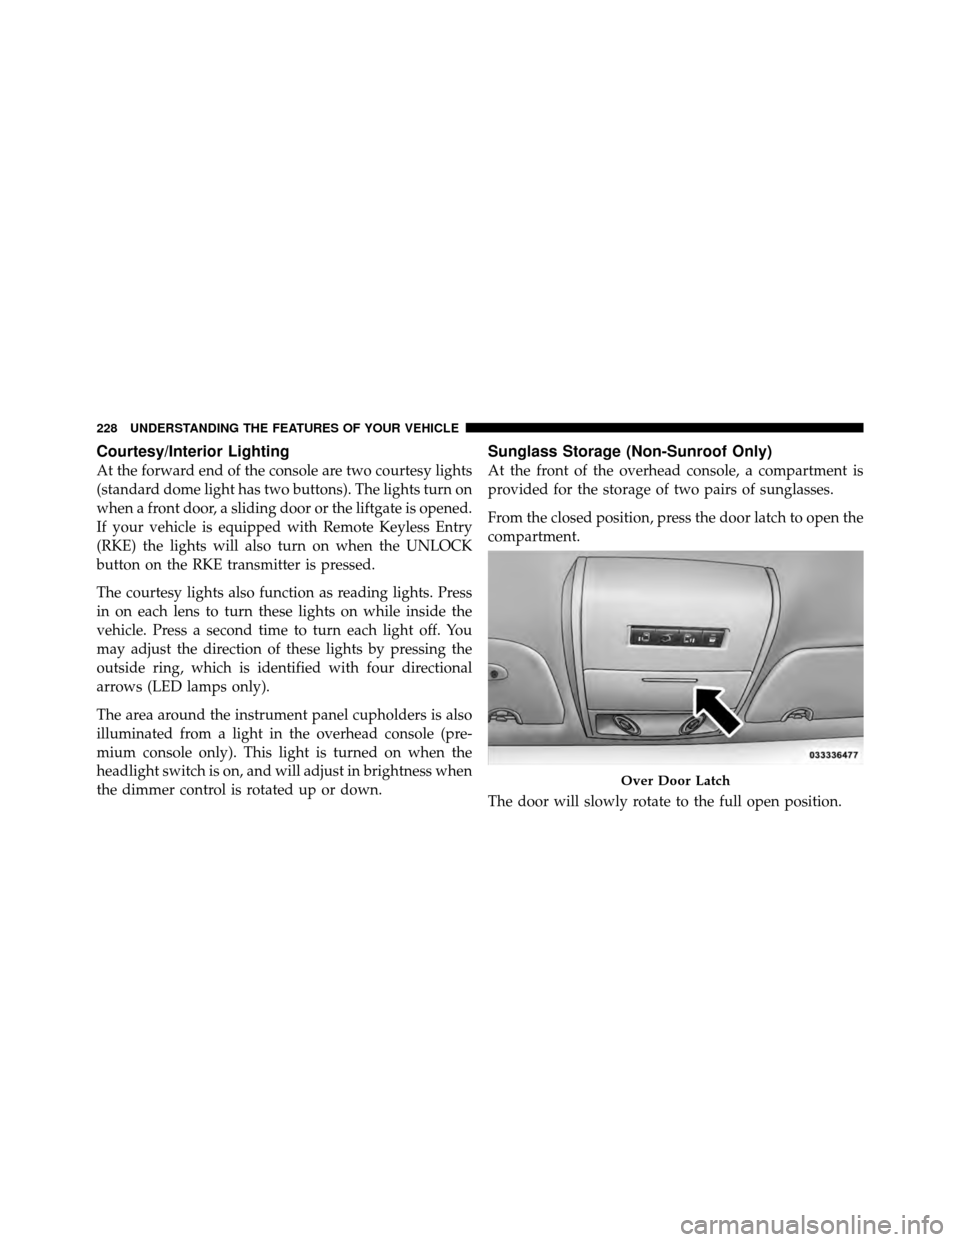
Sunglass Storage (Non-Sunroof Only)
At the front of the overhead console, a compartment is
provided for the storage of two pairs of sunglasses.
From the closed position, press the door latch to open the
compartment.
The door will slowly rotate to the full open position.
Over Door Latch
228 UNDERSTANDING THE FEATURES OF YOUR VEHICLE
Page 233 of 643
Rear Courtesy/Reading Lights — If Equipped
The overhead console has two sets of courtesy lights. The
lights turn on when a front door, a sliding door or the
liftgate is opened. If your vehicle is equipped with
Remote Keyless Entry (RKE) the lights will also turn on
when the UNLOCK button on the RKE transmitter is
pressed.
The courtesy lights also function as reading lights. Press
in on each lens to turn these lights on while inside the
vehicle. Press the lens a second time to turn each light off.
You may adjust the direction of these lights by pressing
the outside ring, which is identified with four directional
arrows.
Rear Overhead Consoles — If Equipped
The rear overhead storage system is available in two
versions: with or without sunroof.
An additional LED at the front of the rear console shines
down on the front foot-well area while in courtesy mode,
for added convenience.
Reading Lights
230 UNDERSTANDING THE FEATURES OF YOUR VEHICLE
Page 234 of 643
Rear Console Halo Lighting
The rear overhead console has recessed halo lighting
around the perimeter of the console base. This feature
provides additional lighting options while traveling and
is controlled by the headlight switch. Refer to “Lights/
Halo Lights — If Equipped” in “Understanding the
Features Of Your Vehicle” for further information.
GARAGE DOOR OPENER — IF EQUIPPED
HomeLink�replaces up to three hand-held transmitters
that operate devices such as garage door openers, motor-
ized gates, lighting or home security systems. The
HomeLink� unit is powered by your vehicles 12 Volt
battery.
Overhead Compartment Features
1 — DVD15 — Storage
2 — Rear HVAC 6 — DVD1
3 — Interior Lights 7 — Interior Lights
4 — Storage 8 — Halo Lighting
1If equipped, otherwise storage.
3
UNDERSTANDING THE FEATURES OF YOUR VEHICLE 231
Page 251 of 643

WARNING!
To avoid serious injury or death:
•Only devices designed for use in this type of
outlet should be inserted into any 12 Volt outlet.
•Do not touch with wet hands.
•Close the lid when not in use and while driving
the vehicle.
•If this outlet is mishandled, it may cause an
electric shock and failure.
CAUTION!
•Many accessories that can be plugged in draw
power from the vehicle’s battery, even when not in
use (i.e., cellular phones, etc.). Eventually, if
plugged in long enough, the vehicle’s battery will
discharge sufficiently to degrade battery life
and/or prevent the engine from starting.(Continued)
CAUTION! (Continued)
•Accessories that draw higher power (i.e., coolers,
vacuum cleaners, lights, etc.), will degrade the
battery even more quickly. Only use these inter-
mittently and with greater caution.
•After the use of high power draw accessories, or
long periods of the vehicle not being started (with
accessories still plugged in), the vehicle must be
driven a sufficient length of time to allow the
alternator to recharge the vehicle’s battery.
•Power outlets are designed for accessory plugs
only. Do not hang any type of accessory or acces-
sory bracket from the plug. Improper use of the
power outlet can cause damage.
248 UNDERSTANDING THE FEATURES OF YOUR VEHICLE