Page 195 of 643

DRIVER MEMORY SEAT — IF EQUIPPED
The Memory Buttons 1 and 2 on the driver’s door panel
can be programmed to recall the driver’s seat, driver’s
outside mirror, adjustable brake and accelerator pedals,
and radio station preset settings. Your Remote Keyless
Entry (RKE) transmitters can also be programmed to recall
the same positions when the UNLOCK button is pressed.
Your vehicle may have been delivered with two RKE
transmitters. Only one RKE transmitter can be linked to
each of the memory positions.
Setting Memory Positions And Linking RKE
Transmitter To Memory
NOTE:Each time the SET (S) button and a numbered
button (1 or 2) is pressed, you erase the memory settings
for that button and store a new one.
1. Insert the ignition key and turn the ignition switch to
the ON position.
2. Press the driver door MEMORY button number 1 if
you are setting the memory for driver 1, or button
number 2 if you are setting the memory for driver 2. The
system will recall any stored settings. Wait for the system
to complete the memory recall before continuing to
Step 3.
Driver Memory Switch
192 UNDERSTANDING THE FEATURES OF YOUR VEHICLE
Page 197 of 643

To recall the memory settings for driver one, press
MEMORY button 1 on the driver’s door or the UNLOCK
button on the RKE transmitter linked to memory position
1.
To recall the memory setting for driver two, press
MEMORY button 2 on the driver’s door or the UNLOCK
button on the RKE transmitter linked to Memory Position
2.
A recall can be cancelled by pressing any of the
MEMORY buttons on the driver’s door during a recall (S,
1, or 2). When a recall is cancelled, the driver’s seat,
driver’s mirror, and the pedals stop moving. A delay of
one second will occur before another recall can be
selected.
To Disable RKE Transmitter Linked To Memory
1. Turn the ignition switch to the OFF position and
remove the key.2. Press and release MEMORY button 1. The system will
recall any memory settings stored in position 1. Wait for
the system to complete the memory recall before continu-
ing to Step 3.
3. Press and release the memory SET (S) button located
on the driver’s door. A chime will sound signaling that
you are in the memory set mode.
4. Within five seconds, press and release MEMORY
button 1 on the driver’s door. A chime will sound
signaling to you that the driver memory has been set.
5. Within five seconds, press and release the UNLOCK
button on the RKE transmitter. A chime will sound
signaling to you that the RKE transmitter link has been
successfully disabled.
To disable another RKE transmitter linked to either
Memory Position, repeat Steps 1 to 5 for each RKE
transmitter.
194 UNDERSTANDING THE FEATURES OF YOUR VEHICLE
Page 215 of 643
CAUTION!
Do not place any article under the adjustable pedals
or impede its ability to move, as it may cause damage
to the pedal controls. Pedal travel may become lim-
ited if movement is stopped by an obstruction in the
adjustable pedal’s path.
WARNING!
Do not adjust the pedals while the vehicle is moving.
You could lose control and have an accident. Always
adjust the pedals while the vehicle is parked.
ELECTRONIC SPEED CONTROL — IF EQUIPPED
When engaged, the Electronic Speed Control takes over
accelerator operations at speeds greater than 25 mph
(40 km/h).The Electronic Speed Control buttons are located on the
right side of the steering wheel.
NOTE:
In order to ensure proper operation, the Elec-
tronic Speed Control System has been designed to shut
down if multiple Speed Control functions are operated at
1 — ON/OFF 2 — RES +
4 — CANCEL 3 — SET -
212 UNDERSTANDING THE FEATURES OF YOUR VEHICLE
Page 231 of 643
. The lights turn on
when a front door, a sliding door or the liftgate is open")
Courtesy/Interior Lighting
At the forward end of the console are two courtesy lights
(standard dome light has two buttons). The lights turn on
when a front door, a sliding door or the liftgate is opened.
If your vehicle is equipped with Remote Keyless Entry
(RKE) the lights will also turn on when the UNLOCK
button on the RKE transmitter is pressed.
The courtesy lights also function as reading lights. Press
in on each lens to turn these lights on while inside the
vehicle. Press a second time to turn each light off. You
may adjust the direction of these lights by pressing the
outside ring, which is identified with four directional
arrows (LED lamps only).
The area around the instrument panel cupholders is also
illuminated from a light in the overhead console (pre-
mium console only). This light is turned on when the
headlight switch is on, and will adjust in brightness when
the dimmer control is rotated up or down.
Sunglass Storage (Non-Sunroof Only)
At the front of the overhead console, a compartment is
provided for the storage of two pairs of sunglasses.
From the closed position, press the door latch to open the
compartment.
The door will slowly rotate to the full open position.
Over Door Latch
228 UNDERSTANDING THE FEATURES OF YOUR VEHICLE
Page 235 of 643
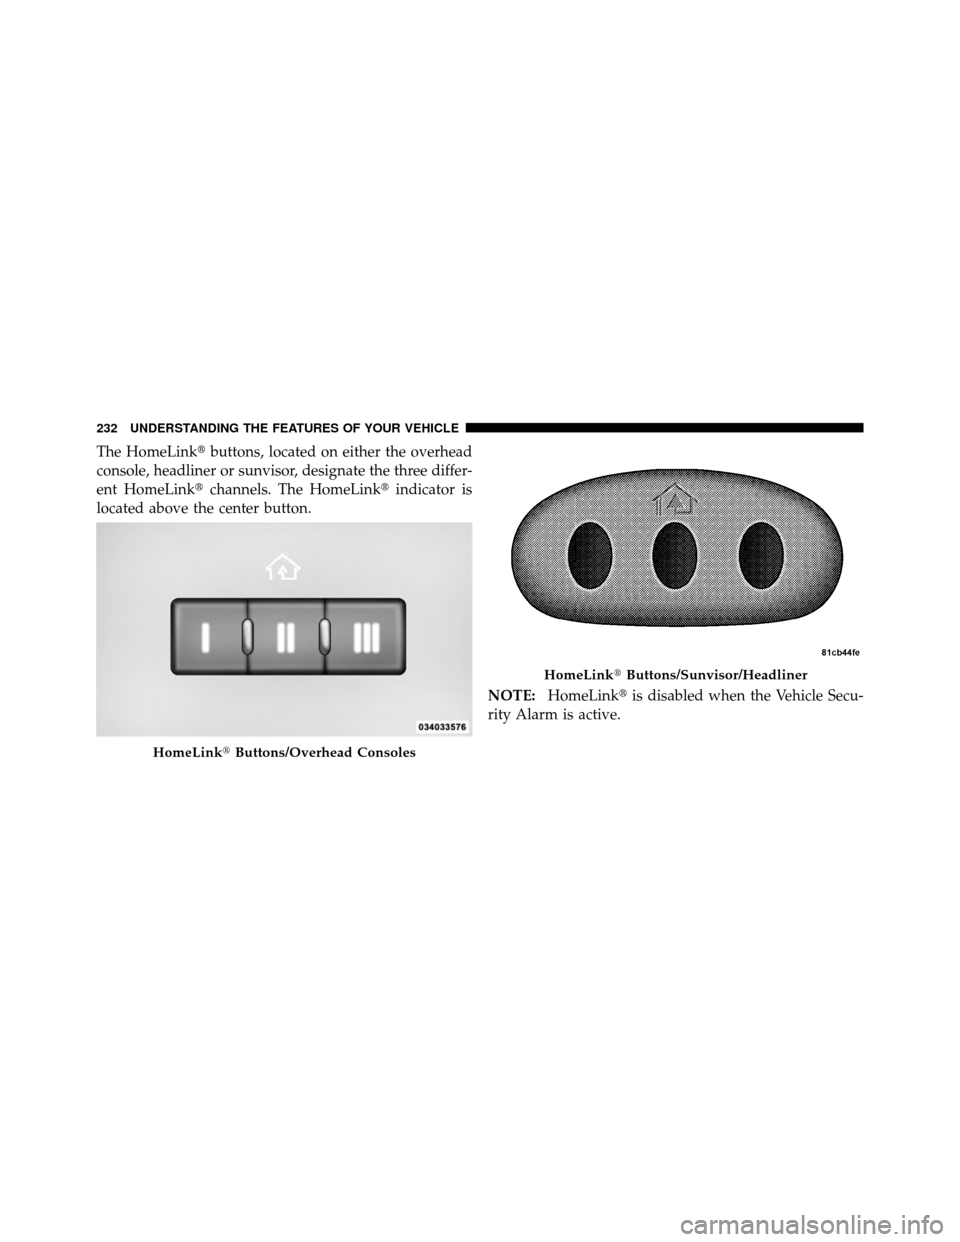
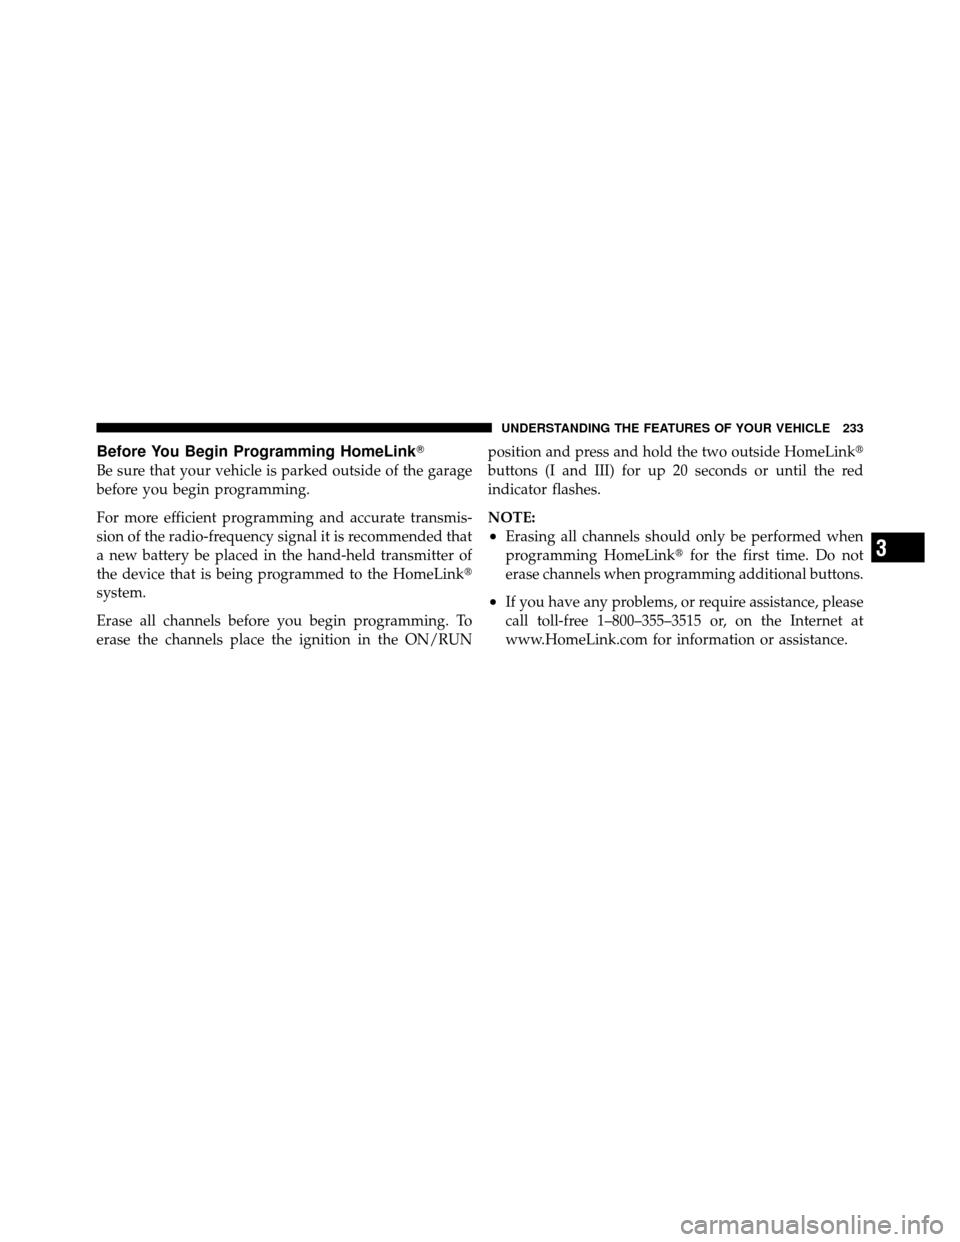
The HomeLink�buttons, located on either the overhead
console, headliner or sunvisor, designate the three differ-
ent HomeLink� channels. The HomeLink� indicator is
located above the center button.
NOTE:HomeLink� is disabled when the Vehicle Secu-
rity Alarm is active.
HomeLink� Buttons/Overhead Consoles
HomeLink�Buttons/Sunvisor/Headliner
232 UNDERSTANDING THE FEATURES OF YOUR VEHICLE
Page 236 of 643
Before You Begin Programming HomeLink�
Be sure that your vehicle is parked outside of the garage
before you begin programming.
For more efficient programming and accurate transmis-
sion of the radio-frequency signal it is recommended that
a new battery be placed in the hand-held transmitter of
the device that is being programmed to the HomeLink�
system.
Erase all channels before you begin programming. To
erase the channels place the ignition in the ON/RUNposition and press and hold the two outside HomeLink�
buttons (I and III) for up 20 seconds or until the red
indicator flashes.
NOTE:
•Erasing all channels should only be performed when
programming HomeLink�
for the first time. Do not
erase channels when programming additional buttons.
•If you have any problems, or require assistance, please
call toll-free 1–800–355–3515 or, on the Internet at
www.HomeLink.com for information or assistance.
3
UNDERSTANDING THE FEATURES OF YOUR VEHICLE 233
Page 238 of 643

3. Simultaneously press and hold both the Homelink�
button you want to program and the hand-held transmit-
ter button.
4. Continue to hold both buttons and observe the indi-
cator light. The Homelink�indicator will flash slowly
and then rapidly after Homelink� has received the fre-
quency signal from the hand-held transmitter. Release
both buttons after the indicator light changes from slow
to rapid.
5. At the garage door opener motor (in the garage),
locate the “LEARN” or “TRAINING” button. This can
usually be found where the hanging antenna wire is
attached to the garage door opener/device motor. Firmly
press and release the “LEARN” or “TRAINING” button.
On some garage door openers/devices there may be a
light that blinks when the garage door opener/device is
in the LEARN/TRAIN mode. NOTE:
You have 30 seconds in which to initiate the next
step after the LEARN button has been pressed.
6. Return to the vehicle and press the programmed
HomeLink� button twice (holding the button for two
seconds each time). If the garage door opener/device
activates, programming is complete.
NOTE: If the garage door opener/device does not
activate, press the button a third time (for two seconds) to
complete the training.
To program the remaining two HomeLink� buttons,
repeat each step for each remaining button. DO NOT
erase the channels.
Reprogramming A Single HomeLink� Button
To reprogram a channel that has been previously trained,
follow these steps:
1. Turn the ignition switch to the ON/RUN position.
3
UNDERSTANDING THE FEATURES OF YOUR VEHICLE 235
Page 239 of 643

2. Press and hold the desired HomeLink�button until
the indicator light begins to flash after 20 seconds. Do not
release the button.
3. Without releasing the button proceed with “Program-
ming A Rolling Code” Step 2 and follow all remaining
steps.
Programming A Non-Rolling Code
For programming Garage Door Openers manufactured
before 1995.
1. Turn the ignition switch to the ON/RUN position.
2. Place the hand-held transmitter 1 to 3 in (3 to 8 cm)
away from the HomeLink� button you wish to program
while keeping the HomeLink� indicator light in view.
3. Simultaneously press and hold both the Homelink�
button you want to program and the hand-held transmit-
ter button. 4. Continue to hold both buttons and observe the indi-
cator light. The Homelink�
indicator will flash slowly
and then rapidly after Homelink� has received the fre-
quency signal from the hand-held transmitter. Release
both buttons after the indicator light changes from slow
to rapid.
5. Press and hold the programmed HomeLink �button
and observe the indicator light.
•If the indicator light stays on constantly, program-
ming is complete and the garage door/device
should activate when the HomeLink� button is
pressed.
•To program the two remaining HomeLink� buttons,
repeat each step for each remaining button. DO
NOT erase the channels.
236 UNDERSTANDING THE FEATURES OF YOUR VEHICLE