Page 195 of 594

WARNING!
•Be certain that the seatback is securely locked into
position. If the seatback is not securely locked into
position, the seat will not provide the proper
stability for child seats and/or passengers. An
improperly latched seat could cause serious injury.
•The cargo area in the rear of the vehicle (with the
rear seatbacks in the locked-up or folded down
position) should not be used as a play area by
children when the vehicle is in motion. They could
be seriously injured in a collision. Children
should be seated and using the proper restraint
system.
DRIVER MEMORY SEAT — IF EQUIPPED
This feature allows the driver to store up to two different
memory profiles for easy recall through a memory
switch. Each memory profile contains desired position
settings for the driver seat, side mirrors, adjustable
pedals (if equipped), and power tilt and telescopic steer-
ing column (if equipped) and a set of desired radio
station presets. Your Remote Keyless Entry (RKE) trans-
mitter can also be programmed to recall the same posi-
tions when the UNLOCK button is pressed.
NOTE:
•Only one RKE transmitter can be linked to each of the
memory positions.
•Passive Entry door handles cannot be linked to the
memory function. Use either the memory recall switch
or the RKE transmitter (if linked to the memory
feature) to recall memory positions 1 or 2.
3
UNDERSTANDING THE FEATURES OF YOUR VEHICLE 193
Page 201 of 594
CAUTION!
To prevent possible damage, do not slam the hood to
close it. Lower the hood, until it is open approxi-
mately 6 in (15 cm), and then drop it. This should
secure both latches. Never drive your vehicle unless
the hood is fully closed, with both latches engaged.
WARNING!
Be sure the hood is fully latched before driving your
vehicle. If the hood is not fully latched, it could open
when the vehicle is in motion and block your vision.
Failure to follow this warning could result in serious
injury or death.
LIGHTS
Headlight Switch
The headlight switch is located on the left side of
the instrument panel. This switch controls the
operation of the headlights, parking lights, instru-
ment panel lights, instrument panel light dimming, inte-
rior lights and fog lights.
Headlight Switch
3
UNDERSTANDING THE FEATURES OF YOUR VEHICLE 199
Page 260 of 594
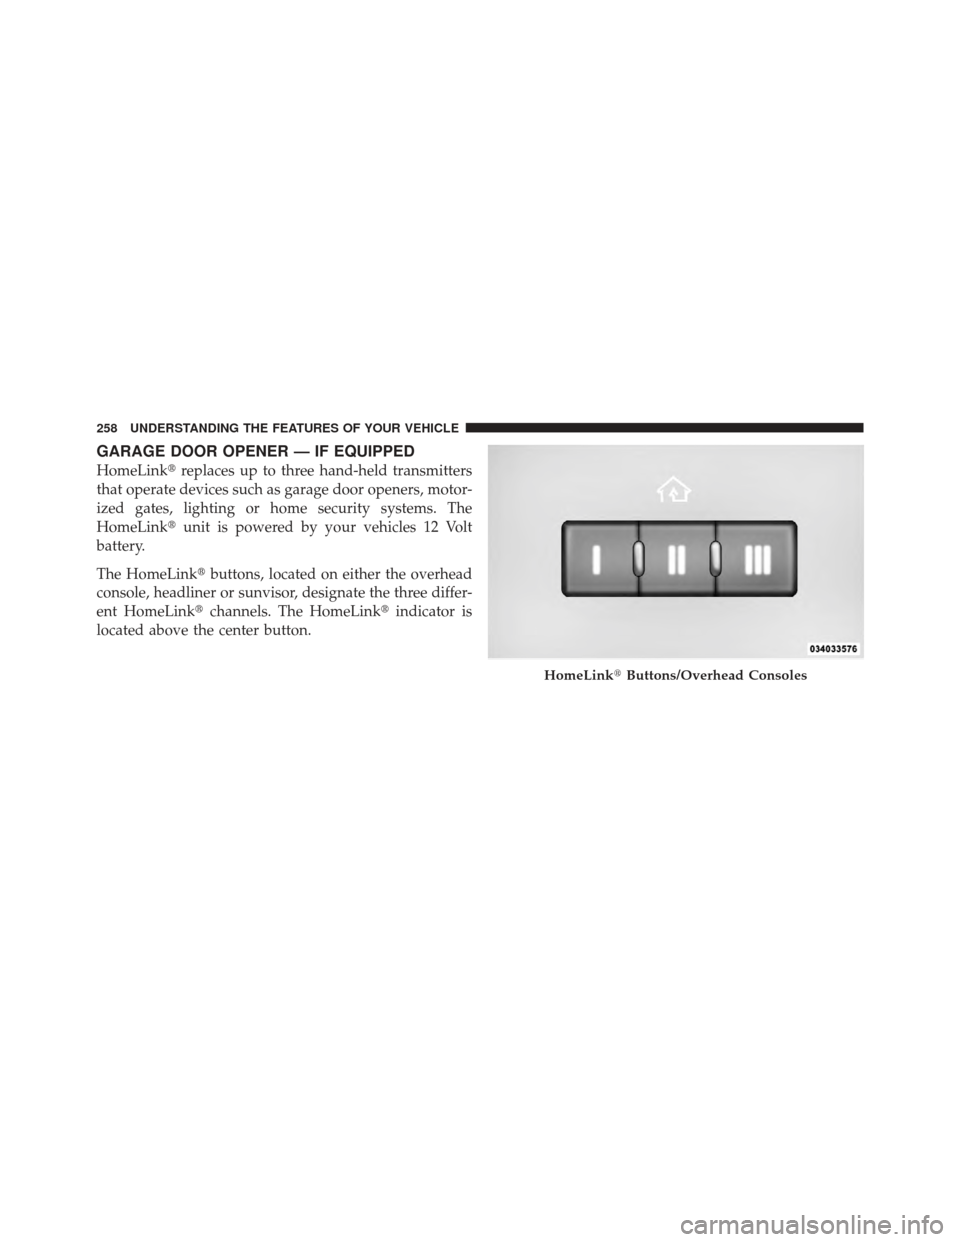
GARAGE DOOR OPENER — IF EQUIPPED
HomeLink�replaces up to three hand-held transmitters
that operate devices such as garage door openers, motor-
ized gates, lighting or home security systems. The
HomeLink� unit is powered by your vehicles 12 Volt
battery.
The HomeLink� buttons, located on either the overhead
console, headliner or sunvisor, designate the three differ-
ent HomeLink� channels. The HomeLink� indicator is
located above the center button.
HomeLink� Buttons/Overhead Consoles
258 UNDERSTANDING THE FEATURES OF YOUR VEHICLE
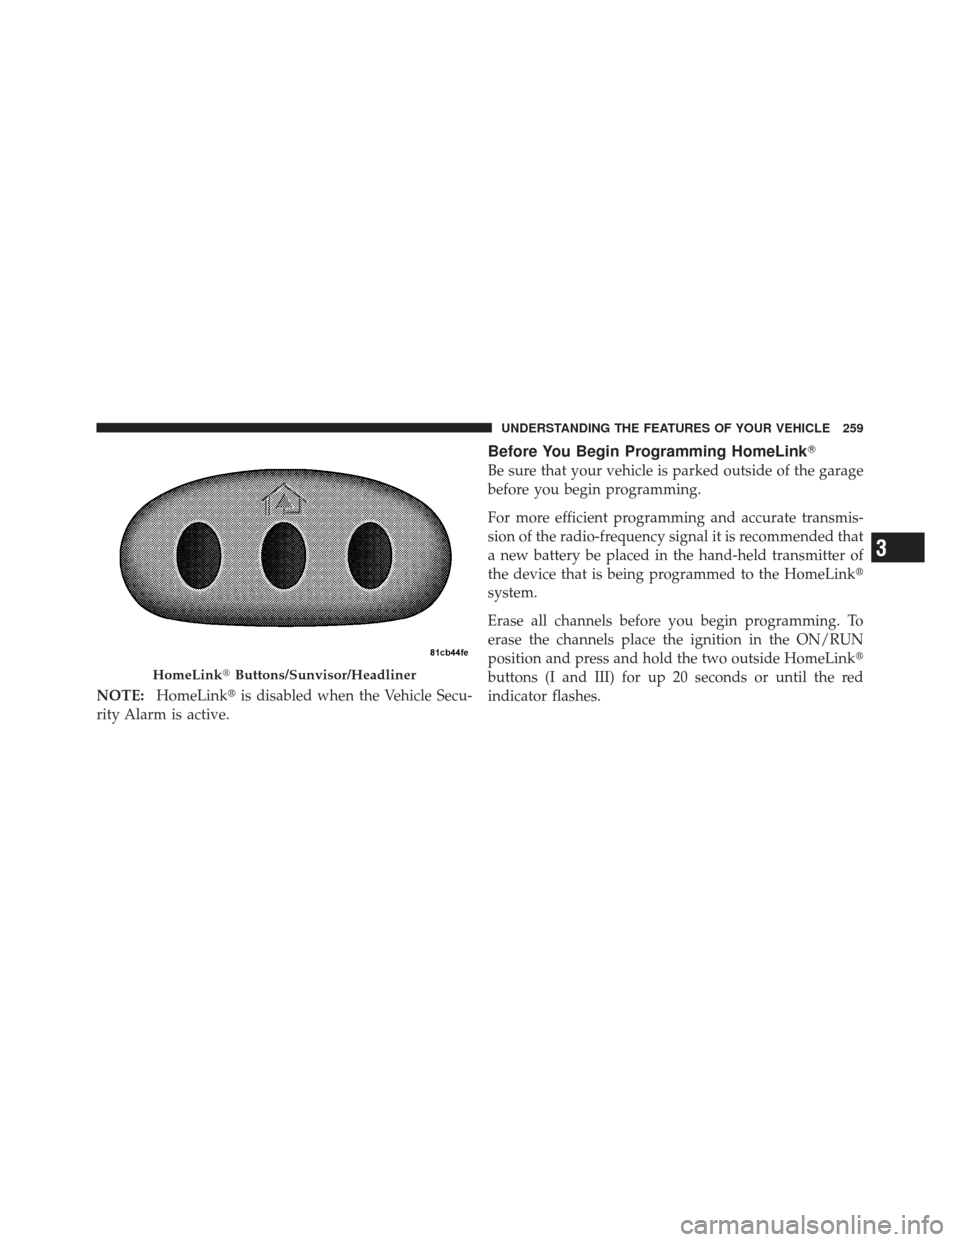
Page 261 of 594
NOTE:HomeLink� is disabled when the Vehicle Secu-
rity Alarm is active.
Before You Begin Programming HomeLink �
Be sure that your vehicle is parked outside of the garage
before you begin programming.
For more efficient programming and accurate transmis-
sion of the radio-frequency signal it is recommended that
a new battery be placed in the hand-held transmitter of
the device that is being programmed to the HomeLink �
system.
Erase all channels before you begin programming. To
erase the channels place the ignition in the ON/RUN
position and press and hold the two outside HomeLink �
buttons (I and III) for up 20 seconds or until the red
indicator flashes.
HomeLink� Buttons/Sunvisor/Headliner
3
UNDERSTANDING THE FEATURES OF YOUR VEHICLE 259
Page 266 of 594

4. Watch for the HomeLink�indicator to change flash
rates. When it changes, it is programmed. It may take up
to 30 seconds or longer in rare cases. The garage door
may open and close while you are programming.
5. Press and hold the programmed HomeLink� button
and observe the indicator light.
•If the indicator light stays on constantly, program-
ming is complete and the garage door/device
should activate when the HomeLink� button is
pressed.
•To program the two remaining HomeLink� buttons,
repeat each step for each remaining button. DO
NOT erase the channels.
If you unplugged the garage door opener/device for
programming, plug it back in at this time.
Reprogramming A Single HomeLink �Button
To reprogram a channel that has been previously trained,
follow these steps:
1. Turn the ignition switch to the ON/RUN position.
2. Press and hold the desired HomeLink� button until
the indicator light begins to flash after 20 seconds. Do not
release the button.
3. Without releasing the button proceed with
“Canadian/Gate Operator Programming” Step 2 and
follow all remaining steps.
Using HomeLink�
To operate, press and release the programmed
HomeLink� button. Activation will now occur for the
programmed device (i.e., garage door opener, gate opera-
tor, security system, entry door lock, home/office light-
ing, etc.,). The hand-held transmitter of the device may
also be used at any time.
264 UNDERSTANDING THE FEATURES OF YOUR VEHICLE
Page 267 of 594
Security
It is advised to erase all channels before you sell or turn
in your vehicle.
To do this, press and hold the two outside buttons for
20 seconds until the red indicator flashes. Note that all
channels will be erased. Individual channels cannot be
erased.
The HomeLink�Universal Transceiver is disabled when
the Vehicle Security Alarm is active.
Troubleshooting Tips
If you are having trouble programming HomeLink�, here
are some of the most common solutions:
•Replace the battery in the original hand-held transmit-
ter.
•Press the LEARN button on the Garage Door Opener
to complete the training for a Rolling Code.
•Did you unplug the device for programming and
remember to plug it back in?
If you have any problems, or require assistance, please
call toll-free 1–800–355–3515 or, on the Internet at
www.HomeLink.com for information or assistance.
3
UNDERSTANDING THE FEATURES OF YOUR VEHICLE 265
Page 269 of 594
POWER SUNROOF — IF EQUIPPED
The power sunroof switch is located between the sun
visors on the overhead console.WARNING!
•Never leave children in a vehicle with the key in
the ignition switch. Occupants, particularly unat-
tended children, can become entrapped by the
power sunroof while operating the power sunroof
switch. Such entrapment may result in serious
injury or death.
•In a collision, there is a greater risk of being
thrown from a vehicle with an open sunroof. You
could also be seriously injured or killed. Always
fasten your seat belt properly and make sure all
passengers are also properly secured.
•Do not allow small children to operate the sun-
roof. Never allow your fingers, other body parts, or
any object, to project through the sunroof opening.
Injury may result.
Power Sunroof Switch
3
UNDERSTANDING THE FEATURES OF YOUR VEHICLE 267
Page 282 of 594
Door Storage
The door panels contain storage areas.
Cargo Area — Vehicles Equipped with 60/40
Split-Folding Rear Seat
The 60/40 split-folding rear seat provides cargo-carrying
versatility. The seatbacks fold down easily by pulling
nylon tabs between the seatbacks and the bolsters. When
the seats are folded down, they provide a continuous,
nearly-flat extension of the load floor.
When the seatback is folded to the upright position, make
sure it is latched by strongly pulling on the top of the
seatback above the seat strap.
WARNING!
•Be certain that the seatback is securely locked into
position. If the seatback is not securely locked into
position, the seat will not provide the proper
stability for child seats and/or passengers. An
improperly latched seat could cause serious injury.(Continued)
Front Door Trim Storage
280 UNDERSTANDING THE FEATURES OF YOUR VEHICLE
, and then drop it. This should
secure both latches. Never drive you")