Page 90 of 471
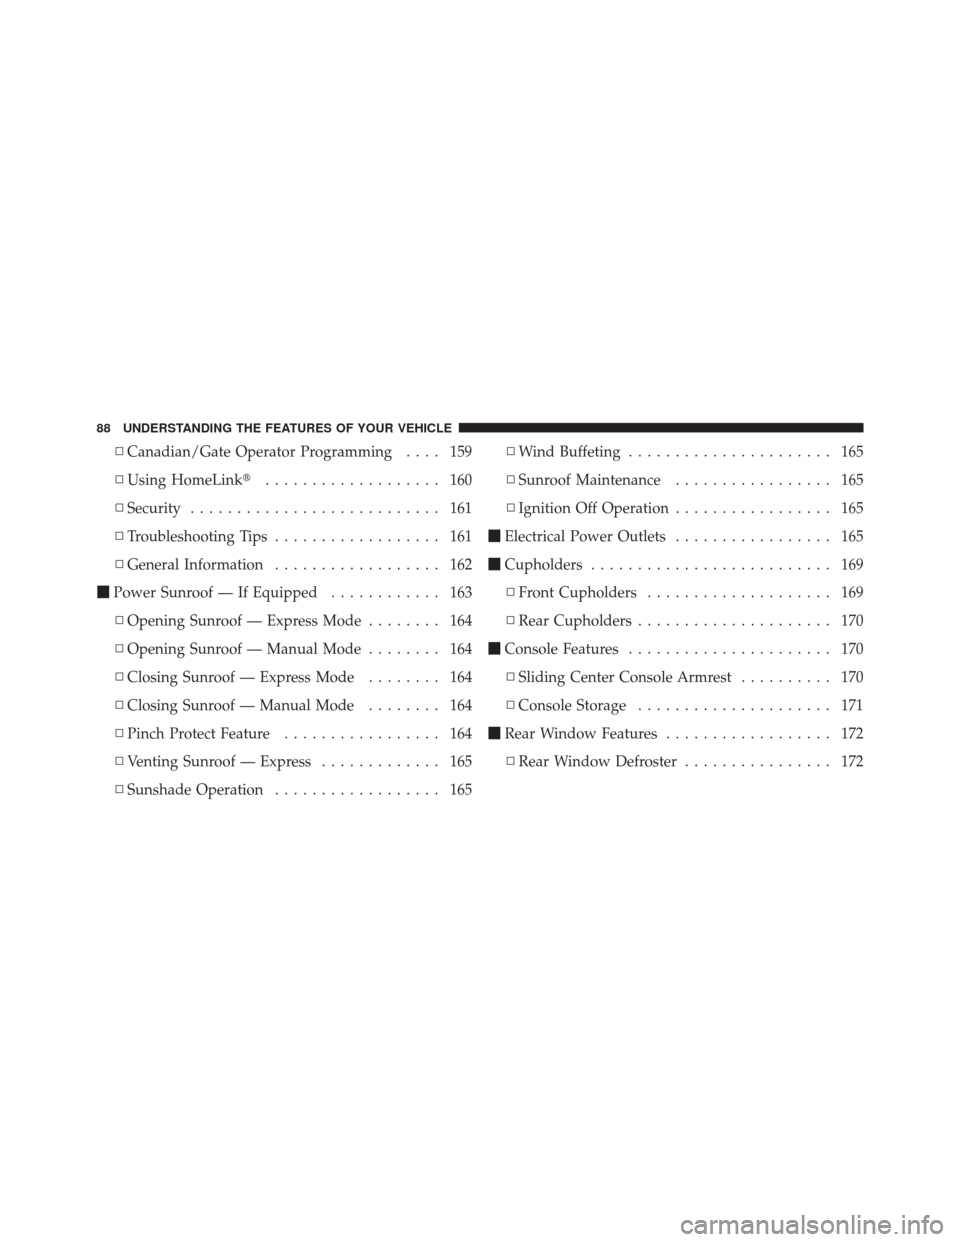
▫Canadian/Gate Operator Programming .... 159
▫ Using HomeLink� ................... 160
▫ Security ........................... 161
▫ Troubleshooting Tips .................. 161
▫ General Information .................. 162
� Power Sunroof — If Equipped ............ 163
▫ Opening Sunroof — Express Mode ........ 164
▫ Opening Sunroof — Manual Mode ........ 164
▫ Closing Sunroof — Express Mode ........ 164
▫ Closing Sunroof — Manual Mode ........ 164
▫ Pinch Protect Feature ................. 164
▫ Venting Sunroof — Express ............. 165
▫ Sunshade Operation .................. 165 ▫
Wind Buffeting ...................... 165
▫ Sunroof Maintenance ................. 165
▫ Ignition Off Operation ................. 165
� Electrical Power Outlets ................. 165
� Cupholders .......................... 169
▫ Front Cupholders .................... 169
▫ Rear Cupholders ..................... 170
� Console Features ...................... 170
▫ Sliding Center Console Armrest .......... 170
▫ Console Storage ..................... 171
� Rear Window Features .................. 172
▫ Rear Window Defroster ................ 172
88 UNDERSTANDING THE FEATURES OF YOUR VEHICLE
Page 107 of 471
Call Continuation
Call continuation is the progression of a phone call on the
Uconnect™ Phone after the vehicle ignition key has been
switched to OFF. Call continuation functionality avail-
able on the vehicle can be any one of three types:
•After the ignition key is switched to OFF, a call can
continue on the Uconnect™ Phone either until the call
ends, or until the vehicle battery condition dictates
cessation of the call on the Uconnect™ Phone and
transfer of the call to the mobile phone.
•After the ignition key is switched to OFF, a call can
continue on the Uconnect™ Phone for a certain dura-
tion, after which the call is automatically transferred
from the Uconnect™ Phone to the mobile phone.
•An active call is automatically transferred to the
mobile phone after the ignition key is switched to OFF.
Uconnect™ Phone Features
Language Selection
To change the language that the Uconnect™ Phone is
using:
•Press thebutton to begin.
•After the “Ready” prompt and the following beep, say
the name of the language you wish to switch to
English, Espanol, or Francais.
•Continue to follow the system prompts to complete
the language selection.
After selecting one of the languages, all prompts and
voice commands will be in that language.
NOTE: After every Uconnect™ Phone language change
operation, only the language-specific 32-name phone-
book is usable. The paired phone name is not language-
specific and is usable across all languages.
3
UNDERSTANDING THE FEATURES OF YOUR VEHICLE 105
Page 119 of 471
Turn SMS Incoming Announcement ON/OFF
Turning the SMS Incoming Announcement OFF will stop
the system from announcing the new incoming mes-
sages.
•Press thebutton.
•After the “Ready” prompt and the following beep, say
“Setup, SMS Incoming Message Announcement,” you
will then be given a choice to change it.
Bluetooth�Communication Link
Mobile phones have been found to lose connection to the
Uconnect™ Phone. When this happens, the connection
can generally be reestablished by switching the phone
off/on. Your mobile phone is recommended to remain in
Bluetooth�ON mode.
Power-Up
After switching the ignition key from OFF to either the
ON or ACC position, or after a language change, you
must wait at least fifteen seconds prior to using the
system.
3
UNDERSTANDING THE FEATURES OF YOUR VEHICLE 117
Page 142 of 471
LIGHTS
Headlights And Parking Lights
The headlight switch is located on the left side of the
instrument panel. This switch controls the operation of the
headlights, parking lights, instrument panel lights, instru-
ment panel light dimming, interior lights and fog lights.
Rotate the headlight switch clockwise to the first detent
for parking light and instrument panel light operation.
Turn it to the second detent for headlight, parking light
and instrument panel light operation.
Automatic Headlights
This system automatically turns the headlights on or off
according to ambient light levels. To turn the system on,
rotate the headlight switch counterclockwise to the A
(AUTO) position. When the system is on, the headlight
time delay feature is also on. This means the headlights
will stay on for up to 90 seconds after placing the ignition
in the OFF position. To turn the Automatic system off,
move the headlight switch out of the AUTO position.
NOTE:The engine must be running before the head-
lights will come on in the automatic mode.
Headlight Switch
140 UNDERSTANDING THE FEATURES OF YOUR VEHICLE
Page 143 of 471
Headlights On With Wipers (Available With
Automatic Headlights Only)
When this feature is active, the headlights will turn on
approximately 10 seconds after the wipers are turned on
if the headlight switch is placed in the AUTO position. In
addition, the headlights will turn off when the wipers are
turned off if they were turned on by this feature.
The Headlights On with Wipers feature can be enabled or
disabled. Refer to “Electronic Vehicle Information Center
(EVIC)/Customer-Programmable Features” in “Under-
standing Your Instrument Panel” for further information.
Headlight Time Delay
This feature provides the safety of headlight illumination
for up to 90 seconds when leaving your vehicle in an
unlit area.To activate the delay feature, place the ignition in the OFF
position while the headlights are still on. Then, turn off
the headlights within 45 seconds. The delay interval
begins when the headlight switch is turned off.
If you turn the headlights or parking lights, or place the
ignition in the RUN position, the system will cancel the
delay.
If you turn the headlights off before the ignition, they will
turn off in the normal manner.
NOTE:
The lights must be turned off within 45 seconds
of placing the ignition in the OFF position to activate this
feature.
The Headlight delay time is programmable. Refer to
“Electronic Vehicle Information Center (EVIC)/
Customer-Programmable Features” in “Understanding
Your Instrument Panel” for further information.
3
UNDERSTANDING THE FEATURES OF YOUR VEHICLE 141
Page 144 of 471
Daytime Running Lights — If Equipped
The high beam headlights will come on as Daytime
Running Lights whenever the ignition is placed in the
RUN position, the headlights are off and the parking
brake is released. The headlight switch must be used for
normal nighttime driving.
Lights-On Reminder
If the headlights or parking lights are on after the ignition
is placed in the OFF position, a chime will sound to alert
the driver when the driver’s door is opened.
Fog Lights
The front fog light switch is built into the head-
light switch. To activate the front fog lights, turn
on the parking lights or the low beam headlights
and press the headlight switch. To turn off the front fog
lights, either press the headlight switch again or turn off
the headlight switch. An indicator light in the instrument cluster illuminates
when the fog lights are turned on.
NOTE:
The fog lights will operate with the low beam
headlights or parking lights on. However, selecting the
high beam headlights will turn off the fog lights.
Multifunction Lever
The multifunction lever controls the operation of the turn
signals, headlight beam selection, and passing lights. The
multifunction lever is located on the left side of the
steering column.
142 UNDERSTANDING THE FEATURES OF YOUR VEHICLE
Page 147 of 471

Interior Lights
The interior lights come on when a door is opened.
To protect the battery, the interior lights will turn off
automatically 10 minutes after the ignition is placed in
the OFF position. This will occur if the interior lights
were switched on manually or are on because a door is
open. This includes the glove box light, but not the trunk
light. To restore interior light operation, either place the
ignition in the RUN position or cycle the light switch.
Dimmer Control
The dimmer control is located to the right of the head-
light switch. With the parking lights or headlights on,
rotating the dimmer control upward will increase the
brightness of the instrument panel lights and, if so
equipped, the lighting in the door map pockets, door
handles and cupholders.
Dome Light Position
Rotate the dimmer control completely upward to the
second detent to turn on the interior lights. The interior
lights will remain on when the dimmer control is in this
position.
Interior Light Defeat (OFF)
Rotate the dimmer control to the extreme bottom off
position. The interior lights will remain off when the
doors are open.
Parade Mode (Daytime Brightness Feature)
Rotate the dimmer control upward to the first detent.
This feature brightens all text displays such as the
odometer, Electronic Vehicle Information Center (EVIC),
and radio when the parking lights or headlights are on.
3
UNDERSTANDING THE FEATURES OF YOUR VEHICLE 145
Page 148 of 471
WINDSHIELD WIPERS AND WASHERS
The multifunction lever operates the windshield
wipers and washer when the ignition is placed in
the ON/RUN or ACC position. The multifunction
lever is located on the left side of the steering column. Rotate the end of the multifunction lever to the first
detent past the intermittent settings for low-speed wiper
operation, or to the second detent past the intermittent
settings for high-speed wiper operation.
CAUTION!
Turn the windshield wipers off when driving
through an automatic car wash. Damage to the wind-
shield wipers may result if the wiper switch is left in
any position other than off.
Intermittent Wiper System
Use the intermittent wiper when weather conditions
make a single wiping cycle with a variable pause be-
tween cycles desirable. Rotate the end of the multifunc-
tion lever to the first detent position, and then turn the
end of the lever to select the desired delay interval. There
are four delay settings, which allow you to regulate the
wipe interval from a minimum of one cycle every second
Windshield Wiper/Washer Control
146 UNDERSTANDING THE FEATURES OF YOUR VEHICLE