Page 370 of 471

Trip Odometer button to turn off the message. If the
problem continues, the message will appear the next time
the vehicle is started.
A loose, improperly installed, or damaged fuel filler cap
may also turn on the MIL.
EMISSIONS INSPECTION AND MAINTENANCE
PROGRAMS
In some localities, it may be a legal requirement to pass
an inspection of your vehicle’s emissions control system.
Failure to pass could prevent vehicle registration.For states that require an Inspection and Mainte-
nance (I/M), this check verifies the “Malfunction
Indicator Light (MIL)” is functioning and is not
on when the engine is running, and that the OBD II
system is ready for testing. Normally, the OBD II system will be ready. The OBD II
system may
notbe ready if your vehicle was recently
serviced, recently had a dead battery or a battery replace-
ment. If the OBD II system should be determined not
ready for the I/M test, your vehicle may fail the test.
Your vehicle has a simple ignition key-actuated test,
which you can use prior to going to the test station. To
check if your vehicle’s OBD II system is ready, you must
do the following:
1. Turn the ignition switch to the ON position, but do not
crank or start the engine.
2. If you crank or start the engine, you will have to start
this test over.
3. As soon as you turn the ignition switch to the ON
position, you will see the MIL symbol come on as part of
a normal bulb check.
368 MAINTAINING YOUR VEHICLE
Page 371 of 471

4. Approximately 15 seconds later, one of two things will
happen:a. The MIL will flash for about 10 seconds and then
return to being fully illuminated until you turn OFF
the ignition or start the engine. This means that your
vehicle’s OBD II system is not readyand you should
not proceed to the I/M station.
b. The MIL will not flash at all and will remain fully
illuminated until you turn OFF the ignition or start the
engine. This means that your vehicle’s OBD II system
is ready and you can proceed to the I/M station.
If your OBD II system is not ready,you should see your
authorized dealer or repair facility. If your vehicle was
recently serviced or had a battery failure or replacement,
you may need to do nothing more than drive your
vehicle as you normally would in order for your OBD II
system to update. A recheck with the above test routine
may then indicate that the system is now ready. Regardless of whether your vehicle’s OBD II system is
ready or not, if the MIL is illuminated during normal
vehicle operation you should have your vehicle serviced
before going to the I/M station. The I/M station can fail
your vehicle because the MIL is on with the engine
running.
REPLACEMENT PARTS
Use of genuine MOPAR�
parts for normal/scheduled
maintenance and repairs is highly recommended to en-
sure the designed performance. Damage or failures
caused by the use of non-MOPAR� parts for maintenance
and repairs will not be covered by the manufacturer’s
warranty.
7
MAINTAINING YOUR VEHICLE 369
Page 385 of 471

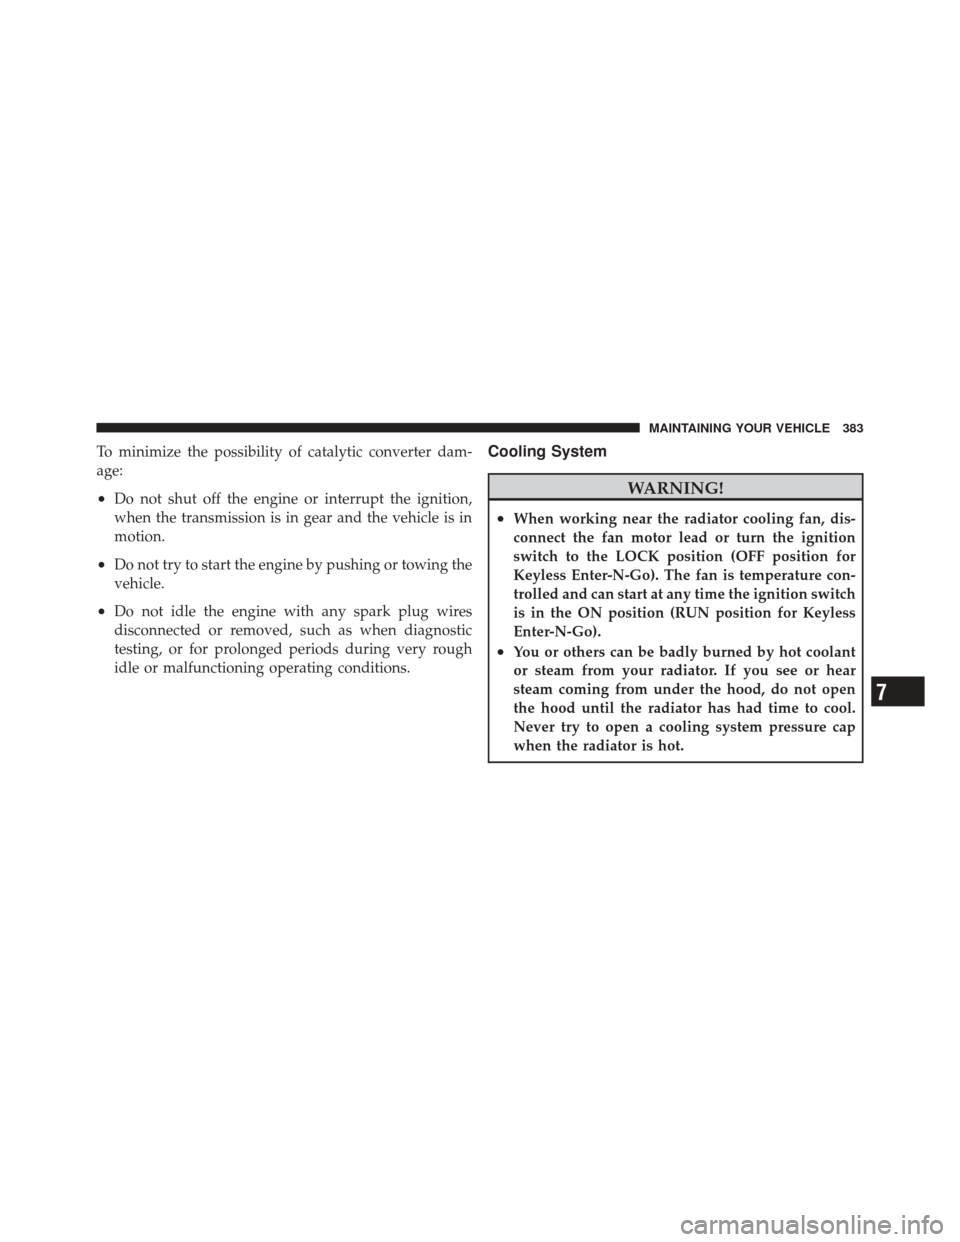
To minimize the possibility of catalytic converter dam-
age:
•Do not shut off the engine or interrupt the ignition,
when the transmission is in gear and the vehicle is in
motion.
•Do not try to start the engine by pushing or towing the
vehicle.
•Do not idle the engine with any spark plug wires
disconnected or removed, such as when diagnostic
testing, or for prolonged periods during very rough
idle or malfunctioning operating conditions.
Cooling System
WARNING!
•When working near the radiator cooling fan, dis-
connect the fan motor lead or turn the ignition
switch to the LOCK position (OFF position for
Keyless Enter-N-Go). The fan is temperature con-
trolled and can start at any time the ignition switch
is in the ON position (RUN position for Keyless
Enter-N-Go).
•You or others can be badly burned by hot coolant
or steam from your radiator. If you see or hear
steam coming from under the hood, do not open
the hood until the radiator has had time to cool.
Never try to open a cooling system pressure cap
when the radiator is hot.
7
MAINTAINING YOUR VEHICLE 383
Page 402 of 471
CAUTION!
•When installing the integrated power module
cover, it is important to ensure the cover is prop-
erly positioned and fully latched. Failure to do so
may allow water to get into the integrated power
module and possibly result in an electrical system
failure.
•When replacing a blown fuse, it is important to
use only a fuse having the correct amperage rating.
The use of a fuse with a rating other than indicated
may result in a dangerous electrical system over-
load. If a properly rated fuse continues to blow, it
indicates a problem in the circuit that must be
corrected.
Cavity CartridgeFuseMini-
Fuse Description
1 — 15 Amp BlueWasher Motor
2 — 25 Amp NaturalPowertrain Control
Module (PCM)
3 — 25 Amp NaturalIgnition Run/Start
4 — 25 Amp NaturalEGR Solenoid/
Alternator
5 — 15 Amp BluePowertrain Control
Module
6 — 25 Amp NaturalIgnition Coils/
Injectors
7 — 25 Amp NaturalHeadlamp Washer
Relay – If Equipped
8 — 30 Amp GreenStarter
400 MAINTAINING YOUR VEHICLE
Page 405 of 471
Cavity CartridgeFuseMini-
Fuse Description
1 60 Amp Yellow — Ignition Off Draw
(IOD)Cavity 1 of the
Rear Power Distribu-
tion Center contains
a black IOD fuse
needed for vehicle
processing during
assembly. The ser-
vice replacement part
is a 60 Amp yellow
cartridge fuse.
2 40 Amp Green — Integrated Power
Module (IPM)
3— ——
4 40 Amp Green — Integrated Power
Module (IPM)Cavity Cartridge FuseMini-
Fuse Description
5 30 Amp Pink — Heated Seats –
If Equipped
6 — 20 Amp YellowFuel Pump
7 — 15 Amp BlueAudio Amplifier –
If Equipped
8 — 15 Amp BlueDiagnostic Link
Connector (DLC)/
Wireless Control
Module (WCM)/
Wireless Ignition
Node (WIN)
9 — 20 Amp YellowPower Outlet
10 — 25 Amp NaturalVacuum Pump –
If Equipped
11 * ———
7
MAINTAINING YOUR VEHICLE 403
Page 406 of 471
Cavity CartridgeFuseMini-
Fuse Description
12 * ———
13 * ———
14 — 10 Amp RedAC Heater Control/
Cluster/Security
Module – If
Equipped
15 — 20 Amp YellowActive Damper –
If Equipped
16 — 20 Amp YellowHeated Seat Module
– If Equipped
17 — 20 Amp YellowInstrument Cluster
18 — 20 Amp YellowCigar Lighter
(Instrument Panel)
19 — 10 Amp RedStop LightsCavity Cartridge
FuseMini-
Fuse Description
20 — — —
21 — — —
22 — — —
23 — — —
24 — — —
25 — — —
26 — — —
27 — 10 Amp RedOccupant Restraint
Controller (ORC)
28 — 10 Amp RedIgnition Run, AC
Heater Control/
Occupant Restraint
Controller (ORC)
404 MAINTAINING YOUR VEHICLE
Page 458 of 471

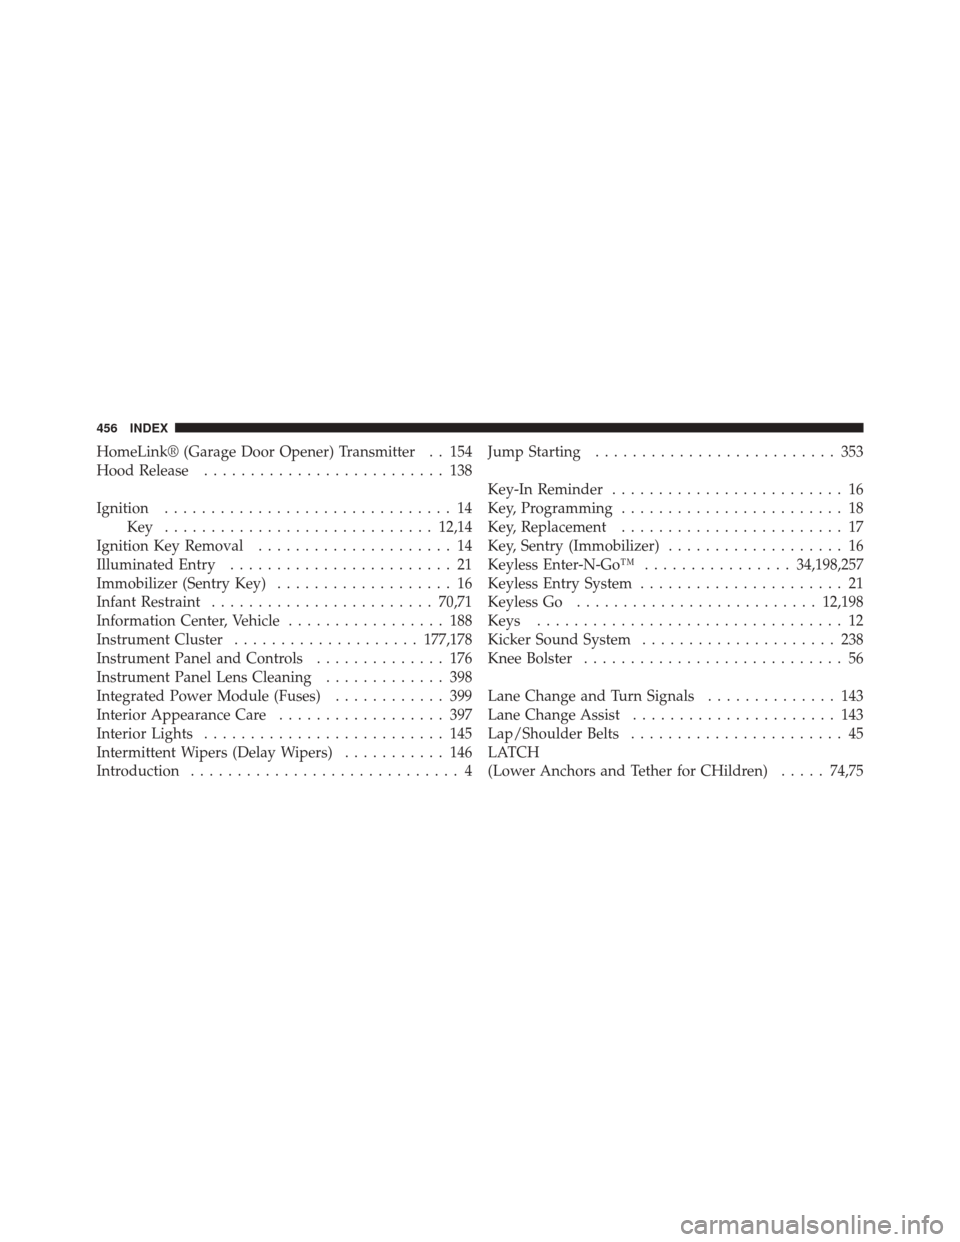
HomeLink® (Garage Door Opener) Transmitter . . 154
Hood Release.......................... 138
Ignition ............................... 14
Key ............................. 12,14
Ignition Key Removal ..................... 14
Illuminated Entry ........................ 21
Immobilizer (Sentry Key) ................... 16
Infant Restraint ........................ 70,71
Information Center, Vehicle ................. 188
Instrument Cluster .................... 177,178
Instrument Panel and Controls .............. 176
Instrument Panel Lens Cleaning ............. 398
Integrated Power Module (Fuses) ............ 399
Interior Appearance Care .................. 397
Interior Lights .......................... 145
Intermittent Wipers (Delay Wipers) ........... 146
Introduction ............................. 4 Jump Starting
.......................... 353
Key-In Reminder ......................... 16
Key, Programming ........................ 18
Key, Replacement ........................ 17
Key, Sentry (Immobilizer) ................... 16
Keyless Enter-N-Go™ ................34,198,257
Keyless Entry System ...................... 21
Keyless Go .......................... 12,198
Keys ................................. 12
Kicker Sound System ..................... 238
Knee Bolster ............................ 56
Lane Change and Turn Signals .............. 143
Lane Change Assist ...................... 143
Lap/Shoulder Belts ....................... 45
LATCH
(Lower Anchors and Tether for CHildren) .....74,75
456 INDEX