Page 94 of 514
▫Commands ........................ 130
▫ Voice Training ...................... 134
� Seats .............................. 134
▫ Power Seats — If Equipped ............. 135
▫ Heated Seats — If Equipped ............ 137
▫ Manual Front Seat Adjustments .......... 139
▫ Driver Seat Manual Height Adjuster —
If Equipped ........................ 140
▫ Reclining Seats ...................... 140
▫ Lumbar Support — If Equipped .......... 141
▫ Fold-Flat Front Passenger Seat ........... 142
▫ Head Restraints ..................... 143
▫ Folding Rear Seat .................... 146 ▫
Folding Rear Seat Center Armrest ........ 147
� To Open And Close The Hood ............ 148
� Lights ............................. 150
▫ Multifunction Lever .................. 150
▫ Headlights And Parking Lights .......... 150
▫ Automatic Headlights — If Equipped ...... 151
▫ Headlight Time Delay ................. 151
▫ Turn Signals ........................ 152
▫ Lane Change Assist ................... 152
▫ High/Low Beam Switch ............... 152
▫ Flash-To-Pass ....................... 153
▫ Fog Lights — If Equipped .............. 153
▫ Daytime Running Lights — If Equipped .... 154
92 UNDERSTANDING THE FEATURES OF YOUR VEHICLE
Page 152 of 514
LIGHTS
Multifunction Lever
The multifunction lever controls the operation of the
parking lights, headlights, headlight beam selection,
passing light, fog lights, instrument panel light dimming
and turn signals. The multifunction lever is located on
the left side of the steering column.
Headlights And Parking Lights
Turn the end of the multifunction lever to the first detent
for parking light operation. Turn to the second detent for
headlight operation.
Multifunction Lever
Headlight Switch
150 UNDERSTANDING THE FEATURES OF YOUR VEHICLE
Page 155 of 514
Flash-To-Pass
You can signal another vehicle with your headlights by
lightly pulling the multifunction lever toward you. This
will turn on the high beam headlights until the lever is
released.
NOTE:If the multifunction lever is held in the flash-to-
pass position for more than 15 seconds, the high beams
will shut off. If this occurs, wait 30 seconds for the next
flash-to-pass operation.
Fog Lights — If Equipped
The front fog light switch is on the multifunction
lever. To activate the front fog lights, turn on the
parking lights or the low beam headlights and pull
out the end of the multifunction lever. NOTE:
The front fog lights will only operate with the
headlights on low beam. Selecting high beam headlights
will turn off the front fog lights.
Front Fog Light Control
3
UNDERSTANDING THE FEATURES OF YOUR VEHICLE 153
Page 199 of 514
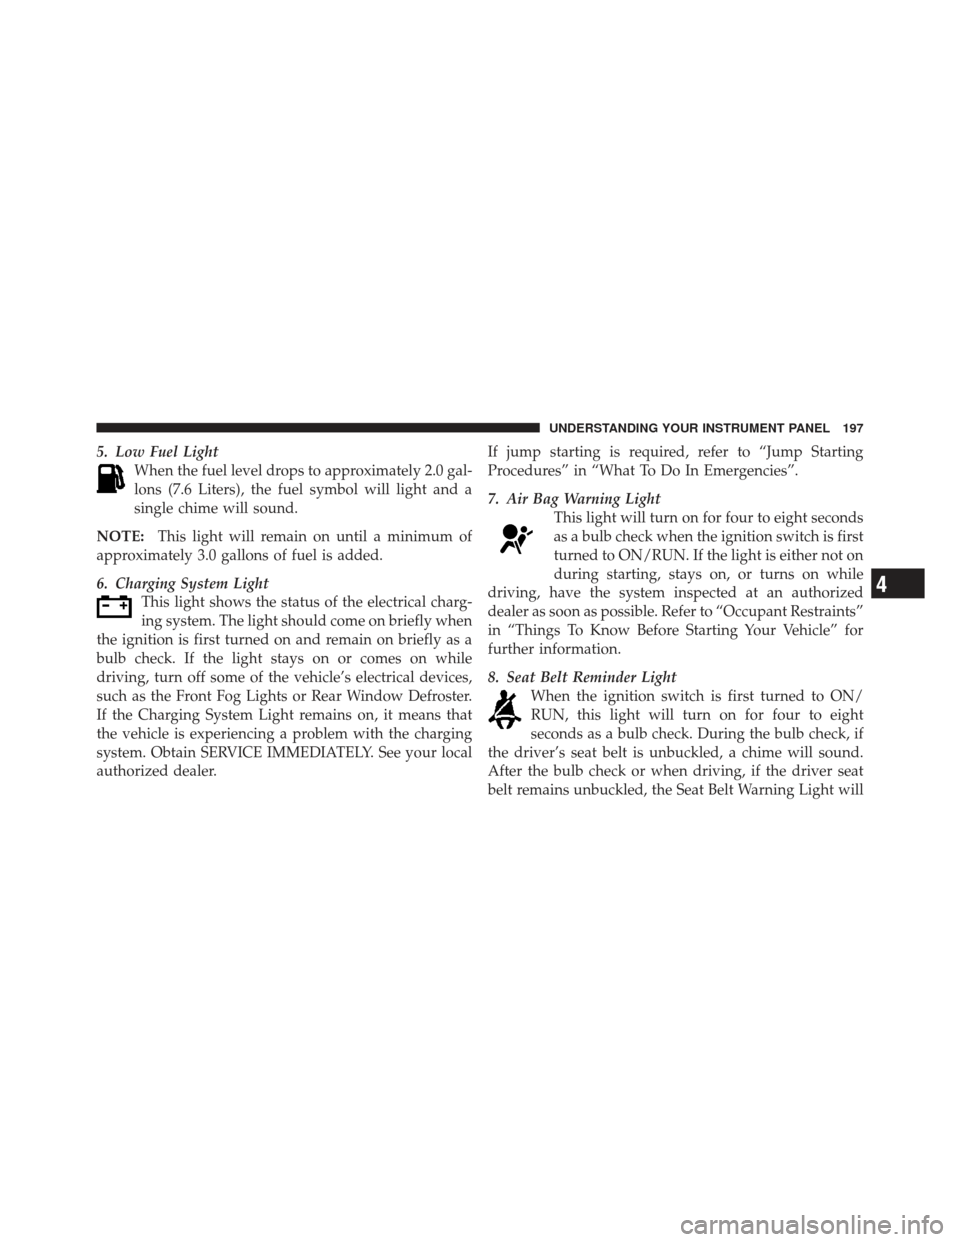
5. Low Fuel LightWhen the fuel level drops to approximately 2.0 gal-
lons (7.6 Liters), the fuel symbol will light and a
single chime will sound.
NOTE: This light will remain on until a minimum of
approximately 3.0 gallons of fuel is added.
6. Charging System Light This light shows the status of the electrical charg-
ing system. The light should come on briefly when
the ignition is first turned on and remain on briefly as a
bulb check. If the light stays on or comes on while
driving, turn off some of the vehicle’s electrical devices,
such as the Front Fog Lights or Rear Window Defroster.
If the Charging System Light remains on, it means that
the vehicle is experiencing a problem with the charging
system. Obtain SERVICE IMMEDIATELY. See your local
authorized dealer. If jump starting is required, refer to “Jump Starting
Procedures” in “What To Do In Emergencies”.
7. Air Bag Warning Light
This light will turn on for four to eight seconds
as a bulb check when the ignition switch is first
turned to ON/RUN. If the light is either not on
during starting, stays on, or turns on while
driving, have the system inspected at an authorized
dealer as soon as possible. Refer to “Occupant Restraints”
in “Things To Know Before Starting Your Vehicle” for
further information.
8. Seat Belt Reminder Light When the ignition switch is first turned to ON/
RUN, this light will turn on for four to eight
seconds as a bulb check. During the bulb check, if
the driver’s seat belt is unbuckled, a chime will sound.
After the bulb check or when driving, if the driver seat
belt remains unbuckled, the Seat Belt Warning Light will
4
UNDERSTANDING YOUR INSTRUMENT PANEL 197
Page 207 of 514
(kilometers) at speeds greater than 30 mph (48 km/h), see
your authorized dealer as soon as possible to have the
problem diagnosed and corrected.
NOTE:
•The “ESC Off Indicator Light” and the “ESC
Activation/Malfunction Indicator Light” come on mo-
mentarily each time the ignition switch is turned to
ON/RUN.
•Each time the ignition is turned to ON/RUN, the ESC
system will be ON, even if it was turned off previously.
•The ESC system will make buzzing or clicking sounds
when it is active. This is normal; the sounds will stop
when ESC becomes inactive following the maneuver
that caused the ESC activation.
23. Front Fog Light Indicator — If Equipped This indicator will illuminate when the front fog
lights are on. 24. Tire Pressure Monitoring Telltale Light
Each tire, including the spare (if provided),
should be checked monthly when cold and
inflated to the inflation pressure recommended
by the vehicle manufacturer on the vehicle
placard or tire inflation pressure label. (If your vehicle
has tires of a different size than the size indicated on the
vehicle placard or tire inflation pressure label, you should
determine the proper tire inflation pressure for those
tires.)
As an added safety feature, your vehicle has been
equipped with a Tire Pressure Monitoring System
(TPMS) that illuminates a low tire pressure telltale when
one or more of your tires is significantly under-inflated.
Accordingly, when the low tire pressure telltale illumi-
nates, you should stop and check your tires as soon as
possible, and inflate them to the proper pressure. Driving
on a significantly under-inflated tire causes the tire to
overheat and can lead to tire failure. Under-inflation also
4
UNDERSTANDING YOUR INSTRUMENT PANEL 205
Page 284 of 514
the LED in the control button to illuminate. After ten
minutes, the system will return to normal mode function
and the LED will turn off.
NOTE:
•Continuous use of the Recirculation mode may make
the inside air stuffy and window fogging may occur.
Extended use of this mode is not recommended.
•The use of the Recirculation mode in cold or damp
weather will cause windows to fog on the inside,
because of moisture buildup inside the vehicle. Select
the outside air position for maximum defogging.
•The A/C will engage automatically to prevent fogging
when the recirculation button is pressed and the mode
control is set to panel or Bi-Level.
•Recirculated air is not allowed in Floor, Mix or Defrost
modes. If the Recirculation button is depressed while
in any of these modes, the LED indicator will flashseveral times then go out. Recirculation will be dis-
abled automatically is these modes are selected.
•The A/C can be deselected manually without disturb-
ing the mode control selection.
•When the ignition switch is turned to the LOCK
position, the recirculation feature will be cancelled.
Air Conditioning Control
Press this button to engage the Air
Conditioning. A light will illuminate
when the Air Conditioning system is
engaged. Rotating the dial left into the
blue area of the scale indicates cooler
temperatures, while rotating right into
the red area indicates warmer tem-
peratures.
NOTE: The air conditioning compressor will not engage
until the engine has been running for about 10 seconds.
282 UNDERSTANDING YOUR INSTRUMENT PANEL
Page 461 of 514
LIGHT BULBS – ExteriorBulb No.
Low Beam Headlamp ..................... 9006
High Beam Headlamp .................... 9005
Front Park/Turn Signal Lamp ..............3457A
Front Fog Lamp ......................... H11
Front Side Marker Lamp .................WY5W
Center High Mounted Stop (CHMSL) Lamp ..... LED
(Serviced at Authorized Dealer)
Rear Tail/Stop/Turn Signal Lamp ............ LED
(Serviced at Authorized Dealer)
Backup Lamp ........................... 921
License Lamp .......................... W5W
BULB REPLACEMENT
Headlamp
1. Raise the hood and locate the connector behind the
headlamp. NOTE:
It may be necessary to remove the air cleaner
filter housing and position the totally integrated power
module aside prior to replacing the low beam headlamp
on the driver’s side of the vehicle.
2. Reach into engine compartment and from behind the
lamp assembly and grasp the connector.
7
MAINTAINING YOUR VEHICLE 459
Page 500 of 514
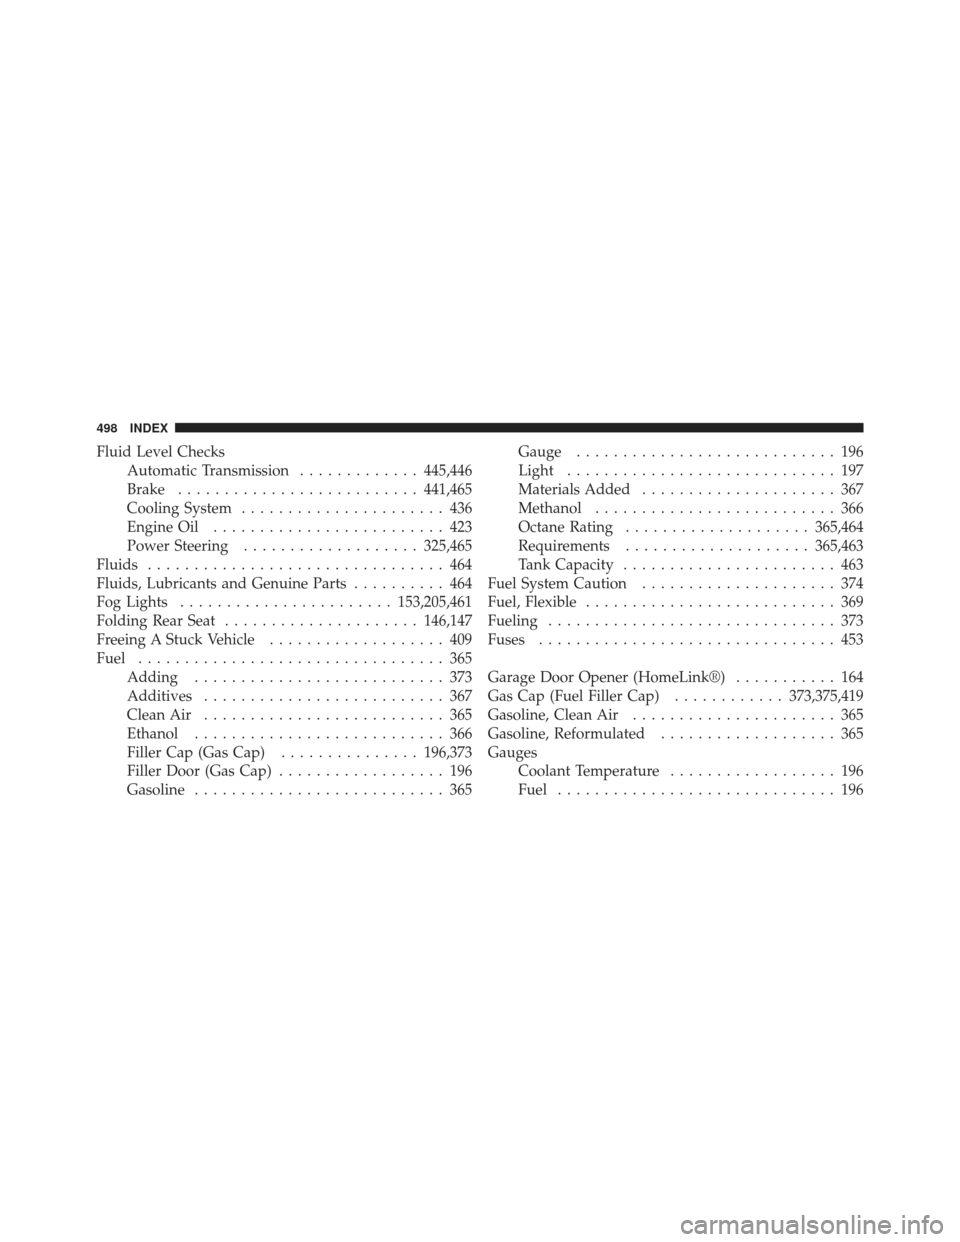
Fluid Level ChecksAutomatic Transmission .............445,446
Brake .......................... 441,465
Cooling System ...................... 436
Engine Oil ......................... 423
Power Steering ................... 325,465
Fluids ................................ 464
Fluids, Lubricants and Genuine Parts .......... 464
Fog Lights ....................... 153,205,461
Folding Rear Seat ..................... 146,147
Freeing A Stuck Vehicle ................... 409
Fuel ................................. 365
Adding ........................... 373
Additives .......................... 367
Clean Air .......................... 365
Ethanol ........................... 366
Filler Cap (Gas Cap) ...............196,373
Filler Door (Gas Cap) .................. 196
Gasoline ........................... 365 Gauge
............................ 196
Light ............................. 197
Materials Added ..................... 367
Methanol .......................... 366
Octane Rating .................... 365,464
Requirements .................... 365,463
Tank Capacity ....................... 463
Fuel System Caution ..................... 374
Fuel, Flexible ........................... 369
Fueling ............................... 373
Fuses ................................ 453
Garage Door Opener (HomeLink®) ........... 164
Gas Cap (Fuel Filler Cap) ............373,375,419
Gasoline, Clean Air ...................... 365
Gasoline, Reformulated ................... 365
Gauges Coolant Temperature .................. 196
Fuel .............................. 196
498 INDEX