2012 CHRYSLER TOWN AND COUNTRY fuel
[x] Cancel search: fuelPage 3 of 132

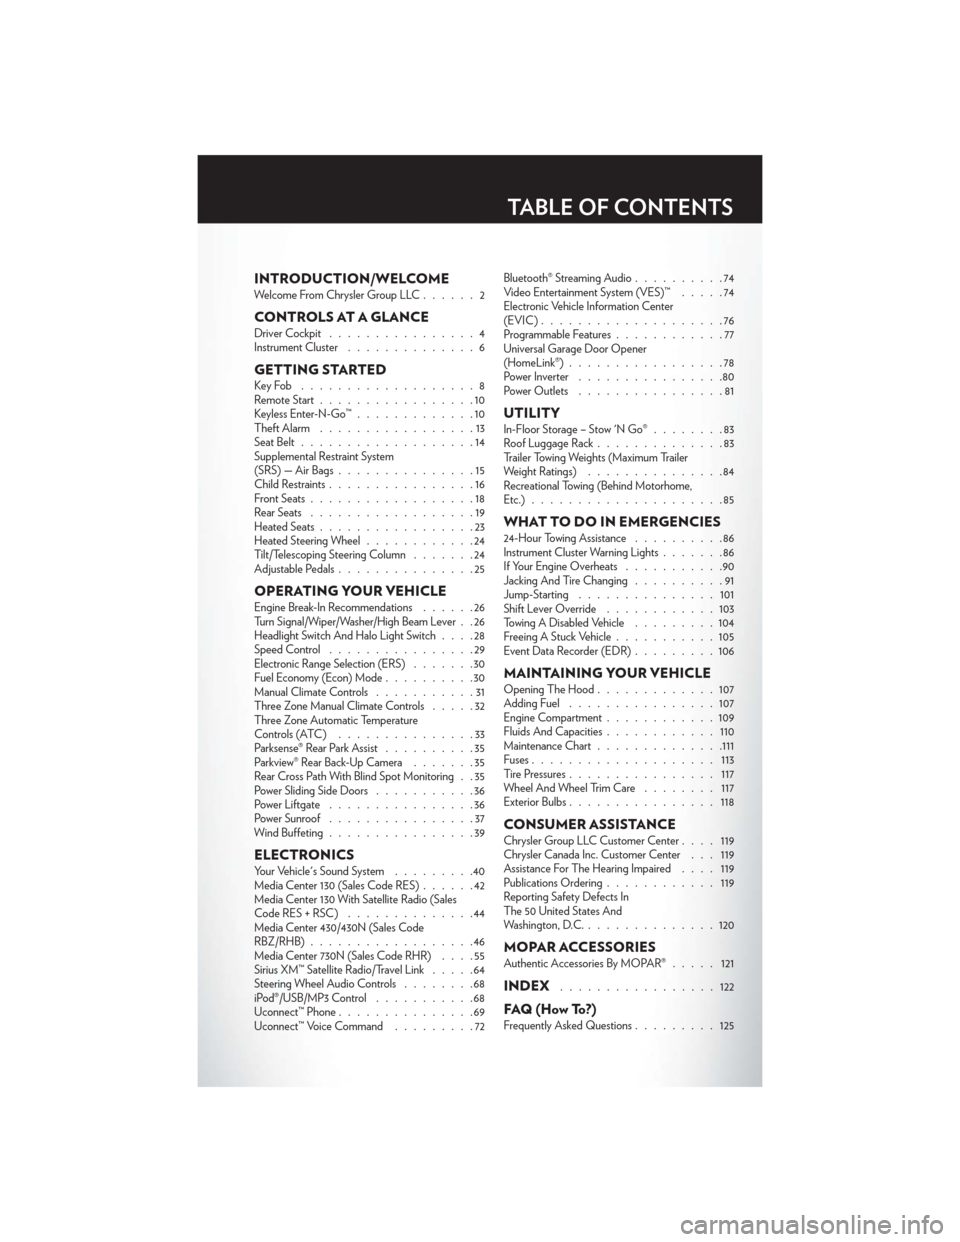
INTRODUCTION/WELCOMEWelcome From Chrysler Group LLC......2
CONTROLS AT A GLANCEDriver Cockpit................4
Instrument Cluster ..............6
GETTING STARTEDKeyFob ...................8
Remote Start.................10
Keyless Enter-N-Go™ .............10
Theft Alarm .................13
Seat Belt ...................14
Supplemental Restraint System
(SRS) — Air Bags ...............15
Child Restraints ................16
Front Seats ..................18
Rear Seats ..................19
Heated Seats .................23
Heated Steering Wheel ............24
Tilt/Telescoping Steering Column .......24
Adjustable Pedals ...............25
OPERATING YOUR VEHICLEEngine Break-In Recommendations ......26
Turn Signal/Wiper/Washer/High Beam Lever . . 26
Headlight Switch And Halo Light Switch ....28
Speed Control ................29
Electronic Range Selection (ERS) .......30
Fuel Economy (Econ) Mode ..........30
Manual Climate Controls ...........31
Three Zone Manual Climate Controls .....32
Three Zone Automatic Temperature
Controls (ATC) ...............33
Parksense® Rear Park Assist ..........35
Parkview® Rear Back-Up Camera .......35
Rear Cross Path With Blind Spot Monitoring . . 35
Power Sliding Side Doors ...........36
Power Liftgate ................36
Power Sunroof ................37
Wind Buffeting ................39
ELECTRONICSYour Vehicle's Sound System .........40
Media Center 130 (Sales Code RES) ......42
Media Center 130 With Satellite Radio (Sales
CodeRES+RSC) ..............44
Media Center 430/430N (Sales Code
RBZ/RHB) ..................46
Media Center 730N (Sales Code RHR) ....55
Sirius XM™ Satellite Radio/Travel Link .....64
Steering Wheel Audio Controls ........68
iPod®/USB/MP3 Control ...........68
Uconnect™ Phone ...............69
Uconnect™ Voice Command .........72Bluetooth® Streaming Audio
..........74
Video Entertainment System (VES)™ .....74
Electronic Vehicle Information Center
(EVIC) ....................76
Programmable Features ............77
Universal Garage Door Opener
(HomeLink®) .................78
Power Inverter ................80
Power Outlets ................81
UTILITYIn-Floor Storage – Stow 'N Go® ........83
Roof Luggage Rack ..............83
Trailer Towing Weights (Maximum Trailer
Weight Ratings) ...............84
Recreational Towing (Behind Motorhome,
Etc.).....................85
WHAT TO DO IN EMERGENCIES24-Hour Towing Assistance ..........86
Instrument Cluster Warning Lights .......86
If Your Engine Overheats ...........90
Jacking And Tire Changing ..........91
Jump-Starting ...............101
Shift Lever Override ............103
Towing A Disabled Vehicle .........104
Freeing A Stuck Vehicle ...........105
Event Data Recorder (EDR) .........106
MAINTAINING YOUR VEHICLEOpening The Hood.............107
Adding Fuel ................107
Engine Compartment ............109
Fluids And Capacities ............110
Maintenance Chart ..............111
Fuses .................... 113
Tire Pressures ................ 117
Wheel And Wheel Trim Care ........ 117
Exterior Bulbs ................ 118
CONSUMER ASSISTANCEChrysler Group LLC Customer Center .... 119
Chrysler Canada Inc. Customer Center . . . 119
Assistance For The Hearing Impaired .... 119
Publications Ordering ............ 119
Reporting Safety Defects In
The 50 United States And
Washington, D.C. ..............120
MOPAR ACCESSORIESAuthentic Accessories By MOPAR® ..... 121
INDEX.................122
FAQ(HowTo?)Frequently Asked Questions.........125
TABLE OF CONTENTS
Page 8 of 132

INSTRUMENT CLUSTER
Warning Lights
- Low Fuel Warning Light
- Charging System Light
- Oil Pressure Warning Light
- Anti-Lock Brake (ABS) Light**
- Air Bag Warning Light**
- Electronic Throttle Control (ETC) Light
- Tire Pressure Monitoring System (TPMS) Light
- Engine Temperature Warning Light
- Seat Belt Reminder Light
BRAKE- Brake Warning Light**
- Malfunction Indicator Light (MIL)**
- Electronic Stability Control (ESC) Activation/Malfunction Indicator Light*
(See page 86 for more information.)
CONTROLS AT A GLANCE
06
Page 9 of 132

Indicators
- Turn Signal Indicators
- High Beam Indicator
- Front Fog Light Indicator
- Vehicle Security Indicator*
- Electronic Stability Control (ESC) Off Indicator*
- Electronic Speed Control ON Indicator
- Electronic Speed Control Set Indicator
Odometer Messages
door - Door AjarnoFUSE* - Fuse Fault
gASCAP - Fuel Cap Fault LoW tirE* - Low Tire Pressure
gATE* - Liftgate Ajar CHAngE OIL* - Change Engine Oil
LoCOOL - Low Coolant
* If equipped
** Bulb Check with Key On
CONTROLS AT A GLANCE
07
Page 32 of 132

ELECTRONIC RANGE SELECTION (ERS)
• Electronic Range Select (ERS) allows youto limit the highest available transmission
gear, and can be activated during any
driving condition. When towing a trailer or
operating the vehicle in off-road
conditions, using ERS shift control will
help you maximize both performance and
engine braking.
• To shift from DRIVE mode to ERS mode, move the shift lever to the left (-) once.
The current gear will be maintained as the
top gear. To disable ERS, simply press and
hold the shift lever to the right (+) until
“D” is displayed in the instrument cluster
odometer.
• Switching between ERS and DRIVE mode can be done at any vehicle speed.
• Refer to your Owner's Manual on the DVD for further details.
FUEL ECONOMY (ECON) MODE
• The Fuel Economy (ECON) mode can improve the vehicle’s overall fuel economy duringnormal driving conditions.
• Press the “econ” switch in the center stack of the instrument panel and a green light will indicate the ECON mode is engaged.
OPERATING YOUR VEHICLE
30
Page 33 of 132

• When the Fuel Economy (ECON) Mode is engaged, the vehicle control systems will beable to change the following:
• The transmission will upshift sooner and downshift later.
• The transmission will skip select gears during shifts to allow the engine to operate at lower speeds.
• The torque converter clutch will engage sooner (lower engine rpm’s) and remain on longer.
• The engine idle speed will be lower.
• The overall driving performance will be more conservative.
MANUAL CLIMATE CONTROLS
Air Recirculation
• Use recirculation for maximum A/C operation.
• For window defogging, turn the recirculation button off.
• Recirculation is not allowed in defrost mode.
Heated Mirrors
• The mirrors are heated to melt frost or ice. This feature is activated whenever you turn on the rear window defroster.
OPERATING YOUR VEHICLE
31
Page 71 of 132

Sirius Travel Link (Media Center 730N (RHR) & Media Center 430N (RHB)
Only)
• Sirius Travel Link brings a wealth of useful information into your vehicle and right to yourfingertips.
• To access Travel Link, press the MENU hard-key, then the Travel Link soft-key.
NOTE:
• Sirius Travel Link requires a subscription, sold separately after the 1 year trial subscription included with your vehicle purchase.
• Sirius Travel Link is only available in the United States.
1 – Favorites View and store your favorite location, theater and sport teams for
quick access.
2 – Forecast View detailed weather conditions, forecasts and ski/snowboarding
conditions at local resorts.
3 – Ski Info View ski and snowboarding conditions at local ski resorts.
4 – Fuel Prices View detailed price information for fuel stations near your current
location.
5 – Movies View information on movies that are playing at theaters near your
current location.
6 – Sports View sports scores and upcoming events for all major sports.
ELECTRONICS
67
Page 80 of 132

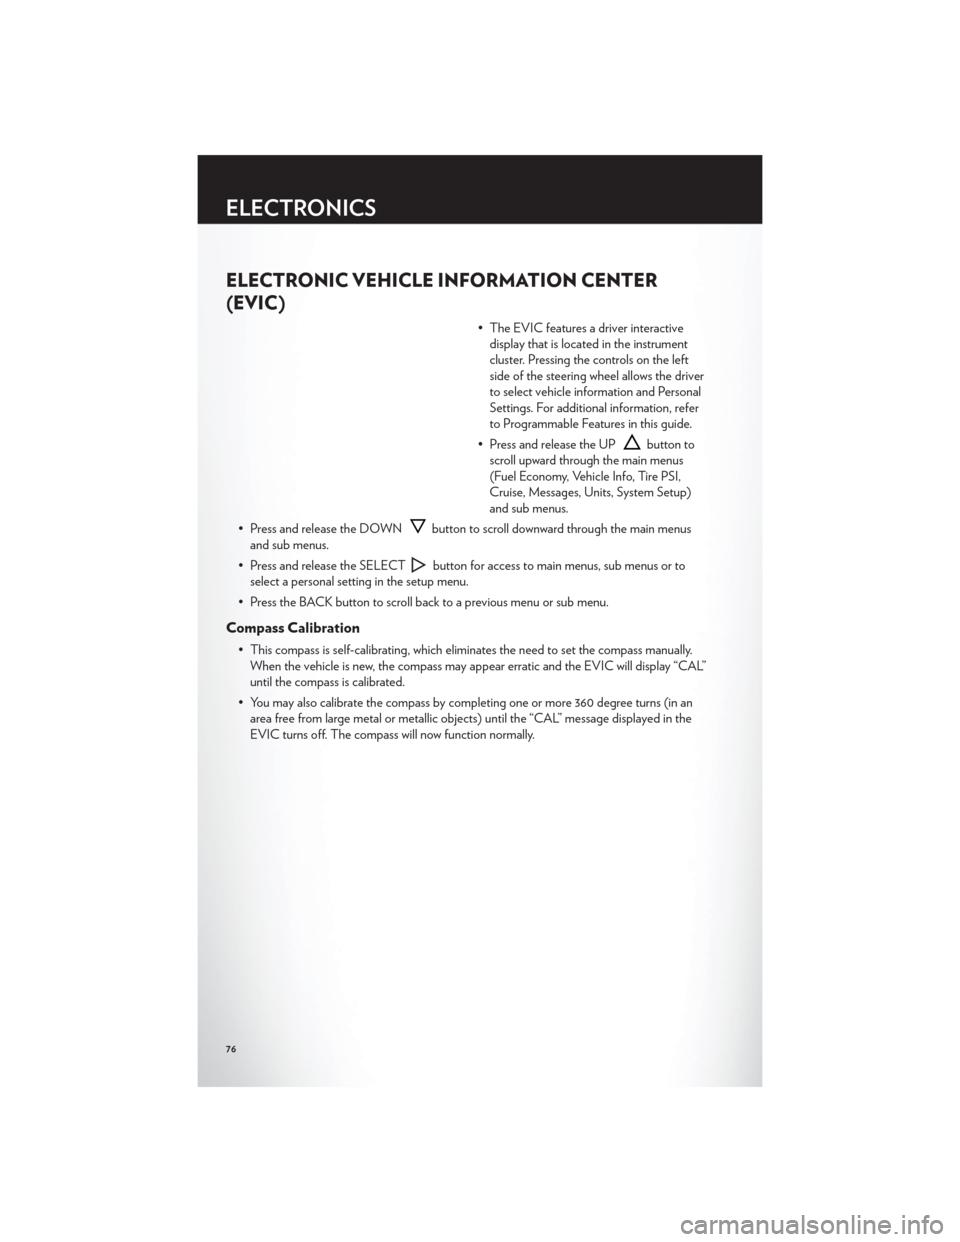
ELECTRONIC VEHICLE INFORMATION CENTER
(EVIC)
• The EVIC features a driver interactivedisplay that is located in the instrument
cluster. Pressing the controls on the left
side of the steering wheel allows the driver
to select vehicle information and Personal
Settings. For additional information, refer
to Programmable Features in this guide.
• Press and release the UP
button to
scroll upward through the main menus
(Fuel Economy, Vehicle Info, Tire PSI,
Cruise, Messages, Units, System Setup)
and sub menus.
• Press and release the DOWN
button to scroll downward through the main menus
and sub menus.
• Press and release the SELECT
button for access to main menus, sub menus or to
select a personal setting in the setup menu.
• Press the BACK button to scroll back to a previous menu or sub menu.
Compass Calibration
• This compass is self-calibrating, which eliminates the need to set the compass manually. When the vehicle is new, the compass may appear erratic and the EVIC will display “CAL”
until the compass is calibrated.
• You may also calibrate the compass by completing one or more 360 degree turns (in an area free from large metal or metallic objects) until the “CAL” message displayed in the
EVIC turns off. The compass will now function normally.
ELECTRONICS
76
Page 90 of 132

24-HOUR TOWING ASSISTANCE
• Dial toll-free 1-800-521-2779 or 1-800-363-4869 for Canadian residents.
• Provide your name, vehicle identification number and license plate number.
• Provide your location, including telephone number, from which you are calling.
• Briefly describe the nature of the problem and answer a few simple questions.
• You will be given the name of the service provider and an estimated time of arrival. If youfeel you are in an “unsafe situation”, please let us know. With your consent, we will contact
local police or safety authorities.
INSTRUMENT CLUSTER WARNING LIGHTS
- Electronic Stability Control (ESC) Indicator Light
• If this indicator light flashes during acceleration, apply as little throttle as possible. Whiledriving, ease up on the accelerator. Adapt your speed and driving to the prevailing road
conditions. To improve the vehicle's traction when starting off in deep snow, sand or
gravel, it may be desirable to switch the ESC system off.
- Tire Pressure Monitoring System (TPMS) Light
• Each tire, including the spare (if provided), should be checked monthly, when cold andinflated to the inflation pressure recommended by the vehicle manufacturer on the
vehicle placard or tire inflation pressure label. (If your vehicle has tires of a different size
than the size indicated on the vehicle placard or tire inflation pressure label, you should
determine the proper tire inflation pressure for those tires.)
• As an added safety feature, your vehicle has been equipped with a Tire Pressure Monitoring System (TPMS) that illuminates a low tire pressure telltale when one or more
of your tires is significantly under-inflated. Accordingly, when the low tire pressure telltale
illuminates, you should stop and check your tires as soon as possible, and inflate them to
the proper pressure. Driving on a significantly under-inflated tire causes the tire to
overheat and can lead to tire failure. Under-inflation also reduces fuel efficiency and tire
tread life, and may affect the vehicle’s handling and stopping ability.
• IF THE LIGHT STARTS FLASHING INDICATING A LOW TIRE PRESSURE,
ADJUST THE AIR PRESSURE IN THE LOW TIRE TO THE AIR PRESSURE
SHOWN ON THE VEHICLE PLACARD OR TIRE INFLATION PRESSURE
LABEL LOCATED ON THE DRIVER'S DOOR. NOTE: AFTER INFLATION,
THE VEHICLE MAY NEED TO BE DRIVEN FOR 20 MINUTES BEFORE THE
FLASHING LIGHT WILL TURN OFF.
• Please note that the TPMS is not a substitute for proper tire maintenance, and it is the driver’s responsibility to maintain correct tire pressure, even if under-inflation has not
reached the level to trigger illumination of the TPMS low tire pressure telltale.
WHAT TO DO IN EMERGENCIES
86