Page 109 of 652
WARNING! (Continued)
•Always make sure that objects cannot fall into the
driver footwell while the vehicle is moving. Ob-
jects can become trapped under the brake pedal
and accelerator pedal causing a loss of vehicle
control.
•If required, mounting posts must be properly
installed, if not equipped from the factory.
Failure to properly follow floor mat installation or
mounting can cause interference with the brake
pedal and accelerator pedal operation causing loss
of control of the vehicle.
Periodic Safety Checks You Should Make Outside
The Vehicle
Tires
Examine tires for excessive tread wear and uneven wear
patterns. Check for stones, nails, glass, or other objectslodged in the tread or sidewall. Inspect the tread for cuts
and cracks. Inspect sidewalls for cuts, cracks and bulges.
Check the wheel nuts for tightness. Check the tires
(including spare) for proper cold inflation pressure.
Lights
Have someone observe the operation of exterior lights
while you work the controls. Check turn signal and high
beam indicator lights on the instrument panel.
Door Latches
Check for positive closing, latching, and locking.
Fluid Leaks
Check area under vehicle after overnight parking for fuel,
engine coolant, oil, or other fluid leaks. Also, if gasoline
fumes are detected or if fuel, power steering fluid, or
brake fluid leaks are suspected, the cause should be
located and corrected immediately.
2
THINGS TO KNOW BEFORE STARTING YOUR VEHICLE 107
Page 113 of 652
�Driver Memory Seat — If Equipped ........ 196
▫ Setting Memory Positions And Linking RKE
Transmitter To Memory ................ 197
▫ Easy Entry/Exit Seat (Available With
Memory Seat Only) ................... 200
� To Open And Close The Hood ............ 201
� Lights ............................. 202
▫ Interior Lighting ..................... 203
▫ Parking Lights ...................... 205
▫ Headlights ......................... 205
▫ Automatic Headlights — If Equipped ...... 205
▫ Headlights On With Wipers — If Equipped . . 205
▫ Headlight Delay — If Equipped .......... 206
▫ Daytime Running Lights — If Equipped .... 206▫
Front Fog Lights — If Equipped .......... 207
▫ Battery Protection .................... 207
▫ Multifunction Lever .................. 207
▫ Turn Signals ........................ 208
▫ High/Low Beam Switch ............... 208
▫ Flash-To-Pass ....................... 209
▫ Smartbeam™ — If Equipped ............ 209
� Windshield Wipers And Washers .......... 210
▫ Mist, Front Wiper And Washer ........... 211
▫ Intermittent, Low And High Speed Wipers . . 211
▫ Rear Wiper And Washer ............... 211
▫ Rain Sensing Wipers — If Equipped ....... 212
3
UNDERSTANDING THE FEATURES OF YOUR VEHICLE 111
Page 204 of 652
Use the hood prop rod to secure the hood in the open
position.
CAUTION!
To prevent possible damage, do not slam the hood to
close it. Lower the hood until it is open approxi-
mately 12 in (30 cm) and then drop it. This should
secure both latches. Never drive your vehicle unless
the hood is fully closed, with both latches engaged.
WARNING!
Be sure the hood is fully latched before driving your
vehicle. If the hood is not fully latched, it could open
when the vehicle is in motion and block your vision.
Failure to follow this warning could result in serious
injury or death.
LIGHTS
All of the lights, except the Hazard Warning lights,
headlight high beams and flash-to-pass, are controlled by
switches to the left of the steering column on the instru-
ment panel.
Headlight Switch With Halo Control Assembly
202 UNDERSTANDING THE FEATURES OF YOUR VEHICLE
Page 209 of 652
the turn signal activation. Once the turn signal is no
longer active, the DRL lamp will illuminate.
Front Fog Lights — If Equipped
To activate the front fog lights, turn on the parking
lights or the low beam headlights and push in the
headlight switch control knob. Pressing the head-
light switch control knob in a second time will turn the
front fog lights off.
Battery Protection
This feature provides battery protection to avoid wearing
down the battery if the headlights, parking lights, or front
fog lights are left on for extended periods of time when
the ignition switch is in the LOCK position. After eight
minutes of the ignition switch being in the LOCK position
and the headlight switch in any position other than OFF
or AUTO, the lights will turn off automatically until the
next cycle of the ignition switch or headlight switch.
The battery protection feature will be disabled if the
ignition switch is turned to any other position other than
LOCK during the eight minute delay.
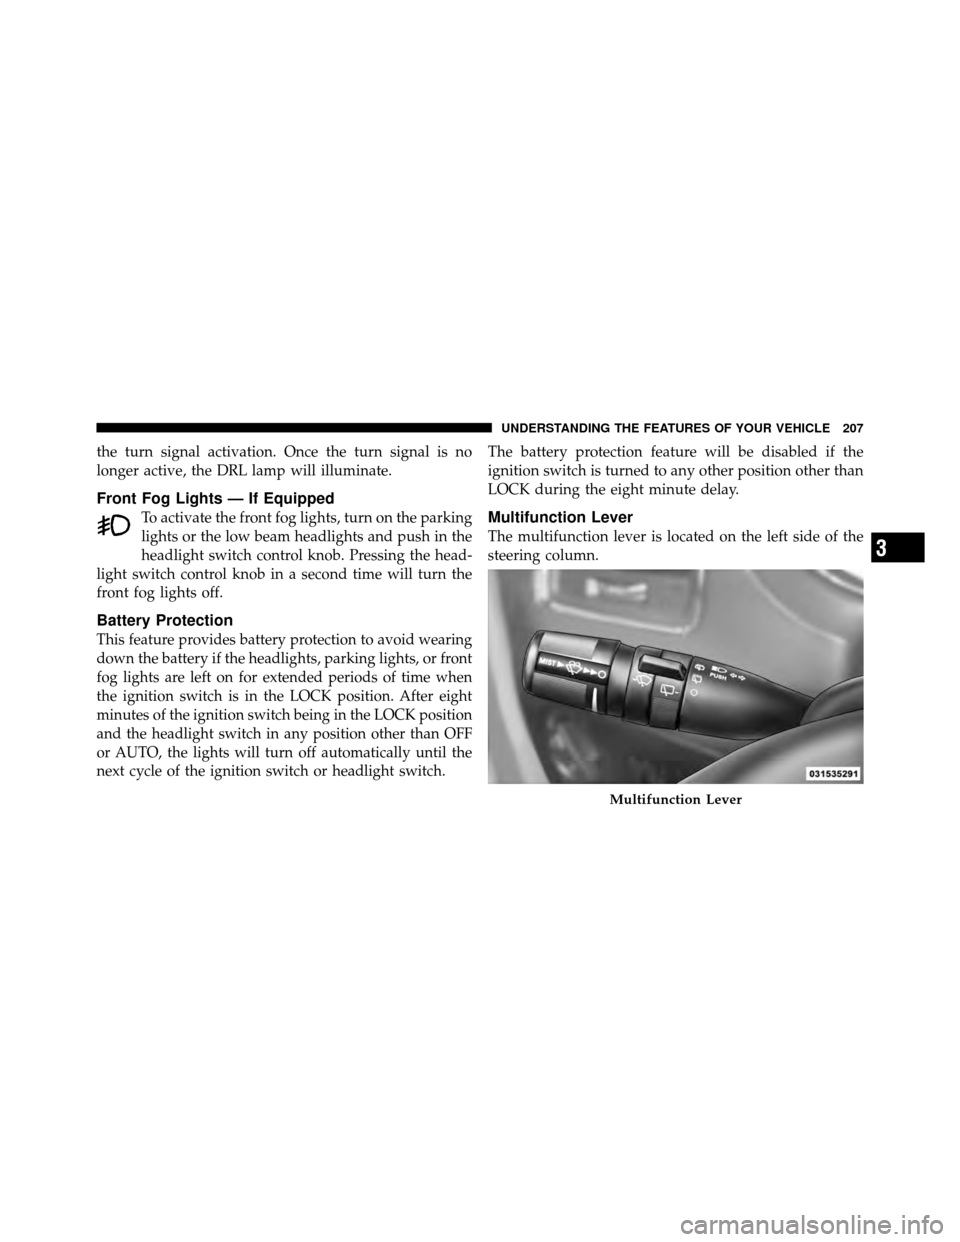
Multifunction Lever
The multifunction lever is located on the left side of the
steering column.
Multifunction Lever
3
UNDERSTANDING THE FEATURES OF YOUR VEHICLE 207
Page 210 of 652
The multifunction lever controls the:
•Turn Signals
•Headlight Beams Low/High
•Flash-To-Pass (Optical Horn)
•Front and Rear Wipers — Washer Functions
Turn Signals
Move the multifunction lever up or down and the arrows
on each side of the instrument cluster flash to show
proper operation of the front and rear turn signal lights.
NOTE:If either light remains on and does not flash, or
there is a very fast flash rate, check for a defective outside
light bulb. If an indicator fails to light when the lever is
moved, it would suggest that the indicator bulb is
defective.
Lane Change Assist
Tap the lever up or down once, without moving beyond
the detent, and the turn signal (right or left) will flash
three times then automatically turn off.
Turn Signal Warning
If the vehicle electronics sense that the vehicle has
traveled at over 18 mph (29 km/h) for approximately
1 mile (1.6 km) with the turn signals on, a chime will
sound to alert the driver.
High/Low Beam Switch
When the headlights are turned on, pushing the multi-
function lever toward the instrument panel will switch
from low beams to high beams. Pulling back to the
neutral position returns the headlights to the low beam
operation.
208 UNDERSTANDING THE FEATURES OF YOUR VEHICLE
Page 211 of 652
Flash-To-Pass
You can signal another vehicle with your headlights by
lightly pulling the multifunction lever toward you. This
will turn on the high beam headlights until the lever is
released.
SmartBeam™ — If Equipped
The SmartBeam™ system provides increased forward
lighting at night by automating high beam control
through the use of a digital camera mounted on the
inside rearview mirror. This camera detects vehicle spe-
cific light and automatically switches from high beams to
low beams until the approaching vehicle is out of view.
To Activate
1. Select “Automatic High Beams — ON” through the
EVIC. Refer to “Electronic Vehicle Information Center
(EVIC)/Customer-Programmable Features” in “Under-
standing Your Instrument Panel” for further information.2. Rotate the headlight switch counterclockwise to the
AUTO (A) position.
3. Push the multifunction lever away from you to switch
the headlights to the high beam position. Refer to “Mul-
tifunction Lever” in this section for further information.
NOTE:
This system will not activate until the vehicle is
at, or above, 25 mph (40 km/h).
To Deactivate
Perform either of the following steps to deactivate the
SmartBeam™ system.
1. Select “Automatic High Beams — OFF” through the
EVIC. Refer to “Electronic Vehicle Information Center
(EVIC)/Customer-Programmable Features” in “Under-
standing Your Instrument Panel” for further information.
2. Pull the multifunction lever toward you to switch the
headlights from the high beam to the low beam position.
3
UNDERSTANDING THE FEATURES OF YOUR VEHICLE 209
Page 292 of 652
INSTRUMENT CLUSTER DESCRIPTIONS
1. Tachometer
The red segments indicate the maximum permissible
engine revolutions per minute (RPM x 1000) for each gear
range. Before reaching the red area, ease up on the
accelerator.
2. Front Fog Light Indicator — If EquippedThis indicator will illuminate when the front fog
lights are on.
3. Park/Headlight ON Indicator — If Equipped This indicator will illuminate when the park
lights or headlights are turned on. 4. Turn Signal Indicators
The arrow will flash with the exterior turn signal
when the turn signal lever is operated.
If the vehicle is driven more than 1 mile (1.6 km) with
either turn signal on, a continuous chime will sound to
alert you to turn the signal off. If either indicator flashes
at a rapid rate, check for a defective outside light bulb.
5. High Beam Indicator This indicator shows that the high beam head-
lights are on. Push the multifunction lever forward
to switch the headlights to high beam, and pull toward
yourself (normal position) to return to low beam.
6. Odometer Display / Electronic Vehicle Information
Center (EVIC) Display — If Equipped
Odometer Display / Trip Odometer Display
The odometer display shows the total distance the ve-
hicle has been driven.
290 UNDERSTANDING YOUR INSTRUMENT PANEL
Page 309 of 652
•Unstored Messages Until RUN
These messages deal primarily with the Remote Start
feature. This message type is displayed until the ignition
is in the RUN state. Examples of this message type are
�Remote Start Aborted - Door Ajar� and�Press Brake
Pedal and Push Button to Start�.
•Five Second Unstored Messages
When the appropriate conditions occur, this type of
message takes control of the main display area for five
seconds and then returns to the previous screen. Ex-
amples of this message type are �Memory System Un-
available - Not in Park� and�Automatic High Beams On�.
The Reconfigurable Telltales section is divided into the
white telltales area on the right, amber telltales in the
middle, and red telltales on the left. When the appropriate conditions exist, the EVIC displays
the following messages:
•Key in ignition
•Ignition or Accessory On
•Remote start aborted — Door ajar
•Remote start aborted — Hood ajar
•Remote start aborted — L/Gate ajar
•Remote start aborted — Fuel low
•Remote start disabled — Start Vehicle to Reset
•Remote start active — Push Start Button
•Remote start active — Key to Run
•Wrong Key
•Damaged Key
4
UNDERSTANDING YOUR INSTRUMENT PANEL 307