Page 115 of 652
 ...... 233
▫ Rear Courtesy/Reading Lights — If
Equipped .......................... 235
▫ Rear Overhead Con")
▫Courtesy/Interior Lighting ............. 233
▫ Sunglass Storage (Non-Sunroof Only) ...... 233
▫ Rear Courtesy/Reading Lights — If
Equipped .......................... 235
▫ Rear Overhead Consoles — If Equipped .... 235
� Garage Door Opener — If Equipped ........ 236
▫ Before You Begin Programming
HomeLink� ........................ 238
▫ Programming A Rolling Code ........... 238
▫ Programming A Non-Rolling Code ........ 240
▫ Canadian/Gate Operator Programming .... 241
▫ Using HomeLink� ................... 243
▫ Security ........................... 243
▫ Troubleshooting Tips .................. 244 ▫
General Information .................. 245
� Power Sunroof — If Equipped ............ 245
▫ Opening Sunroof — Express ............ 246
▫ Opening The Sunroof — Manual Mode ..... 246
▫ Closing Sunroof — Express ............. 246
▫ Closing Sunroof — Manual Mode ........ 247
▫ Pinch Protect Feature ................. 247
▫ Pinch Protect Override ................ 247
▫ Venting Sunroof — Express ............. 247
▫ Sunshade Operation .................. 247
▫ Wind Buffeting ...................... 248
▫ Sunroof Maintenance ................. 248
▫ Ignition Off Operation ................. 248
3
UNDERSTANDING THE FEATURES OF YOUR VEHICLE 113
Page 238 of 652

An additional LED at the front of the rear console shines
down on the front foot-well area while in courtesy mode,
for added convenience.Rear Console Halo Lighting
The rear overhead console has recessed halo lighting
around the perimeter of the console base. This feature
provides additional lighting options while traveling and
is controlled by the headlight switch. Refer to “Lights/
Halo Lights — If Equipped” in “Understanding the
Features Of Your Vehicle” for further information.
GARAGE DOOR OPENER — IF EQUIPPED
HomeLink�replaces up to three hand-held transmitters
that operate devices such as garage door openers, motor-
ized gates, lighting or home security systems. The
HomeLink� unit is powered by your vehicles 12 Volt
battery.
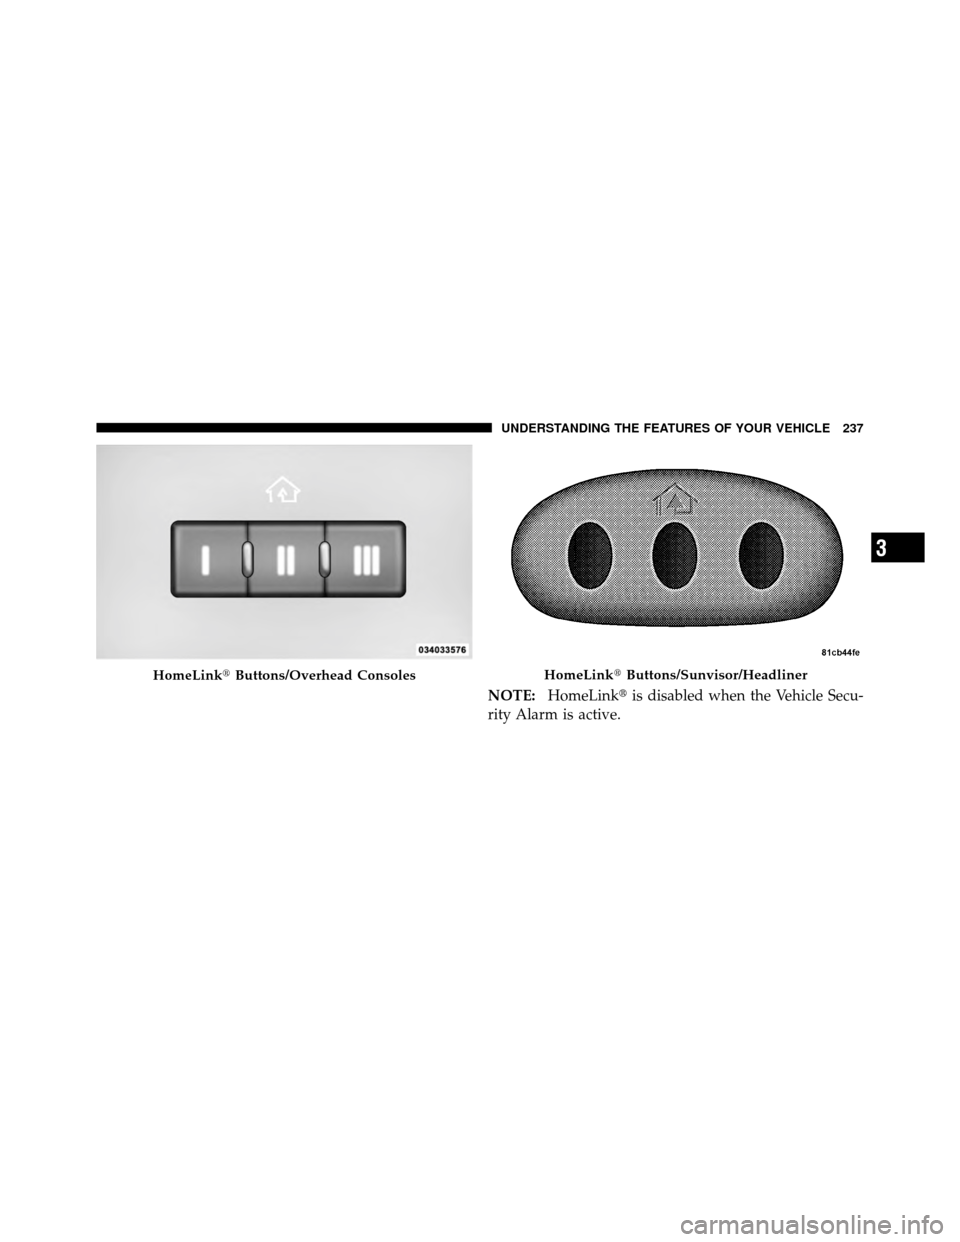
The HomeLink� buttons, located on either the overhead
console, headliner or sunvisor, designate the three differ-
ent HomeLink� channels. The HomeLink� indicator is
located above the center button.
Overhead Compartment Features
1 — DVD15 — Storage
2 — Rear HVAC 6 — DVD1
3 — Interior Lights 7 — Interior Lights
4 — Storage 8 — Halo Lighting
1If equipped, otherwise storage.
236 UNDERSTANDING THE FEATURES OF YOUR VEHICLE
Page 239 of 652
NOTE:HomeLink� is disabled when the Vehicle Secu-
rity Alarm is active.
HomeLink� Buttons/Overhead ConsolesHomeLink�Buttons/Sunvisor/Headliner
3
UNDERSTANDING THE FEATURES OF YOUR VEHICLE 237
Page 240 of 652

Before You Begin Programming HomeLink�
Be sure that your vehicle is parked outside of the garage
before you begin programming.
For more efficient programming and accurate transmis-
sion of the radio-frequency signal it is recommended that
a new battery be placed in the hand-held transmitter of
the device that is being programmed to the HomeLink�
system.
Erase all channels before you begin programming. To
erase the channels place the ignition in the ON/RUN
position and press and hold the two outside HomeLink�
buttons (I and III) for up 20 seconds or until the red
indicator flashes.NOTE:•Erasing all channels should only be performed when
programming HomeLink�
for the first time. Do not
erase channels when programming additional buttons.
•If you have any problems, or require assistance, please
call toll-free 1–800–355–3515 or, on the Internet at
www.HomeLink.com for information or assistance.
Programming A Rolling Code
For programming garage door openers that were manu-
factured after 1995. These garage door openers can be
identified by the “LEARN” or “TRAIN” button located
where the hanging antenna is attached to the garage door
opener. It is NOT the button that is normally used to
open and close the door. The name and color of the
button may vary by manufacturer.
238 UNDERSTANDING THE FEATURES OF YOUR VEHICLE
Page 241 of 652

away from the HomeLink�button you wish to program
while keeping the HomeLink� indicator lig")
1. Turn the ignition switch to the ON/RUN position.
2. Place the hand-held transmitter 1 to 3 in (3 to 8 cm)
away from the HomeLink�button you wish to program
while keeping the HomeLink� indicator light in view.3. Simultaneously press and hold both the Homelink
�
button you want to program and the hand-held transmit-
ter button.
4. Continue to hold both buttons and observe the indi-
cator light. The Homelink� indicator will flash slowly
and then rapidly after Homelink� has received the fre-
quency signal from the hand-held transmitter. Release
both buttons after the indicator light changes from slow
to rapid.
5. At the garage door opener motor (in the garage),
locate the “LEARN” or “TRAINING” button. This can
usually be found where the hanging antenna wire is
attached to the garage door opener/device motor. Firmly
press and release the “LEARN” or “TRAINING” button.
On some garage door openers/devices there may be a
light that blinks when the garage door opener/device is
in the LEARN/TRAIN mode.
Training The Garage Door Opener
1 — Door Opener
2 — Training Button
3
UNDERSTANDING THE FEATURES OF YOUR VEHICLE 239
Page 242 of 652

NOTE:You have 30 seconds in which to initiate the next
step after the LEARN button has been pressed.
6. Return to the vehicle and press the programmed
HomeLink� button twice (holding the button for two
seconds each time). If the garage door opener/device
activates, programming is complete.
NOTE: If the garage door opener/device does not
activate, press the button a third time (for two seconds) to
complete the training.
To program the remaining two HomeLink� buttons,
repeat each step for each remaining button. DO NOT
erase the channels.
Reprogramming A Single HomeLink� Button
To reprogram a channel that has been previously trained,
follow these steps:
1. Turn the ignition switch to the ON/RUN position. 2. Press and hold the desired HomeLink�
button until
the indicator light begins to flash after 20 seconds. Do not
release the button.
3. Without releasing the button proceed with “Program-
ming A Rolling Code” Step 2 and follow all remaining
steps.
Programming A Non-Rolling Code
For programming Garage Door Openers manufactured
before 1995.
1. Turn the ignition switch to the ON/RUN position.
2. Place the hand-held transmitter 1 to 3 in (3 to 8 cm)
away from the HomeLink� button you wish to program
while keeping the HomeLink� indicator light in view.
3. Simultaneously press and hold both the Homelink �
button you want to program and the hand-held transmit-
ter button.
240 UNDERSTANDING THE FEATURES OF YOUR VEHICLE
Page 243 of 652

4. Continue to hold both buttons and observe the indi-
cator light. The Homelink�indicator will flash slowly
and then rapidly after Homelink� has received the fre-
quency signal from the hand-held transmitter. Release
both buttons after the indicator light changes from slow
to rapid.
5. Press and hold the programmed HomeLink� button
and observe the indicator light.
•If the indicator light stays on constantly, program-
ming is complete and the garage door/device
should activate when the HomeLink� button is
pressed.
•To program the two remaining HomeLink� buttons,
repeat each step for each remaining button. DO
NOT erase the channels.
Reprogramming A Single HomeLink� Button
To reprogram a channel that has been previously trained,
follow these steps:
1. Turn the ignition switch to the ON/RUN position.
2. Press and hold the desired HomeLink� button until
the indicator light begins to flash after 20 seconds. Do not
release the button.
3. Without releasing the button proceed with “Program-
ming A Non-Rolling Code” Step 2 and follow all remain-
ing steps.
Canadian/Gate Operator Programming
For programming transmitters in Canada/United States
that require the transmitter signals to “time-out” after
several seconds of transmission.
Canadian radio frequency laws require transmitter sig-
nals to time-out (or quit) after several seconds of trans-
mission – which may not be long enough for HomeLink�
3
UNDERSTANDING THE FEATURES OF YOUR VEHICLE 241
Page 244 of 652

to pick up the signal during programming. Similar to this
Canadian law, some U.S. gate operators are designed to
time-out in the same manner.
It may be helpful to unplug the device during the cycling
process to prevent possible overheating of the garage
door or gate motor.
1. Turn the ignition switch to the ON/RUN position.
2. Place the hand-held transmitter 1 to 3 in (3 to 8 cm)
away from the HomeLink�button you wish to program
while keeping the HomeLink� indicator light in view.
3. Continue to press and hold the HomeLink� button,
while you press and release (“cycle”), your hand-held
transmitter every two seconds until HomeLink� has
successfully accepted the frequency signal. The indicator
light will flash slowly and then rapidly when fully
trained. 4. Watch for the HomeLink�
indicator to change flash
rates. When it changes, it is programmed. It may take up
to 30 seconds or longer in rare cases. The garage door
may open and close while you are programming.
5. Press and hold the programmed HomeLink �button
and observe the indicator light.
•If the indicator light stays on constantly, program-
ming is complete and the garage door/device
should activate when the HomeLink� button is
pressed.
•To program the two remaining HomeLink� buttons,
repeat each step for each remaining button. DO
NOT erase the channels.
If you unplugged the garage door opener/device for
programming, plug it back in at this time.
242 UNDERSTANDING THE FEATURES OF YOUR VEHICLE