Page 162 of 652
If you ever wish to interrupt the system while it lists
options, press the Voice Command
button, listen
for the beep, and say your command.
Pressing the Voice Command
button while the
system is speaking is known as “barging in.” The system
will be interrupted, and after the beep, you can add or
change commands. This will become helpful once you
start to learn the options.
NOTE: At any time, you can say the words “Cancel”,
“Help” or “Main Menu”.
These commands are universal and can be used from any
menu. All other commands can be used depending upon
the active application.
When using this system, you should speak clearly and at
a normal speaking volume. The system will best recognize your speech if the win-
dows are closed, and the heater/air conditioning fan is
set to low.
At any point, if the system does not recognize one of your
commands, you will be prompted to repeat it.
To hear the first available Menu, press the Voice Com-
mand
button and say “Help” or “Main Menu”.
Commands
The Voice Command system understands two types of
commands. Universal commands are available at all
times. Local commands are available if the supported
radio mode is active.
Changing the Volume
1. Start a dialogue by pressing the Voice Command
button.
2. Say a command (e.g., “Help”).
160 UNDERSTANDING THE FEATURES OF YOUR VEHICLE
Page 169 of 652
Power Lumbar — If Equipped
Vehicles equipped with power driver or passenger seats
may be also be equipped with power lumbar. The power
lumbar switch is located on the outboard side of the
power seat. Push the switch forward to increase the
lumbar support. Push the switch rearward to decrease
the lumbar support.
Heated Seats — If Equipped
On some models, the front and rear seats may be
equipped with heaters in both the seat cushions and
seatbacks.
WARNING!
•Persons who are unable to feel pain to the skin
because of advanced age, chronic illness, diabetes,
spinal cord injury, medication, alcohol use, ex-
haustion or other physical condition must exercise
care when using the seat heater. It may cause burns
even at low temperatures, especially if used for
long periods of time.(Continued)
Power Lumbar Switch
3
UNDERSTANDING THE FEATURES OF YOUR VEHICLE 167
Page 170 of 652
WARNING! (Continued)
•Do not place anything on the seat that insulates
against heat, such as a blanket or cushion. This
may cause the seat heater to overheat. Sitting in a
seat that has been overheated could cause serious
burns due to the increased surface temperature of
the seat.
Vehicles Equipped With Remote Start
On models that are equipped with remote start, the
driver ’s heated seat can be programmed to come on
during a remote start. Refer to “Remote Starting System
— If Equipped” in “Things To Know Before Starting Your
Vehicle” for further information.
Front Heated Seats
There are two heated seat switches that allow the driver
and passenger to operate the seats independently. The
controls for each heater are located on the switch bank
below the climate controls.
You can choose from HIGH, LOW or OFF heat settings.
Amber indicator lights in each switch indicate the level of
heat in use. Two indicator lights will illuminate for
HIGH, one for LOW and none for OFF.Press the switch once to select HIGH-level
heating. Press the switch a second time to select
LOW-level heating. Press the switch a third
time to shut the heating elements OFF.
NOTE: Once a heat setting is selected, heat will be felt
within two to five minutes.
168 UNDERSTANDING THE FEATURES OF YOUR VEHICLE
Page 171 of 652
When the HIGH-level setting is selected, the heater will
provide a boosted heat level during the initial stages of
operation. Then, the heat output will drop to the normal
HIGH-level. If the HIGH-level setting is selected, the
system will automatically switch to LOW-level after a
maximum of 60 minutes of continuous operation. At that
time, the display will change from HIGH to LOW,
indicating the change. The LOW-level setting will turn
OFF automatically after a maximum of 45 minutes.
Rear Heated Seats
On some models, the second row seats are equipped with
heaters. There are two heated seat switches that allow the
second row passengers to operate the seats indepen-
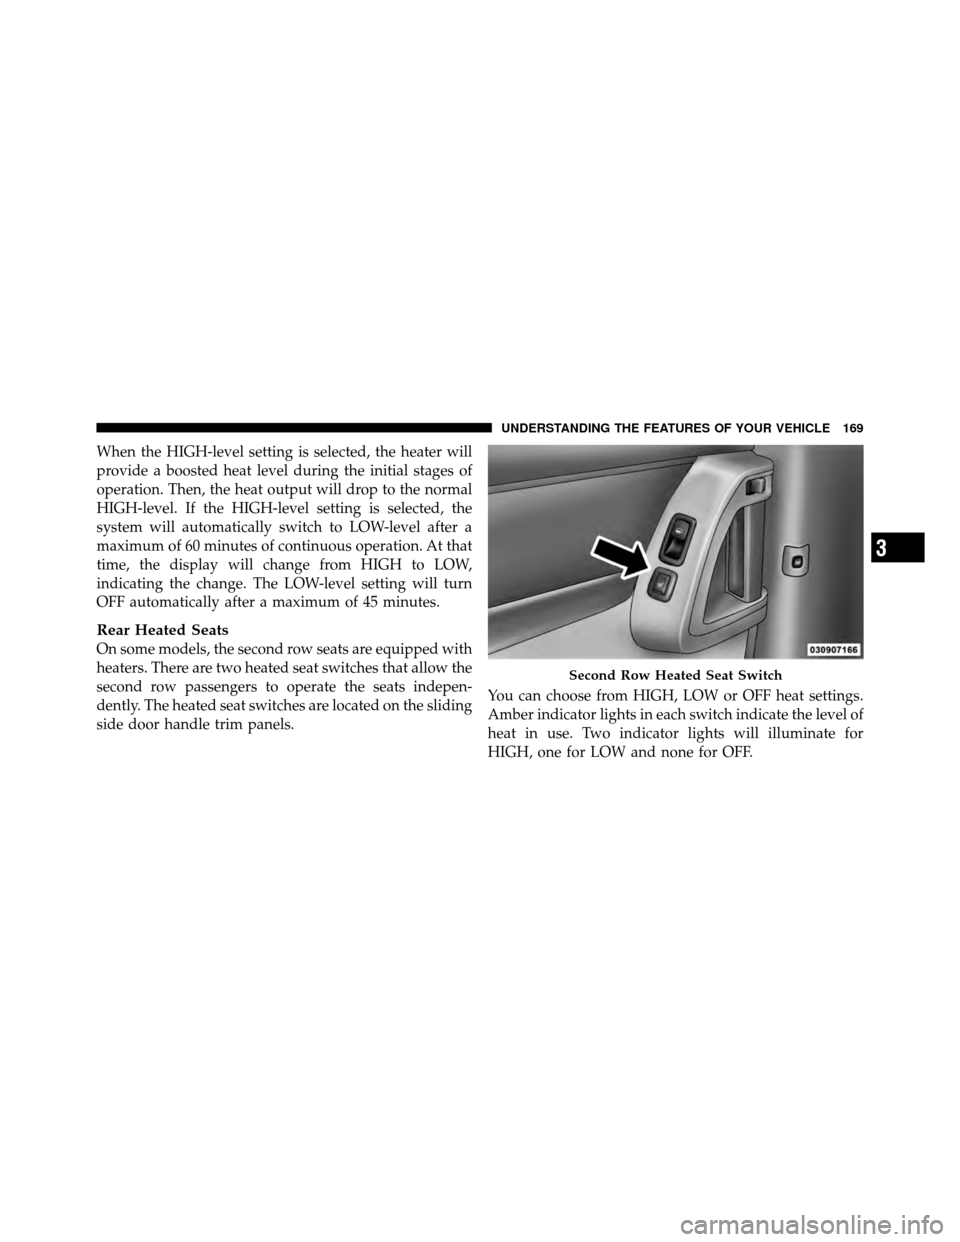
dently. The heated seat switches are located on the sliding
side door handle trim panels.You can choose from HIGH, LOW or OFF heat settings.
Amber indicator lights in each switch indicate the level of
heat in use. Two indicator lights will illuminate for
HIGH, one for LOW and none for OFF.
Second Row Heated Seat Switch
3
UNDERSTANDING THE FEATURES OF YOUR VEHICLE 169
Page 172 of 652
Press the switch once to select HIGH-level
heating. Press the switch a second time to select
LOW-level heating. Press the switch a third
time to shut the heating elements OFF.
NOTE: Once a heat setting is selected, heat will be felt
within two to five minutes.
When the HIGH-level setting is selected, the heater will
provide a boosted heat level during the initial stages of
operation. Then, the heat output will drop to the normal
HIGH-level. If the HIGH-level setting is selected, the
system will automatically switch to LOW-level after
approximately 30 minutes of continuous operation. At
that time, the display will change from HIGH to LOW,
indicating the change. The LOW-level setting will turn
OFF automatically after approximately 45 minutes.Manual Front/Second Row Seat Adjuster
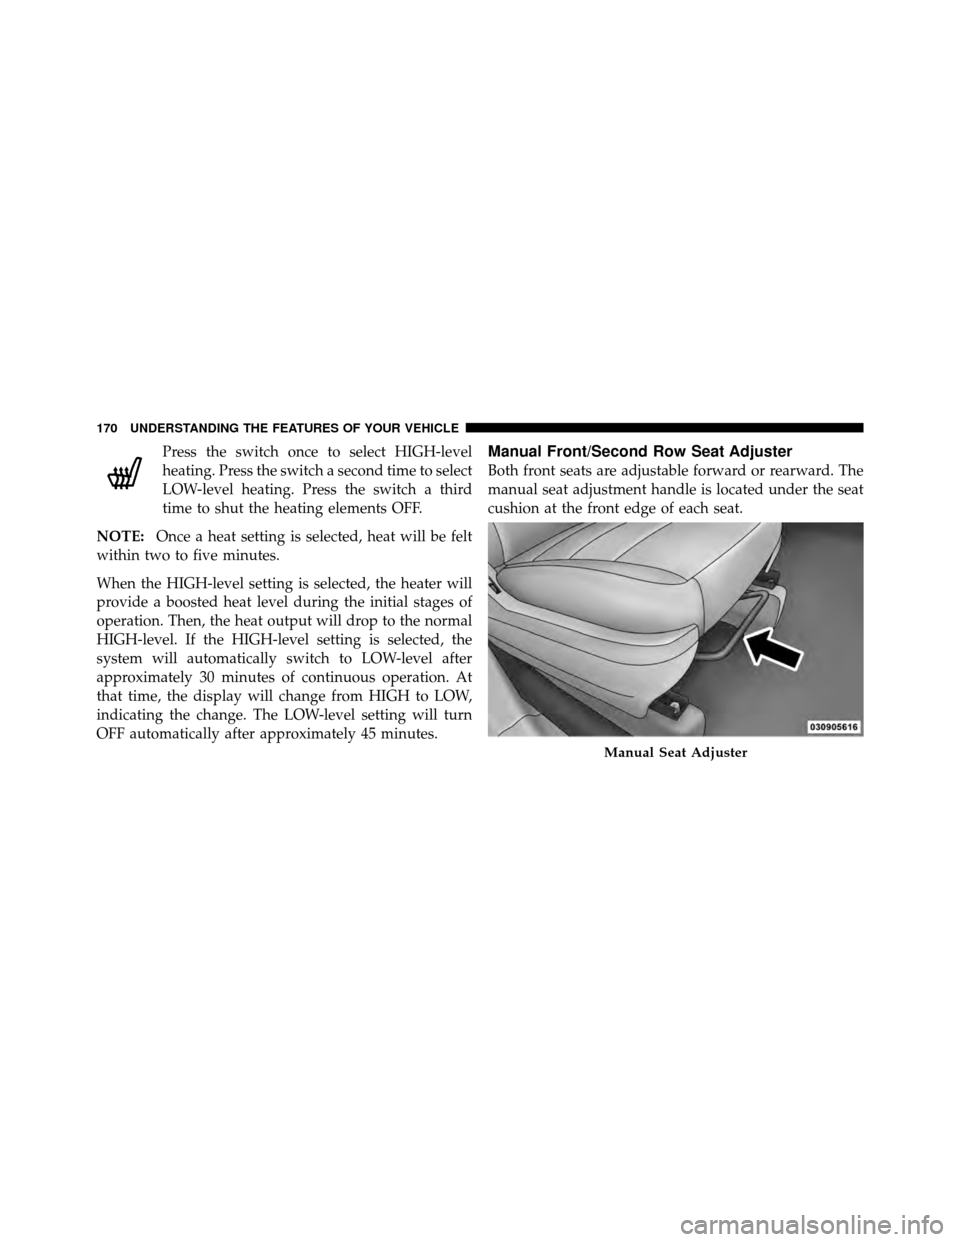
Both front seats are adjustable forward or rearward. The
manual seat adjustment handle is located under the seat
cushion at the front edge of each seat.
Manual Seat Adjuster
170 UNDERSTANDING THE FEATURES OF YOUR VEHICLE
Page 217 of 652
HEATED STEERING WHEEL — IF EQUIPPED
The steering wheel contains a heating element that helps
warm your hands in cold weather. The heated steering
wheel has only one temperature setting. Once the heated
steering wheel has been turned on it will operate for
approximately 58 to 70 minutes before automatically
shutting off. The heated steering wheel can shut off early
or may not turn on when the steering wheel is already
warm.
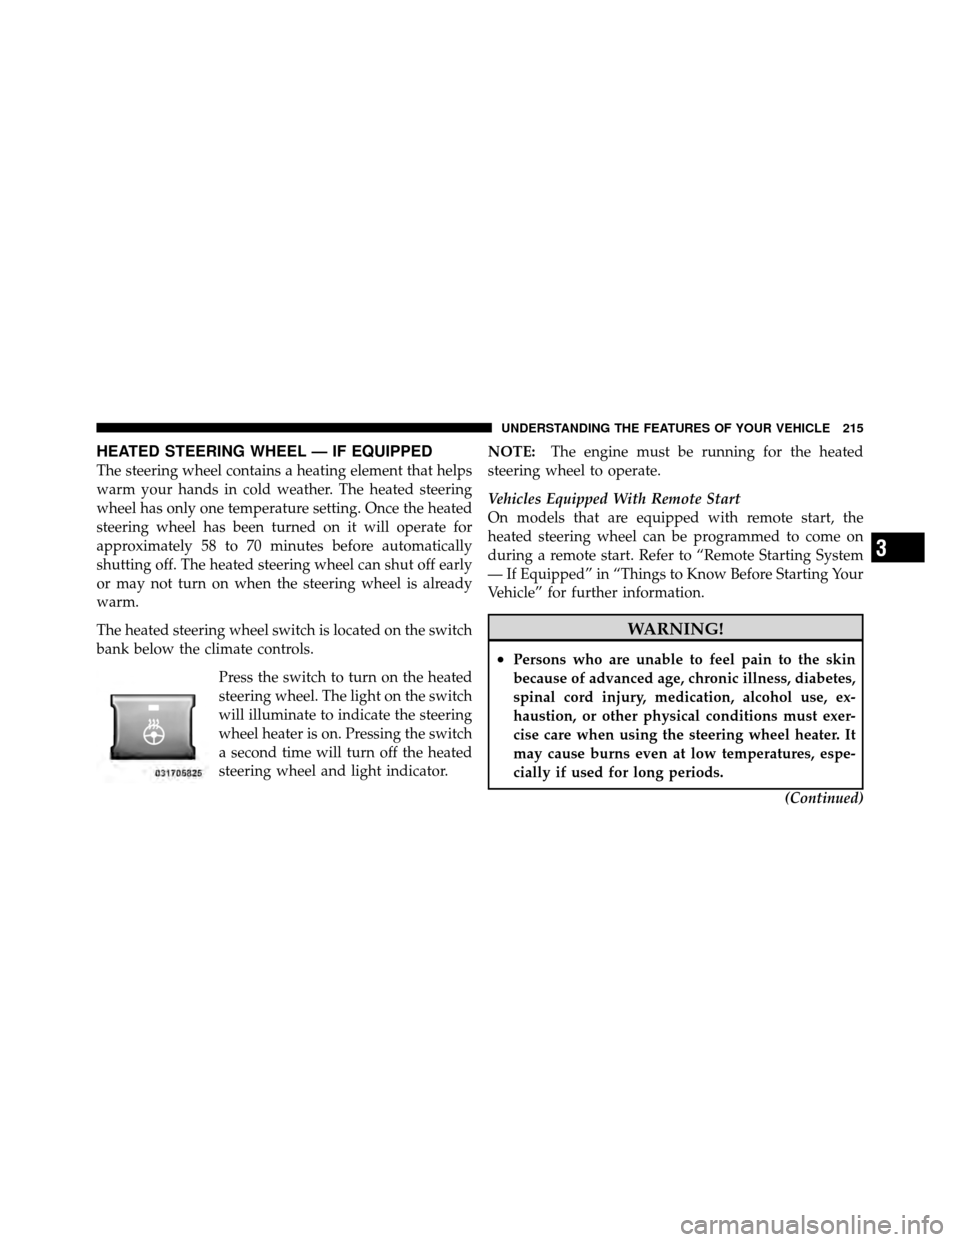
The heated steering wheel switch is located on the switch
bank below the climate controls.Press the switch to turn on the heated
steering wheel. The light on the switch
will illuminate to indicate the steering
wheel heater is on. Pressing the switch
a second time will turn off the heated
steering wheel and light indicator. NOTE:
The engine must be running for the heated
steering wheel to operate.
Vehicles Equipped With Remote Start
On models that are equipped with remote start, the
heated steering wheel can be programmed to come on
during a remote start. Refer to “Remote Starting System
— If Equipped” in “Things to Know Before Starting Your
Vehicle” for further information.
WARNING!
•Persons who are unable to feel pain to the skin
because of advanced age, chronic illness, diabetes,
spinal cord injury, medication, alcohol use, ex-
haustion, or other physical conditions must exer-
cise care when using the steering wheel heater. It
may cause burns even at low temperatures, espe-
cially if used for long periods.
(Continued)
3
UNDERSTANDING THE FEATURES OF YOUR VEHICLE 215
Page 218 of 652
WARNING! (Continued)
•Do not place anything on the steering wheel that
insulates against heat, such as a blanket or steering
wheel covers of any type and material. This may
cause the steering wheel heater to overheat.
ADJUSTABLE PEDALS — IF EQUIPPED
The adjustable pedals system is designed to allow a
greater range of driver comfort for steering wheel tilt and
seat position. This feature allows the brake, accelerator,
and clutch pedals (if equipped) to move toward or away
from the driver to provide improved position with the
steering wheel.
The switch is located on the left side of the steering
column.Press the switch forward to move the pedals forward
(toward the front of the vehicle).
Press the switch rearward to move the pedals rearward
(toward the driver).
•The pedals can be adjusted with the ignition OFF.
Adjustable Pedal Switch
216 UNDERSTANDING THE FEATURES OF YOUR VEHICLE
Page 407 of 652
CAUTION!
Interior air enters the Rear Manual Climate Control
system through an intake grille, located in the right
side trim panel behind the third row seats. The
heater outlets are located in the right side trim panel,
just behind the sliding door. Do not block or place
objects directly in front of the inlet grille or heater
outlets. The electrical system could overload, causing
damage to the blower motor.
Rear Temperature Control
The rear mode selectionREAR,allows the settings to be
controlled by the rear mode control knob.
To change the temperature in the rear of the vehicle,
rotate the temperature control knob counterclockwise for
cold air, and clockwise for heated air. When rear controls are locked by the front system, the
lock symbol on the temperature knob is illuminated, and
the rear overhead adjustments are inoperable.
Rear Mode Control
Headliner Mode
Air comes from the outlets in the headliner. Each of
these outlets can be individually adjusted to direct
the flow of air. Moving the air vanes of the outlets to one
side will shut off the airflow.
Bi-Level Mode Air comes from both the headliner outlets and the
floor outlets.
NOTE: In many temperature positions, the Bi-Level
mode is designed to provide cooler air out of the head-
liner outlets and warmer air from the floor outlets.
4
UNDERSTANDING YOUR INSTRUMENT PANEL 405