Page 204 of 652
Use the hood prop rod to secure the hood in the open
position.
CAUTION!
To prevent possible damage, do not slam the hood to
close it. Lower the hood until it is open approxi-
mately 12 in (30 cm) and then drop it. This should
secure both latches. Never drive your vehicle unless
the hood is fully closed, with both latches engaged.
WARNING!
Be sure the hood is fully latched before driving your
vehicle. If the hood is not fully latched, it could open
when the vehicle is in motion and block your vision.
Failure to follow this warning could result in serious
injury or death.
LIGHTS
All of the lights, except the Hazard Warning lights,
headlight high beams and flash-to-pass, are controlled by
switches to the left of the steering column on the instru-
ment panel.
Headlight Switch With Halo Control Assembly
202 UNDERSTANDING THE FEATURES OF YOUR VEHICLE
Page 238 of 652

An additional LED at the front of the rear console shines
down on the front foot-well area while in courtesy mode,
for added convenience.Rear Console Halo Lighting
The rear overhead console has recessed halo lighting
around the perimeter of the console base. This feature
provides additional lighting options while traveling and
is controlled by the headlight switch. Refer to “Lights/
Halo Lights — If Equipped” in “Understanding the
Features Of Your Vehicle” for further information.
GARAGE DOOR OPENER — IF EQUIPPED
HomeLink�replaces up to three hand-held transmitters
that operate devices such as garage door openers, motor-
ized gates, lighting or home security systems. The
HomeLink� unit is powered by your vehicles 12 Volt
battery.
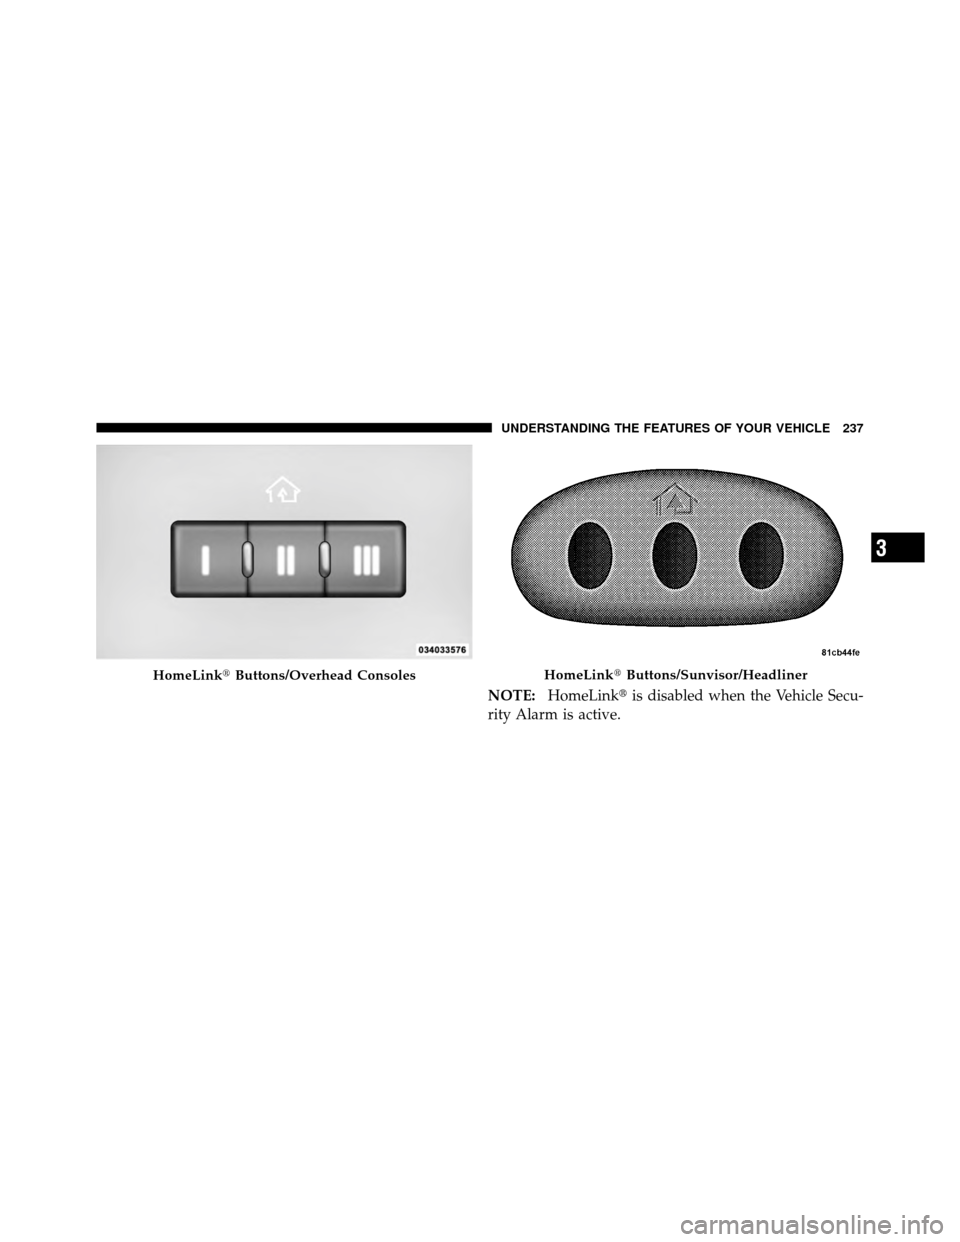
The HomeLink� buttons, located on either the overhead
console, headliner or sunvisor, designate the three differ-
ent HomeLink� channels. The HomeLink� indicator is
located above the center button.
Overhead Compartment Features
1 — DVD15 — Storage
2 — Rear HVAC 6 — DVD1
3 — Interior Lights 7 — Interior Lights
4 — Storage 8 — Halo Lighting
1If equipped, otherwise storage.
236 UNDERSTANDING THE FEATURES OF YOUR VEHICLE
Page 239 of 652
NOTE:HomeLink� is disabled when the Vehicle Secu-
rity Alarm is active.
HomeLink� Buttons/Overhead ConsolesHomeLink�Buttons/Sunvisor/Headliner
3
UNDERSTANDING THE FEATURES OF YOUR VEHICLE 237
Page 245 of 652

Reprogramming A Single HomeLink�Button
To reprogram a channel that has been previously trained,
follow these steps:
1. Turn the ignition switch to the ON/RUN position.
2. Press and hold the desired HomeLink� button until
the indicator light begins to flash after 20 seconds. Do not
release the button.
3. Without releasing the button proceed with
“Canadian/Gate Operator Programming” Step 2 and
follow all remaining steps.
Using HomeLink�
To operate, press and release the programmed
HomeLink� button. Activation will now occur for the
programmed device (i.e., garage door opener, gate opera-
tor, security system, entry door lock, home/office light-
ing, etc.,). The hand-held transmitter of the device may
also be used at any time.
Security
It is advised to erase all channels before you sell or turn
in your vehicle.
To do this, press and hold the two outside buttons for
20 seconds until the red indicator flashes. Note that all
channels will be erased. Individual channels cannot be
erased.
The HomeLink� Universal Transceiver is disabled when
the Vehicle Security Alarm is active.
3
UNDERSTANDING THE FEATURES OF YOUR VEHICLE 243
Page 248 of 652

WARNING!
•Never leave children in a vehicle with the key in
the ignition switch. Occupants, particularly unat-
tended children, can become entrapped by the
power sunroof while operating the power sunroof
switch. Such entrapment may result in serious
injury or death.
•In a collision, there is greater risk of being thrown
from a vehicle with an open sunroof. You could
also be seriously injured or killed. Always fasten
your seat belt properly and make sure all passen-
gers are properly secured.
•Do not allow small children to operate the sun-
roof. Never allow your fingers, other body parts, or
any object, to project through the sunroof opening.
Injury may result.
Opening Sunroof — Express
Press the switch rearward and release it within one-half
second and the sunroof will open automatically from any
position. The sunroof will open fully and stop automati-
cally. This is called “Express Open”. During Express
Open operation, any movement of the sunroof switch
will stop the sunroof.
Opening The Sunroof — Manual Mode
To open the sunroof, press and hold the switch rearward
to full open. Any release of the switch will stop the
movement and the sunroof will remain in a partially
opened condition until the switch is pushed and held
rearward again.
Closing Sunroof — Express
Press the switch forward and release it within one-half
second, and the sunroof will close automatically from
any position. The sunroof will close fully and then stop
246 UNDERSTANDING THE FEATURES OF YOUR VEHICLE
Page 249 of 652

automatically. This is called “Express Close”. During
Express Close operation, any movement of the sunroof
switch will stop the sunroof.
Closing Sunroof — Manual Mode
To close the sunroof, press and hold the switch in the
forward position. Any release of the switch will stop the
movement and the sunroof will remain in a partially
closed condition until the switch is pushed and held
forward again.
Pinch Protect Feature
This feature will detect an obstruction in the opening of
the sunroof during Express Close operation. If an ob-
struction is detected, the sunroof will automatically re-
tract. Remove the obstruction if this occurs. Next, press
the switch forward and release to Express Close.
NOTE:
If three consecutive sunroof close attempts result
in Pinch Protect reversals, the fourth close attempt will be
a Manual Close movement with Pinch Protect disabled.
Pinch Protect Override
If a known obstruction (ice, debris, etc.) prevents closing
the sunroof, press the switch forward and hold for two
seconds after the reversal occurs. This allows the sunroof
to move toward the closed position.
NOTE: Pinch protection is disabled while the switch is
pressed.
Venting Sunroof — Express
Press and release the “Vent” button, and the sunroof will
open to the vent position. This is called “Express Vent”,
and will occur regardless of sunroof position. During
Express Vent operation, any movement of the switch will
stop the sunroof.
Sunshade Operation
The sunshade can be opened manually. However, the
sunshade will open automatically as the sunroof opens.
3
UNDERSTANDING THE FEATURES OF YOUR VEHICLE 247
Page 260 of 652
Smoker’s Package Kit — If Equipped
With the optional authorized dealer-installed Smoker’s
Package Kit, a removable ash receiver is inserted into one
of the two cupholders in the center front instrument
panel. To install the ash receiver, align the receiver so the
thumb grip on the lid is facing rearward. Press the ash
receiver into either of the cup wells to secure. Pull
upward on the ash receiver to remove for cleaning
and/or storage.
The left rear trim panel cupholder is designed to accom-
modate a second ash receiver, if desired.
STORAGE
Glove Compartments
Upper and lower glove compartments are located on the
passenger side of the instrument panel.
Upper Glove Compartment
To open the upper compartment, press in on the button,
located on the left side of the upper door. The door will
automatically open.
To close the compartment door, push downward on the
door ’s surface to latch the door closed.
Upper Compartment
258 UNDERSTANDING THE FEATURES OF YOUR VEHICLE
Page 264 of 652

Storage Bin Safety Warning
Carefully follow these warnings to help prevent personal
injury or damage to your vehicle:
WARNING!
•Always close the storage bin covers when your
vehicle is unattended.
•Do not allow children to have access to the second
row seat storage bins. Once in the storage bin,
young children may not be able to escape. If
trapped in the storage bin, children can die from
suffocation or heat stroke.
•In a collision, serious injury could result if the seat
storage bin covers are not properly latched.
•Do not drive the vehicle with the storage bin
covers open. Keep the storage bin covers closed
and latched while the vehicle is in motion.(Continued)
WARNING! (Continued)
•Do not operate the storage bin covers while the
vehicle is in motion.
•Do not use a storage bin latch as a tie down.
CAUTION!
The storage bin cover must be flat and locked to
avoid damage from contact with the front seat tracks,
which have minimal clearance to the cover.
Seat Storage Bin Cover Emergency Release Lever
As a security measure, your vehicle may be built with a
Storage Bin Cover Emergency Release is built into the
storage bin cover latching mechanism.
262 UNDERSTANDING THE FEATURES OF YOUR VEHICLE
 and")