Page 113 of 652
�Driver Memory Seat — If Equipped ........ 196
▫ Setting Memory Positions And Linking RKE
Transmitter To Memory ................ 197
▫ Easy Entry/Exit Seat (Available With
Memory Seat Only) ................... 200
� To Open And Close The Hood ............ 201
� Lights ............................. 202
▫ Interior Lighting ..................... 203
▫ Parking Lights ...................... 205
▫ Headlights ......................... 205
▫ Automatic Headlights — If Equipped ...... 205
▫ Headlights On With Wipers — If Equipped . . 205
▫ Headlight Delay — If Equipped .......... 206
▫ Daytime Running Lights — If Equipped .... 206▫
Front Fog Lights — If Equipped .......... 207
▫ Battery Protection .................... 207
▫ Multifunction Lever .................. 207
▫ Turn Signals ........................ 208
▫ High/Low Beam Switch ............... 208
▫ Flash-To-Pass ....................... 209
▫ Smartbeam™ — If Equipped ............ 209
� Windshield Wipers And Washers .......... 210
▫ Mist, Front Wiper And Washer ........... 211
▫ Intermittent, Low And High Speed Wipers . . 211
▫ Rear Wiper And Washer ............... 211
▫ Rain Sensing Wipers — If Equipped ....... 212
3
UNDERSTANDING THE FEATURES OF YOUR VEHICLE 111
Page 143 of 652
Three-Way Calling
To initiate three-way calling, press thebutton while
a call is in progress, and make a second phone call, as
described under “Making a Second Call While Current
Call is in Progress”. After the second call has established,
press and hold the
button until you hear a double
beep, indicating that the two calls have been joined into
one conference call.
Call Termination
To end a call in progress, momentarily press the
button. Only the active call(s) will be terminated and if
there is a call on hold, it will become the new active call.
If the active call is terminated by the phone far end, a call
on hold may not become active automatically. This is cell
phone-dependent. To bring the call back from hold, press
and hold the
button until you hear a single beep.
Redial
•
Press thebutton to begin.
•After the “Ready” prompt and the following beep, say
“Redial”.
•The Uconnect™ Phone will call the last number that
was dialed from your mobile phone.
NOTE: This may not be the last number dialed from the
Uconnect™ Phone.
Call Continuation
Call continuation is the progression of a phone call on the
Uconnect™ Phone after the vehicle ignition key has been
switched to OFF. Call continuation functionality avail-
able on the vehicle can be any one of three types:
•After the ignition key is switched to OFF, a call can
continue on the Uconnect™ Phone either until the call
ends, or until the vehicle battery condition dictates
cessation of the call on the Uconnect™ Phone and
transfer of the call to the mobile phone.
3
UNDERSTANDING THE FEATURES OF YOUR VEHICLE 141
Page 148 of 652
Phone And Network Status Indicators
If available on the radio and/or on a premium display
such as the instrument panel cluster, and supported by
your mobile phone, the Uconnect™ Phone will provide
notification to inform you of your phone and network
status when you are attempting to make a phone call
using Uconnect™ Phone. The status is given for network
signal strength, phone battery strength, etc.
Dialing Using The Mobile Phone Keypad
You can dial a phone number with your mobile phone
keypad and still use the Uconnect™ Phone (while dialing
via the mobile phone keypad, the user must exercise
caution and take precautionary safety measures). By
dialing a number with your paired Bluetooth�mobile
phone, the audio will be played through your vehicle’s
audio system. The Uconnect™ Phone will work the same
as if you dial the number using Voice Command. NOTE:
Certain brands of mobile phones do not send the
dial ring to the Uconnect™ Phone to play it on the vehicle
audio system, so you will not hear it. Under this situa-
tion, after successfully dialing a number the user may feel
that the call did not go through even though the call is in
progress. Once your call is answered, you will hear the
audio.
Mute/Un-Mute (Mute OFF)
When you mute the Uconnect™ Phone, you will still be
able to hear the conversation coming from the other
party, but the other party will not be able to hear you. In
order to mute the Uconnect™ Phone:
•Press thebutton.
•Following the beep, say “Mute”.
In order to un-mute the Uconnect™ Phone:
•Press thebutton.
•Following the beep, say “Mute off”.
146 UNDERSTANDING THE FEATURES OF YOUR VEHICLE
Page 209 of 652
the turn signal activation. Once the turn signal is no
longer active, the DRL lamp will illuminate.
Front Fog Lights — If Equipped
To activate the front fog lights, turn on the parking
lights or the low beam headlights and push in the
headlight switch control knob. Pressing the head-
light switch control knob in a second time will turn the
front fog lights off.
Battery Protection
This feature provides battery protection to avoid wearing
down the battery if the headlights, parking lights, or front
fog lights are left on for extended periods of time when
the ignition switch is in the LOCK position. After eight
minutes of the ignition switch being in the LOCK position
and the headlight switch in any position other than OFF
or AUTO, the lights will turn off automatically until the
next cycle of the ignition switch or headlight switch.
The battery protection feature will be disabled if the
ignition switch is turned to any other position other than
LOCK during the eight minute delay.
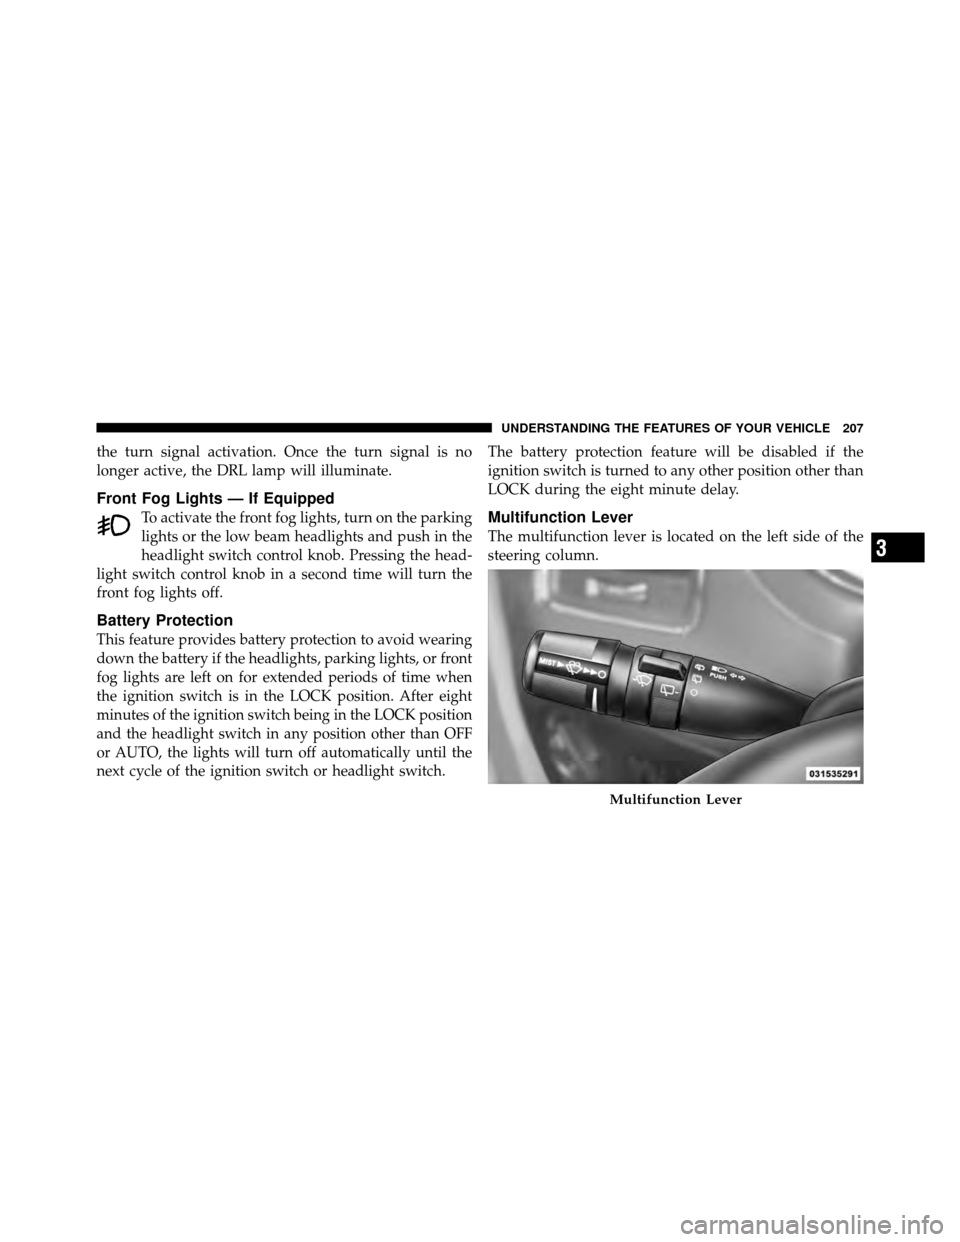
Multifunction Lever
The multifunction lever is located on the left side of the
steering column.
Multifunction Lever
3
UNDERSTANDING THE FEATURES OF YOUR VEHICLE 207
Page 238 of 652

An additional LED at the front of the rear console shines
down on the front foot-well area while in courtesy mode,
for added convenience.Rear Console Halo Lighting
The rear overhead console has recessed halo lighting
around the perimeter of the console base. This feature
provides additional lighting options while traveling and
is controlled by the headlight switch. Refer to “Lights/
Halo Lights — If Equipped” in “Understanding the
Features Of Your Vehicle” for further information.
GARAGE DOOR OPENER — IF EQUIPPED
HomeLink�replaces up to three hand-held transmitters
that operate devices such as garage door openers, motor-
ized gates, lighting or home security systems. The
HomeLink� unit is powered by your vehicles 12 Volt
battery.
The HomeLink� buttons, located on either the overhead
console, headliner or sunvisor, designate the three differ-
ent HomeLink� channels. The HomeLink� indicator is
located above the center button.
Overhead Compartment Features
1 — DVD15 — Storage
2 — Rear HVAC 6 — DVD1
3 — Interior Lights 7 — Interior Lights
4 — Storage 8 — Halo Lighting
1If equipped, otherwise storage.
236 UNDERSTANDING THE FEATURES OF YOUR VEHICLE
Page 240 of 652
Before You Begin Programming HomeLink�
Be sure that your vehicle is parked outside of the garage
before you begin programming.
For more efficient programming and accurate transmis-
sion of the radio-frequency signal it is recommended that
a new battery be placed in the hand-held transmitter of
the device that is being programmed to the HomeLink�
system.
Erase all channels before you begin programming. To
erase the channels place the ignition in the ON/RUN
position and press and hold the two outside HomeLink�
buttons (I and III) for up 20 seconds or until the red
indicator flashes.NOTE:•Erasing all channels should only be performed when
programming HomeLink�
for the first time. Do not
erase channels when programming additional buttons.
•If you have any problems, or require assistance, please
call toll-free 1–800–355–3515 or, on the Internet at
www.HomeLink.com for information or assistance.
Programming A Rolling Code
For programming garage door openers that were manu-
factured after 1995. These garage door openers can be
identified by the “LEARN” or “TRAIN” button located
where the hanging antenna is attached to the garage door
opener. It is NOT the button that is normally used to
open and close the door. The name and color of the
button may vary by manufacturer.
238 UNDERSTANDING THE FEATURES OF YOUR VEHICLE
Page 246 of 652
Troubleshooting Tips
If you are having trouble programming HomeLink�, here
are some of the most common solutions:
•Replace the battery in the original hand-held transmit-
ter.
•Press the LEARN button on the Garage Door Opener
to complete the training for a Rolling Code.
•Did you unplug the device for programming and
remember to plug it back in?
If you have any problems, or require assistance, please
call toll-free 1–800–355–3515 or, on the Internet at
www.HomeLink.com for information or assistance.
WARNING!
•Your motorized door or gate will open and close
while you are programming the universal trans-
ceiver. Do not program the transceiver if people,
pets or other objects are in the path of the door or
gate. Only use this transceiver with a garage door
opener that has a “stop and reverse” feature as
required by Federal safety standards. This includes
most garage door opener models manufactured
after 1982. Do not use a garage door opener without
these safety features. Call toll-free 1–800–355–3515
or, on the Internet at www.HomeLink.com for
safety information or assistance.
•Vehicle exhaust contains carbon monoxide, a dan-
gerous gas. Do not run your vehicle in the garage
while programming the transceiver. Exhaust gas
can cause serious injury or death.
244 UNDERSTANDING THE FEATURES OF YOUR VEHICLE
Page 251 of 652
switch and the passenger-side power outlet is connected
directly to the battery. The driver-side power outlet will
also operate a conventional cigar lighter unit (if equipped
with an optional Smoker’s Package).NOTE:
To ensure proper operation a MOPAR� cigar
knob and element must be used.
CAUTION!
•Do not exceed the maximum power of 160 Watts
(13 Amps) at 12 Volts. If the 160 Watt (13 Amp)
power rating is exceeded the fuse protecting the
system will need to be replaced.
•Power outlets are designed for accessory plugs
only. Do not insert any other object in the power
outlets as this will damage the outlet and blow the
fuse. Improper use of the power outlet can cause
damage not covered by your New Vehicle Limited
Warranty.
Instrument Panel Outlets
3
UNDERSTANDING THE FEATURES OF YOUR VEHICLE 249