Page 451 of 652

difficult to move the shift lever out of PARK. The parking
brake should always be applied whenever the driver is
not in the vehicle.
WARNING!
•When leaving the vehicle, always remove the key
fob from the ignition and lock your vehicle.
•Never leave children alone in a vehicle, or with
access to an unlocked vehicle.
•Allowing children to be in a vehicle unattended is
dangerous for a number of reasons. A child or
others could be seriously or fatally injured. Chil-
dren should be warned not to touch the parking
brake, brake pedal or the shift lever.
•Do not leave the key fob in or near the vehicle, and
do not leave Keyless Enter-N-Go in the ACC or
ON/RUN mode. A child could operate power win-
dows, other controls, or move the vehicle.(Continued)
WARNING! (Continued)
•Be sure the parking brake is fully disengaged
before driving; failure to do so can lead to brake
failure and a collision.
•Always fully apply the parking brake when leav-
ing your vehicle, or it may roll and cause damage
or injury. Also be certain to leave the transmission
in PARK. Failure to do so may allow the vehicle to
roll and cause damage or injury.
CAUTION!
If the Brake System Warning Light remains on with
the parking brake released, a brake system malfunc-
tion is indicated. Have the brake system serviced by
an authorized dealer immediately.
5
STARTING AND OPERATING 449
Page 522 of 652
�Freeing A Stuck Vehicle ................. 544
� Shift Lever Override ................... 545 �
Towing A Disabled Vehicle ............... 547
▫ Without The Ignition Key .............. 549
520 WHAT TO DO IN EMERGENCIES
Page 551 of 652
CAUTION!
Towing faster than 25 mph (40 km/h) or farther than
15 miles (24 km) with front wheels on the ground can
cause severe damage to the transmission. Such dam-
age is not covered by the New Vehicle Limited
Warranty.
Without The Ignition Key
Special care must be taken when the vehicle is towed
with the ignition in the LOCK position. Flatbed towing is
the preferred towing method. However, if a flatbed
towing vehicle is not available, wheel lift towing equip-
ment may be used. Rear towing (with the front wheels onthe ground) is not allowed, as transmission damage will
occur. If rear towing is the only alternative, the front
wheels must be placed on a towing dolly. Proper towing
equipment is necessary to prevent damage to the vehicle.
CAUTION!
Failure to follow these towing methods can cause
severe transmission damage. Such damage is not
covered by the New Vehicle Limited Warranty.
6
WHAT TO DO IN EMERGENCIES 549
Page 557 of 652

“Electronic Vehicle Information Center (EVIC)” in ”Un-
derstanding Your Instrument Panel” for further informa-
tion. Tighten the gas cap until a�clicking�sound is heard.
This is an indication that the gas cap is properly tight-
ened.
Press the odometer reset button to turn the message off.
If the problem persists, the message will appear the next
time the vehicle is started. This might indicate a damaged
cap. If the problem is detected twice in a row, the system
will turn on the MIL. Resolving the problem will turn the
MIL light off.
EMISSIONS INSPECTION AND MAINTENANCE
PROGRAMS
In some localities, it may be a legal requirement to pass
an inspection of your vehicle’s emissions control system.
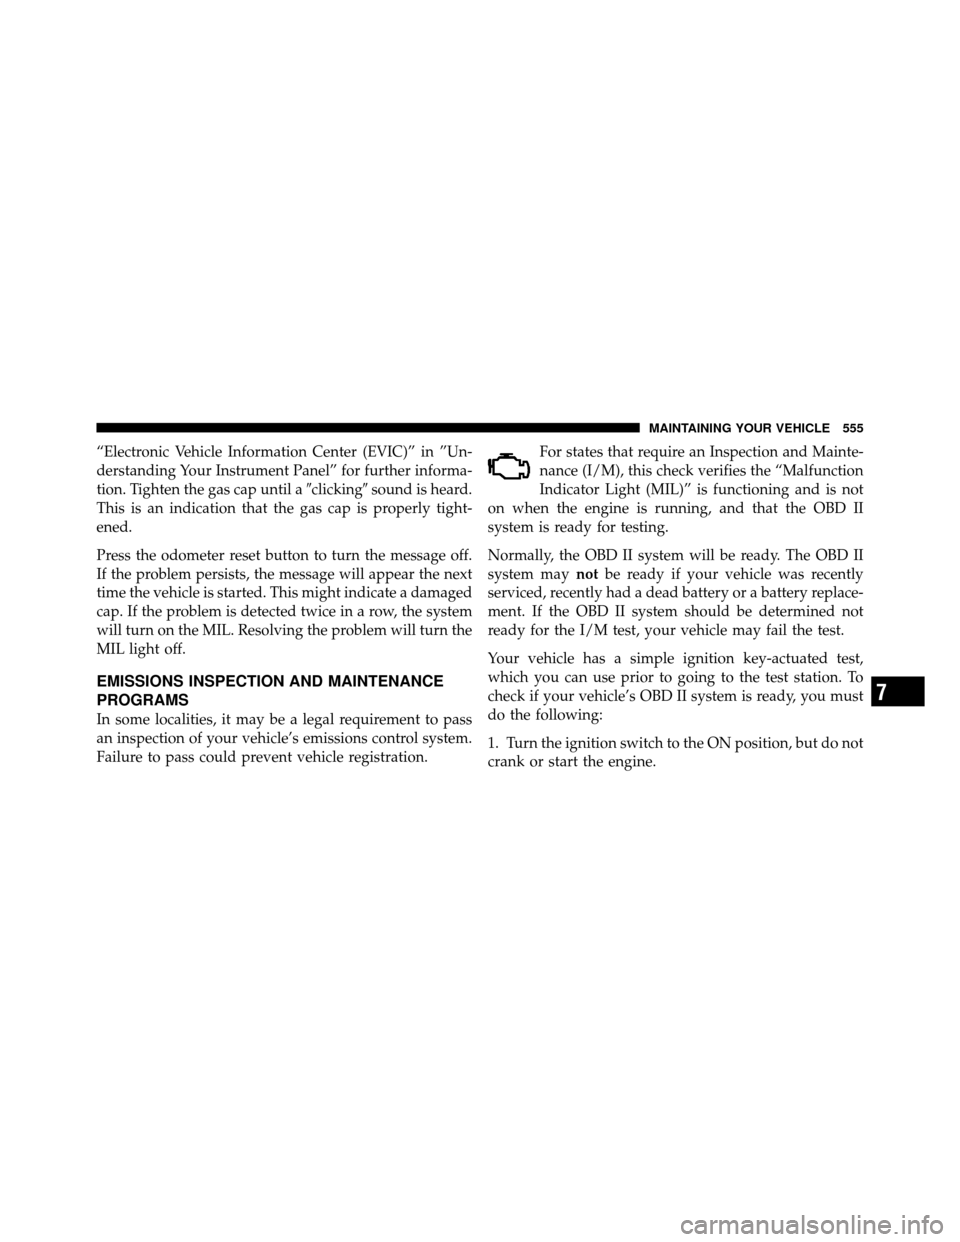
Failure to pass could prevent vehicle registration. For states that require an Inspection and Mainte-
nance (I/M), this check verifies the “Malfunction
Indicator Light (MIL)” is functioning and is not
on when the engine is running, and that the OBD II
system is ready for testing.
Normally, the OBD II system will be ready. The OBD II
system may notbe ready if your vehicle was recently
serviced, recently had a dead battery or a battery replace-
ment. If the OBD II system should be determined not
ready for the I/M test, your vehicle may fail the test.
Your vehicle has a simple ignition key-actuated test,
which you can use prior to going to the test station. To
check if your vehicle’s OBD II system is ready, you must
do the following:
1. Turn the ignition switch to the ON position, but do not
crank or start the engine.
7
MAINTAINING YOUR VEHICLE 555
Page 593 of 652
CavityCartridge
Fuse Mini-
Fuse Description
M19 — 25 Amp NaturalPowertrain
M20 — 15 Amp BlueInstrument Cluster
Interior Light, Switch
Bank, Steering Col-
umn Module, Switch
Steering Wheel
M21 — 20 Amp YellowPowertrain
M22 — 10 Amp RedHorn
M23 — 10 Amp RedHorn
M24 — 25 Amp NaturalRear WiperCavity
Cartridge
Fuse Mini-
Fuse Description
M25 — 20 Amp YellowFuel Pump, Diesel
Lift Pump – If
Equipped
M26 — 10 Amp RedPower Mirror Switch,
Driver Window
Switch
M27 — 10 Amp RedWireless Control
Module, Keyless
Entry Module
M28 — 10 Amp RedPowertrain, Transmis-
sion Control Module
M29 — 10 Amp RedOccupant Classifica-
tion Module
M30 — 15 Amp BlueRear Wiper Module,
Power Folding Mirror
M31 — 20 Amp YellowBack-Up Lamps
7
MAINTAINING YOUR VEHICLE 591
Page 596 of 652

LIGHT BULBS – ExteriorBulb Number
Headlamp – (Low and High Beam Halogen) ..... H11
Headlamp (HID – If Equipped) Low Beam ...... D1S
Fog Lamp – If Equipped ................... H11
Front Side Marker ...................... W5W
Front Park/Turn Signal Lamp .....PY27/7W or 3757A
Rear Turn Signal Lamp .................. 3757A
Rear Tail, Stop, and Side Marker Lamp ........ LED
(Serviced at Authorized Dealer)
Backup ............................... 3157
Center High-Mounted Stop Lamp ............ LED
(Serviced at Authorized Dealer)
License ................................ 168
BULB REPLACEMENT
High Intensity Discharge Headlamps (HID) — If
Equipped
The headlamps are a type of high voltage discharge tube.
High voltage can remain in the circuit even with the headlamp switch off and the key removed.
Because of
this, you should not attempt to service a headlamp bulb
yourself. If a headlamp bulb fails, take your vehicle to
an authorized dealer for service.
WARNING!
A transient high voltage occurs at the bulb sockets of
High Intensity Discharge (HID) headlamps when the
headlamp switch is turned ON. It may cause serious
electrical shock or electrocution if not serviced prop-
erly. See your authorized dealer for service.
NOTE: On vehicles equipped with High Intensity Dis-
charge (HID) headlamps, when the headlamps are
turned on, there is a blue hue to the lamps. This dimin-
ishes and becomes more white after approximately
10 seconds, as the system charges.
594 MAINTAINING YOUR VEHICLE
Page 633 of 652

Automatic Headlights.................... 205
Automatic Temperature Control (ATC) ......... 406
Automatic Transaxle Selection Of Lubricant ................. 601
Automatic Transmission ................431,577
Adding Fluid ....................... 579
Fluid and Filter Changes ............... 579
Fluid Change ....................... 579
Fluid Level Check .................... 579
Fluid Type ...................... 578,601
Gear Ranges ........................ 435
Special Additives ..................... 578
B-Pillar Location ........................ 466
Battery ............................... 564
Jump Starting ....................... 540
Keyless Transmitter Replacement (RKE) ..... 27
Saving Feature (Protection) .............. 207
Belts, Seat ............................. 105 Blind Spot Monitoring
.................... 121
Body Mechanism Lubrication ............... 568
Brake Assist System ...................... 453
Brake Control System, Electronic ............. 452
Brake Fluid ............................ 601
Brake System ........................... 575
Fluid Check ........................ 575
Parking ........................... 447
Warning Light ....................... 298
Brake/Transmission Interlock ............... 433
Brakes ............................... 575
Break-In Recommendations, New Vehicle ....... 103
Bulb Replacement ....................... 594
Bulbs, Light ......................... 107,593
Calibration, Compass ..................... 319
Camera, Rear ........................... 229
Capacities, Fluid ........................ 599
10
INDEX 631
Page 640 of 652

Heater, Engine Block..................... 431
High Beam/Low Beam Select (Dimmer) Switch . . 208
Hill Start Assist ......................... 457
Hitches Trailer Towing ....................... 508
HomeLink® (Garage Door Opener) Transmitter . . 236
Hood Release .......................... 201
Hook, Coat ............................ 264
Ignition ............................... 13
Key ............................. 12,13
Ignition Key Removal ..................... 13
Illuminated Entry ........................ 20
Immobilizer (Sentry Key) ................... 15
Infant Restraint .......................... 90
Information Center, Vehicle ................. 304
Inside Rearview Mirror .................... 116
Instrument Cluster .................... 288,290
Instrument Panel and Controls .............. 287Instrument Panel Cover
................... 582
Instrument Panel Lens Cleaning ............. 584
Integrated Power Module (Fuses) ............ 586
Interior Appearance Care .................. 582
Interior Lights ....................... 203,204
Introduction ............................. 4
Jack Location ........................... 523
Jack Operation .......................... 522
Jump Starting .......................... 540
Key-In Reminder ......................... 14
Key, Programming ........................ 16
Key, Replacement ........................ 16
Key, Sentry (Immobilizer) ................... 15
Keyless Enter-N-Go ................. 37,318,426
Keyless Entry System ...................... 20
Keyless Go .......................... 12,318
Keys ................................. 12
638 INDEX