2012 CHRYSLER 300 manual radio set
[x] Cancel search: manual radio setPage 26 of 124

HEADLIGHT SWITCH
Automatic Headlights/Parking
Lights/Headlights
• Rotate the headlight switch, located onthe instrument panel to the left of the
steering wheel, to the first detent from the
off position for parking light
and
to the second detent for headlight
.
• With the parking lights or low beam headlights on, push the headlight switch for fog lights. Press the switch a second time for front and rear fog lights. Pressing the switch a
third time will deactivate the rear fog lights, and a fourth time will deactivate the front fog
lights. Turning the headlight switch off will also deactivate the fog lights.
• Rotate the headlight switch to “AUTO” for AUTO headlights.
• When set to AUTO, the system automatically turns the headlights on or off based on ambient light levels.
SmartBeams™
• This system automatically controls the use of the headlight high beams. Refer toProgrammable Features in Electronics for further details.
Instrument Panel Dimmer
• Rotate the dimmer control to the extreme bottom position to fully dim the instrumentpanel lights and prevent the interior lights from illuminating when a door is opened.
• Rotate the dimmer control up to increase the brightness of the instrument panel and cupholders when the parking lights or headlights are on.
• Rotate the dimmer control up to the next detent position to fully brighten the odometer and radio when the parking lights or headlights are on. Refer to your Media Center/Radio
User Manual on the DVD for display dimming.
• Rotate the dimmer control up to the last detent position to turn on the interior lighting.
Ambient Light Dimmer
• Rotate the ambient light control up or down to increase or decrease the brightness of the release handle, map pocket (if equipped), overhead and floor lighting when the parking
lights or headlights are on.
OPERATING YOUR VEHICLE
24
Page 41 of 124

Setting the Time
• Model 8.4N synchronizes time automatically via GPS, so should not require any timeadjustment. If you do need to set the time manually, follow the instructions below for
Model 8.4.
• For Model 8.4, turn the unit on, then touch the time display at the top of the screen. Touch Yes.
• If the time is not displayed at the top of the screen, touch More soft-key and then Settings soft-key. In the Settings screen, touch the Clock soft-key, then check or uncheck
this option.
• Touch + or – next to Set Time Hours and Set Time Minutes to adjust the time.
• If these features are not available, uncheck the Sync with GPS box.
• Touch X to save your settings and exit out of the Clock Setting screen.
Audio Settings
• Touch of the Audio soft-key to activate the Audio settings screen to adjust Balance\Fade, Equalizer, and Speed Adjusted Volume.
• You can return to the Radio screen by touching the X located at the top right.
Balance/Fade
• Touch the Balance/Fade soft-key to Balance audio between the front speakers or fade the audio between the rear and front speakers.
• Touching the Front, Rear, Left, or Right soft-keys or touch and drag the blue Speaker Icon to adjust the Balance/Fade.
Equalizer
• Touch the Equalizer soft-key to activate the Equalizer screen.
• Touch the + or - soft-keys, or by touching and dragging over the level bar for each of theequalizer bands. The level value, which spans between plus or minus 9, is displayed at the
bottom of each of the Bands.
Speed Adjusted Volume
• Touch the Speed Adjusted Volume soft-key to activate the Speed Adjusted Volumescreen. The Speed Adjusted Volume is adjusted by touching the + and - buttons or by
touching and dragging over the level bar. This alters the automatic adjustment of the
audio volume with variation to vehicle speed.
ELECTRONICS
39
Page 52 of 124

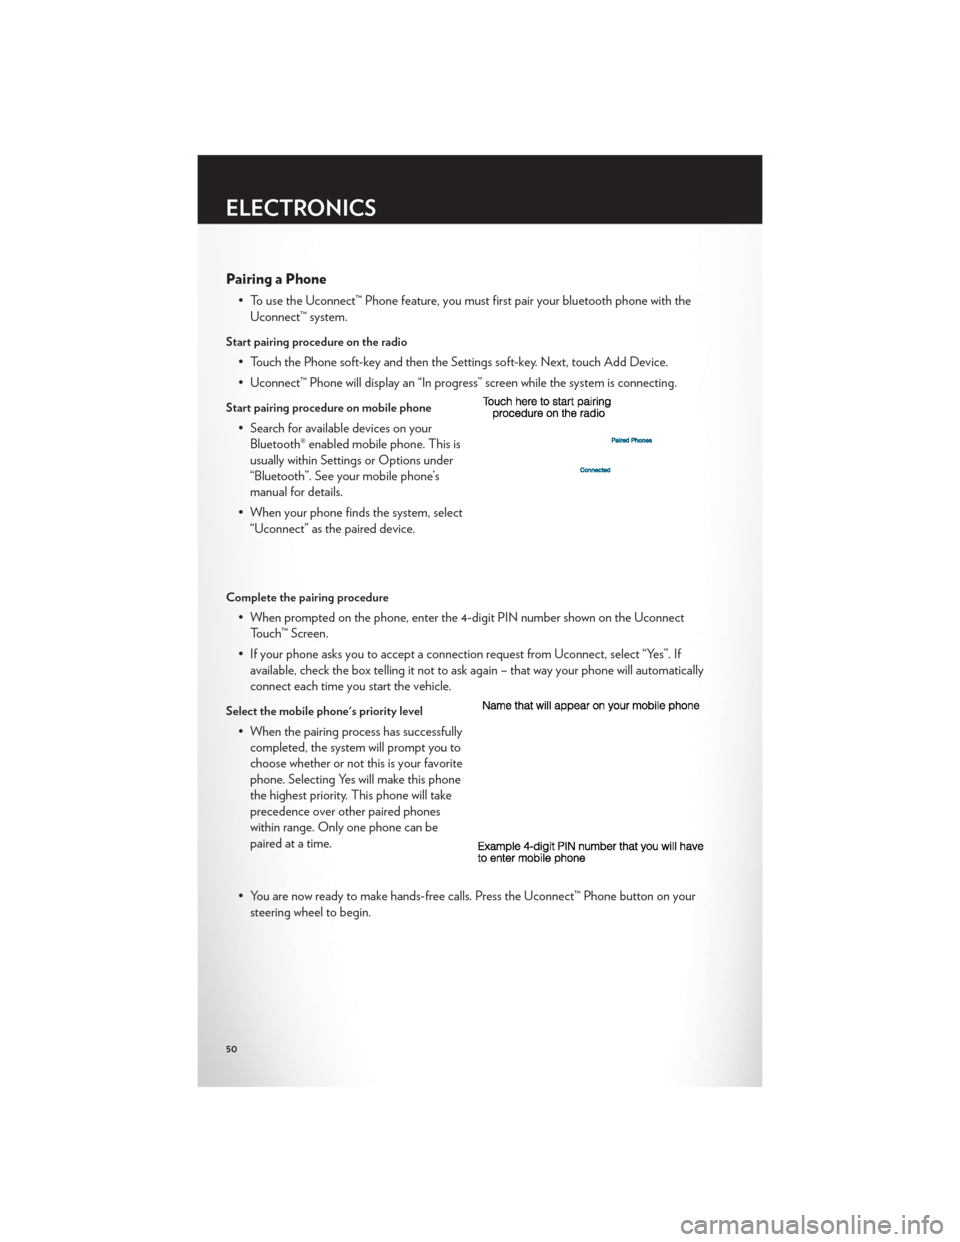
Pairing a Phone
• To use the Uconnect™ Phone feature, you must first pair your bluetooth phone with theUconnect™ system.
Start pairing procedure on the radio
• Touch the Phone soft-key and then the Settings soft-key. Next, touch Add Device.
• Uconnect™ Phone will display an “In progress” screen while the system is connecting.
Start pairing procedure on mobile phone
• Search for available devices on yourBluetooth® enabled mobile phone. This is
usually within Settings or Options under
“Bluetooth”. See your mobile phone’s
manual for details.
• When your phone finds the system, select “Uconnect” as the paired device.
Complete the pairing procedure
• When prompted on the phone, enter the 4-digit PIN number shown on the UconnectTouch™ Screen.
• If your phone asks you to accept a connection request from Uconnect, select “Yes”. If available, check the box telling it not to ask again – that way your phone will automatically
connect each time you start the vehicle.
Select the mobile phone's priority level
• When the pairing process has successfullycompleted, the system will prompt you to
choose whether or not this is your favorite
phone. Selecting Yes will make this phone
the highest priority. This phone will take
precedence over other paired phones
within range. Only one phone can be
paired at a time.
• You are now ready to make hands-free calls. Press the Uconnect™ Phone button on your steering wheel to begin.
ELECTRONICS
50
Page 54 of 124

Common Phone Commands
Common Phone Commands (Examples)
“Call John Smith”
“Call John Smith mobile”
“Dial 1 248 555 1212”
“Call Emergency”
“Call Towing Assistance”
“Redial”
Phonebook
• Uconnect Touch™ radios will automatically download your phonebook from your pairedphone, if this feature is supported by your phone. Entries are updated each time that the
phone is paired. If your phone book entries do not appear, check the settings on your
phone. Some phones require you to enable this feature manually.
• Your phonebook can be browsed on your radio screen, but editing can only be done on your phone. To browse, touch the Phone soft-key, then the Phonebook soft-key.
• Favorite phonebook entries can be saved as Favorites for quicker access. Favorites are shown at the top of your main phone screen.
Voice Recognition Tips
• Use longer names that are less easily mistaken for others. For examples, say “Call JohnDoe” instead of “Call John”.
• You can “chain” commands together for faster results. Say “Call John Doe, mobile”, for example.
• You can “barge in” while the system is talking to you, enabling you to enter your response without waiting. Just press the Voice Command button on the steering wheel to barge in.
Changing The Volume
• Start a dialogue by pressing the Phone button, then say a command for example -
"Help".
• Use the radio ON/OFF VOLUME rotary knob to adjust the volume to a comfortable level while the Uconnect™ system is speaking. Please note the volume setting for
Uconnect™ is different than the audio system.
NOTE:To access help, press the Uconnect™ Phonebutton on the steering wheel and
say "help." Touch the display or push either
orbutton and say "cancel" to cancel
the help session.
SMS (Text Messaging)
• Uconnect™ Phone can read or send new text messages on your mobile phone.
• Your mobile phone must support SMS over Bluetooth® in order to use this feature. If the Uconnect™ Phone determines your phone is not compatible with SMS messaging over
Bluetooth® the “Messaging” button will be greyed out and the feature will not be available
for use.
ELECTRONICS
52
Page 55 of 124

NOTE:
• For mobile phone compatibility and pairing instructions, please visitwww.UconnectPhone.com
• Uconnect™ Phone SMS is only available when the vehicle is not in moving.
WARNING!
• Any voice commanded system should be used only in safe driving conditions following local laws and phone use. All attention should be kept on the roadway ahead. Failure to
do so may result in a collision causing you and others to be severely injured or killed.
• In an emergency, to use Uconnect™ Phone, your mobile phone must be: • turned on,
• paired to Uconnect™ Phone,
• and have network coverage.
Uconnect™ Voice Command
• If the Uconnect™ Voice Commandbutton exists on your steering wheel, then
you have the Voice Command feature.
• The Voice Command feature lets you keep your hands on the steering wheel, and your eyes on the road.
• When you press the Voice Command button
located on the radio faceplate or
steering wheel, you will hear a beep. The beep is your signal to give a command. If you do
not know what commands to say, you can say "help" and the system will provide options
to you. If you ever wish to interrupt the system while it lists options, press the Voice
Command button
, listen for the BEEP, and say your command.
• You can “chain” commands together for faster results. Say “Call John Doe, mobile”, for example.
Changing The Volume
• Start a dialogue by pressing the Voice Command button, then say a command
(for example, “help”).
• Use the radio ON/OFF VOLUME rotary knob to adjust the volume to a comfortable level while the Voice Command system is speaking. The volume setting for Voice
Command is different than the audio system.
• Refer to the Understand The Features Of Your Vehicle section of your vehicle's Owner's Manual on the DVD for further details.
ELECTRONICS
53