Page 241 of 557

•Clean the ParkSense�sensors regularly, taking care
not to scratch or damage them. The sensors must not
be covered with ice, snow, slush, mud, dirt or debris.
Failure to do so can result in the system not working
properly. The ParkSense� system might not detect an
obstacle behind or in front of the fascia/bumper, or it
could provide a false indication that an obstacle is
behind or in front of the fascia/bumper.
•Objects such as bicycle carriers, trailer hitches, etc.,
must not be placed within 12 in (30 cm) from the rear
fascia/bumper while driving the vehicle. Failure to do
so can result in the system misinterpreting a close
object as a sensor problem, causing the “SERVICE
PARK ASSIST” message to be displayed in the EVIC.
CAUTION!
•ParkSense� is only a parking aid and it is unable
to recognize every obstacle, including small ob-
stacles. Parking curbs might be temporarily de-
tected or not detected at all. Obstacles located
above or below the sensors will not be detected
when they are in close proximity.
•The vehicle must be driven slowly when using
ParkSense� in order to be able to stop in time
when an obstacle is detected. When backing up, it
is recommended that the driver looks over his/her
shoulder when using ParkSense�.
3
UNDERSTANDING THE FEATURES OF YOUR VEHICLE 239
Page 242 of 557

WARNING!
•Drivers must be careful when backing up even
when using the ParkSense�Park Assist System.
Always check carefully behind your vehicle, look
behind you, and be sure to check for pedestrians,
animals, other vehicles, obstructions, and blind
spots before backing up. You are responsible for
safety and must continue to pay attention to your
surroundings. Failure to do so can result in serious
injury or death.
(Continued)
WARNING! (Continued)
•Before using the ParkSense�Park Assist System, it
is strongly recommended that the ball mount and
hitch ball assembly is disconnected from the ve-
hicle when the vehicle is not used for towing.
Failure to do so can result in injury or damage to
vehicles or obstacles because the hitch ball will be
much closer to the obstacle than the rear fascia
when the warning display turns on the single
flashing arc and sounds the continuous tone. Also,
the sensors could detect the ball mount and hitch
ball assembly, depending on its size and shape,
giving a false indication that an obstacle is behind
the vehicle.
240 UNDERSTANDING THE FEATURES OF YOUR VEHICLE
Page 243 of 557

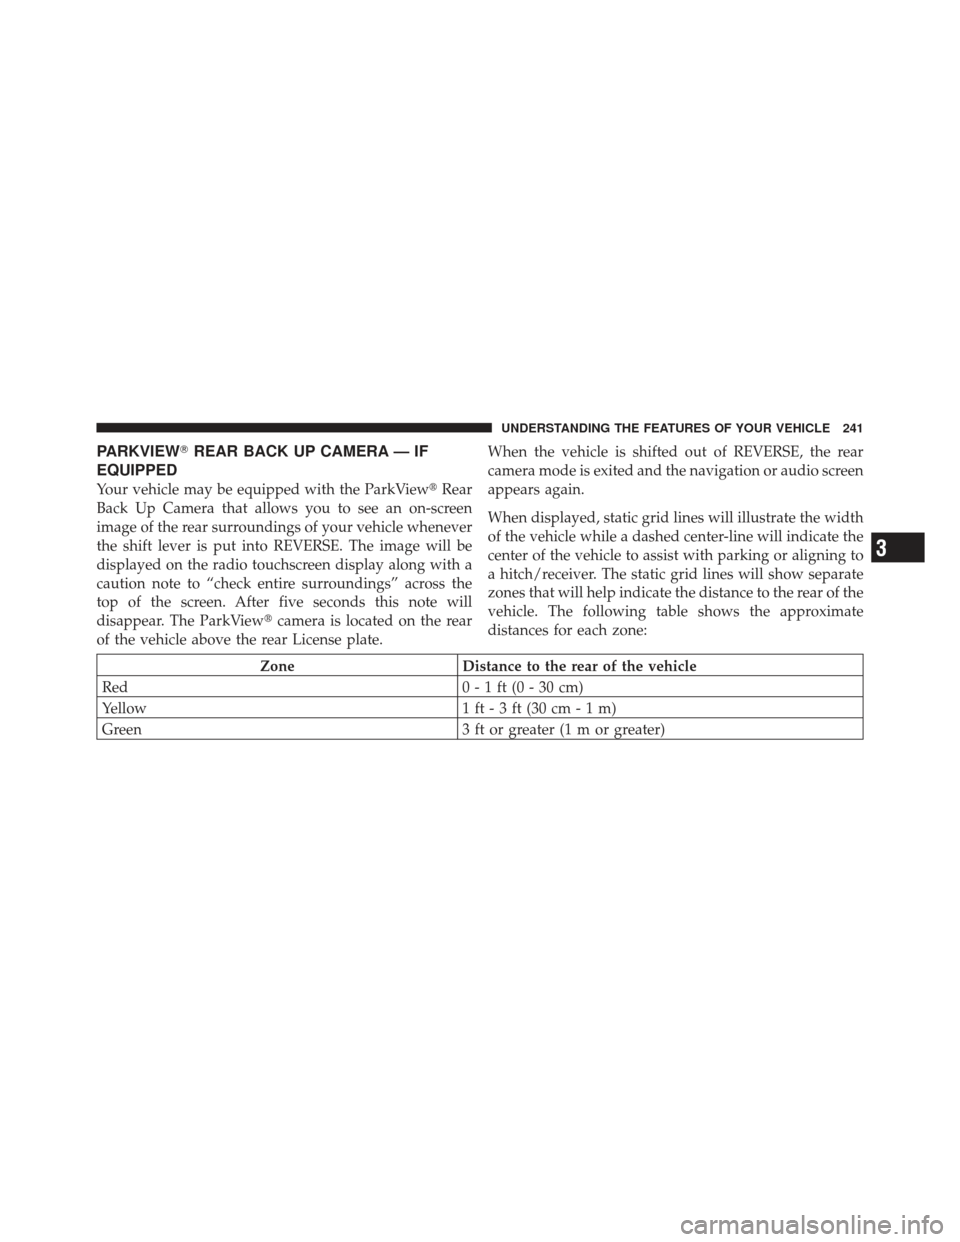
PARKVIEW�REAR BACK UP CAMERA — IF
EQUIPPED
Your vehicle may be equipped with the ParkView� Rear
Back Up Camera that allows you to see an on-screen
image of the rear surroundings of your vehicle whenever
the shift lever is put into REVERSE. The image will be
displayed on the radio touchscreen display along with a
caution note to “check entire surroundings” across the
top of the screen. After five seconds this note will
disappear. The ParkView� camera is located on the rear
of the vehicle above the rear License plate. When the vehicle is shifted out of REVERSE, the rear
camera mode is exited and the navigation or audio screen
appears again.
When displayed, static grid lines will illustrate the width
of the vehicle while a dashed center-line will indicate the
center of the vehicle to assist with parking or aligning to
a hitch/receiver. The static grid lines will show separate
zones that will help indicate the distance to the rear of the
vehicle. The following table shows the approximate
distances for each zone:
Zone
Distance to the rear of the vehicle
Red 0 - 1 ft (0 - 30 cm)
Yellow 1 ft - 3 ft (30 cm - 1 m)
Green 3 ft or greater (1 m or greater)
3
UNDERSTANDING THE FEATURES OF YOUR VEHICLE 241
Page 279 of 557
UNDERSTANDING YOUR INSTRUMENT PANEL
CONTENTS
�Instrument Panel Features ............... 279
� Instrument Cluster .................... 280
� Instrument Cluster Descriptions ........... 281
� Electronic Vehicle Information Center (EVIC) . . 292
▫ Electronic Vehicle Information Center (EVIC)
Displays ........................... 294
▫ EVIC White Telltales .................. 295
▫ EVIC Amber Telltales ................. 296
▫ EVIC Red Telltales ................... 297 ▫
Oil Change Required .................. 300
▫ Fuel Economy ...................... 300
▫ Cruise Control ...................... 303
▫ Vehicle Speed ....................... 303
▫ Trip Info .......................... 304
▫ TirePSI ........................... 305
▫ SRT .............................. 305
▫ Vehicle Info
(Customer Information Features) ......... 308
4
Page 284 of 557

6. Odometer Display / Electronic Vehicle Information
Center (EVIC) Display
Odometer Display
The odometer display shows the total distance the ve-
hicle has been driven.
U.S. Federal regulations require that upon transfer of
vehicle ownership, the seller certify to the purchaser the
correct mileage that the vehicle has been driven. If your
odometer needs to be repaired or serviced, the repair
technician should leave the odometer reading the same
as it was before the repair or service. If s/he cannot do so,
then the odometer must be set at zero, and a sticker must
be placed in the door jamb stating what the mileage was
before the repair or service. It is a good idea for you to
make a record of the odometer reading before the repair/
service, so that you can be sure that it is properly reset, or
that the door jamb sticker is accurate if the odometer
must be reset at zero.Electronic Vehicle Information Center (EVIC) Display
The Electronic Vehicle Information Center (EVIC) fea-
tures a driver-interactive display that is located in the
instrument cluster. For further information, refer to
“Electronic Vehicle Information Center (EVIC)”.
The Shift Lever Indicator is self-contained within the
EVIC display. It displays the gear position of the auto-
matic transmission.
NOTE:
•You must apply the brakes before shifting from PARK.
•The highest available transmission gear is displayed in
the lower right corner of the Electronic Vehicle Infor-
mation Center (EVIC) whenever the Electronic Range
Select (ERS) feature is active. Use the +/- selector on
the shift lever to activate ERS. Refer to “Automatic
Transmission” in “Starting And Operating” for further
information.
282 UNDERSTANDING YOUR INSTRUMENT PANEL
Page 289 of 557

14. Sport ModeThis light will illuminate when Sport or Track
mode is selected. When Sport mode is selected,
the EVIC will display “Sport Mode Active
(Suspension)”.
This mode provides performance based tuning with
improved handling through an electronic controlled
damping system. This system reduces body roll and pitch
in many driving situations including cornering, accelera-
tion and braking.
When Track Mode is Selected, the EVIC will display
“Track Mode Activated (Suspension and Transmission)”.
In addition to SPORT suspension, Track mode also affects
transmission shifting in either Auto or Manual mode.
Refer to “AutoStick” in “Starting And Operating” for
further information. The transmission has a sportier,
more aggressive shift pattern. In Manual mode, the
transmission will hold gear at redline during manual
shifting (console shifter or paddle switches). 15. Vehicle Security Light — If Equipped
This light will flash at a fast rate for approxi-
mately 15 seconds, when the vehicle security
alarm is arming, and then will flash slowly
until the vehicle is disarmed.
16. Electronic Stability Control (ESC) OFF Indicator
Light — If Equipped This light indicates the Electronic Stability Con-
trol (ESC) is off.
17. Brake Warning Light This light monitors various brake functions,
including brake fluid level and parking brake
application. If the brake light turns on it may
indicate that the parking brake is applied, that
the brake fluid level is low, or that there is a problem with
the anti-lock brake system reservoir.
4
UNDERSTANDING YOUR INSTRUMENT PANEL 287
Page 294 of 557
ELECTRONIC VEHICLE INFORMATION CENTER
(EVIC)
The Electronic Vehicle Information Center (EVIC) fea-
tures a driver-interactive display that is located in the
instrument cluster.This system allows the driver to select a variety of useful
information by pressing the switches mounted on the
steering wheel. The EVIC consists of the following:
•Radio Info
•Fuel Economy Info
•Cruise Control Info
•Digital Vehicle Speed
•Trip Info
•Tire Pressure
•Vehicle Info Messages
•Stored Warning Messages
•Turn Menu OFF
Electronic Vehicle Information Center (EVIC)
292 UNDERSTANDING YOUR INSTRUMENT PANEL
Page 295 of 557
The system allows the driver to select information by
pressing the following buttons mounted on the steering
wheel:UP Button
Press and release the UP button to scroll upward
through the main menu and Vehicle Info and
Trip Info sub-menus (Fuel Economy, Vehicle
Info, Tire PSI, Cruise, Messages) and sub-menus.
DOWN Button
Press and release the DOWN button to scroll
downward through the main menus and Ve-
hicle Info and Trip Info sub-menus.
SELECT Button Press and release the SELECT button to access
the information screens or sub-menu screens of
a main menu item. Press and hold the SELECT
button for two seconds to reset displayed/
selected features that can be reset.
EVIC Steering Wheel Buttons
4
UNDERSTANDING YOUR INSTRUMENT PANEL 293