Page 272 of 557
STORAGE
Glovebox Storage
The glovebox storage compartment is located on the
passenger side of the instrument panel.
Console Features
There is a cubby bin located forward of the shift lever.
The cubby bin is covered with a push-push actuated
door. Push inward on the door to open it, push the door
a second time to close it.
Glovebox Storage Compartment
Opened Glovebox Storage Compartment
270 UNDERSTANDING THE FEATURES OF YOUR VEHICLE
Page 279 of 557
UNDERSTANDING YOUR INSTRUMENT PANEL
CONTENTS
�Instrument Panel Features ............... 279
� Instrument Cluster .................... 280
� Instrument Cluster Descriptions ........... 281
� Electronic Vehicle Information Center (EVIC) . . 292
▫ Electronic Vehicle Information Center (EVIC)
Displays ........................... 294
▫ EVIC White Telltales .................. 295
▫ EVIC Amber Telltales ................. 296
▫ EVIC Red Telltales ................... 297 ▫
Oil Change Required .................. 300
▫ Fuel Economy ...................... 300
▫ Cruise Control ...................... 303
▫ Vehicle Speed ....................... 303
▫ Trip Info .......................... 304
▫ TirePSI ........................... 305
▫ SRT .............................. 305
▫ Vehicle Info
(Customer Information Features) ......... 308
4
Page 280 of 557

▫Messages # ......................... 309
▫ Turn Menu Off ...................... 309
� Uconnect Touch™ Settings ............... 309
▫ Hard-Keys ......................... 309
▫ Soft-Keys .......................... 309
▫ Customer Programmable Features —
Uconnect Touch™ System 8.4 Settings ...... 310
▫ SRT Performance Features .............. 324
� Setting The Analog Clock ................ 328
� iPod�/USB/MP3 Control — If Equipped ..... 328
� Harman Kardon� Logic7�High Performance
Multichannel Surround Sound System With
Driver-Selectable Surround (DSS) — If
Equipped ............................ 328 �
Steering Wheel Audio Controls ............ 330
▫ Radio Operation ..................... 330
▫ CD Player ......................... 331
� CD/DVD Disc Maintenance .............. 331
� Radio Operation And Mobile Phones ....... 332
� Climate Controls ...................... 332
▫ General Overview .................... 333
▫ Climate Control Functions .............. 340
▫ Automatic Temperature Control (ATC) ..... 341
▫ Operating Tips ...................... 342
278 UNDERSTANDING YOUR INSTRUMENT PANEL
Page 281 of 557
INSTRUMENT PANEL FEATURES
1 — Air Outlet8 — Uconnect Touch™ System Hard Controls 15 — Dimmer Controls
2 — Instrument Cluster 9 — SD Memory Card Slot 16 — Hood Release
3 — Hazard Switch 10 — Power Outlet 17 — Headlight Switch
4 — Uconnect Touch™ System 11 — CD/DVD Slot 18 — Analog Clock
5 — Climate Control Hard Controls 12 — Storage Compartment 19 — Paddle Shifters
6 — Glove Compartment 13 — Engine Start/Stop Button
7 — ESC Off Switch 14 — Trunk Release Button
4
UNDERSTANDING YOUR INSTRUMENT PANEL 279
Page 282 of 557
INSTRUMENT CLUSTER
280 UNDERSTANDING YOUR INSTRUMENT PANEL
Page 283 of 557

INSTRUMENT CLUSTER DESCRIPTIONS
1. Tachometer
The red segments indicate the maximum permissible
engine revolutions per minute (RPM x 1000) for each gear
range. Before reaching the red area, ease up on the
accelerator.
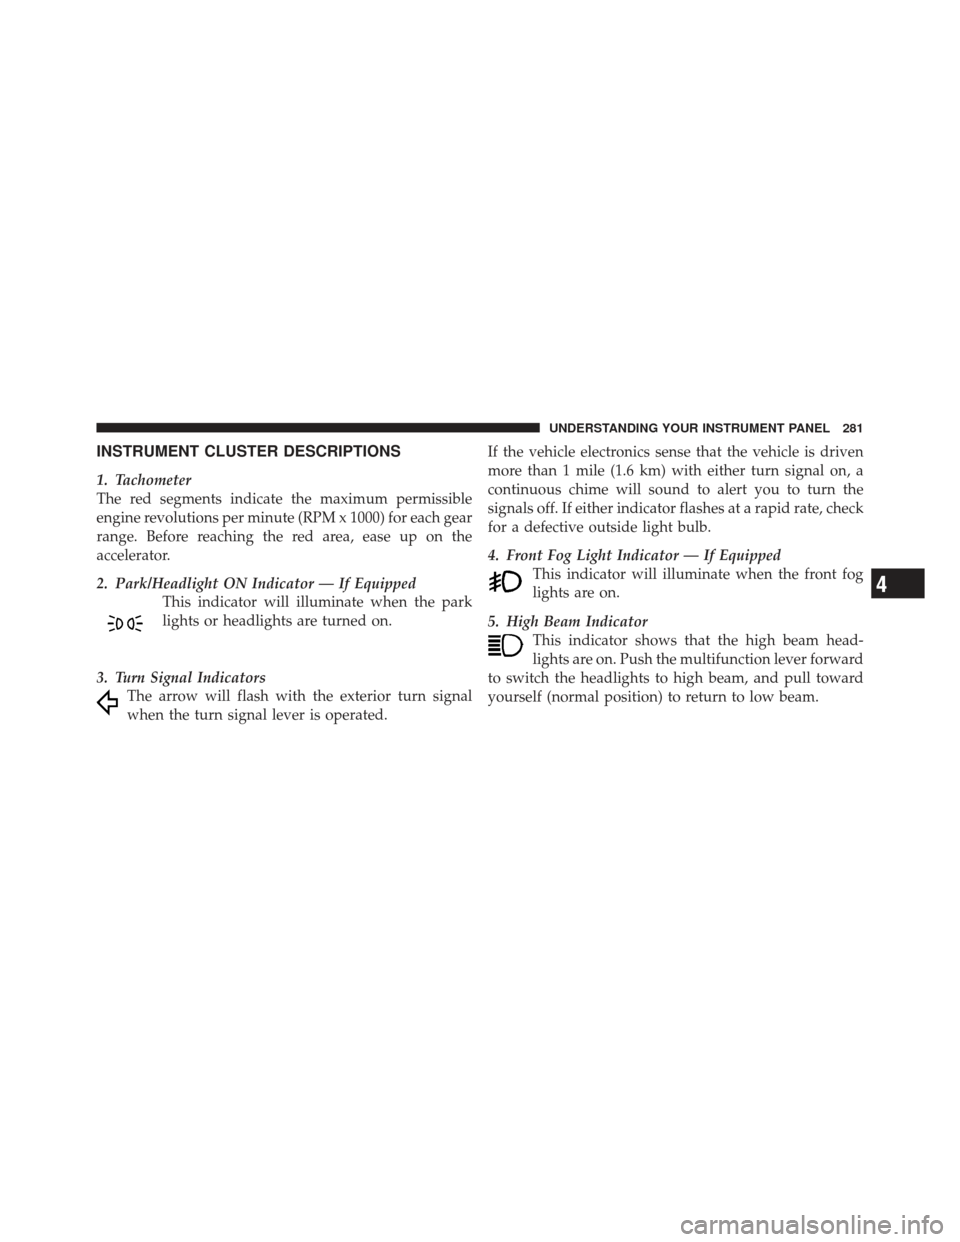
2. Park/Headlight ON Indicator — If EquippedThis indicator will illuminate when the park
lights or headlights are turned on.
3. Turn Signal Indicators The arrow will flash with the exterior turn signal
when the turn signal lever is operated. If the vehicle electronics sense that the vehicle is driven
more than 1 mile (1.6 km) with either turn signal on, a
continuous chime will sound to alert you to turn the
signals off. If either indicator flashes at a rapid rate, check
for a defective outside light bulb.
4. Front Fog Light Indicator — If Equipped
This indicator will illuminate when the front fog
lights are on.
5. High Beam Indicator This indicator shows that the high beam head-
lights are on. Push the multifunction lever forward
to switch the headlights to high beam, and pull toward
yourself (normal position) to return to low beam.
4
UNDERSTANDING YOUR INSTRUMENT PANEL 281
Page 284 of 557

6. Odometer Display / Electronic Vehicle Information
Center (EVIC) Display
Odometer Display
The odometer display shows the total distance the ve-
hicle has been driven.
U.S. Federal regulations require that upon transfer of
vehicle ownership, the seller certify to the purchaser the
correct mileage that the vehicle has been driven. If your
odometer needs to be repaired or serviced, the repair
technician should leave the odometer reading the same
as it was before the repair or service. If s/he cannot do so,
then the odometer must be set at zero, and a sticker must
be placed in the door jamb stating what the mileage was
before the repair or service. It is a good idea for you to
make a record of the odometer reading before the repair/
service, so that you can be sure that it is properly reset, or
that the door jamb sticker is accurate if the odometer
must be reset at zero.Electronic Vehicle Information Center (EVIC) Display
The Electronic Vehicle Information Center (EVIC) fea-
tures a driver-interactive display that is located in the
instrument cluster. For further information, refer to
“Electronic Vehicle Information Center (EVIC)”.
The Shift Lever Indicator is self-contained within the
EVIC display. It displays the gear position of the auto-
matic transmission.
NOTE:
•You must apply the brakes before shifting from PARK.
•The highest available transmission gear is displayed in
the lower right corner of the Electronic Vehicle Infor-
mation Center (EVIC) whenever the Electronic Range
Select (ERS) feature is active. Use the +/- selector on
the shift lever to activate ERS. Refer to “Automatic
Transmission” in “Starting And Operating” for further
information.
282 UNDERSTANDING YOUR INSTRUMENT PANEL
Page 285 of 557

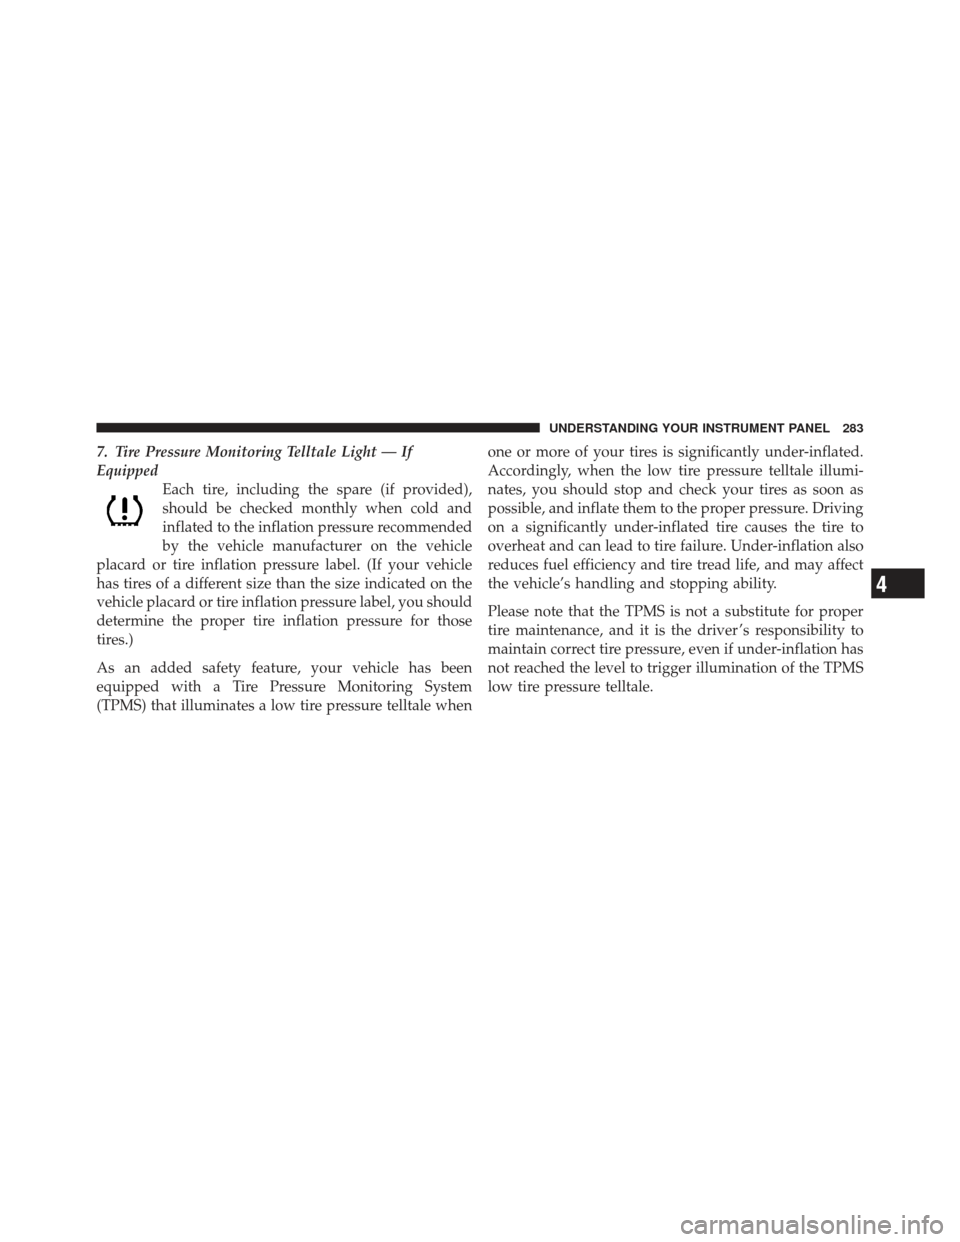
7. Tire Pressure Monitoring Telltale Light — If
EquippedEach tire, including the spare (if provided),
should be checked monthly when cold and
inflated to the inflation pressure recommended
by the vehicle manufacturer on the vehicle
placard or tire inflation pressure label. (If your vehicle
has tires of a different size than the size indicated on the
vehicle placard or tire inflation pressure label, you should
determine the proper tire inflation pressure for those
tires.)
As an added safety feature, your vehicle has been
equipped with a Tire Pressure Monitoring System
(TPMS) that illuminates a low tire pressure telltale when one or more of your tires is significantly under-inflated.
Accordingly, when the low tire pressure telltale illumi-
nates, you should stop and check your tires as soon as
possible, and inflate them to the proper pressure. Driving
on a significantly under-inflated tire causes the tire to
overheat and can lead to tire failure. Under-inflation also
reduces fuel efficiency and tire tread life, and may affect
the vehicle’s handling and stopping ability.
Please note that the TPMS is not a substitute for proper
tire maintenance, and it is the driver ’s responsibility to
maintain correct tire pressure, even if under-inflation has
not reached the level to trigger illumination of the TPMS
low tire pressure telltale.
4
UNDERSTANDING YOUR INSTRUMENT PANEL 283