Page 69 of 557
•Turn on the interior lights, which remain on as long as
the battery has power, until the ignition key is re-
moved or the ignition switch is changed to OFF using
the Keyless Go Start/Stop button.
•Unlock the doors automatically.
In order to reset the Enhanced Accident Response System
functions after an event, the ignition switch must be
changed from IGN ON to IGN OFF.
If A Deployment Occurs
The Advanced Front Air Bags are designed to deflate
immediately after deployment.
NOTE: Front and/or side air bags will not deploy in all
collisions. This does not mean something is wrong with
the air bag system. If you do have a collision which deploys the air bags, any
or all of the following may occur:
•The nylon air bag material may sometimes cause
abrasions and/or skin reddening to the driver and
front passenger as the air bags deploy and unfold. The
abrasions are similar to friction rope burns or those
you might get sliding along a carpet or gymnasium
floor. They are not caused by contact with chemicals.
They are not permanent and normally heal quickly.
However, if you haven’t healed significantly within a
few days, or if you have any blistering, see your doctor
immediately.
•As the air bags deflate, you may see some smoke-like
particles. The particles are a normal by-product of the
process that generates the non-toxic gas used for air
bag inflation. These airborne particles may irritate the
skin, eyes, nose, or throat. If you have skin or eye
irritation, rinse the area with cool water. For nose or
2
THINGS TO KNOW BEFORE STARTING YOUR VEHICLE 67
Page 71 of 557
WARNING! (Continued)
•Do not attempt to modify any part of your air bag
system. The air bag may inflate accidentally or
may not function properly if modifications are
made. Take your vehicle to an authorized dealer
for any air bag system service. If your seat includ-
ing your trim cover and cushion needs to be
serviced in any way (including removal or
loosening/tightening of seat attachment bolts),
take the vehicle to your authorized dealer. Only
manufacturer approved seat accessories may be
used. If it is necessary to modify the air bag system
for persons with disabilities, contact your autho-
rized dealer.
Air Bag Warning Light
You will want to have the air bags ready to
inflate for your protection in a collision. The
Air Bag Warning Light monitors the internal
circuits and interconnecting wiring associated
with air bag system electrical components. While the air
bag system is designed to be maintenance free, if any of
the following occurs, have an authorized dealer service
the air bag system immediately.
•The Air Bag Warning Light does not come on during
the four to eight seconds when the ignition switch is
first cycled to the ON/RUN position.
•The Air Bag Warning Light remains on after the four to
eight-second interval.
•The Air Bag Warning Light comes on intermittently or
remains on while driving.
2
THINGS TO KNOW BEFORE STARTING YOUR VEHICLE 69
Page 87 of 557
Safety Checks You Should Make Inside The
Vehicle
Seat Belts
Inspect the belt system periodically, checking for cuts,
frays, and loose parts. Damaged parts must be replaced
immediately. Do not disassemble or modify the system.
Front seat belt assemblies must be replaced after a
collision. Rear seat belt assemblies must be replaced after
a collision if they have been damaged (i.e., bent retractor,
torn webbing, etc.). If there is any question regarding belt
or retractor condition, replace the belt.
Air Bag Warning Light
The light should come on and remain on for four to eight
seconds as a bulb check when the ignition switch is first
turned ON. If the light is not lit during starting, see your
authorized dealer. If the light stays on, flickers, or comes
on while driving, have the system checked by an autho-
rized dealer.
Defroster
Check operation by selecting the defrost mode and place
the blower control on high speed. You should be able to
feel the air directed against the windshield. See your
authorized dealer for service if your defroster is
inoperable.
Floor Mat Safety Information
Always use floor mats designed to fit the footwell of your
vehicle. Use only floor mats that leave the pedal area
unobstructed and that are firmly secured so that they
cannot slip out of position and interfere with the pedals
or impair safe operation of your vehicle in other ways.
2
THINGS TO KNOW BEFORE STARTING YOUR VEHICLE 85
Page 89 of 557
Periodic Safety Checks You Should Make Outside
The Vehicle
Tires
Examine tires for excessive tread wear and uneven wear
patterns. Check for stones, nails, glass, or other objects
lodged in the tread or sidewall. Inspect the tread for cuts
and cracks. Inspect sidewalls for cuts, cracks and bulges.
Check the wheel nuts for tightness. Check the tires
(including spare) for proper cold inflation pressure.
Lights
Have someone observe the operation of exterior lights
while you work the controls. Check turn signal and high
beam indicator lights on the instrument panel.
Door Latches
Check for positive closing, latching, and locking.
Fluid Leaks
Check area under vehicle after overnight parking for fuel,
engine coolant, oil, or other fluid leaks. Also, if gasoline
fumes are detected or if fuel, power steering fluid, or
brake fluid leaks are suspected, the cause should be
located and corrected immediately.2
THINGS TO KNOW BEFORE STARTING YOUR VEHICLE 87
Page 91 of 557
UNDERSTANDING THE FEATURES OF YOUR VEHICLE
CONTENTS
�Mirrors .............................. 96
▫ Automatic Dimming Mirror .............. 96
▫ Outside Mirrors ...................... 97
▫ Outside Mirrors Folding Feature —
If Equipped ......................... 97
▫ Driver’s Automatic Dimming Mirror —
If Equipped ......................... 97
▫ Outside Mirrors With Turn Signal And
Approach Lighting — If Equipped ......... 98
▫ Tilt Mirrors In Reverse — If Equipped ...... 98▫
Power Mirrors ....................... 99
▫ Power Folding Outside Mirrors —
If Equipped ........................ 100
▫ Heated Mirrors — If Equipped ........... 100
▫ Illuminated Vanity Mirrors — If Equipped . . 100
▫ “Slide-On-Rod” And Extender Features Of
Sun Visor .......................... 101
� Blind Spot Monitoring — If Equipped ....... 102
▫ Rear Cross Path ..................... 107
▫ Modes Of Operation .................. 108
3
Page 93 of 557
�To Open And Close The Hood ............ 179
� Lights ............................. 180
▫ Headlight Switch .................... 180
▫ Automatic Headlights — If Equipped ...... 181
▫ Headlights On With Wipers (Available With
Automatic Headlights Only) ............ 182
▫ Headlight Time Delay ................. 182
▫ Smartbeam™ — If Equipped ............ 183
▫ Adaptive Bi-Xenon High Intensity Discharge
Headlights — If Equipped .............. 183
▫ Daytime Running Lights (DRL) .......... 184
▫ Lights-On Reminder .................. 184
▫ Fog Lights — If Equipped .............. 184
▫ Multifunction Lever .................. 185 ▫
Turn Signals ........................ 186
▫ Lane Change Assist ................... 186
▫ High/Low Beam Switch ............... 186
▫ Flash-To-Pass ....................... 186
▫ Front Map/Reading Lights ............. 187
▫ Courtesy Lights ..................... 188
▫ Ambient Light ...................... 188
▫ Interior Lights ...................... 189
� Windshield Wipers And Washers .......... 191
▫ Intermittent Wiper System .............. 192
▫ Wiper Operation ..................... 192
▫ Mist Feature ........................ 193
▫ Windshield Washers .................. 193
3
UNDERSTANDING THE FEATURES OF YOUR VEHICLE 91
Page 94 of 557
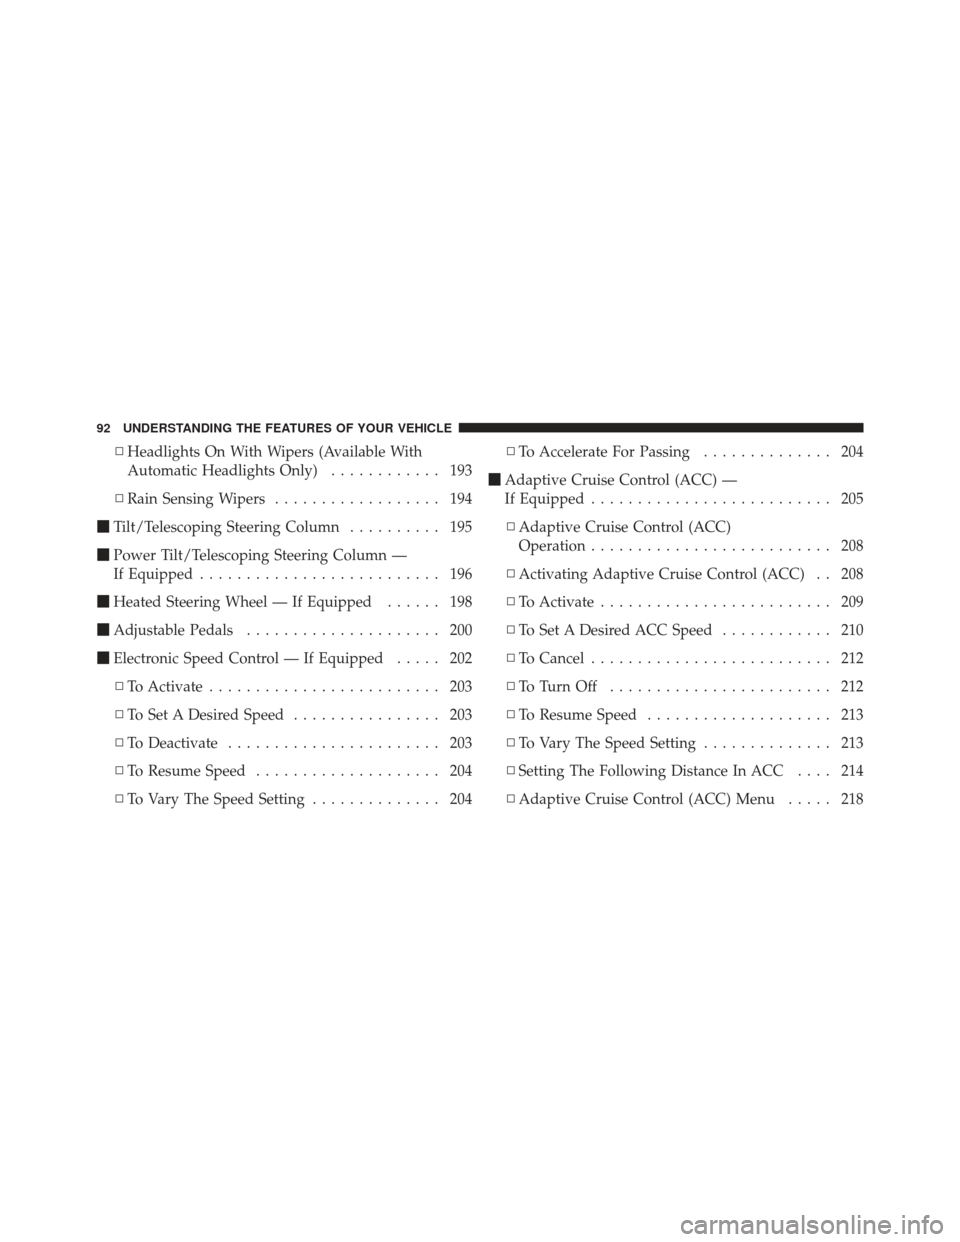
▫Headlights On With Wipers (Available With
Automatic Headlights Only) ............ 193
▫ Rain Sensing Wipers .................. 194
� Tilt/Telescoping Steering Column .......... 195
� Power Tilt/Telescoping Steering Column —
If Equipped .......................... 196
� Heated Steering Wheel — If Equipped ...... 198
� Adjustable Pedals ..................... 200
� Electronic Speed Control — If Equipped ..... 202
▫ To Activate ......................... 203
▫ To Set A Desired Speed ................ 203
▫ To Deactivate ....................... 203
▫ To Resume Speed .................... 204
▫ To Vary The Speed Setting .............. 204 ▫
To Accelerate For Passing .............. 204
� Adaptive Cruise Control (ACC) —
If Equipped .......................... 205
▫ Adaptive Cruise Control (ACC)
Operation .......................... 208
▫ Activating Adaptive Cruise Control (ACC) . . 208
▫ To Activate ......................... 209
▫ To Set A Desired ACC Speed ............ 210
▫ To Cancel .......................... 212
▫ ToTurnOff ........................ 212
▫ To Resume Speed .................... 213
▫ To Vary The Speed Setting .............. 213
▫ Setting The Following Distance In ACC .... 214
▫ Adaptive Cruise Control (ACC) Menu ..... 218
92 UNDERSTANDING THE FEATURES OF YOUR VEHICLE
Page 95 of 557

▫Display Warnings And Maintenance ....... 219
▫ Precautions While Driving With ACC ...... 222
▫ General Information .................. 226
▫ Normal (Fixed Speed) Cruise Control
Mode ............................. 226
▫ Forward Collision Warning — If Equipped . . 228
� Parksense� Park Assist — If Equipped ...... 231
▫ Parksense� Sensors................... 232
▫ Parksense� Warning Display ............ 232
▫ Parksense� Display................... 233
▫ Front Park Assist Audible Alerts ......... 237
▫ Enabling And Disabling Parksense� ....... 237
▫ Service The Parksense� Park Assist
System ............................ 237 ▫
Cleaning The Parksense� System......... 238
▫ Parksense� System Usage Precautions ...... 238
� Parkview� Rear Back Up Camera —
If Equipped .......................... 241
▫ Turning Parkview� On Or Off —
With Touch Screen Radio ............... 243
� Overhead Console ..................... 243
▫ Front Map/Reading Lights ............. 244
▫ Sunglass Bin Door ................... 245
� Garage Door Opener — If Equipped ........ 245
▫ Before You Begin Programming
HomeLink� ........................ 247
▫ Programming A Rolling Code ........... 248
▫ Programming A Non-Rolling Code ........ 250
3
UNDERSTANDING THE FEATURES OF YOUR VEHICLE 93