Page 43 of 557
Wind Buffeting
Wind buffeting can be described as the perception of
pressure on the ears or a helicopter-type sound in the
ears. Your vehicle may exhibit wind buffeting with the
windows down, or the sunroof (if equipped) in certain
open or partially open positions. This is a normal occur-
rence and can be minimized. If the buffeting occurs with
the rear windows open, then open the front and rear
windows together to minimize the buffeting. If the
buffeting occurs with the sunroof open, then adjust the
sunroof opening to minimize the buffeting.
TRUNK LOCK AND RELEASE
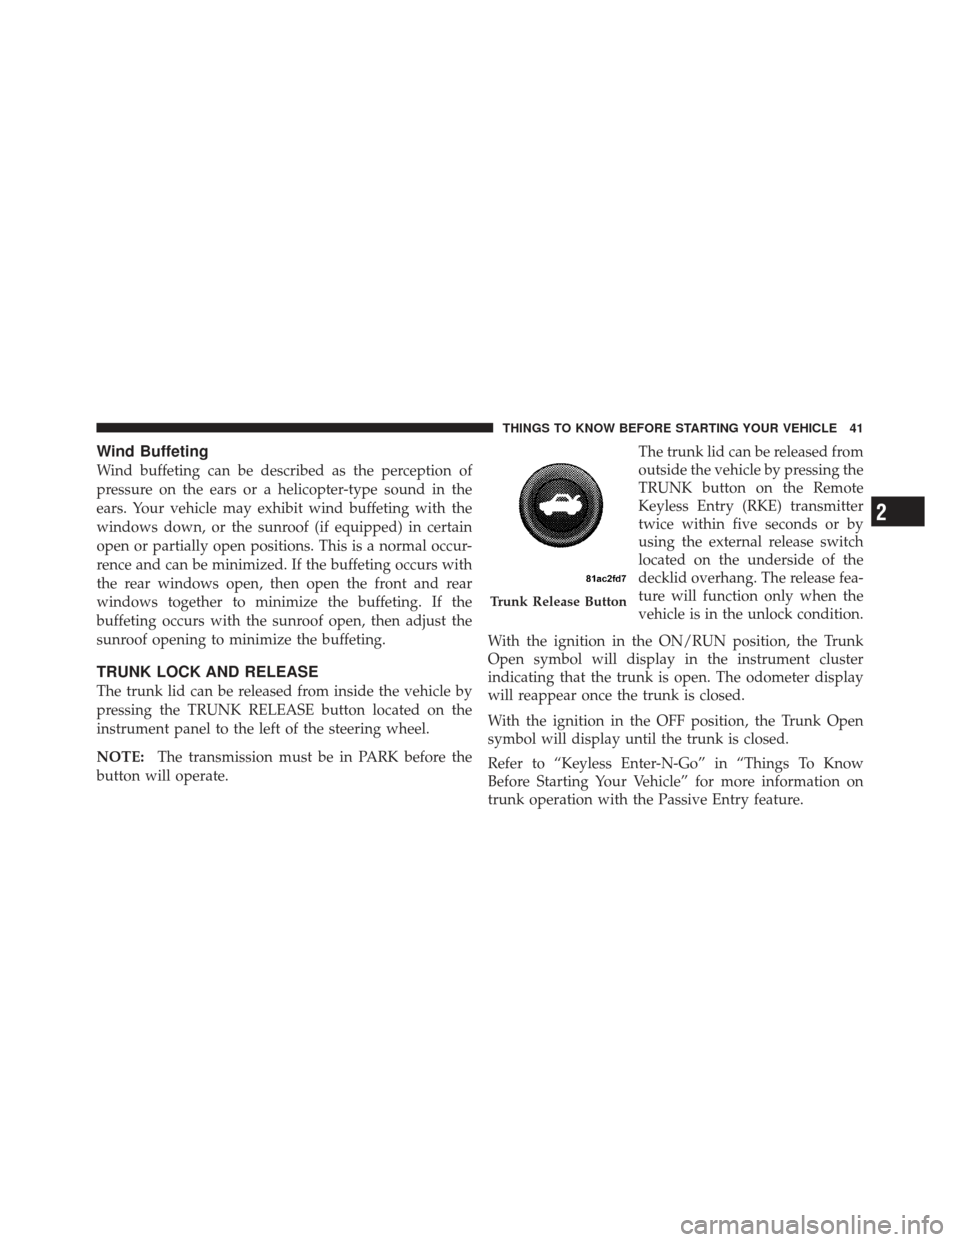
The trunk lid can be released from inside the vehicle by
pressing the TRUNK RELEASE button located on the
instrument panel to the left of the steering wheel.
NOTE:The transmission must be in PARK before the
button will operate. The trunk lid can be released from
outside the vehicle by pressing the
TRUNK button on the Remote
Keyless Entry (RKE) transmitter
twice within five seconds or by
using the external release switch
located on the underside of the
decklid overhang. The release fea-
ture will function only when the
vehicle is in the unlock condition.
With the ignition in the ON/RUN position, the Trunk
Open symbol will display in the instrument cluster
indicating that the trunk is open. The odometer display
will reappear once the trunk is closed.
With the ignition in the OFF position, the Trunk Open
symbol will display until the trunk is closed.
Refer to “Keyless Enter-N-Go” in “Things To Know
Before Starting Your Vehicle” for more information on
trunk operation with the Passive Entry feature.
Trunk Release Button
2
THINGS TO KNOW BEFORE STARTING YOUR VEHICLE 41
Page 69 of 557
•Turn on the interior lights, which remain on as long as
the battery has power, until the ignition key is re-
moved or the ignition switch is changed to OFF using
the Keyless Go Start/Stop button.
•Unlock the doors automatically.
In order to reset the Enhanced Accident Response System
functions after an event, the ignition switch must be
changed from IGN ON to IGN OFF.
If A Deployment Occurs
The Advanced Front Air Bags are designed to deflate
immediately after deployment.
NOTE: Front and/or side air bags will not deploy in all
collisions. This does not mean something is wrong with
the air bag system. If you do have a collision which deploys the air bags, any
or all of the following may occur:
•The nylon air bag material may sometimes cause
abrasions and/or skin reddening to the driver and
front passenger as the air bags deploy and unfold. The
abrasions are similar to friction rope burns or those
you might get sliding along a carpet or gymnasium
floor. They are not caused by contact with chemicals.
They are not permanent and normally heal quickly.
However, if you haven’t healed significantly within a
few days, or if you have any blistering, see your doctor
immediately.
•As the air bags deflate, you may see some smoke-like
particles. The particles are a normal by-product of the
process that generates the non-toxic gas used for air
bag inflation. These airborne particles may irritate the
skin, eyes, nose, or throat. If you have skin or eye
irritation, rinse the area with cool water. For nose or
2
THINGS TO KNOW BEFORE STARTING YOUR VEHICLE 67
Page 92 of 557
�Uconnect™ Phone (8.4/8.4N) ............. 110
▫ Uconnect Touch™ 8.4/8.4 NAV .......... 110
▫ Operation ......................... 113
▫ Phone Call Features .................. 124
▫ Uconnect™ Phone Features ............. 129
▫ Advanced Phone Connectivity ........... 134
▫ Things You Should Know About Your
Uconnect™ Phone .................... 134
▫ General Information .................. 146
� Voice Command ...................... 146
▫ Uconnect Touch™ 8.4/8.4 NAV .......... 146
▫ Uconnect™ Voice Commands ........... 148
▫ Voice Tree ......................... 150 �
Seats .............................. 161
▫ Power Seats ........................ 162
▫ Power Lumbar ...................... 164
▫ Heated Seats ....................... 165
▫ Ventilated Seats — If Equipped .......... 168
▫ Head Restraints ..................... 170
▫ Folding Rear Seat .................... 173
� Driver Memory Seat — If Equipped ........ 174
▫ Programming The Memory Feature ....... 175
▫ Linking And Unlinking The Remote Keyless
Entry Transmitter To Memory ........... 176
▫ Memory Position Recall ................ 177
▫ Easy Entry/Exit Seat (Available With
Memory Seat Only) ................... 177
90 UNDERSTANDING THE FEATURES OF YOUR VEHICLE
Page 100 of 557
Outside Mirrors With Turn Signal And Approach
Lighting — If Equipped
Driver and passenger outside mirrors with turn signal
and approach lighting contain four LEDs, which are
located in the upper outer corner of each mirror.
Three of the LEDs are turn signal indicators, which flash
with the corresponding turn signal lights in the front and
rear of the vehicle. Turning on the Hazard Warning
flashers will also activate these LEDs.
The fourth LED supplies illuminated entry lighting,
which turns on in both mirrors when you use the Remote
Keyless Entry (RKE) transmitter or open any door. This
LED shines outward to illuminate the front and rear door
handles. It also shines downward to illuminate the area
in front of the doors.
The Illuminated Entry lighting fades to off after about
30 seconds or it will fade to off immediately once the
ignition is placed into the RUN position.NOTE:
The approach lighting will not function when
the shift lever is moved out of the PARK position.Tilt Mirrors In Reverse — If Equipped
Tilt Mirrors in Reverse provides automatic outside mirror
positioning which will aid the driver ’s view of the
ground rearward of the front doors. The outside mirrors
will move slightly downward from the present position
when the vehicle is shifted into REVERSE. The outside
mirrors will then return to the original position when the
vehicle is shifted out of the REVERSE position. Each
stored memory setting will have an associated Tilt Mir-
rors in Reverse position.
NOTE: The Tilt Mirrors in Reverse feature can be turned
on and off using the Uconnect Touch™ System, refer to
“Uconnect Touch™ Settings” in “Understanding Your
Instrument Panel” for further information.
98 UNDERSTANDING THE FEATURES OF YOUR VEHICLE
Page 176 of 557
WARNING!
•Be certain that the seatback is securely locked into
position. If the seatback is not securely locked into
position, the seat will not provide the proper
stability for child seats and/or passengers. An
improperly latched seat could cause serious injury.
•The cargo area in the rear of the vehicle (with the
rear seatbacks in the locked-up or folded down
position) should not be used as a play area by
children when the vehicle is in motion. They could
be seriously injured in a collision. Children
should be seated and using the proper restraint
system.
DRIVER MEMORY SEAT — IF EQUIPPED
This feature allows the driver to store up to two different
memory profiles for easy recall through a memory
switch. Each memory profile contains desired position
settings for the driver seat, side mirrors, adjustable
pedals (if equipped), and power tilt and telescopic steer-
ing column (if equipped) and a set of desired radio
station presets. Your Remote Keyless Entry (RKE) trans-
mitter can also be programmed to recall the same posi-
tions when the UNLOCK button is pressed.
NOTE:
•Only one RKE transmitter can be linked to each of the
memory positions.
•Passive Entry door handles cannot be linked to the
memory function. Use either the memory recall switch
or the RKE transmitter (if linked to the memory
feature) to recall memory positions 1 or 2.
174 UNDERSTANDING THE FEATURES OF YOUR VEHICLE
Page 178 of 557
NOTE:
•Memory profiles can be set without the vehicle in
PARK, but the vehicle must be in PARK to recall a
memory profile.
•The Recall Memory with Remote Key Unlock feature
can be enabled through the Uconnect Touch™ System,
refer to “Uconnect Touch™ Settings” in “Understand-
ing Your Instrument Panel” for further information.
Linking And Unlinking The Remote Keyless Entry
Transmitter To Memory
Your RKE transmitters can be programmed to recall one
of two pre-programmed memory profiles by pressing the
UNLOCK button on the RKE transmitter.
To program your RKE transmitters, perform the following:
1. Remove the Key Fob from the ignition (or change the
ignition to OFF, for vehicles equipped with Keyless
Enter-N-Go).
2. Select desired memory profile (1) or (2).
3. Once the profile has been recalled, press and release
the SET (S) button on the memory switch, then press and
release button (1) or (2) accordingly. “Memory Profile
Set” (1 or 2) will display in the instrument cluster on
vehicles equipped with the EVIC.
4. Press and release the LOCK button on the RKE
transmitter within 10 seconds.
176 UNDERSTANDING THE FEATURES OF YOUR VEHICLE
Page 180 of 557
The distance the driver seat moves depends on where
you have the driver seat positioned when you remove the
Key Fob from the ignition (or change the ignition to OFF,
for vehicles equipped with Keyless Enter-N-Go).
•When you remove the Key Fob from the ignition (or
change the ignition to OFF, for vehicles equipped with
Keyless Enter-N-Go), the driver seat will move about
2.4 in (60 mm) rearward if the driver seat position is
greater than or equal to 2.7 in (67.7 mm) forward of the
rear stop. The seat will return to its previously set
position when you place the ignition into the ACC or
RUN position.
•When you remove the Key Fob from the ignition (or
change the ignition to OFF, for vehicles equipped with
Keyless Enter-N-Go), the driver seat will move to a
position 0.3 in (7.7 mm) forward of the rear stop if thedriver seat position is between 0.9 in and 2.7 in
(22.7 mm and 67.7 mm) forward of the rear stop.
The seat will return to its previously set position when
you place the ignition to the ACC or RUN position.
•The Easy Entry/Easy Exit feature is disabled when the
driver seat position is less than 0.9 in (22.7 mm)
forward of the rear stop. At this position, there is no
benefit to the driver by moving the seat for Easy Exit
or Easy Entry.
Each stored memory setting will have an associated Easy
Entry and Easy Exit position.
NOTE: The Easy Entry/Easy Exit feature can be en-
abled or disabled using the Uconnect Touch™ System,
refer to “Uconnect Touch™ Settings” in “Understanding
Your Instrument Panel” for further information.
178 UNDERSTANDING THE FEATURES OF YOUR VEHICLE
Page 189 of 557
Front Map/Reading Lights
The front map/reading lights are mounted in the over-
head console.Each light can be turned on by pressing a switch on either
side of the console. These buttons are backlit for night
time visibility. To turn the lights off, press the switch a
second time. The lights will also turn on when the
UNLOCK button on the Remote Keyless Entry (RKE) is
pressed.
Front Map/Reading Lights
Front Map/Reading Light Switches
3
UNDERSTANDING THE FEATURES OF YOUR VEHICLE 187