2012 CHEVROLET ORLANDO Config button
[x] Cancel search: Config buttonPage 21 of 378
Black plate (15,1)Chevrolet Orlando Owner Manual - 2012
In Brief 1-15
SeeManual Mode on page 9‑24.
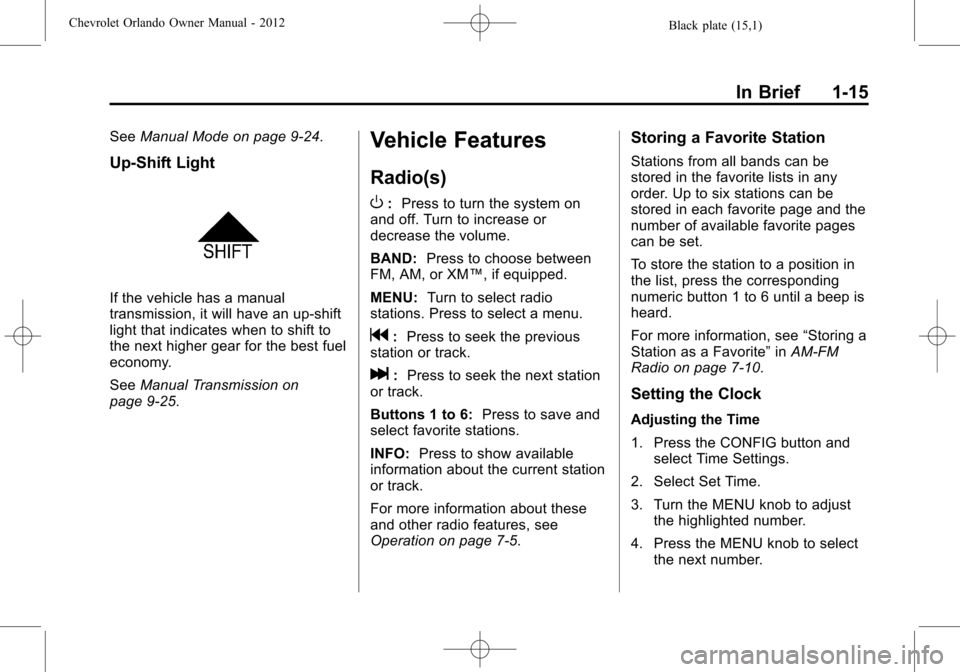
Up‐Shift Light
If the vehicle has a manual
transmission, it will have an up-shift
light that indicates when to shift to
the next higher gear for the best fuel
economy.
SeeManual Transmission on
page 9‑25.
Vehicle Features
Radio(s)
O
: Press to turn the system on
and off. Turn to increase or
decrease the volume.
BAND: Press to choose between
FM, AM, or XM™, if equipped.
MENU: Turn to select radio
stations. Press to select a menu.
g: Press to seek the previous
station or track.
l: Press to seek the next station
or track.
Buttons 1 to 6: Press to save and
select favorite stations.
INFO: Press to show available
information about the current station
or track.
For more information about these
and other radio features, see
Operation on page 7‑5.
Storing a Favorite Station
Stations from all bands can be
stored in the favorite lists in any
order. Up to six stations can be
stored in each favorite page and the
number of available favorite pages
can be set.
To store the station to a position in
the list, press the corresponding
numeric button 1 to 6 until a beep is
heard.
For more information, see “Storing a
Station as a Favorite” inAM-FM
Radio on page 7‑10.
Setting the Clock
Adjusting the Time
1. Press the CONFIG button and select Time Settings.
2. Select Set Time.
3. Turn the MENU knob to adjust the highlighted number.
4. Press the MENU knob to select the next number.
Page 22 of 378
Black plate (16,1)Chevrolet Orlando Owner Manual - 2012
1-16 In Brief
5. To save the time and return tothe Time Settings menu, press
the BACK button at any time or
press the MENU knob after
adjusting the minutes.
Setting the 12/24 Hour Format
1. Press the CONFIG button and select Time Settings.
2. Highlight 12/24 Hour Format.
3. Press the MENU knob to select the 12 hour or 24 hour display
format.
For more information, see Clock on
page 5‑5.
Satellite Radio
Vehicles with an XM™ satellite radio
tuner and a valid XM satellite radio
subscription can receive XM
programming.
XM Satellite Radio Service
XM is a satellite radio service based
in the 48 contiguous United States
and 10 Canadian provinces. XM
satellite radio has a wide variety of programming and commercial-free
music, coast to coast, and in
digital-quality sound. A fee is
required to receive the XM service.
For more information refer to:
.www.xmradio.com or call
1-800-929-2100 (U.S.).
.www.xmradio.ca or call
1-877-438-9677 (Canada).
For more information, see Satellite
Radio on page 7‑12.
Portable Audio Devices
Some vehicles have a 3.5 mm
(1/8 in) auxiliary input and a USB
port located in the center console.
External devices such as iPods®,
laptop computers, MP3 players, CD
changers, and USB drives may be
connected, depending on the audio
system.
For more information, see Auxiliary
Devices on page 7‑18.
Bluetooth®
The Bluetooth system allows users
with a Bluetooth-enabled cell phone
to make and receive hands-free
calls using the vehicle audio system
and controls.
The Bluetooth-enabled cell phone
must be paired with the in-vehicle
Bluetooth system before it can be
used in the vehicle. Not all phones
will support all functions.
See Bluetooth (Voice Recognition)
on page 7‑26 orBluetooth
(Infotainment Controls) on
page 7‑23 orBluetooth (Overview)
on page 7‑21.
Page 110 of 378

Black plate (6,1)Chevrolet Orlando Owner Manual - 2012
5-6 Instruments and Controls
Setting the Time
1. Press the CONFIG button andselect Time Settings.
2. Select Set Time.
3. Turn the MENU knob to adjust the highlighted number.
4. Press the MENU knob to select the next number.
5. To save the time and return to the Time Settings menu, press
the BACK button at any time or
press the MENU knob after
adjusting the minutes.
Setting the 12/24 Hour Format
1. Press the CONFIG button andselect Time Settings.
2. Highlight 12/24 Hour Format.
3. Press the MENU knob to select the 12 hour or 24 hour display
format.
Power Outlets
The accessory power outlets can be
used to plug in electrical equipment,
such as a cell phone or MP3 player.
The vehicle has three accessory
power outlets: in front of the
cupholders, at the rear of the center
floor console and in the rear
cargo area.
Remove the cover to access, and
replace when not in use.
{WARNING
Power is always supplied to the
outlets. Do not leave electrical
equipment plugged in when the
vehicle is not in use because the
vehicle could catch fire and cause
injury or death. Notice:
Leaving electrical
equipment plugged in for an
extended period of time while the
vehicle is off will drain the
battery. Always unplug electrical
equipment when not in use and
do not plug in equipment that
exceeds the maximum 20 ampere
rating.
Certain accessory power plugs
may not be compatible with the
accessory power outlet and could
overload vehicle or adapter fuses.
If a problem is experienced, see
your dealer.
When adding electrical equipment,
be sure to follow the proper
installation instructions included
with the equipment. See Add-On
Electrical Equipment on page 9‑46.
Notice: Hanging heavy
equipment from the power outlet
can cause damage not covered
by the vehicle warranty. The
power outlets are designed for
accessory power plugs only, such
as cell phone charge cords.
Page 136 of 378

Black plate (32,1)Chevrolet Orlando Owner Manual - 2012
5-32 Instruments and Controls
Vehicle
Personalization
The audio system controls are used
to access the personalization
menus for customizing vehicle
features.
CONFIG (Configuration):Press to
access the Configuration
Settings menu.
MENU: Press the center of this
knob to enter the menus and select
menu items. Turn the knob to scroll
through the menus.
BACK: Press to exit or move
backward in a menu.
Entering the Personalization
Menus
1. Press CONFIG to access the
Configuration Settings menu.
2. Turn the MENU knob to highlight Vehicle Settings. Press the
CONFIG button until Vehicle is
highlighted on vehicles with a
navigation system only. 3. Press the center of the MENU
knob to select the Vehicle
Settings menu. The vehicle must
be in the run position.
The following list of menu items may
be available:
.Climate and Air Quality
.Comfort and Convenience
.Collision/Detection Systems
.Languages
.Lighting
.Power Door Locks
.Remote Locking, Unlocking,
Starting
.Return to Factory Settings
Turn the MENU knob to highlight the
menu. Press the knob to select it.
Each of the menus is detailed in the
following information.
Vehicles with a navigation system
will display a checkmark to indicate
this feature is on.
Climate and Air Quality
If equipped, select the Climate and
Air Quality menu and the following
will be displayed:
.Auto Fan Speed
.Air Quality Sensor
.Remote Start Auto Heat Seats
.Auto Defog
.Auto Rear Defog
Auto Fan Speed
This will allow you to select the
automatic fan speed. This feature
sets the climate control fan speed to
maintain the interior temperature.
Press the MENU knob when Auto
Fan Speed is highlighted to open
the menu. Turn the knob to highlight
High, Medium, or Low. Press the
BACK button to confirm the
selection and move back to the
last menu.
Page 151 of 378
Black plate (5,1)Chevrolet Orlando Owner Manual - 2012
Infotainment System 7-5
I. AS
.Radio: Opens the
autostore stations list.
J. BAND
.Changes the band while
listening to the radio.
.Selects the radio when
listening to a different
audio source.
K. CD/AUX
.Selects the CD player or
an external audio source.
L. CONFIG
.Opens the settings menu.
M.
5\>
.Opens the phone
main menu.
.Mutes the audio system.
N. FAV
.Radio: Opens the
favorites list. O. BACK
.Menu: Moves one
level back.
.Character Input: Deletes
the last character.
P. MENU
.Turn to open menus,
highlight menu items,
or set numeric values
while in a menu.
.Press to select menu
items.
.Radio: Manually selects
radio stations.
.CD: Selects tracks.
Operation
Controls
The infotainment system is operated
by using the pushbuttons,
multifunction knobs, menus shown
on the display, and steering wheel
controls, if equipped.
Turning the System On or Off
O(Volume/Power): Press to turn
the system on and off.
Automatic Switch-Off
If the infotainment system has been
turned on after the ignition is turned
off, the system will turn off
automatically after 10 minutes.
Volume Control
O(Volume/Power): Turn to adjust
the volume.
5/>(Phone/Mute): Press5/>to mute the infotainment system.
Press
5/>again, or turn theO
knob to cancel mute.
Menu System (Base Level)
The menu system for the base level
infotainment system appears on the
top half of the display screen.
Page 155 of 378
Black plate (9,1)Chevrolet Orlando Owner Manual - 2012
Infotainment System 7-9
Press the BACK button to delete the
last character in the sequence or
press and hold to delete the entire
character sequence.
Audio Settings
The audio settings can be set for
each radio band and each audio
player source.
To quickly reset an audio setting
value to 0:
1. Press the TONE button.
2. Select the audio setting.
3. Press and hold the MENUbutton until the value
changes to 0.
Press the BACK button to go back
to the Tone Settings menu.
Adjusting the Treble, Midrange,
and Bass
1. Press the TONE button.
2. Select Treble, Midrange, or Bass.
3. Select the value. Press the BACK button to go back
to the Tone Settings menu.
Adjusting the Fader and Balance
1. Press the TONE button.
2. Select Fader or Balance.
3. Select the value.
Press the BACK button to go back
to the Tone Settings menu.
Adjusting the EQ (Equalizer)
For vehicles that have an equalizer:
1. Press the TONE button.
2. Select EQ presets.
3. Select the setting.
Press the BACK button to go back
to the Tone Settings menu.
System Settings
Configuring the Number of
Favorite Pages
To configure the number of available
favorite pages:
1. Press the CONFIG button.
2. Select Radio Settings.
3. Select Radio Favorites.
4. Select the number of available
favorite pages.
5. Press the BACK button to go back to the System
Configuration menu.
Auto Volume
The auto volume feature
automatically adjusts the radio
volume to compensate for road and
wind noise as the vehicle speeds up
or slows down, so that the volume
level is consistent.
The level of volume compensation
can be selected, or the auto volume
feature can be turned off.
1. Press the CONFIG button.
2. Select Radio Settings.
3. Select Auto Volume.
4. Select the setting.
5. Press the BACK button to go back to the System
Configuration menu.
Page 156 of 378
Black plate (10,1)Chevrolet Orlando Owner Manual - 2012
7-10 Infotainment System
Maximum Startup Volume
The maximum volume played when
the radio is first turned on can
be set.
1. Press the CONFIG button.
2. Select Radio Settings.
3. Select Maximum StartupVolume.
4. Select the setting.
5. Press the BACK button to go back to the System
Configuration menu.Radio
AM-FM Radio
Control Buttons
The buttons used to control the
radio are:
BAND: Press to turn the radio on
and choose between AM, FM, and
XM™, if equipped.
MENU: Turn to navigate the
available menus and to search for
stations.
INFO: Press to display additional
information that may be available for
the current song.
gorl: Press to search for
stations.
FAV: Press to open the favorites
list and select the favorites page.
1 to 6: Press to select preset
stations.
AS (Autostore): Press to open the
autostore list.
RDS (Radio Data System)
The radio may have RDS. The RDS
feature is available for use only on
FM stations that broadcast RDS
information. This feature only works
when the information from the radio
station is available. In rare cases,
a radio station could broadcast
incorrect information that causes the
radio features to work improperly.
If this happens, contact the radio
station.
While the radio is tuned to an
FM-RDS station, the station name
or call letters display.
Radio Menus
Radio menus are available for AM
and FM.
Turn the MENU knob to open the
main radio menu for that band.
Selecting a Band
Press the BAND button to choose
AM, FM, or XM, if equipped. The
last station that was playing starts
playing again.
Page 159 of 378
Black plate (13,1)Chevrolet Orlando Owner Manual - 2012
Infotainment System 7-13
Control Buttons
The buttons used to control the XM
radio are:
BAND:Press to turn the radio on
and choose between AM, FM,
and XM.
gorl: Press to go to the
previous or next channel.
FAV: Press to open the
favorites list.
1 to 6: Press to select a favorite.
MENU: Turn to select a channel.
INFO: Press to display additional
information that may be available
about the current song.
k(Play/Pause): Press to pause
time shifted content, if equipped.
Selecting the XM Band
Press the BAND button to choose
between the AM, FM, and XM
bands. The last channel played in
that band begins to play when that
band is selected.
XM Categories
XM channels are organized in
categories.
Removing or Adding Categories
Channels in a category that have
been removed can still be accessed
by using the
gorlbuttons,
or the MENU knob.
To add or remove categories:
1. Press the CONFIG button.
2. Select Radio Settings.
3. Select XM Categories.
4. Turn the MENU knob to highlight the category.
5. Press the MENU knob to remove or add the category.
Selecting an XM Channel
XM channels can be selected by
using
g,l, the MENU knob,
or the menu system. Selecting a Channel Using
g
orl
.Press and releasegorlto
go to the previous or next
channel.
.Press and holdgorlto
scroll through the previous or
next channel until the channel is
reached.
Selecting a Channel Using the
MENU Knob
To select an XM channel using the
MENU knob:
Turn the MENU knob to highlight an
XM channel. The channel is
selected after a short delay.
To select a channel using the menu:
1. Turn the MENU knob and select Channel List.
2. Select the desired channel.