2012 CHEVROLET ORLANDO Back up lamps
[x] Cancel search: Back up lampsPage 10 of 378
Black plate (4,1)Chevrolet Orlando Owner Manual - 2012
1-4 In Brief
Initial Drive
Information
This section provides a brief
overview about some of the
important features that may or may
not be on your specific vehicle.
For more detailed information, refer
to each of the features which can be
found later in this owner manual.
Remote Keyless Entry
(RKE) System
The Remote Keyless Entry (RKE)
transmitter will work up to 20 m
(65 ft) away from the vehicle.
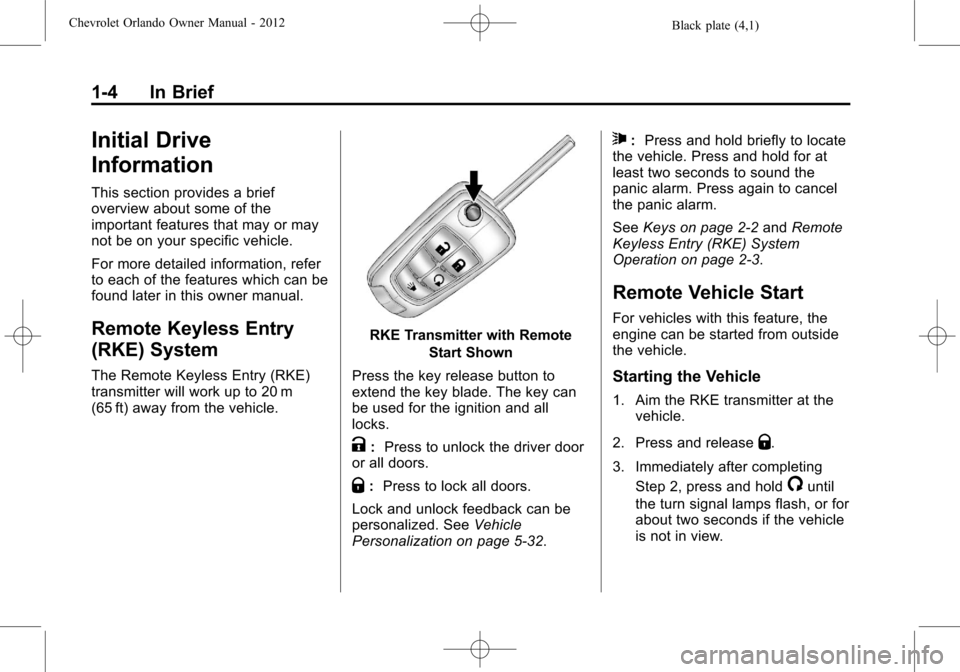
RKE Transmitter with RemoteStart Shown
Press the key release button to
extend the key blade. The key can
be used for the ignition and all
locks.
K: Press to unlock the driver door
or all doors.
Q: Press to lock all doors.
Lock and unlock feedback can be
personalized. See Vehicle
Personalization on page 5‑32.
7: Press and hold briefly to locate
the vehicle. Press and hold for at
least two seconds to sound the
panic alarm. Press again to cancel
the panic alarm.
See Keys on page 2‑2 andRemote
Keyless Entry (RKE) System
Operation on page 2‑3.
Remote Vehicle Start
For vehicles with this feature, the
engine can be started from outside
the vehicle.
Starting the Vehicle
1. Aim the RKE transmitter at the vehicle.
2. Press and release
Q.
3. Immediately after completing Step 2, press and hold
/until
the turn signal lamps flash, or for
about two seconds if the vehicle
is not in view.
Page 32 of 378
Black plate (4,1)Chevrolet Orlando Owner Manual - 2012
2-4 Keys, Doors, and Windows
The following may be available:
Q(Lock):Press to lock all doors.
The turn signal indicators may flash
and/or the horn may sound to
indicate locking. See “Locking
Feedback” underVehicle
Personalization on page 5‑32.
If the driver door is open when
Qis
pressed and Unlocked Door Anti
Lock Out is enabled through vehicle
personalization, all doors will lock
and then the driver door will unlock.
See “Unlocked Door Anti Lock Out”
under Vehicle Personalization on
page 5‑32.
Pressing
Qmay also arm the
theft-deterrent system. See Vehicle
Alarm System on page 2‑9.
K(Unlock): Press to unlock the
driver door or all doors. See “Door
Unlock Options” underVehicle
Personalization on page 5‑32. The turn signal indicators may flash
and/or the horn may sound to
indicate unlocking. See
“Unlock
Feedback” underVehicle
Personalization on page 5‑32.
Pressing
Kwill disarm the
theft-deterrent system. See Vehicle
Alarm System on page 2‑9.
7(Vehicle Locator/Panic
Alarm): Press and hold briefly to
locate the vehicle. The exterior
lamps flash and the horn chirps.
Press and hold
7for at least
two seconds to sound the panic
alarm. The horn sounds and the
turn signals flash for 30 seconds,
or until
7is pressed again or the
key is placed in the ignition and
turned to ON/RUN.
/(Remote Vehicle Start): For
vehicles with this feature, press
Q
and then press and hold/to start
the engine from outside the vehicle using the RKE transmitter. See
Remote Vehicle Start on page 2‑5
for additional information.
The buttons on the keys are
disabled when there is a key in the
ignition.
Programming Transmitters to
the Vehicle
Only RKE transmitters programmed
to this vehicle will work. If a
transmitter is lost or stolen, a
replacement can be purchased and
programmed through your dealer.
When the replacement transmitter is
programmed to this vehicle, all
remaining transmitters must also be
reprogrammed. Any lost or stolen
transmitters will no longer work
once the new transmitter is
programmed.
Page 33 of 378
Black plate (5,1)Chevrolet Orlando Owner Manual - 2012
Keys, Doors, and Windows 2-5
Battery Replacement
The battery is not rechargeable. To
replace the battery:
1. Extend the key blade and openthe battery cover on the back of
the transmitter by prying with a
finger.
2. Remove the used battery by pushing on the battery and
sliding it toward the key blade.
3. Insert the new battery, positive side facing up. Push the battery
down until it is held in place.
Replace with a CR2032 or
equivalent battery.
4. Snap the battery cover back on to the transmitter.
Remote Vehicle Start
The vehicle may have this feature
that allows you to start the engine
from outside the vehicle.
/(Remote Vehicle Start): This
button will be on the RKE
transmitter if the vehicle has remote
start.
Vehicles with an automatic climate
control system will default to a
heating or cooling mode depending
on the outside temperature during a
remote start. A vehicle without
automatic climate control will default
to the last used heating or cooling
mode. Once the key is turned to
ON/RUN, the climate control system
will turn on at the setting the vehicle
was last set to. If the vehicle has
heated seats, they may come on
during a remote start. See Heated
Front Seats on page 3‑7 for more
information.
Laws in some local communities
may restrict the use of remote
starters. For example, some laws
require a person using remote start to have the vehicle in view. Check
local regulations for any
requirements.
Other conditions can affect the
performance of the transmitter. See
Remote Keyless Entry (RKE)
System on page 2‑3
for additional
information.
Starting the Vehicle
To start the engine using the remote
start feature:
1. Aim the RKE transmitter at the vehicle.
2. Press and release
Q.
3. Immediately after completing Step 2, press and hold
/until
the turn signal lamps flash, or for
about two seconds if the vehicle
is not in view.
When the engine starts, the parking
lamps will turn on and remain on as
long as the engine is running. The
doors will be locked and the climate
control system may come on.
Page 34 of 378
Black plate (6,1)Chevrolet Orlando Owner Manual - 2012
2-6 Keys, Doors, and Windows
The engine will continue to run for
10 minutes. Repeat the steps for a
10-minute time extension. Remote
start can be extended only once.
Start the vehicle before driving.
Extending Engine Run Time
For a 10-minute extension, repeat
Steps 1–3 while the engine is still
running. The remote start can be
extended once.
When the remote start is extended,
the second 10 minutes will start
immediately.
For example, if the engine has been
running for five minutes, and
10 minutes are added, the engine
will run for a total of 15 minutes.
A maximum of two remote starts,
or a single start with an extension,
is allowed between ignition cycles.
The vehicle's ignition must be
turned on and then back off before
the remote start procedure can be
used again.Canceling a Remote Start
To cancel a remote start, do one of
the following:
.Aim the RKE transmitter at the
vehicle and press and hold
/
until the parking lamps turn off.
.Turn on the hazard warning
flashers.
.Turn the vehicle on and then off.
Conditions in Which Remote Start
Will Not Work
The remote vehicle start feature will
not operate if:
.The key is in the ignition (key
access) or if the key is in the
vehicle (keyless access).
.The hood is not closed.
.The hazard warning flashers
are on.
.The malfunction indicator lamp
is on.
.The engine coolant temperature
is too high.
.The oil pressure is low.
.Two remote vehicle starts, or a
single remote start with an
extension, have already
been used.
.The vehicle is not in P (Park).
Door Locks
{WARNING
Unlocked doors can be
dangerous.
.Passengers, especially
children, can easily open the
doors and fall out of a moving
vehicle. The chance of being
thrown out of the vehicle in a
crash is increased if the
doors are not locked. So, all
passengers should wear
safety belts properly and the
doors should be locked
whenever the vehicle is
driven. (Continued)
Page 138 of 378

Black plate (34,1)Chevrolet Orlando Owner Manual - 2012
5-34 Instruments and Controls
Park Assist
This allows the Ultrasonic Parking
Assist feature, audible only, to be
turned on or off.
Press the MENU knob when Park
Assist is highlighted. Turn the knob
to select On or Off. Press the knob
to confirm and go back to the
last menu.
Languages
Select the Language menu and the
following will be displayed:
.English
.Francais
.Espanol
Turn the MENU knob to select the
language. Press BACK to return to
the last menu.
Lighting
Select the Lighting menu and the
following will be displayed:
.Exit Lighting
.Vehicle Locator Lights Exit Lighting
This allows the selection of how
long the exterior lamps stay on
when leaving the vehicle when it is
dark outside.
Press the MENU knob when Exit
Lighting is highlighted. Turn the
knob to select Off, 30 Seconds,
1 Minute, or 2 Minutes. Press the
BACK button to confirm and go
back to the last menu.
Vehicle Locator Lights
This allows the vehicle locator lights
to be turned on or off. When on, the
headlamps and back‐up lamps will
flash when
Kon the Remote
Keyless Entry (RKE) transmitter is
pressed.
Press the MENU knob when Vehicle
Locator Lights is highlighted to open
the menu. Turn the MENU knob to
highlight On or Off. Press MENU to
select On or Off. Press the BACK
button to confirm the selection and
move back to the last menu.
Power Door Locks
Select Power Door Locks and the
following will be displayed:
.Auto Door Unlock
.Delayed Door Lock
.Unlocked Door Anti Lock Out
.Auto Door Lock
Auto Door Unlock
This allows selection of which of the
doors will automatically unlock when
the vehicle is shifted into P (Park).
Press the MENU knob when Auto
Door Unlock is highlighted. Turn the
knob to select All Doors, Driver
Door, or Off. Press the knob to
confirm and go back to the
last menu.
Delayed Door Lock
When on, this feature will delay
the locking of the doors until
five seconds after the last door is
closed. You will hear three chimes
to signal delayed locking is in use.
Page 144 of 378
Black plate (4,1)Chevrolet Orlando Owner Manual - 2012
6-4 Lighting
system, to make the front and rear
turn signal lamps flash on and off.
This warns others that you are
having trouble. Press and
momentarily hold again to turn the
flashers off.
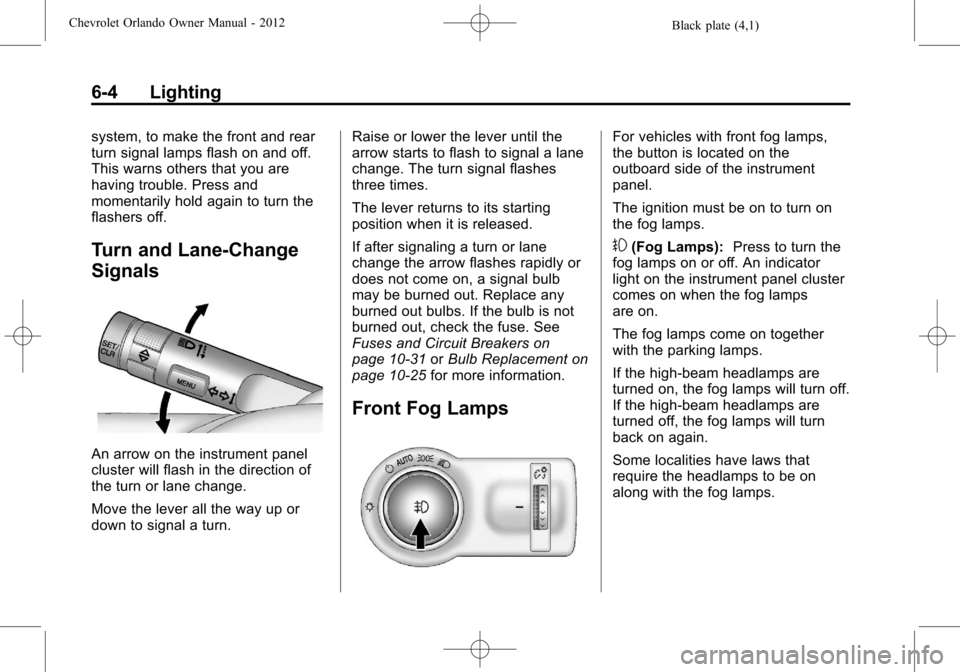
Turn and Lane-Change
Signals
An arrow on the instrument panel
cluster will flash in the direction of
the turn or lane change.
Move the lever all the way up or
down to signal a turn.Raise or lower the lever until the
arrow starts to flash to signal a lane
change. The turn signal flashes
three times.
The lever returns to its starting
position when it is released.
If after signaling a turn or lane
change the arrow flashes rapidly or
does not come on, a signal bulb
may be burned out. Replace any
burned out bulbs. If the bulb is not
burned out, check the fuse. See
Fuses and Circuit Breakers on
page 10‑31
orBulb Replacement on
page 10‑25 for more information.
Front Fog Lamps
For vehicles with front fog lamps,
the button is located on the
outboard side of the instrument
panel.
The ignition must be on to turn on
the fog lamps.
#(Fog Lamps): Press to turn the
fog lamps on or off. An indicator
light on the instrument panel cluster
comes on when the fog lamps
are on.
The fog lamps come on together
with the parking lamps.
If the high‐beam headlamps are
turned on, the fog lamps will turn off.
If the high‐beam headlamps are
turned off, the fog lamps will turn
back on again.
Some localities have laws that
require the headlamps to be on
along with the fog lamps.
Page 146 of 378
Black plate (6,1)Chevrolet Orlando Owner Manual - 2012
6-6 Lighting
Lighting Features
Entry Lighting
The headlamps, parking lamps, and
taillamps turn on briefly, when the
Remote Keyless Entry (RKE)
Kis
pressed. After about 30 seconds the
exterior lamps turn off. Entry lighting
can be disabled manually by
changing the ignition out of the OFF
position, or by pressing the RKE
Q
button.
This feature can be changed. See
Vehicle Personalization on
page 5‑32.
Exit Lighting
The headlamps, taillamps, parking
lamps, back‐up lamps, and license
plate lamps come on at night, or in
areas with limited lighting, when the
driver door is opened. The dome
lamps also come on when a door is
opened after the ignition is changed
to the OFF position.
The exterior lights and dome lamps
remain on after the driver door is
open for a set amount of time, then
automatically turn off.
The exterior lights turn off
immediately by turning the
exterior lamps control off.
This feature can be changed.
See Vehicle Personalization on
page 5‑32.
Battery Power Protection
The battery saver feature is
designed to protect the vehicle's
battery.
If some interior lamps are left on
and the ignition is turned off, the
battery rundown protection system
automatically turns the lamp off after
some time.
Page 230 of 378
Black plate (42,1)Chevrolet Orlando Owner Manual - 2012
9-42 Driving and Operating
For vehicles with a manual
transmission, it is better not to
use the highest gear.
.Use the cruise control when
towing.
.Obey speed limit restrictions.
Do not drive faster than the
maximum posted speed for
trailers, or no more than 90 km/h
(55 mph), to reduce wear on the
vehicle.
Driving with a Trailer
Towing a trailer requires experience.
Get familiar with handling and
braking with the added trailer
weight. The vehicle is now longer
and not as responsive as the
vehicle is by itself.
Check all trailer hitch parts and
attachments, safety chains,
electrical connectors, lamps, tires,
and mirror adjustments. If the trailer
has electric brakes, start the vehicleand trailer moving and then apply
the trailer brake controller by hand
to be sure the brakes are working.
During the trip, check regularly to be
sure that the load is secure, and the
lamps and trailer brakes are working
properly.
Towing with a Stability Control
System
When towing, the sound of the
stability control system might be
heard. The system is reacting to the
vehicle movement caused by the
trailer, which mainly occurs during
cornering. This is normal when
towing heavier trailers.
Following Distance
Stay at least twice as far behind the
vehicle ahead as you would when
driving the vehicle without a trailer.
This can help to avoid situations
that require heavy braking and
sudden turns.
Passing
More passing distance is needed
when towing a trailer. Because the
rig is longer, it is necessary to go
much farther beyond the passed
vehicle before returning to the lane.
Backing Up
Hold the bottom of the steering
wheel with one hand. Then, to move
the trailer to the left, move that hand
to the left. To move the trailer to the
right, move your hand to the right.
Always back up slowly and,
if possible, have someone
guide you.
Making Turns
Notice:
Making very sharp turns
while trailering could cause the
trailer to come in contact with the
vehicle. The vehicle could be
damaged. Avoid making very
sharp turns while trailering.
When turning with a trailer, make
wider turns than normal. Do this so
the trailer will not strike soft