Page 225 of 317

Saving an entry
1.
›Save name‹
2. Say the name. Do not exceed the speaking
duration of approx. 2 seconds.
3. Say the phone number after being prompted
to do so by the system.
4. ›Save‹
Deleting an entry
1. ›Delete name‹
2. Say the name after being prompted to do so.
3. Confirm the query with ›Yes‹.
Deleting all entries
1. ›Delete phone book‹
The dialog for deleting the phone book is
opened.
2. Confirm the query with ›Yes‹.
3. Confirm the query again with ›Yes‹.
Reading and selecting entries
1. ›Read phone book‹
The dialog for reading the phone book is
opened.
2. Say ›Dial number‹ when the desired entry is
read.
Selecting an entry
1. ›Dial name‹
2. Say the name after being prompted to do so.
3. Confirm the query with ›Yes‹.
Adjusting the volume Turn the knob during an announcement. ▷
The volume remains constant even if the
volume of other audio sources is changed.
▷ The volume is stored for the remote control
currently in use.
Notes
Do not use the voice activation system to initiate
an Emergency Request. In stressful situations,
the voice and vocal pitch can change. This can
unnecessarily delay the establishment of a tel‐
ephone connection.
Instead, use the SOS button*, refer to
page 280, in the vicinity of the interior mirror.
Environmental conditions
▷ Say the commands, numbers, and letters
smoothly and with normal volume, empha‐
sis, and speed.
▷ Always say commands in the language of
the system. The language for the mobile
phone voice operation is preset and cannot
be changed in the Control Display.
▷ Keep the doors, windows, and glass sun‐
roof* closed to prevent noise interference.
▷ Avoid making other noise in the vehicle
while speaking.
Snap-in adapter*
Installation position
In the center armrest.
Inserting/removing
the snap-in adapter
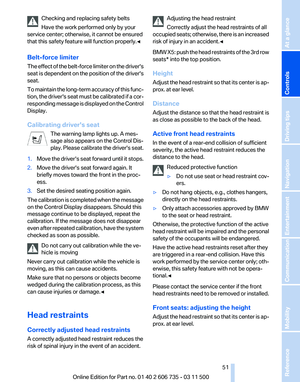
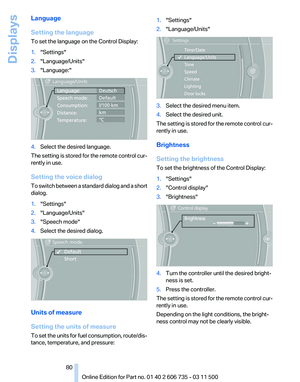
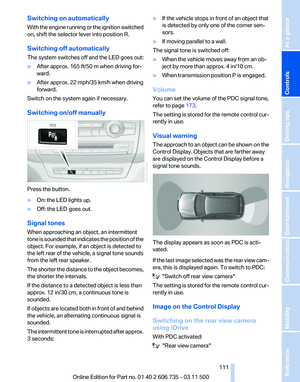
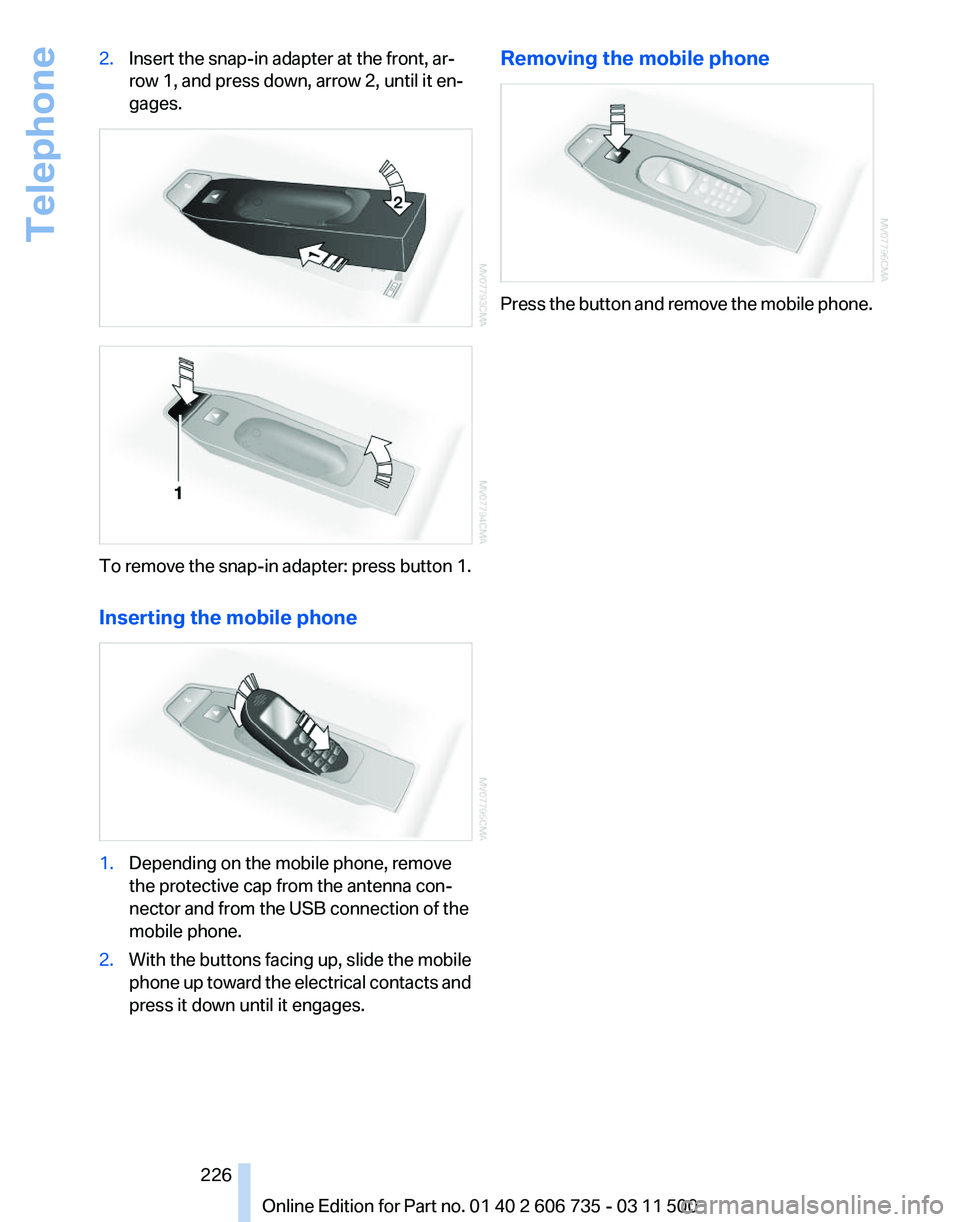
1. Press button 1 and remove the cover. Seite 225
225Online Edition for Part no. 01 40 2 606 735 - 03 11 500
Reference Mobility
Communication Entertainment Navigation Driving tips Controls At a glance
Page 226 of 317
2.
Insert the snap-in adapter at the front, ar‐
row 1, and press down, arrow 2, until it en‐
gages. To remove the snap-in adapter: press button 1.
Inserting the mobile phone
1.
Depending on the mobile phone, remove
the protective cap from the antenna con‐
nector and from the USB connection of the
mobile phone.
2. With the buttons facing up, slide the mobile
phone
up toward the electrical contacts and
press it down until it engages. Removing the mobile phone
Press the button and remove the mobile phone.
Seite 226
226 Online Edition for Part no. 01 40 2 606 735 - 03 11 500
Telephone
Page 227 of 317

Office*
At a glance
General information
Contacts,
appointments, tasks, notes, text mes‐
sages, and e-mails* from the mobile phone can
be displayed on the Control Display if the mobile
phone provides compatible support of these
functions and the necessary Bluetooth stand‐
ards.
Information about which mobile phones support
the Office functions can be found at
www.bmwusa.com/bluetooth. A limited number
of compatible mobile phones is available for Of‐
fice.
Contents are only displayed in full length when
the vehicle is stationary.
The mobile phone has read-access only.
Do not use Office while driving
To avoid becoming distracted and posing
an unnecessary hazard to your vehicle's occu‐
pants and to other road users, never attempt to
use the controls or enter information unless traf‐
fic and road conditions allow this.◀
Requirements
▷ A suitable mobile phone is paired with the
vehicle and connected. In some mobile
phones, data access must be confirmed on
the mobile phone.
▷ The time, time zone, and date, refer to
page 78, are correctly set on the Control
Display and on the mobile phone, for in‐
stance to correctly display appointments.
▷ Office is activated, refer to page 217.
Updating
Data are updated every time the mobile phone
is connected to the vehicle. Appointment en‐
tries,
tasks, notes and reminders can be updated
separately. 1.
"Office"
2. "Current office", "Calendar", "Tasks",
"Notes" or "Reminders"
3. Open "Options".
4. "Update data"
Cell
phone data are transmitted again to the
vehicle.
Office information
The number of unread messages and active
tasks
as well as the upcoming appointments are
displayed.
1. "Office"
2. "Current office"
3. Select the desired entry to display details. Contacts
At a glance
Contacts can be created and edited. The con‐
tacts from the mobile phone* are displayed as
well if this function is supported by the mobile
phone. The addresses can be adopted as des‐
tinations
for navigation and the phone numbers
can be dialed.
Displaying contacts
General information
1. "Office"
Seite 227
227Online Edition for Part no. 01 40 2 606 735 - 03 11 500
Reference Mobility
Communication Entertainment Navigation Driving tips Controls At a glance
Page 228 of 317

2.
"Contacts" All contacts are listed in alphabetical order. De‐
pending on the number of contacts, an A-Z
search is offered, refer to page
23.
A symbol indicates the storage location of the
contacts. Symbol Storage location
No sym‐
bol
In the vehicle; the address has not
been checked as a destination. In the vehicle; the address has
been checked as a destination*. Mobile phone*.
Dialing phone numbers*
1.
Select the desired contact.
2. Select the phone number.
The connection is established.
Editing a contact
1. Select the desired contact.
2. "Edit contact" 3.
Change the entries.
4. "Store contact in vehicle" When a contact is edited, the changes are not
stored
on the mobile phone. A copy of the entry
is stored in the vehicle.
Selecting the contact as a navigation
destination*
1. Select the desired contact.
2. Select the address.
When contacts from the mobile phone are
used, the address may need to be matched
to
the navigation data contained in the vehi‐
cle. In this case:
Correct the address.
3. "Start guidance" or "Add as another
destination"
Checking the address as a destination*
An address that is to be used for destination
guidance must match the navigation data con‐
tained in the vehicle. The address can be
checked for this purpose.
1. Select the desired contact and highlight the
address.
2. Open "Options".
3. "Check as destination"
4. Correct and store the address if necessary.
If the address is corrected and stored, a copy of
it is stored in the vehicle. The address is not
changed on the mobile phone.
New contact
A contact can have up to 8 phone numbers,
2 addresses, 3 e-mail addresses and one Inter‐
net address.
1. "Office"
2. "Contacts"
3. Open "Options".
Seite 228
228 Online Edition for Part no. 01 40 2 606 735 - 03 11 500
Office
Page 229 of 317

4.
"New contact" 5.
The entry fields are still filled with the previ‐
ous entries: "Delete input fields"
6. Fill in the entry fields: select the symbol next
to the entry field.
7. Enter the text and assign the contact type.
8. If the vehicle is equipped with a navigation
system: enter the address. Only addresses
contained
in the navigation data in the vehi‐
cle can be entered. This ensures that desti‐
nation guidance is possible for all ad‐
dresses.
If necessary, "Accept address".
9. "Store contact in vehicle"
Contact types
Various
contact types can be assigned to phone
numbers and addresses. Symbol Meaning
Home phone number.
Business phone number.
Mobile phone number.
Other phone number.
Home address.
Business address.
Specifying the home address
A
home address can be stored. It appears at the
top of the contact list.
1. "Office"
2. "Contacts" 3.
"Home"
4. Create a contact.
5. "Store contact in vehicle"
Selecting the sorting order of the
names*
Names can be displayed in a different order.
1. "Office"
2. "Contacts"
3. Open "Options".
4. "Display: last, first name" or "Display: first,
last name"
Depending on how the contacts were stored on
the
mobile phone, the sorting order of the names
may differ from the selected sorting order.
Show contact pictures
Pictures stored with the contacts are stored in
the vehicle when the mobile phone is connected
to the vehicle. The number of transmitted pic‐
tures depends on the mobile phone. The mobile
phone must support this function.
1. "Office"
2. "Contacts"
3. Open "Options".
4. "Show images"
Display of all contact pictures is activated or de‐
activated.
Deleting contacts
Only contacts that are stored in the vehicle are
deleted. The contacts on the mobile phone
*
cannot be deleted.
1. "Office"
2. "Contacts"
3. Highlight the contact.
4. Open "Options".
5. "Delete contact" or "Delete all contacts"
6. If necessary. "Yes"
Seite 229
229Online Edition for Part no. 01 40 2 606 735 - 03 11 500
Reference Mobility
Communication Entertainment Navigation Driving tips Controls At a glance
Page 230 of 317

Messages
General information
Whether
or not text messages and e-mails from
the mobile phone are displayed depends on
whether transmission from the mobile phone to
the vehicle is supported. Text messages and e-
mails may not be supported by the service pro‐
vider, or the function may need to be enabled
separately. After the mobile phone is first paired,
transmission may take several minutes. Mes‐
sages are only displayed in full length when the
vehicle is stationary. Messages from the addi‐
tional telephone are not transmitted.
Display of different messages:
▷ Text messages.
▷ Message from My Info*.
▷ Messages from the BMW Assist Concierge
service*.
▷ E-mails from the mobile phone*.
Displaying messages
1. "Office"
2. "Messages"
A symbol identifies the type of message. Symbol Message type
Text messages.
My Info
Message from the Concierge serv‐
ice. E-mail from mobile phone.
Filtering the message list
The message list can be filtered, when more
than one type of message exists. 1.
"Filter:" 2.
Select the type of message.
▷"All"
All messages are displayed.
▷ "E-mail"
Only e-mails from the mobile phone are
displayed.
▷ "Service message"
Only messages from the BMW Assist
Concierge service and My Info are dis‐
played.
▷ "Text message"
Only text messages from the mobile
phone are displayed.
Deleting messages
Messages from the Concierge service and
My Info can be deleted.
Delete a message:
1. "Office"
2. "Messages"
3. Select the desired message.
4. Open "Options".
5. "Delete message"
Delete all messages:
1. "Office"
2. "Messages"
3. Open "Options".
4. "Delete all messages" or "Delete service
messages"
Seite 230
230 Online Edition for Part no. 01 40 2 606 735 - 03 11 500
Office
Page 231 of 317

Text messages
Using contact data
Contact data from appointments, tasks, text
messages, e-mails, and notes can be saved or
selected*, refer to page
233.
Reading the text message out loud
*
Read the text message out loud, refer to
page 234.
My Info
Starting destination guidance
1. Select the desired message.
2. "Start guidance" or "Add as another
destination"
Dialing the number in the message
Up
to 4 phone numbers can be transmitted with
a message.
1. Select the desired message.
2. "Call":
If the message contains a number, the con‐
nection is established. "Select phone number":
If
the message contains more than one num‐
ber, select the desired number from the list.
The connection is established.
Message from the Concierge service*
Starting destination guidance
1. Select the desired message. 2. "Start guidance" or "Add as another
destination" 3.
Start destination guidance, if necessary.
Dialing the number in the message
Up
to 4 phone numbers can be transmitted with
a message.
1. Select the desired message.
2. "Call":
If the message contains a number, the con‐
nection is established. "Select phone number":
If
the message contains more than one num‐
ber, select the desired number from the list.
The connection is established.
Storing an address
1. Select the desired message.
2. Open "Options".
3. "Store contact in vehicle"
Displaying additional information
1. Select the desired message.
2. "Further information"
E-mail*
Displaying e-mails
1. "Office"
2. "Messages"
3. Select the desired e-mail.
Seite 231
231Online Edition for Part no. 01 40 2 606 735 - 03 11 500
Reference Mobility
Communication Entertainment Navigation Driving tips Controls At a glance
Page 232 of 317

Displaying e-mail contacts
If
the sender and recipient of an e-mail are trans‐
mitted by the mobile phone, this information is
displayed in the e-mail. "Sender/Recipient"
If the e-mail addresses are stored in the con‐
tacts, the contact is displayed. Select the con‐
tact to display details.
If
the e-mail addresses are not stored in the con‐
tacts, only the e-mail address is displayed.
Using contact data
Contact data from appointments, tasks, text
messages, e-mails, and notes can be saved or
selected*, refer to page 233.
Deactivating the full display
When an e-mail is opened in the vehicle, the e-
mail is fully transmitted to the vehicle. This may
result in charges.
1. "Office"
2. "Messages"
3. Open "Options".
4. "Fully download e-mails"
Only a part of the email from the cell phone
is loaded into the vehicle.
Reading the e-mail out loud*
Read the e-mail out loud, refer to page 234.
Calendar
Display the calendar
Appointments during the last 20 days and the
next 50 days can be displayed.
1. "Office"
2. "Calendar"
The appointments on the current day are
displayed. Selecting the calendar day
1.
Select the date. 2.
Select the desired day or date.
▷"Next day"
▷ "Date:"
▷ "Previous day"
▷ "Today"
Display the appointment
1. Select the desired appointment.
2. Scroll through the appointment if neces‐
sary:
▷Turn the controller.
▷ Select the symbol.
Using contact data
Contact data from appointments, tasks, text
messages, e-mails, and notes can be saved or
selected*, refer to page 233.
Reading the appointment out loud
*
Read the appointment out loud, refer to
page 234.
Tasks
Displaying the task list
Display tasks that are due within the next
90 days.
1. "Office"
2. "Tasks"
Seite 232
232 Online Edition for Part no. 01 40 2 606 735 - 03 11 500
Office