2012 BMW 750LI SEDAN trunk
[x] Cancel search: trunkPage 13 of 299

Automatic headlamp con‐
trol* 85
Daytime running lights* 85
Adaptive light control
* 85
High-beam Assistant* 86 Instrument lighting 87
8 Steering column stalk, left Turn signal 70
High beams, head‐
lamp flasher 70
High-beam Assistant* 86
Roadside parking lamps 85
Computer 77
9 Steering wheel buttons, left Store speed 112, 106
Resume speed 113, 107
Cruise control on/off, inter‐
rupt 112, 105 Increase distance* 107
Decrease distance* 107
10 Instrument cluster 14
11 Steering wheel buttons, right Entertainment source
Volume
Voice activation* 25
Telephone* 212
12 Steering column stalk, right Windshield wipers 70
Rain sensor*
71 Clean the windshields and head‐
lamps* 70
13 Start/stop the engine and switch
the ignition on/off 65
14 Horn
15 Steering wheel heating* 60
16 Adjust steering wheel
60
17 Open trunk lid*
40
18 Unlocking the hood
Seite 13
13Online Edition for Part no. 01 40 2 606 497 - 03 11 490
Reference Mobility Communication Entertainment Navigation Driving tips Controls
At a glance
Page 32 of 299
Opening and closing
Remote control/key
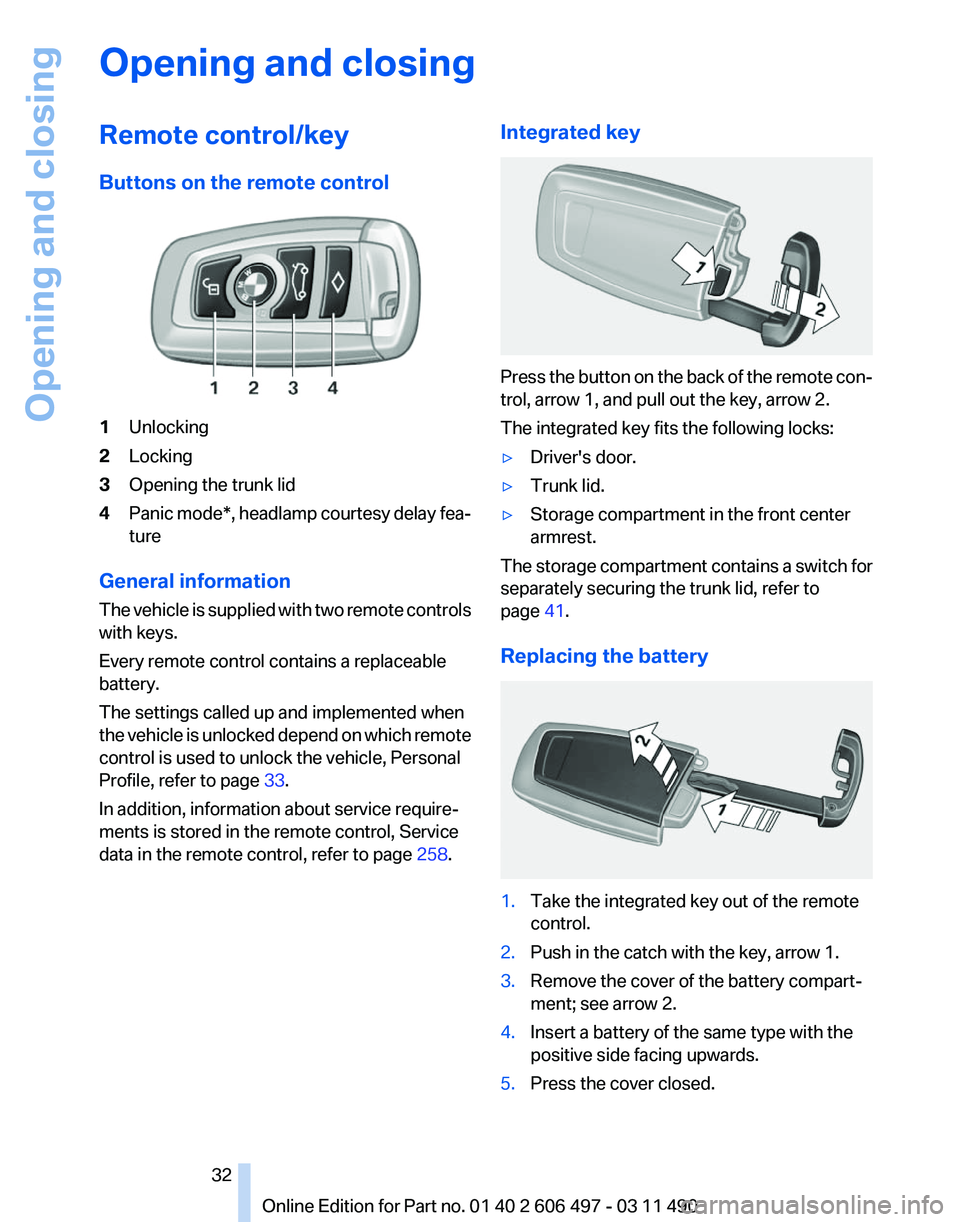
Buttons on the remote control
1
Unlocking
2 Locking
3 Opening the trunk lid
4 Panic mode*, headlamp courtesy delay fea‐
ture
General information
The vehicle is supplied with two remote controls
with keys.
Every remote control contains a replaceable
battery.
The settings called up and implemented when
the vehicle is unlocked depend on which remote
control is used to unlock the vehicle, Personal
Profile, refer to page 33.
In addition, information about service require‐
ments is stored in the remote control, Service
data in the remote control, refer to page 258.Integrated key Press the button on the back of the remote con‐
trol, arrow 1, and pull out the key, arrow 2.
The integrated key fits the following locks:
▷
Driver's door.
▷ Trunk lid.
▷ Storage compartment in the front center
armrest.
The storage compartment contains a switch for
separately securing the trunk lid, refer to
page 41.
Replacing the battery 1.
Take the integrated key out of the remote
control.
2. Push in the catch with the key, arrow 1.
3. Remove the cover of the battery compart‐
ment; see arrow 2.
4. Insert a battery of the same type with the
positive side facing upwards.
5. Press the cover closed.
Seite 32
32 Online Edition for Part no. 01 40 2 606 497 - 03 11 490
Opening and closing
Page 35 of 299
Display profile list during start
The profile list can be displayed during each
start for selecting the desired profile.
1.
"Settings"
2. "Profiles"
3. Open "Options".
4. "Display user list at startup"
Personal Profile settings
The following functions and settings can be
stored in a profile.
More information on the settings can be found
under:
▷ Active Cruise Control: collision warning, re‐
fer to page 110.
▷ Exterior mirror position, refer to page 58.
▷ CD/Multimedia, refer to page 179: audio
source listened to last.
▷ Dynamic Driving Control: sport program, re‐
fer to page 103.
▷ Driver's seat position, refer to page 37: au‐
tomatic retrieval after unlocking.
▷ Programmable memory buttons, refer to
page 23: assignment.
▷ Head-up Display, refer to page 123: selec‐
tion, brightness and position of the display.
▷ Headlamp courtesy delay feature, refer to
page 84: time setting.
▷ Tone, refer to page 170: tone settings.
▷ Automatic climate control, refer to
page 125: settings.
▷ Steering wheel position, refer to page 60.
▷ Navigation, refer to page 152: map views,
route criteria, voice output on/off.
▷ Night Vision with pedestrian detection, refer
to
page 120: selection of functions and type
of display.
▷ Daytime running lights*, refer to page 85:
current setting.
▷ Park Distance Control PDC, refer to
page 171:
adjusting the signal tone volume. ▷
Radio, refer to page 172: stored stations,
station listened to last, special settings.
▷ Backup camera, refer to page 116: selec‐
tion of functions and type of display.
▷ Side View, refer to page 118: selection of
the display type.
▷ Language on the Control Display, refer to
page 81.
▷ Lane departure warning, refer to page 94:
last setting, on/off.
▷ Active Blind Spot Detection, refer to
page 95: last setting, on/off.
▷ Triple turn signal activation, refer to
page 70.
▷ Locking the vehicle, refer to page 39: after
a brief period or after starting to drive.
Central locking system
The concept
The central locking system becomes active
when the driver's door is closed.
The system simultaneously engages and re‐
leases the locks on the following:
▷ Doors.
▷ Trunk lid.
▷ Fuel filler flap.
Operating from the outside
▷ Via the remote control.
▷ Via the driver's door lock*.
▷ Via the door handles*.
▷ Via the button in the trunk lid*.
The following takes place simultaneously when
locking/unlocking the vehicle via the remote
control:
▷ Anti-theft protection is switched on/off.
Doors cannot be unlocked using the lock
buttons or the door opener.
▷ The welcome lamps, interior lamps and
courtesy lamps* are switched on and off.
Seite 35
35Online Edition for Part no. 01 40 2 606 497 - 03 11 490
Reference Mobility Communication Entertainment Navigation Driving tips
Controls At a glance
Page 37 of 299
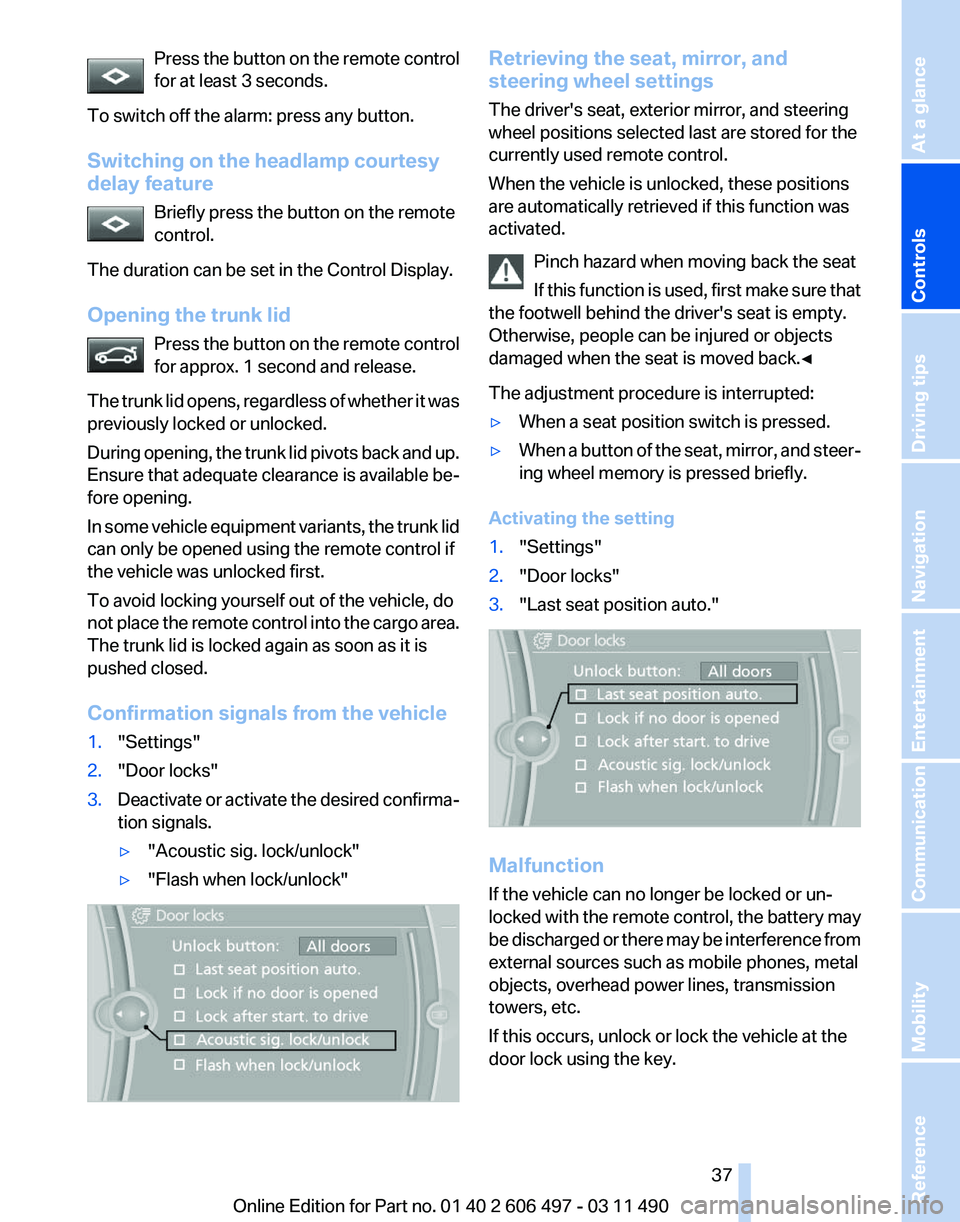
Press the button on the remote control
for at least 3 seconds.
To switch off the alarm: press any button.
Switching on the headlamp courtesy
delay feature Briefly press the button on the remote
control.
The duration can be set in the Control Display.
Opening the trunk lid Press
the button on the remote control
for approx. 1 second and release.
The trunk lid opens, regardless of whether it was
previously locked or unlocked.
During opening, the trunk lid pivots back and up.
Ensure that adequate clearance is available be‐
fore opening.
In some vehicle equipment variants, the trunk lid
can only be opened using the remote control if
the vehicle was unlocked first.
To avoid locking yourself out of the vehicle, do
not place the remote control into the cargo area.
The trunk lid is locked again as soon as it is
pushed closed.
Confirmation signals from the vehicle
1. "Settings"
2. "Door locks"
3. Deactivate or activate the desired confirma‐
tion signals.
▷"Acoustic sig. lock/unlock"
▷ "Flash when lock/unlock" Retrieving the seat, mirror, and
steering wheel settings
The driver's seat, exterior mirror, and steering
wheel positions selected last are stored for the
currently used remote control.
When the vehicle is unlocked, these positions
are automatically retrieved if this function was
activated.
Pinch hazard when moving back the seat
If
this function is used, first make sure that
the footwell behind the driver's seat is empty.
Otherwise, people can be injured or objects
damaged when the seat is moved back.◀
The adjustment procedure is interrupted:
▷ When a seat position switch is pressed.
▷ When a button of the seat, mirror, and steer‐
ing wheel memory is pressed briefly.
Activating the setting
1. "Settings"
2. "Door locks"
3. "Last seat position auto." Malfunction
If the vehicle can no longer be locked or un‐
locked
with the remote control, the battery may
be discharged or there may be interference from
external sources such as mobile phones, metal
objects, overhead power lines, transmission
towers, etc.
If this occurs, unlock or lock the vehicle at the
door lock using the key. Seite 37
37Online Edition for Part no. 01 40 2 606 497 - 03 11 490
Reference Mobility Communication Entertainment Navigation Driving tips
Controls At a glance
Page 38 of 299
For US owners only
The transmitter and receiver units comply with
part 15 of the FCC/Federal Communication
Commission
regulations. Operation is governed
by the following:
FCC ID:
▷ LX8766S.
▷ LX8766E.
▷ LX8CAS.
▷ LX8CAS2.
▷ MYTCAS4.
Compliance statement:
This device complies with part 15 of the FCC
Rules. Operation is subject to the following two
conditions:
▷ This device may not cause harmful interfer‐
ence, and
▷ this device must accept any interference re‐
ceived, including interference that may
cause undesired operation.
Any unauthorized modifications or changes to
these devices could void the user's authority to
operate this equipment.
Using the door lock
General information Do not lock from the outside
Do
not lock the vehicle from the outside if
there are people in it, as the vehicle cannot be
unlocked from inside without special knowl‐
edge.◀ Remove the key before pulling the door
handle
Before pulling the outside door handle, remove
the
key to avoid damaging the paintwork and the
key.◀
In some country-specific versions, the alarm
system* is triggered if the vehicle is unlocked via
the door lock.
Manual operation
If an electrical malfunction occurs, lock or unlock
the vehicle using a key via the door lock on the
driver's door.
Locking the doors and trunk lid at
once*
In some vehicle equipment versions, only the
driver's door can be locked via the door lock.
To lock all doors and the trunk lid at once:
1. With the doors closed, lock the vehicle using
the button for the central locking system in
the interior.
2. Unlock and open the driver's or front pas‐
senger door.
3. Lock the vehicle.
▷Lock the driver's door using the
integrated key in the door lock, or
▷ Press down the lock button of the front
passenger
door and close the door from
the outside.
The fuel filler flap can only be locked using the
remote control. Seite 38
38 Online Edition for Part no. 01 40 2 606 497 - 03 11 490
Opening and closing
Page 39 of 299
Opening and closing: from the
inside
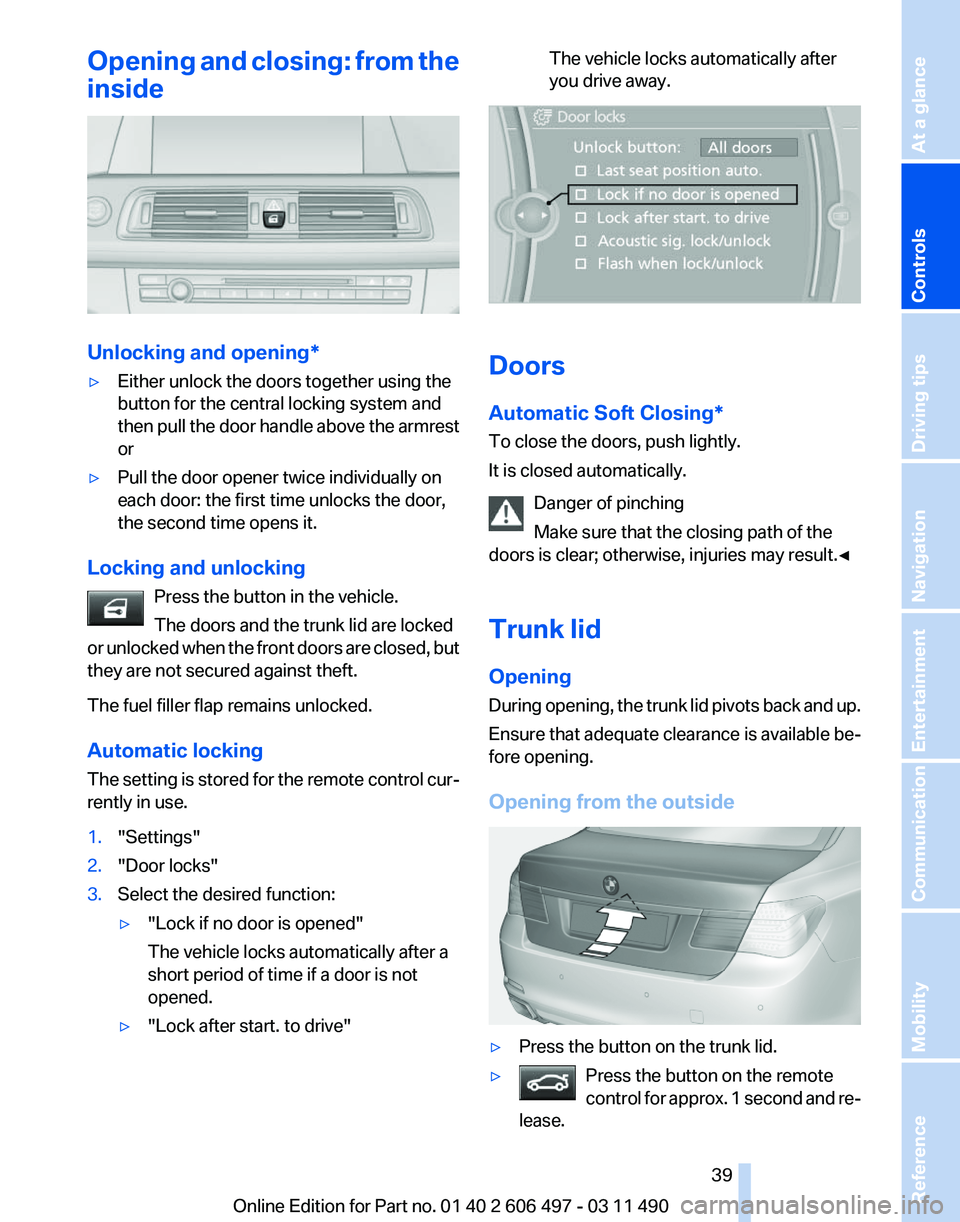
Unlocking and opening*
▷
Either unlock the doors together using the
button for the central locking system and
then
pull the door handle above the armrest
or
▷ Pull the door opener twice individually on
each door: the first time unlocks the door,
the second time opens it.
Locking and unlocking Press the button in the vehicle.
The doors and the trunk lid are locked
or
unlocked when the front doors are closed, but
they are not secured against theft.
The fuel filler flap remains unlocked.
Automatic locking
The setting is stored for the remote control cur‐
rently in use.
1. "Settings"
2. "Door locks"
3. Select the desired function:
▷"Lock if no door is opened"
The vehicle locks automatically after a
short period of time if a door is not
opened.
▷ "Lock after start. to drive" The vehicle locks automatically after
you drive away.
Doors
Automatic Soft Closing*
To close the doors, push lightly.
It is closed automatically.
Danger of pinching
Make sure that the closing path of the
doors is clear; otherwise, injuries may result.◀
Trunk lid
Opening
During
opening, the trunk lid pivots back and up.
Ensure that adequate clearance is available be‐
fore opening.
Opening from the outside ▷
Press the button on the trunk lid.
▷ Press the button on the remote
control
for approx. 1 second and re‐
lease. Seite 39
39Online Edition for Part no. 01 40 2 606 497 - 03 11 490
Reference Mobility Communication Entertainment Navigation Driving tips
Controls At a glance
Page 40 of 299
Opening from the inside
Push the button in the driver's footwell.
If the vehicle is stationary, the trunk lid opens if
it is not locked.
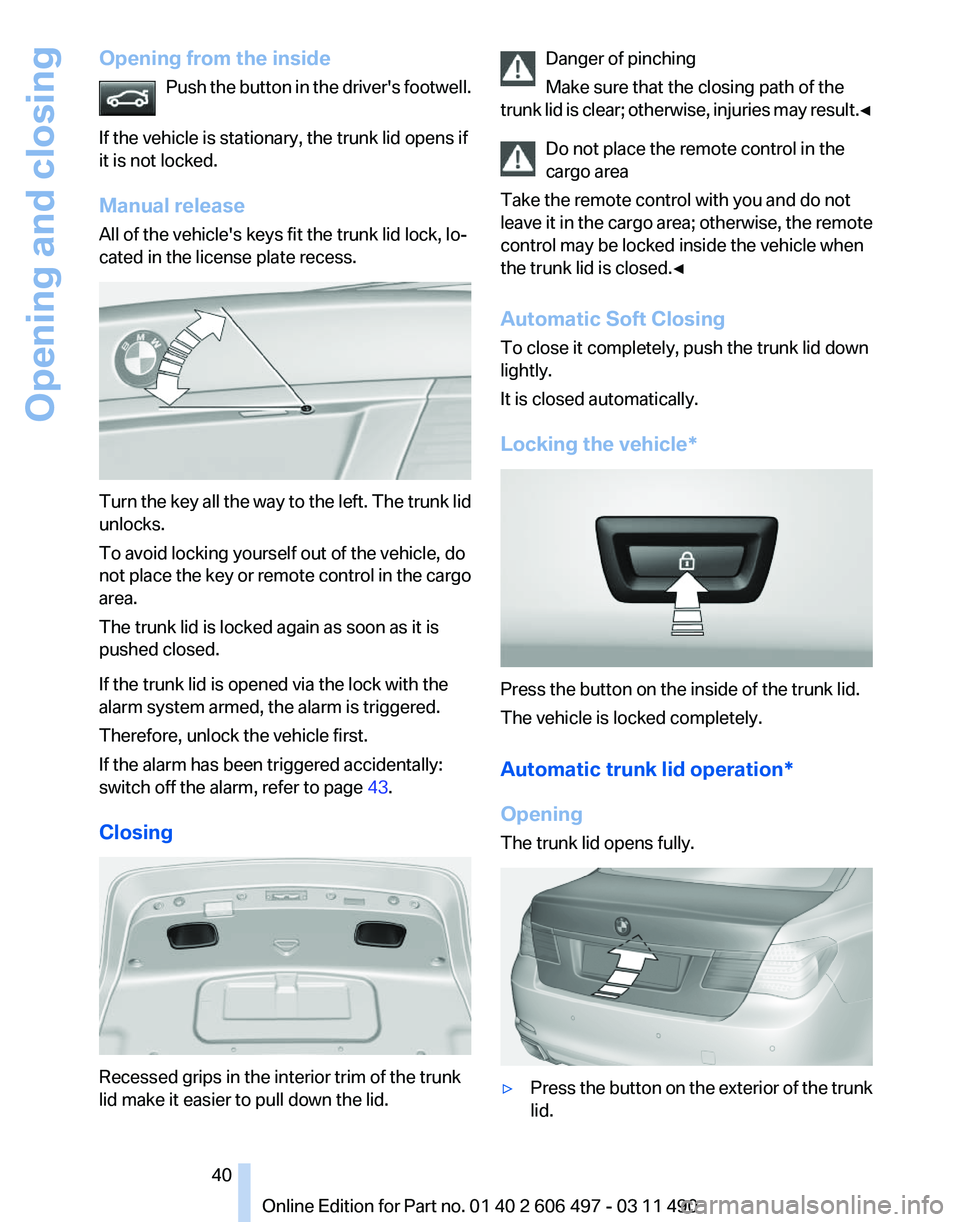
Manual release
All of the vehicle's keys fit the trunk lid lock, lo‐
cated in the license plate recess. Turn the key all the way to the left. The trunk lid
unlocks.
To avoid locking yourself out of the vehicle, do
not
place the key or remote control in the cargo
area.
The trunk lid is locked again as soon as it is
pushed closed.
If the trunk lid is opened via the lock with the
alarm system armed, the alarm is triggered.
Therefore, unlock the vehicle first.
If the alarm has been triggered accidentally:
switch off the alarm, refer to page 43.
Closing Recessed grips in the interior trim of the trunk
lid make it easier to pull down the lid. Danger of pinching
Make sure that the closing path of the
trunk
lid is clear; otherwise, injuries may result.◀ Do not place the remote control in the
cargo area
Take the remote control with you and do not
leave it in the cargo area; otherwise, the remote
control may be locked inside the vehicle when
the trunk lid is closed.◀
Automatic Soft Closing
To close it completely, push the trunk lid down
lightly.
It is closed automatically.
Locking the vehicle* Press the button on the inside of the trunk lid.
The vehicle is locked completely.
Automatic trunk lid operation*
Opening
The trunk lid opens fully.
▷
Press the button on the exterior of the trunk
lid. Seite 40
40 Online Edition for Part no. 01 40 2 606 497 - 03 11 490
Opening and closing
Page 41 of 299
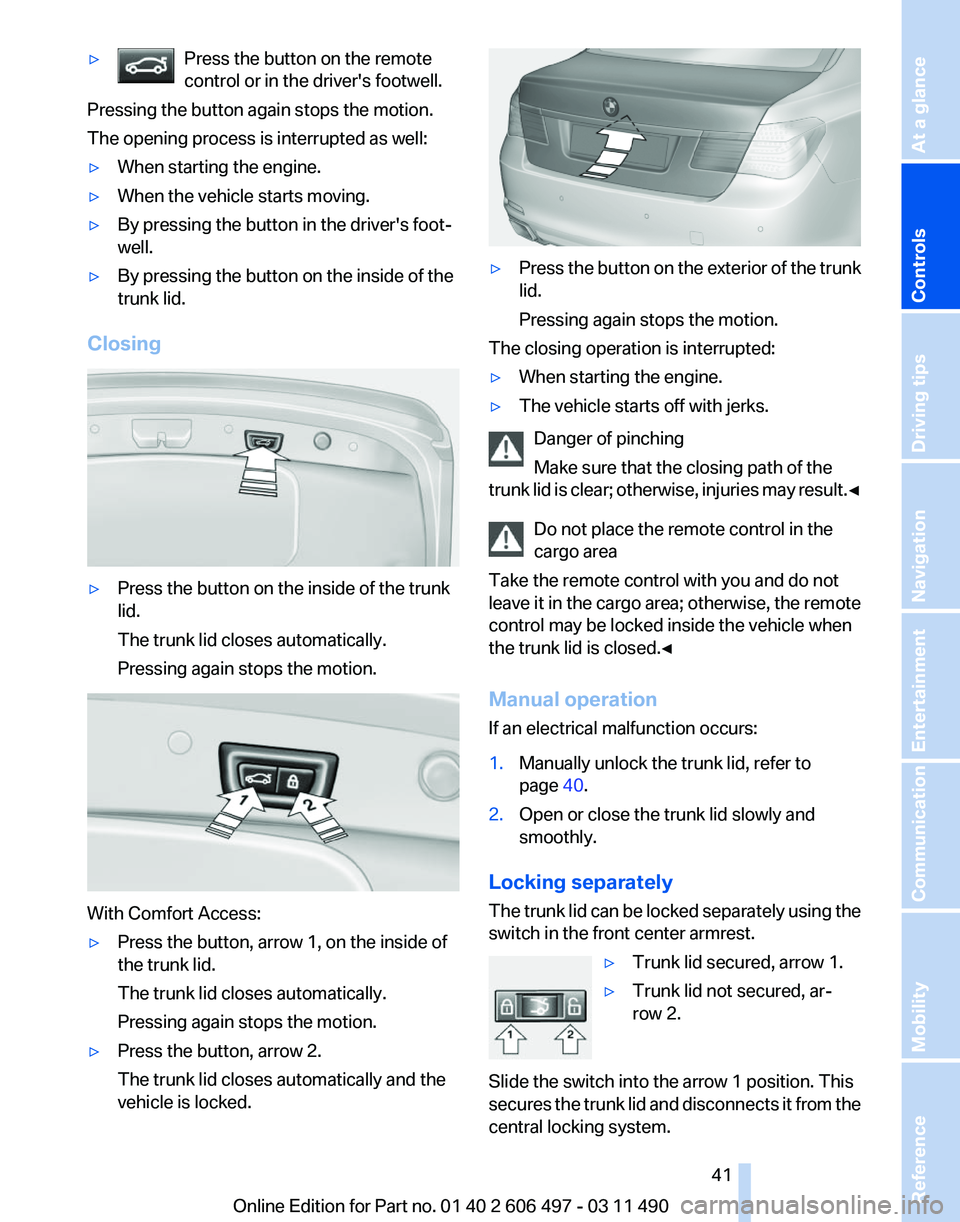
▷
Press the button on the remote
control or in the driver's footwell.Pressing the button again stops the motion.
The opening process is interrupted as well:
▷
When starting the engine.
▷ When the vehicle starts moving.
▷ By pressing the button in the driver's foot‐
well.
▷ By pressing the button on the inside of the
trunk lid.
Closing ▷
Press the button on the inside of the trunk
lid.
The trunk lid closes automatically.
Pressing again stops the motion. With Comfort Access:
▷
Press the button, arrow 1, on the inside of
the trunk lid.
The trunk lid closes automatically.
Pressing again stops the motion.
▷ Press the button, arrow 2.
The trunk lid closes automatically and the
vehicle is locked. ▷
Press the button on the exterior of the trunk
lid.
Pressing again stops the motion.
The closing operation is interrupted:
▷ When starting the engine.
▷ The vehicle starts off with jerks.
Danger of pinching
Make sure that the closing path of the
trunk
lid is clear; otherwise, injuries may result.◀ Do not place the remote control in the
cargo area
Take the remote control with you and do not
leave it in the cargo area; otherwise, the remote
control may be locked inside the vehicle when
the trunk lid is closed.◀
Manual operation
If an electrical malfunction occurs:
1. Manually unlock the trunk lid, refer to
page 40.
2. Open or close the trunk lid slowly and
smoothly.
Locking separately
The
trunk lid can be locked separately using the
switch in the front center armrest.
▷Trunk lid secured, arrow 1.
▷ Trunk lid not secured, ar‐
row 2.
Slide the switch into the arrow 1 position. This
secures
the trunk lid and disconnects it from the
central locking system. Seite 41
41Online Edition for Part no. 01 40 2 606 497 - 03 11 490
Reference Mobility Communication Entertainment Navigation Driving tips
Controls At a glance