2012 BMW 650I navigation system
[x] Cancel search: navigation systemPage 167 of 282
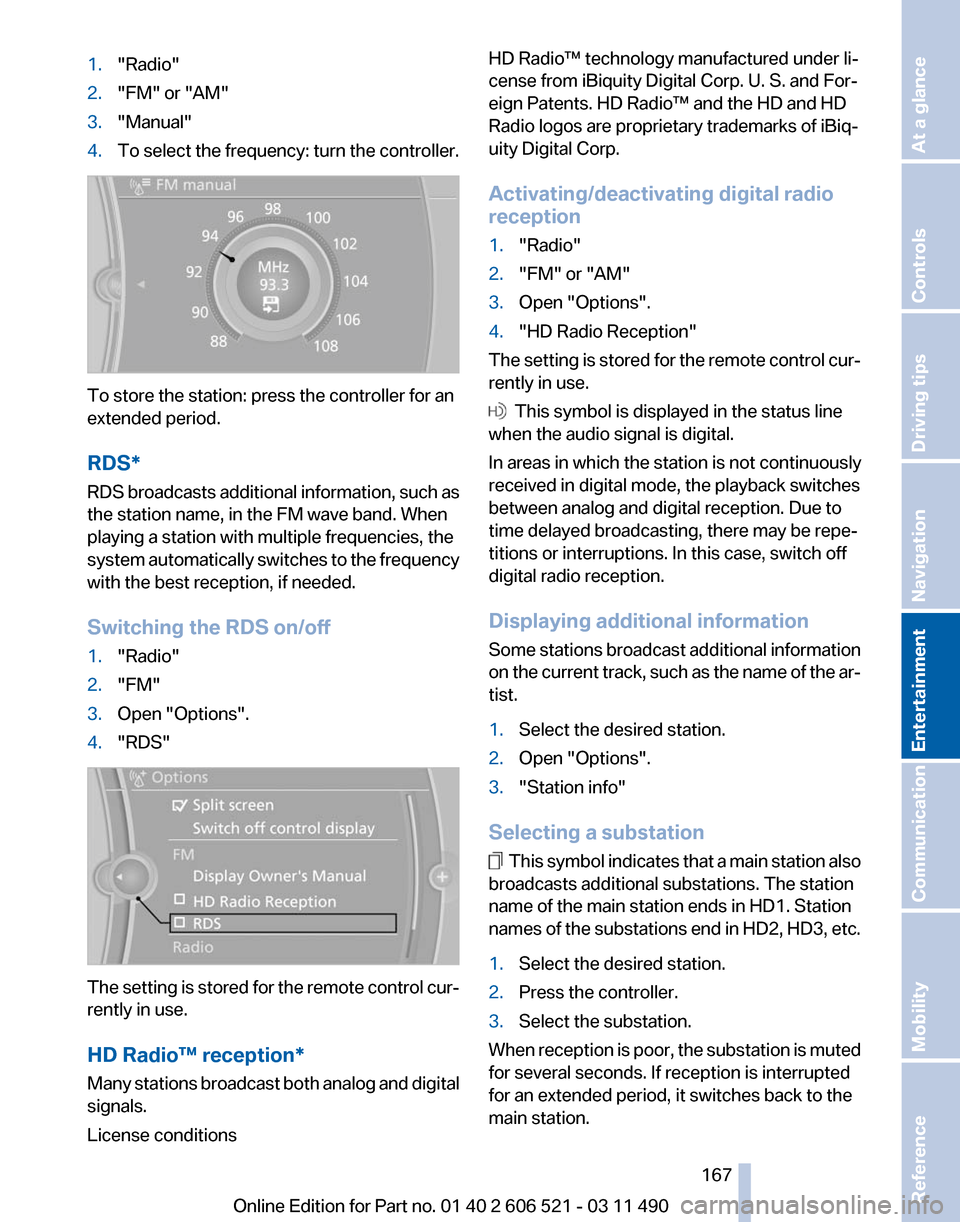
1.
"Radio"
2. "FM" or "AM"
3. "Manual"
4. To select the frequency: turn the controller. To store the station: press the controller for an
extended period.
RDS*
RDS
broadcasts additional information, such as
the station name, in the FM wave band. When
playing a station with multiple frequencies, the
system automatically switches to the frequency
with the best reception, if needed.
Switching the RDS on/off
1. "Radio"
2. "FM"
3. Open "Options".
4. "RDS" The setting is stored for the remote control cur‐
rently in use.
HD Radio™ reception
*
Many stations broadcast both analog and digital
signals.
License conditions HD Radio™ technology manufactured under li‐
cense from iBiquity Digital Corp. U. S. and For‐
eign Patents. HD Radio™ and the HD and HD
Radio logos are proprietary trademarks of iBiq‐
uity Digital Corp.
Activating/deactivating digital radio
reception
1.
"Radio"
2. "FM" or "AM"
3. Open "Options".
4. "HD Radio Reception"
The setting is stored for the remote control cur‐
rently in use. This symbol is displayed in the status line
when the audio signal is digital.
In areas in which the station is not continuously
received in digital mode, the playback switches
between analog and digital reception. Due to
time delayed broadcasting, there may be repe‐
titions or interruptions. In this case, switch off
digital radio reception.
Displaying additional information
Some
stations broadcast additional information
on the current track, such as the name of the ar‐
tist.
1. Select the desired station.
2. Open "Options".
3. "Station info"
Selecting a substation This symbol indicates that a main station also
broadcasts additional substations. The station
name of the main station ends in HD1. Station
names
of the substations end in HD2, HD3, etc.
1. Select the desired station.
2. Press the controller.
3. Select the substation.
When reception is poor, the substation is muted
for several seconds. If reception is interrupted
for an extended period, it switches back to the
main station.
Seite 167
167Online Edition for Part no. 01 40 2 606 521 - 03 11 490
Reference Mobility Communication
Entertainment Navigation Driving tips Controls At a glance
Page 171 of 282
Storing the league or team
Leagues
or teams can be added to the favorites
from a selection list.
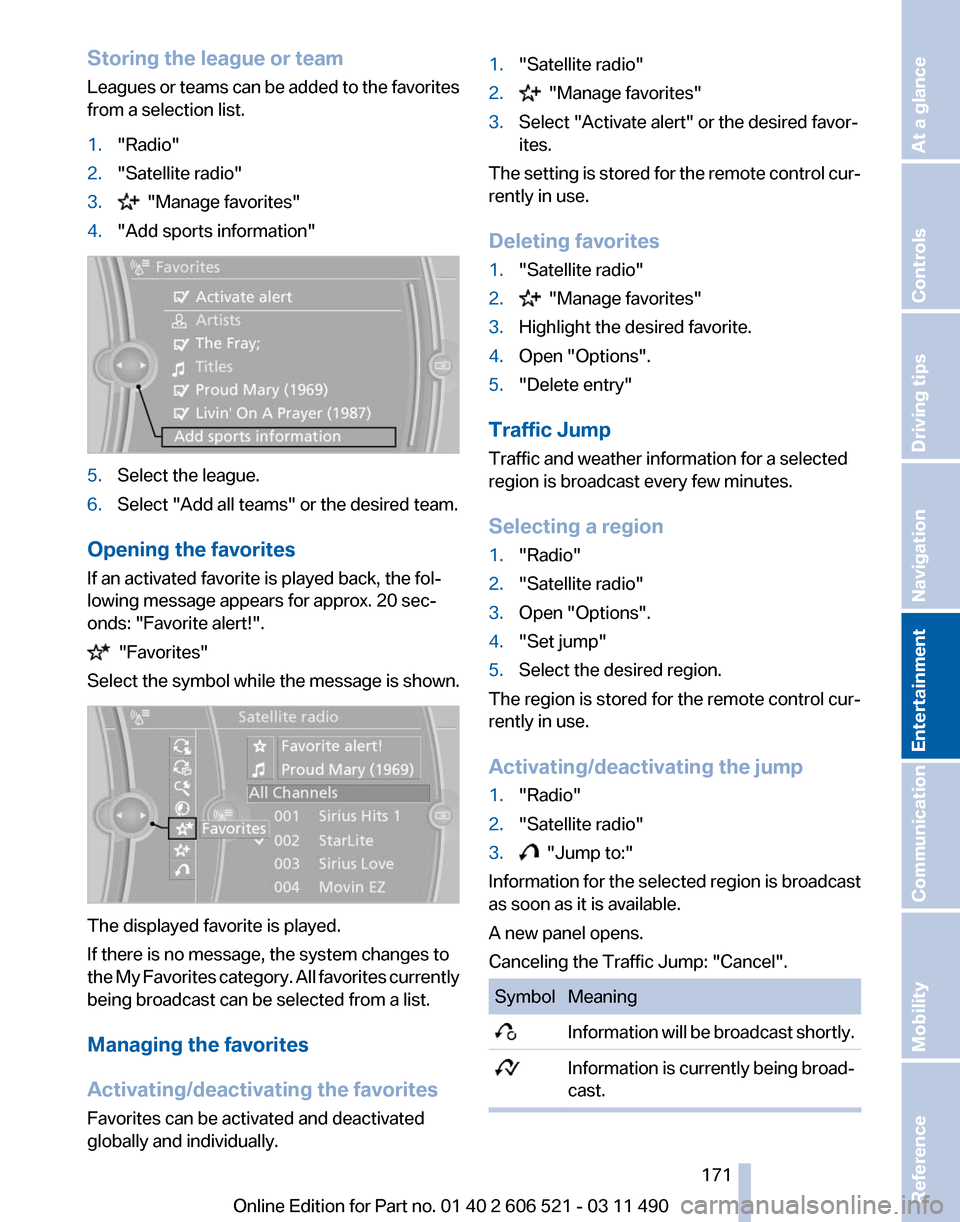
1. "Radio"
2. "Satellite radio"
3. "Manage favorites"
4. "Add sports information" 5.
Select the league.
6. Select "Add all teams" or the desired team.
Opening the favorites
If an activated favorite is played back, the fol‐
lowing message appears for approx. 20 sec‐
onds: "Favorite alert!". "Favorites"
Select the symbol while the message is shown. The displayed favorite is played.
If there is no message, the system changes to
the
My Favorites category. All favorites currently
being broadcast can be selected from a list.
Managing the favorites
Activating/deactivating the favorites
Favorites can be activated and deactivated
globally and individually. 1.
"Satellite radio"
2. "Manage favorites"
3. Select "Activate alert" or the desired favor‐
ites.
The setting is stored for the remote control cur‐
rently in use.
Deleting favorites
1. "Satellite radio"
2. "Manage favorites"
3. Highlight the desired favorite.
4. Open "Options".
5. "Delete entry"
Traffic Jump
Traffic and weather information for a selected
region is broadcast every few minutes.
Selecting a region
1. "Radio"
2. "Satellite radio"
3. Open "Options".
4. "Set jump"
5. Select the desired region.
The region is stored for the remote control cur‐
rently in use.
Activating/deactivating the jump
1. "Radio"
2. "Satellite radio"
3. "Jump to:"
Information for the selected region is broadcast
as soon as it is available.
A new panel opens.
Canceling the Traffic Jump: "Cancel". Symbol Meaning
Information will be broadcast shortly.
Information is currently being broad‐
cast. Seite 171
171Online Edition for Part no. 01 40 2 606 521 - 03 11 490
Reference Mobility Communication
Entertainment Navigation Driving tips Controls At a glance
Page 203 of 282
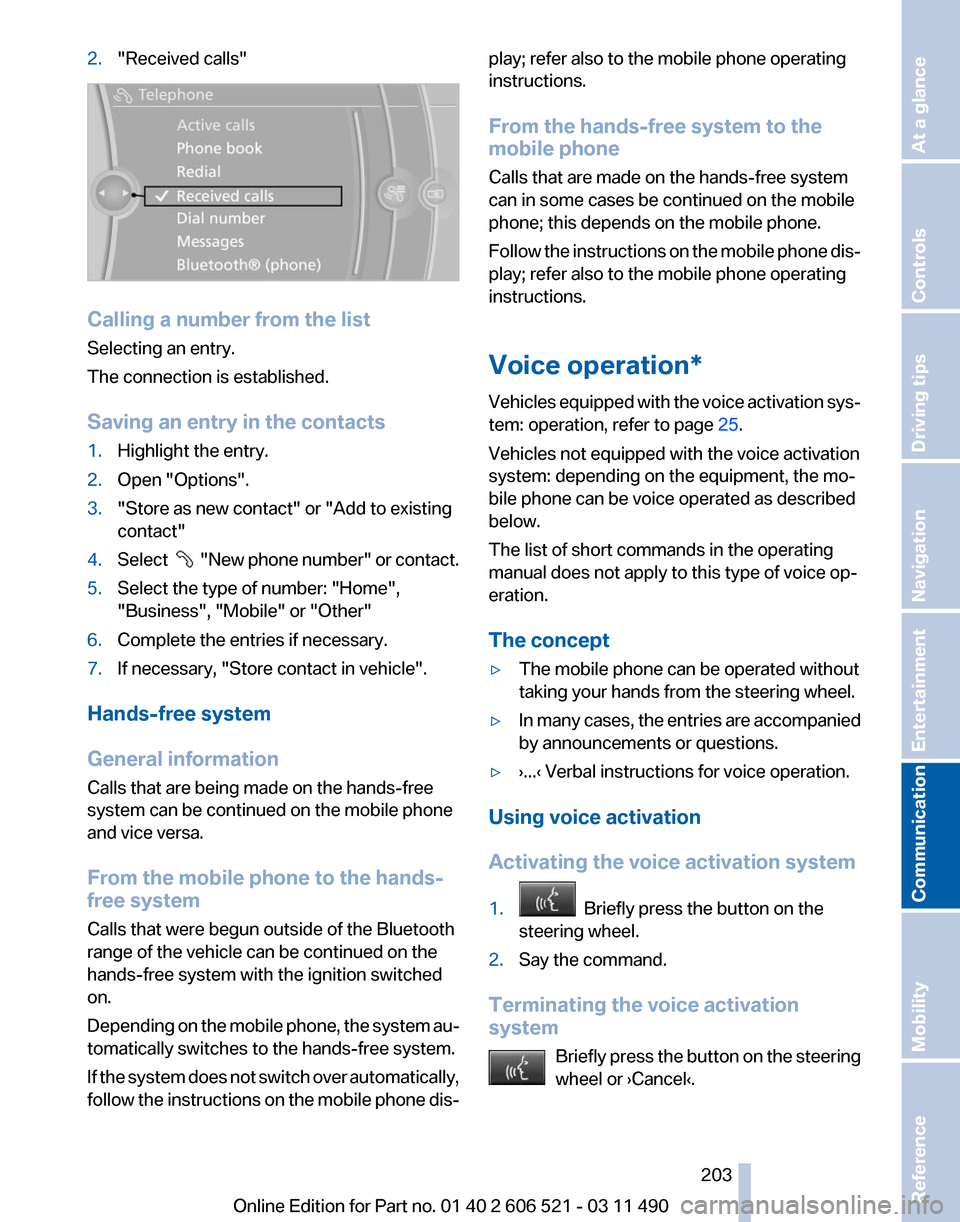
2.
"Received calls" Calling a number from the list
Selecting an entry.
The connection is established.
Saving an entry in the contacts
1.
Highlight the entry.
2. Open "Options".
3. "Store as new contact" or "Add to existing
contact"
4. Select "New phone number" or contact.
5. Select the type of number: "Home",
"Business", "Mobile" or "Other"
6. Complete the entries if necessary.
7. If necessary, "Store contact in vehicle".
Hands-free system
General information
Calls that are being made on the hands-free
system can be continued on the mobile phone
and vice versa.
From the mobile phone to the hands-
free system
Calls that were begun outside of the Bluetooth
range of the vehicle can be continued on the
hands-free system with the ignition switched
on.
Depending
on the mobile phone, the system au‐
tomatically switches to the hands-free system.
If the system does not switch over automatically,
follow the instructions on the mobile phone dis‐ play; refer also to the mobile phone operating
instructions.
From the hands-free system to the
mobile phone
Calls that are made on the hands-free system
can in some cases be continued on the mobile
phone; this depends on the mobile phone.
Follow
the instructions on the mobile phone dis‐
play; refer also to the mobile phone operating
instructions.
Voice operation*
Vehicles equipped with the voice activation sys‐
tem: operation, refer to page 25.
Vehicles not equipped with the voice activation
system: depending on the equipment, the mo‐
bile phone can be voice operated as described
below.
The list of short commands in the operating
manual does not apply to this type of voice op‐
eration.
The concept
▷ The mobile phone can be operated without
taking your hands from the steering wheel.
▷ In many cases, the entries are accompanied
by announcements or questions.
▷ ›...‹ Verbal instructions for voice operation.
Using voice activation
Activating the voice activation system
1. Briefly press the button on the
steering wheel.
2. Say the command.
Terminating the voice activation
system Briefly
press the button on the steering
wheel or ›Cancel‹. Seite 203
203Online Edition for Part no. 01 40 2 606 521 - 03 11 490
Reference Mobility
Communication Entertainment Navigation Driving tips Controls At a glance
Page 205 of 282

Adjusting the volume
Turn the knob during an announcement.
▷
The volume remains constant even if the
volume of other audio sources is changed.
▷ The volume is stored for the remote control
currently in use.
Notes
Do not use the voice operation to initiate an
Emergency
Request. In stressful situations, the
voice and vocal pitch can change. This can un‐
necessarily delay the establishment of a tele‐
phone connection.
Instead, use the SOS button*, refer to
page 248, in the vicinity of the interior mirror.
Environmental conditions
▷ Say the commands, numbers, and letters
smoothly and with normal volume, empha‐
sis, and speed.
▷ Always say commands in the language of
the system. The language for the mobile
phone voice operation is preset and cannot
be changed in the Control Display.
▷ Keep the doors, windows, and convertible
top closed to prevent noise interference.
▷ Avoid making other noise in the vehicle
while speaking.
Snap-in adapter*
Installation position
In the center armrest. Inserting the snap-in adapter
1.
Press the button and remove the cover. 2.
Insert the snap-in adapter at the front, ar‐
row 1, and press down, arrow 2, until it en‐
gages. Inserting the mobile phone
1.
Depending on the mobile phone, remove
the protective cap from the antenna con‐
nector of the mobile phone.
2. Slide the mobile phone with the buttons fac‐
ing up in the direction of the electrical con‐
nections, arrow 1, and push downward, ar‐
row 2 until it engages. Seite 205
205Online Edition for Part no. 01 40 2 606 521 - 03 11 490
Reference Mobility
Communication Entertainment Navigation Driving tips Controls At a glance
Page 209 of 282
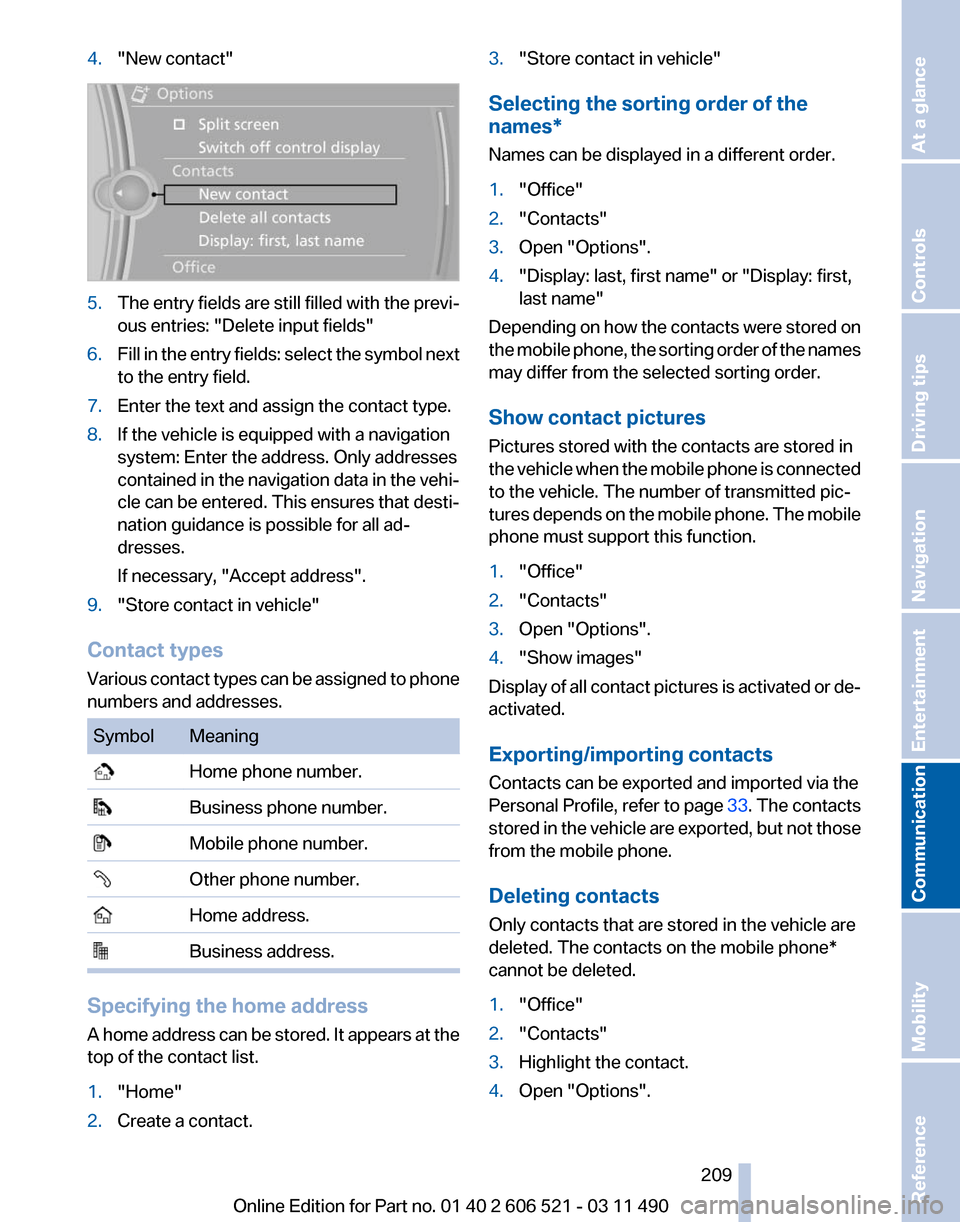
4.
"New contact" 5.
The entry fields are still filled with the previ‐
ous entries: "Delete input fields"
6. Fill in the entry fields: select the symbol next
to the entry field.
7. Enter the text and assign the contact type.
8. If the vehicle is equipped with a navigation
system: Enter the address. Only addresses
contained
in the navigation data in the vehi‐
cle can be entered. This ensures that desti‐
nation guidance is possible for all ad‐
dresses.
If necessary, "Accept address".
9. "Store contact in vehicle"
Contact types
Various
contact types can be assigned to phone
numbers and addresses. Symbol Meaning
Home phone number.
Business phone number.
Mobile phone number.
Other phone number.
Home address.
Business address.
Specifying the home address
A
home address can be stored. It appears at the
top of the contact list.
1. "Home"
2. Create a contact. 3.
"Store contact in vehicle"
Selecting the sorting order of the
names*
Names can be displayed in a different order.
1. "Office"
2. "Contacts"
3. Open "Options".
4. "Display: last, first name" or "Display: first,
last name"
Depending on how the contacts were stored on
the
mobile phone, the sorting order of the names
may differ from the selected sorting order.
Show contact pictures
Pictures stored with the contacts are stored in
the vehicle when the mobile phone is connected
to the vehicle. The number of transmitted pic‐
tures depends on the mobile phone. The mobile
phone must support this function.
1. "Office"
2. "Contacts"
3. Open "Options".
4. "Show images"
Display of all contact pictures is activated or de‐
activated.
Exporting/importing contacts
Contacts can be exported and imported via the
Personal Profile, refer to page 33. The contacts
stored
in the vehicle are exported, but not those
from the mobile phone.
Deleting contacts
Only contacts that are stored in the vehicle are
deleted. The contacts on the mobile phone*
cannot be deleted.
1. "Office"
2. "Contacts"
3. Highlight the contact.
4. Open "Options".
Seite 209
209Online Edition for Part no. 01 40 2 606 521 - 03 11 490
Reference Mobility
Communication Entertainment Navigation Driving tips Controls At a glance
Page 216 of 282
Contacts*
General information
Contacts
can be created and edited and the ad‐
dresses can be adopted as destinations for nav‐
igation.
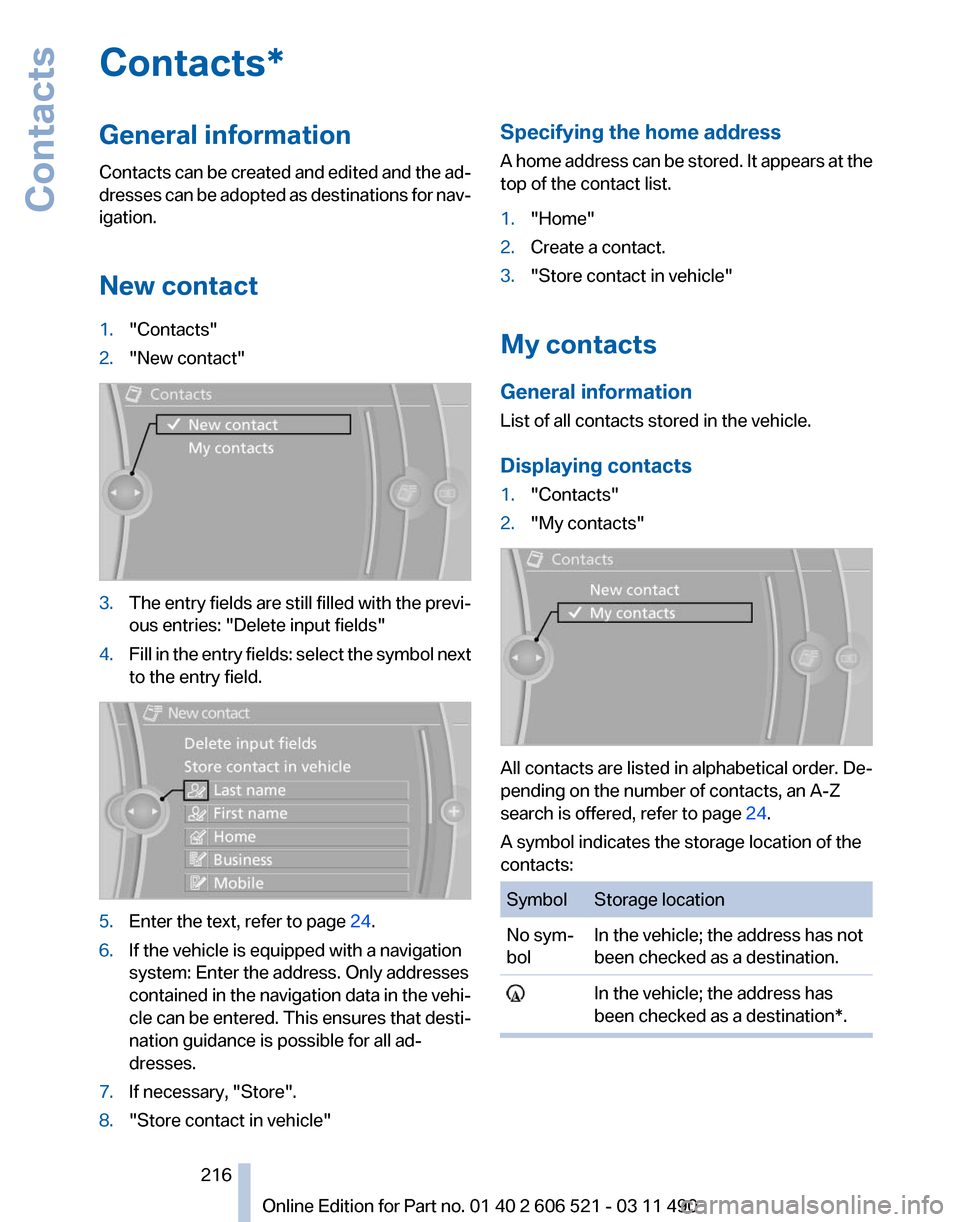
New contact
1. "Contacts"
2. "New contact" 3.
The entry fields are still filled with the previ‐
ous entries: "Delete input fields"
4. Fill in the entry fields: select the symbol next
to the entry field. 5.
Enter the text, refer to page 24.
6. If the vehicle is equipped with a navigation
system: Enter the address. Only addresses
contained
in the navigation data in the vehi‐
cle can be entered. This ensures that desti‐
nation guidance is possible for all ad‐
dresses.
7. If necessary, "Store".
8. "Store contact in vehicle" Specifying the home address
A
home address can be stored. It appears at the
top of the contact list.
1. "Home"
2. Create a contact.
3. "Store contact in vehicle"
My contacts
General information
List of all contacts stored in the vehicle.
Displaying contacts
1. "Contacts"
2. "My contacts" All contacts are listed in alphabetical order. De‐
pending on the number of contacts, an A-Z
search is offered, refer to page
24.
A symbol indicates the storage location of the
contacts: Symbol Storage location
No sym‐
bol
In the vehicle; the address has not
been checked as a destination. In the vehicle; the address has
been checked as a destination*. Seite 216
216 Online Edition for Part no. 01 40 2 606 521 - 03 11 490
Contacts
Page 233 of 282
placed. Otherwise, damage can occur as a re‐
sult.◀
Changing wheels and tires
Mounting
Information on mounting tires
Have mounting and balancing performed
only by a service center or tire specialist.
If this work is not carried out properly, there is
the danger of subsequent damage and related
safety hazards.◀
Wheel and tire combination
Information on the correct wheel-tire combina‐
tion
and rim versions for your vehicle can be ob‐
tained from your service center.
Incorrect wheel and tire combinations impair the
function of a variety of systems such as ABS or
DSC.
To maintain good handling and vehicle re‐
sponse, use only tires with a single tread con‐
figuration from a single manufacturer.
Following tire damage, have the original wheel
and tire combination remounted on the vehicle
as soon as possible.
Approved wheels and tires
The manufacturer of your vehicle recom‐
mends that you use only wheels and tires that
have been approved for your particular vehicle
model.
For example, despite having the same official
size ratings, variations can lead to body contact
and with it, the risk of severe accidents.
The manufacturer of your vehicle cannot evalu‐
ate non-approved wheels and tires to determine
if they are suited for use, and therefore cannot
ensure the operating safety of the vehicle if they
are mounted.◀ Recommended tire brands
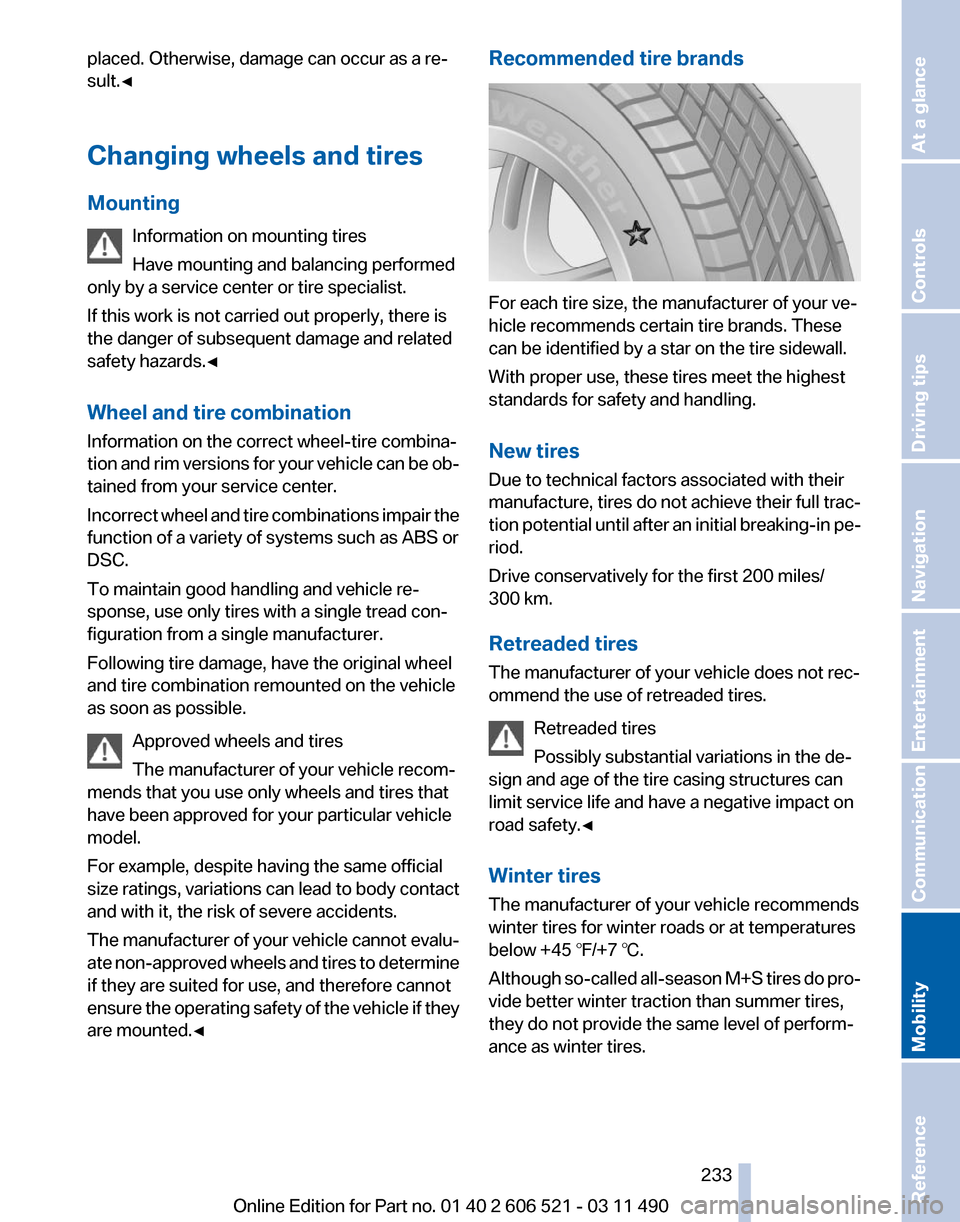
For each tire size, the manufacturer of your ve‐
hicle recommends certain tire brands. These
can be identified by a star on the tire sidewall.
With proper use, these tires meet the highest
standards for safety and handling.
New tires
Due to technical factors associated with their
manufacture,
tires do not achieve their full trac‐
tion potential until after an initial breaking-in pe‐
riod.
Drive conservatively for the first 200 miles/
300 km.
Retreaded tires
The manufacturer of your vehicle does not rec‐
ommend the use of retreaded tires.
Retreaded tires
Possibly substantial variations in the de‐
sign and age of the tire casing structures can
limit service life and have a negative impact on
road safety.◀
Winter tires
The manufacturer of your vehicle recommends
winter tires for winter roads or at temperatures
below +45 ℉/+7 ℃.
Although so-called all-season M+S tires do pro‐
vide better winter traction than summer tires,
they do not provide the same level of perform‐
ance as winter tires. Seite 233
233Online Edition for Part no. 01 40 2 606 521 - 03 11 490
Reference
Mobility Communication Entertainment Navigation Driving tips Controls At a glance
Page 235 of 282
Maximum speed with snow chains
Do
not exceed a speed of 30 mph/50 km/h when
using snow chains.
Snow chain detection*
The concept
When using snow chains, you should set
whether you are driving with or without snow
chains via the iDrive.
The snow chain detection system supports you
by automatically showing the detected state on
the Control Display.
When snow chains are in use, the rear axle steer‐
ing of the Integral Active Steering* is deacti‐
vated automatically.
At speeds above the maximum allowable speed
with snow chains of 30 mph/50 km/h, the rear
axle steering is activated again automatically.
Activating the status
1. "Settings"
2. "Tire chains"
3. "Tire chains installed"
Automatic detection
If functioning properly:
▷ Snow chains are mounted. The setting is not
activated .
After you drive a short distance, a Check
Control message is shown and the state is
activated automatically.
Confirm the automatic activation.
▷ Snow chains are not mounted. The setting
is activated .
At speeds above 30 mph/50 km/h, a Check
Control message is displayed. Deactivate
the status manually.
If not functioning properly:
▷ Snow chains are mounted. The setting is not
activated .
A Check Control message is not displayed.
The
automatic detection system is malfunc‐
tioning. Activate the status manually. Activating/deactivating rear axle
steering
If the status indicating that snow chains are in
use
is activated, the rear axle steering is deacti‐
vated automatically.
At speeds above 30 mph/50 km/h, the rear axle
steering is activated again, even though snow
chains are in use.
Seite 235
235Online Edition for Part no. 01 40 2 606 521 - 03 11 490
Reference
Mobility Communication Entertainment Navigation Driving tips Controls At a glance