2012 BMW 640I COUPE windshield wipers
[x] Cancel search: windshield wipersPage 13 of 303
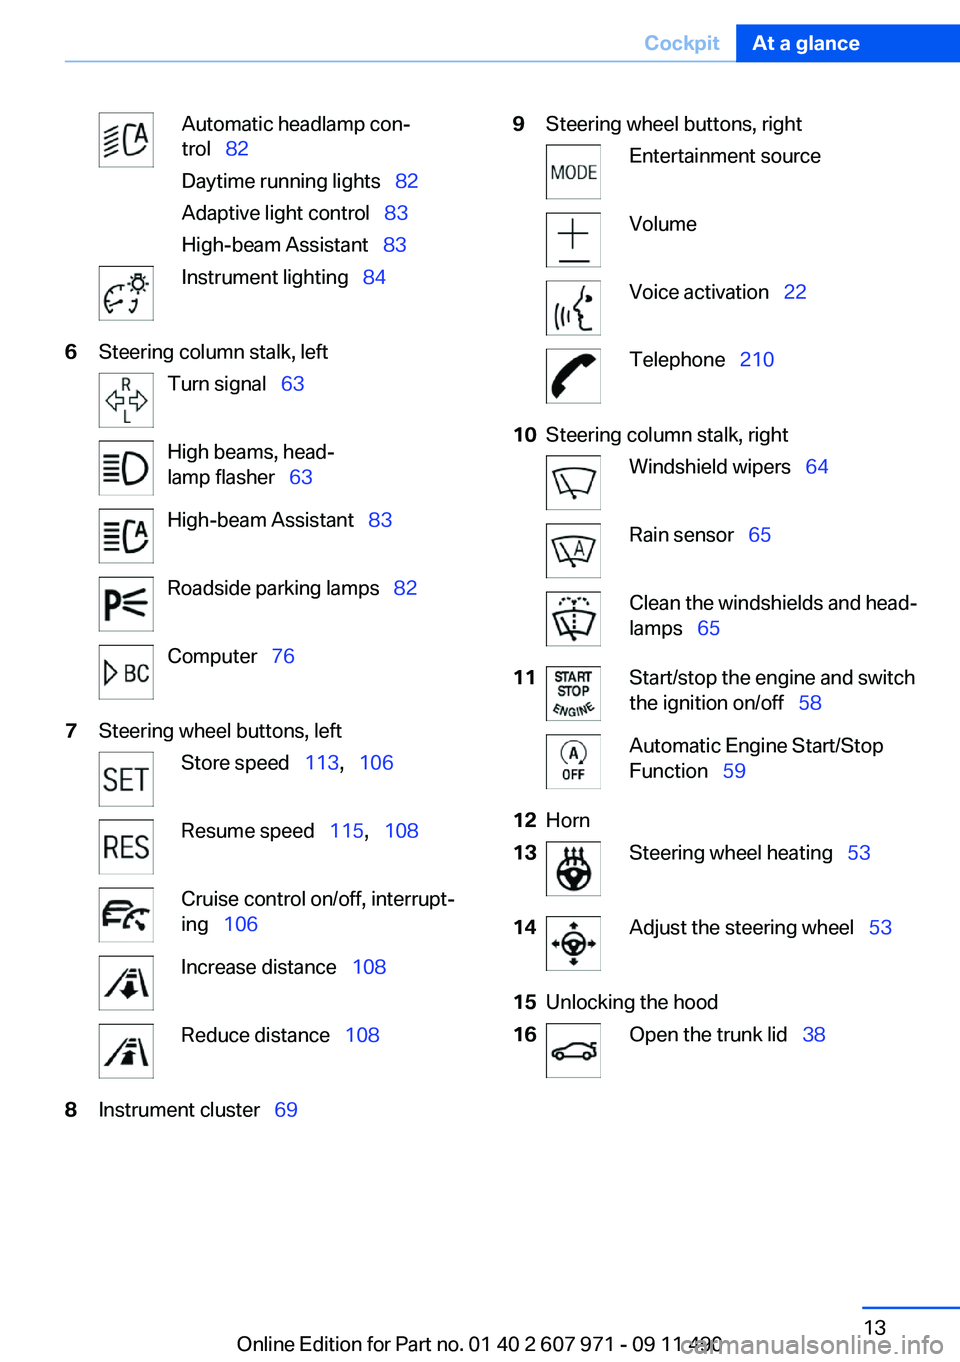
Automatic headlamp con‐
trol 82
Daytime running lights 82
Adaptive light control 83
High-beam Assistant 83Instrument lighting 846Steering column stalk, leftTurn signal 63High beams, head‐
lamp flasher 63High-beam Assistant 83Roadside parking lamps 82Computer 767Steering wheel buttons, leftStore speed 113, 106Resume speed 115, 108Cruise control on/off, interrupt‐
ing 106Increase distance 108Reduce distance 1088Instrument cluster 699Steering wheel buttons, rightEntertainment sourceVolumeVoice activation 22Telephone 21010Steering column stalk, rightWindshield wipers 64Rain sensor 65Clean the windshields and head‐
lamps 6511Start/stop the engine and switch
the ignition on/off 58Automatic Engine Start/Stop
Function 5912Horn13Steering wheel heating 5314Adjust the steering wheel 5315Unlocking the hood16Open the trunk lid 38Seite 13CockpitAt a glance13
Online Edition for Part no. 01 40 2 607 971 - 09 11 490
Page 64 of 303

The function can be activated or deactivated:1."Settings"2."Lighting"3."Triple turn signal"
Signaling briefly
Press the lever to the resistance point and hold
it there for as long as you want the turn signal to
flash.
High beams, headlamp flasher
▷High beams, arrow 1.▷Headlamp flasher, arrow 2.
Washer/wiper system
Switching the wipers on/off and brief
wipe
Do not switch on the wipers if frozen
Do not switch on the wipers if they are fro‐
zen onto the windshield; otherwise, the wiper
blades and the windshield wiper motor may be
damaged.◀
Switching on
Press the wiper levers up.
The lever automatically returns to its initial po‐
sition when released.
▷Normal wiping speed: press up once.
The wipers switch to intermittent operation
when the vehicle is stationary.▷Fast wiping speed: press up twice or press
once beyond the resistance point.
The wipers switch to normal speed when the
vehicle is stationary.
Switching off and brief wipe
Press the wiper levers down.
The lever automatically returns to its initial po‐
sition when released.
▷Brief wipe: press down once.▷To switch off normal wipe: press down once.▷To switch off fast wipe: press down twice.Seite 64ControlsDriving64
Online Edition for Part no. 01 40 2 607 971 - 09 11 490
Page 65 of 303
Rain sensor
The concept
The time between wipes is controlled automat‐
ically and depends on the intensity of the rainfall.
The sensor is located on the windshield, directly
in front of the interior rearview mirror.
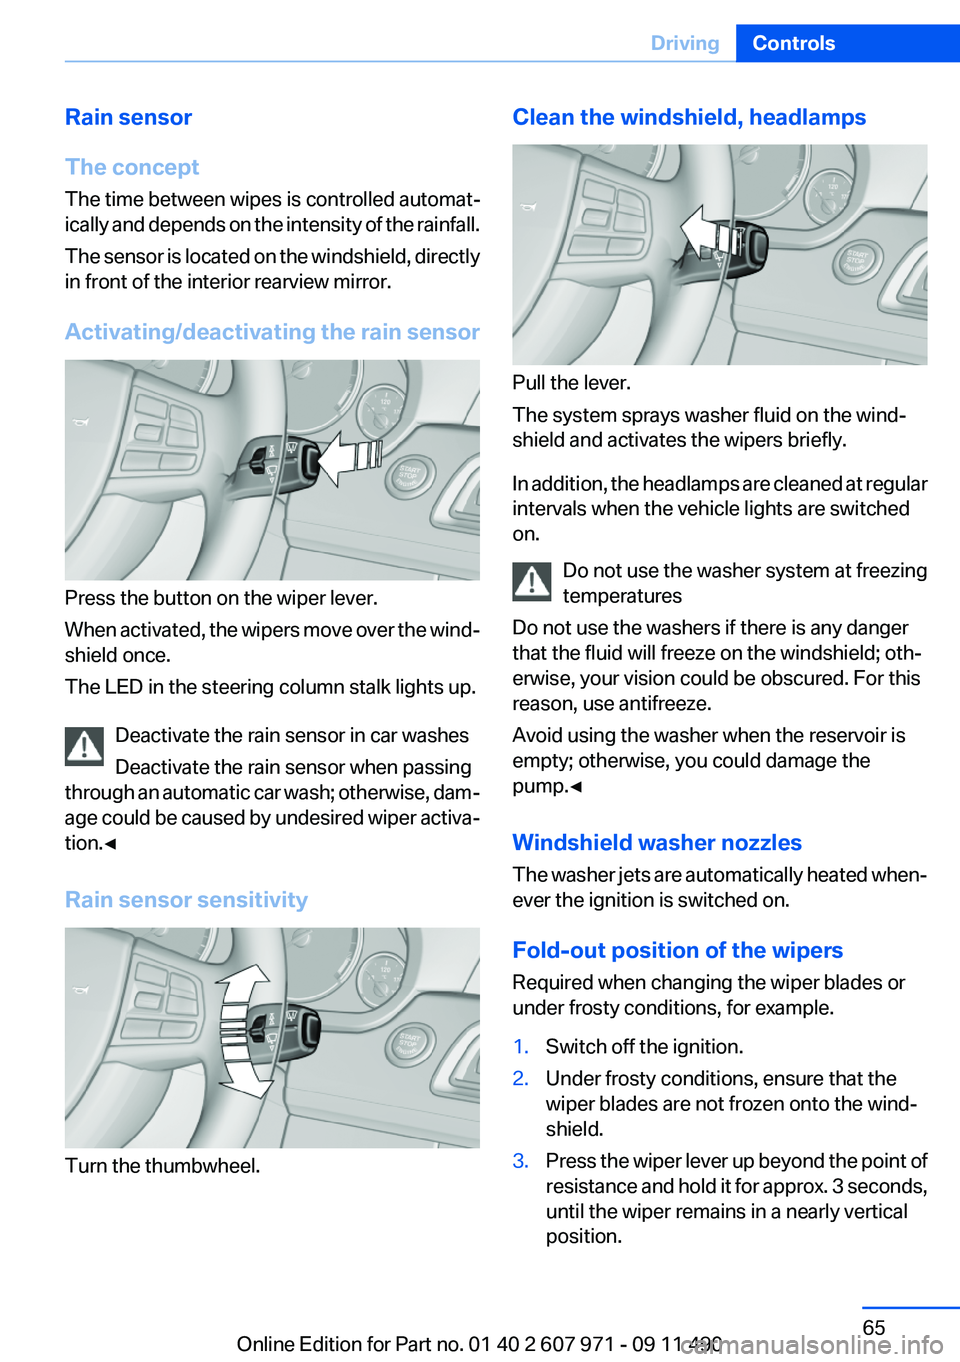
Activating/deactivating the rain sensor
Press the button on the wiper lever.
When activated, the wipers move over the wind‐
shield once.
The LED in the steering column stalk lights up.
Deactivate the rain sensor in car washes
Deactivate the rain sensor when passing
through an automatic car wash; otherwise, dam‐
age could be caused by undesired wiper activa‐
tion.◀
Rain sensor sensitivity
Turn the thumbwheel.
Clean the windshield, headlamps
Pull the lever.
The system sprays washer fluid on the wind‐
shield and activates the wipers briefly.
In addition, the headlamps are cleaned at regular
intervals when the vehicle lights are switched
on.
Do not use the washer system at freezing
temperatures
Do not use the washers if there is any danger
that the fluid will freeze on the windshield; oth‐
erwise, your vision could be obscured. For this
reason, use antifreeze.
Avoid using the washer when the reservoir is
empty; otherwise, you could damage the
pump.◀
Windshield washer nozzles
The washer jets are automatically heated when‐
ever the ignition is switched on.
Fold-out position of the wipers
Required when changing the wiper blades or
under frosty conditions, for example.
1.Switch off the ignition.2.Under frosty conditions, ensure that the
wiper blades are not frozen onto the wind‐
shield.3.Press the wiper lever up beyond the point of
resistance and hold it for approx. 3 seconds,
until the wiper remains in a nearly vertical
position.Seite 65DrivingControls65
Online Edition for Part no. 01 40 2 607 971 - 09 11 490
Page 66 of 303
After the wipers are folded back down, the wiper
system must be reactivated.
Fold the wipers back down
Before switching the ignition on, fold the
wipers back down to the windshield; otherwise,
the wipers may become damaged when they are
switched on.◀1.Switch on the ignition.2.Press the wiper levers down. The wipers
move to their resting position and are ready
for operation.
Washer fluid
General information Antifreeze for washer fluid
Antifreeze is flammable. Therefore, keep
it away from sources of ignition.
Only keep it in the closed original container and
inaccessible to children.
Follow the instructions on the container.◀
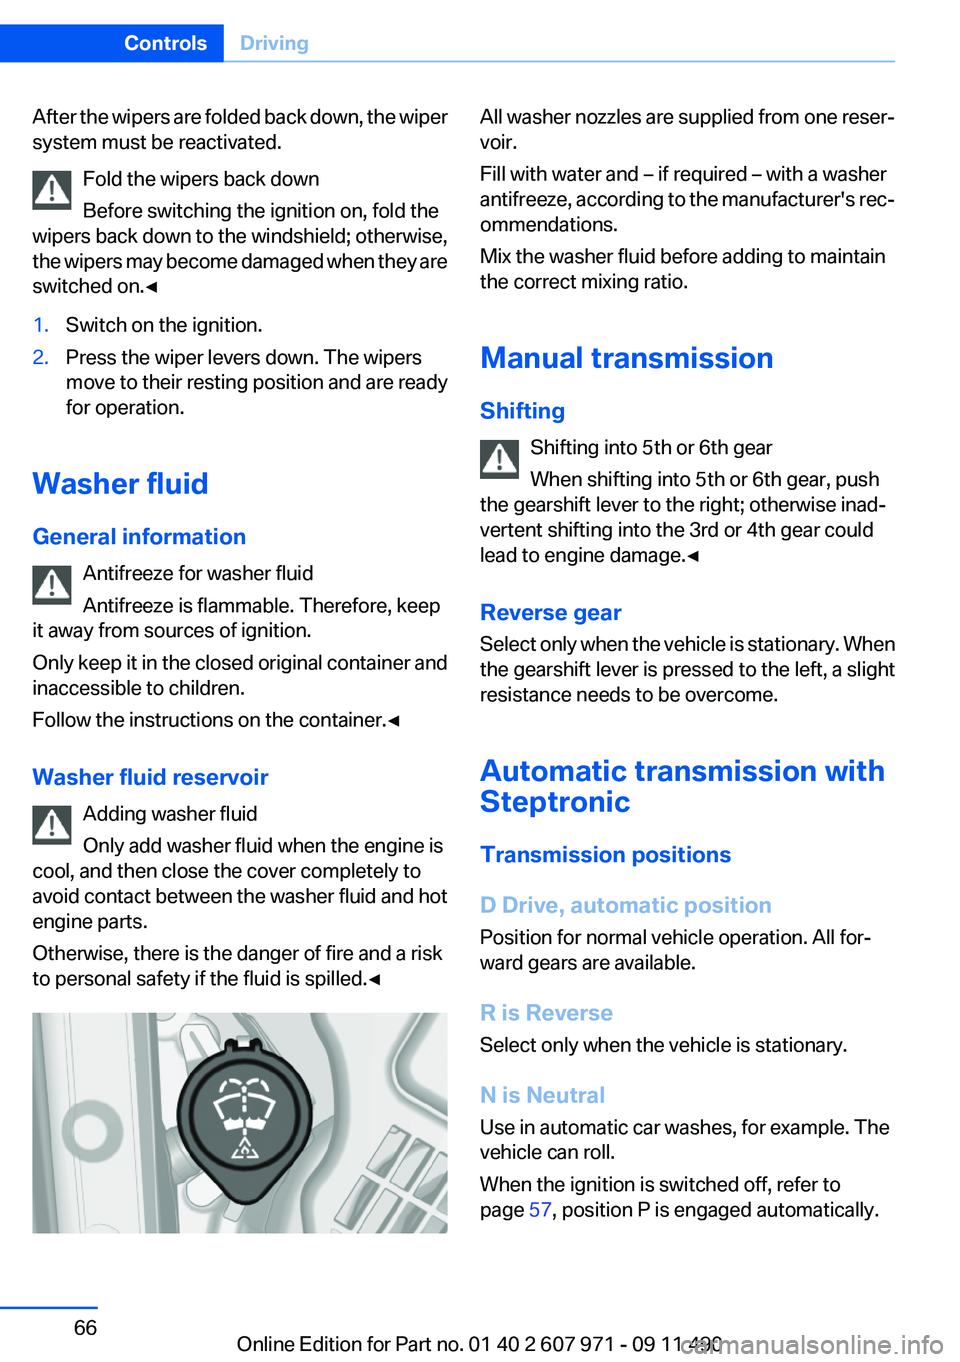
Washer fluid reservoir Adding washer fluid
Only add washer fluid when the engine is
cool, and then close the cover completely to
avoid contact between the washer fluid and hot
engine parts.
Otherwise, there is the danger of fire and a risk
to personal safety if the fluid is spilled.◀
All washer nozzles are supplied from one reser‐
voir.
Fill with water and – if required – with a washer
antifreeze, according to the manufacturer's rec‐
ommendations.
Mix the washer fluid before adding to maintain
the correct mixing ratio.
Manual transmission
Shifting Shifting into 5th or 6th gear
When shifting into 5th or 6th gear, push
the gearshift lever to the right; otherwise inad‐
vertent shifting into the 3rd or 4th gear could
lead to engine damage.◀
Reverse gear
Select only when the vehicle is stationary. When
the gearshift lever is pressed to the left, a slight
resistance needs to be overcome.
Automatic transmission with
Steptronic
Transmission positions
D Drive, automatic position
Position for normal vehicle operation. All for‐
ward gears are available.
R is Reverse
Select only when the vehicle is stationary.
N is Neutral
Use in automatic car washes, for example. The
vehicle can roll.
When the ignition is switched off, refer to
page 57, position P is engaged automatically.Seite 66ControlsDriving66
Online Edition for Part no. 01 40 2 607 971 - 09 11 490
Page 270 of 303
Starting the engine
Never use spray fluids to start the engine.1.Start the engine of the assisting vehicle and
let it run for several minutes at an increased
idle speed.2.Start the engine of the vehicle being started
in the usual way.
If the first starting attempt is not successful,
wait a few minutes before making another
attempt in order to allow the discharged bat‐
tery to recharge.3.Let both engines run for several minutes.4.Disconnect the jumper cables in the reverse
order.
Check the battery and recharge if necessary.
Tow-starting and towing
Manual transmission
Observe before towing your vehicle The parking brake is blocked
The parking brake cannot be released
manually.
When the parking brake is blocked, do not tow
with the front axle lifted or the vehicle can be
damaged.
Contact your service center.◀
Gearshift lever in neutral position.
Towing Follow the towing instructions
Follow all towing instructions; otherwise,
vehicle damage or accidents may occur.◀
▷Make sure that the ignition is switched on;
otherwise, the low beams, tail lamps, turn
signals, and windshield wipers may be un‐
available.▷Do not tow the vehicle with the rear axle
tilted, as the front wheels could turn.▷When the engine is stopped, there is no
power assist. Consequently, more force
needs to be applied when braking and steer‐
ing.▷Larger steering wheel movements are re‐
quired.
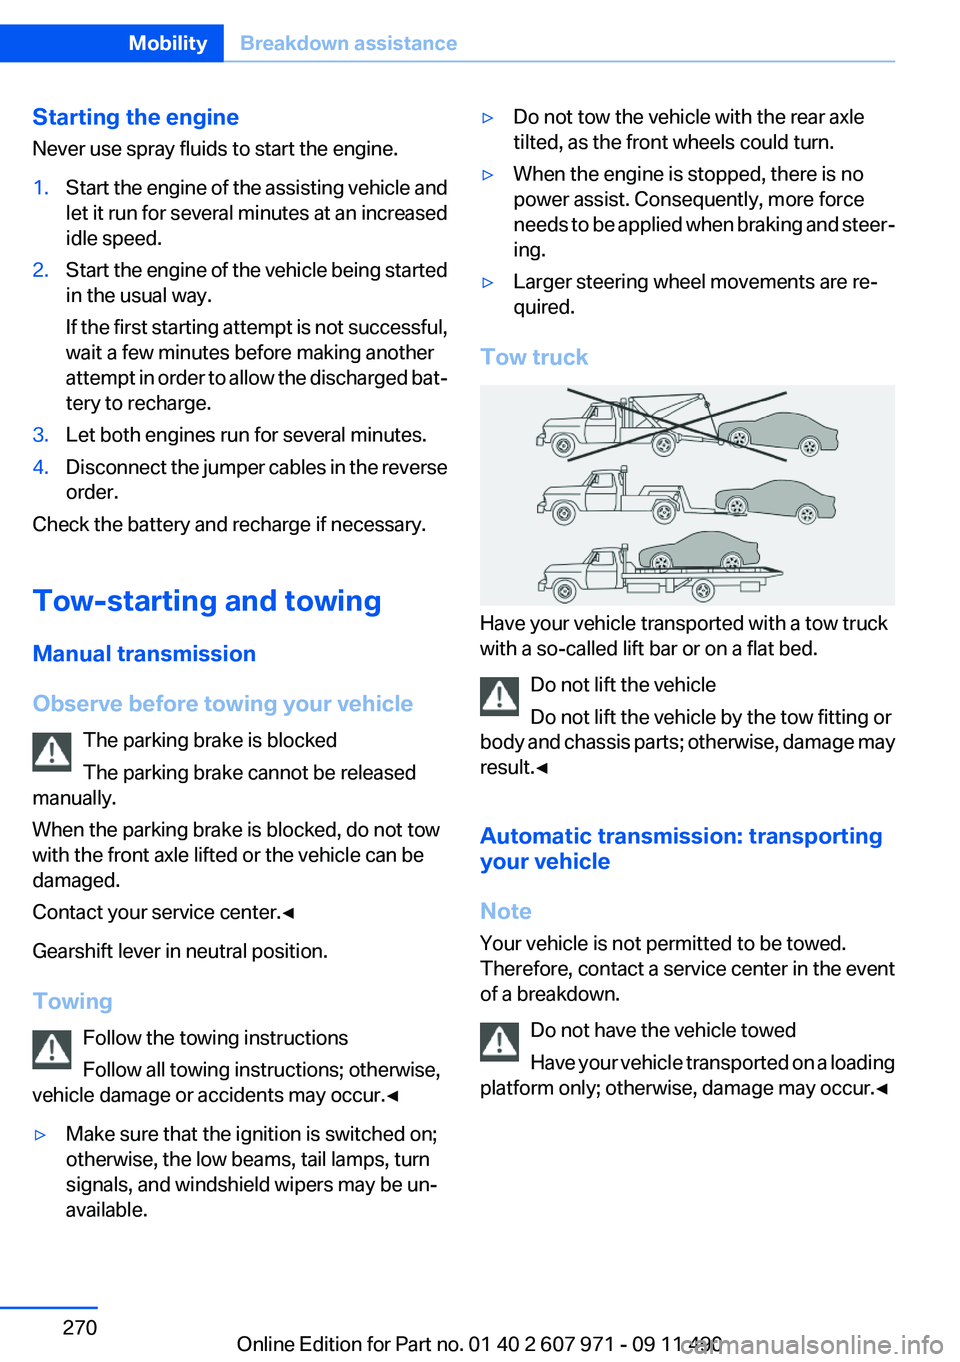
Tow truck
Have your vehicle transported with a tow truck
with a so-called lift bar or on a flat bed.
Do not lift the vehicle
Do not lift the vehicle by the tow fitting or
body and chassis parts; otherwise, damage may
result.◀
Automatic transmission: transporting
your vehicle
Note
Your vehicle is not permitted to be towed.
Therefore, contact a service center in the event
of a breakdown.
Do not have the vehicle towed
Have your vehicle transported on a loading
platform only; otherwise, damage may occur.◀
Seite 270MobilityBreakdown assistance270
Online Edition for Part no. 01 40 2 607 971 - 09 11 490
Page 295 of 303
Engine start, refer to Startingthe engine 58
Engine start, Starting aid 269
Engine stop 58
Engine temperature 72
Entering/exiting vehicle, assis‐ tance, steering wheel 53
Entering a car wash 273
Equalizer 176
Equipment, interior 136
ESP Electronic Stability Pro‐ gram, refer to DSC 98
Exchanging wheels/tires 251
Exhaust system 147
Exterior mirror, automatic dim‐ ming feature 52
Exterior mirrors 51
External devices 199
External start 269
External temperature dis‐ play 73
External temperature warn‐ ing 73
Eyes for securing cargo 150
F
Fader 176
Failure message, refer to Check Control 70
False alarm, refer to Uninten‐ tional alarm 41
Fan, refer to Air volume 132
Fault displays, refer to Check Control 70
Filler neck for engine oil 257
Fine wood, care 275
First aid kit 268
Fitting for towing, refer to Tow fitting 271
Flat tire, changing wheels 265
Flat Tire Monitor FTM 92
Flat tire, Tire Pressure Monitor TPM 89
Flat tire, warning lamp 90, 93
Flooding 147 Floor carpet, care 275
Floor mats, care 275
FM/AM station 179
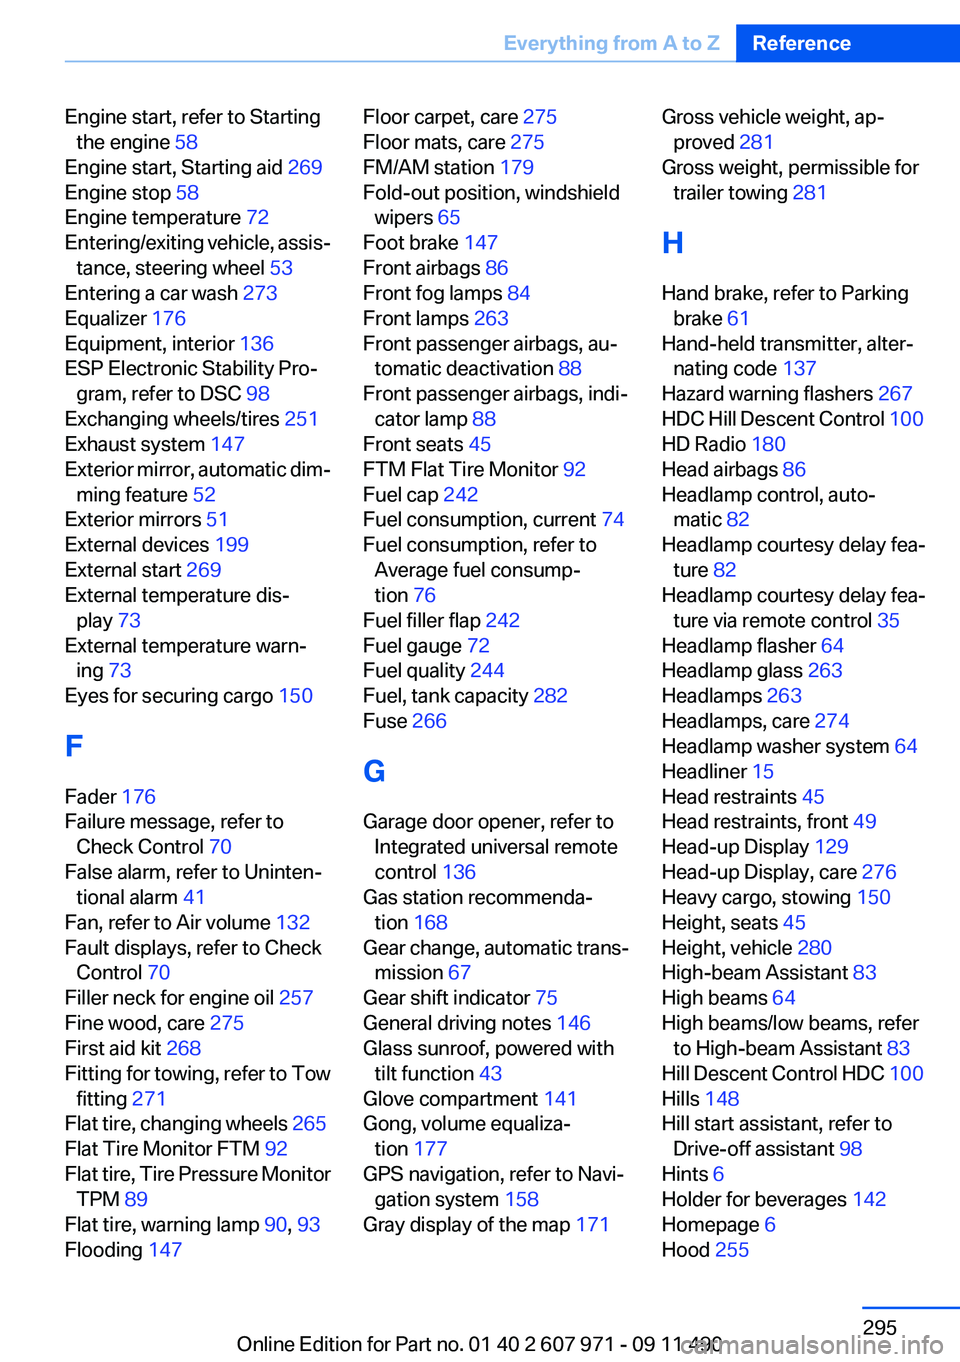
Fold-out position, windshield wipers 65
Foot brake 147
Front airbags 86
Front fog lamps 84
Front lamps 263
Front passenger airbags, au‐ tomatic deactivation 88
Front passenger airbags, indi‐ cator lamp 88
Front seats 45
FTM Flat Tire Monitor 92
Fuel cap 242
Fuel consumption, current 74
Fuel consumption, refer to Average fuel consump‐
tion 76
Fuel filler flap 242
Fuel gauge 72
Fuel quality 244
Fuel, tank capacity 282
Fuse 266
G
Garage door opener, refer to Integrated universal remote
control 136
Gas station recommenda‐ tion 168
Gear change, automatic trans‐ mission 67
Gear shift indicator 75
General driving notes 146
Glass sunroof, powered with tilt function 43
Glove compartment 141
Gong, volume equaliza‐ tion 177
GPS navigation, refer to Navi‐ gation system 158
Gray display of the map 171 Gross vehicle weight, ap‐
proved 281
Gross weight, permissible for trailer towing 281
H
Hand brake, refer to Parking brake 61
Hand-held transmitter, alter‐ nating code 137
Hazard warning flashers 267
HDC Hill Descent Control 100
HD Radio 180
Head airbags 86
Headlamp control, auto‐ matic 82
Headlamp courtesy delay fea‐ ture 82
Headlamp courtesy delay fea‐ ture via remote control 35
Headlamp flasher 64
Headlamp glass 263
Headlamps 263
Headlamps, care 274
Headlamp washer system 64
Headliner 15
Head restraints 45
Head restraints, front 49
Head-up Display 129
Head-up Display, care 276
Heavy cargo, stowing 150
Height, seats 45
Height, vehicle 280
High-beam Assistant 83
High beams 64
High beams/low beams, refer to High-beam Assistant 83
Hill Descent Control HDC 100
Hills 148
Hill start assistant, refer to Drive-off assistant 98
Hints 6
Holder for beverages 142
Homepage 6
Hood 255 Seite 295Everything from A to ZReference295
Online Edition for Part no. 01 40 2 607 971 - 09 11 490
Page 301 of 303
Wheels, everything on wheelsand tires 245
Wheels, Flat Tire Monitor FTM 92
Wheels, Tire Pressure Monitor TPM 89
Width, vehicle 280
Window defroster, rear 133
Windows, powered 41
Windshield, climate con‐ trol 147
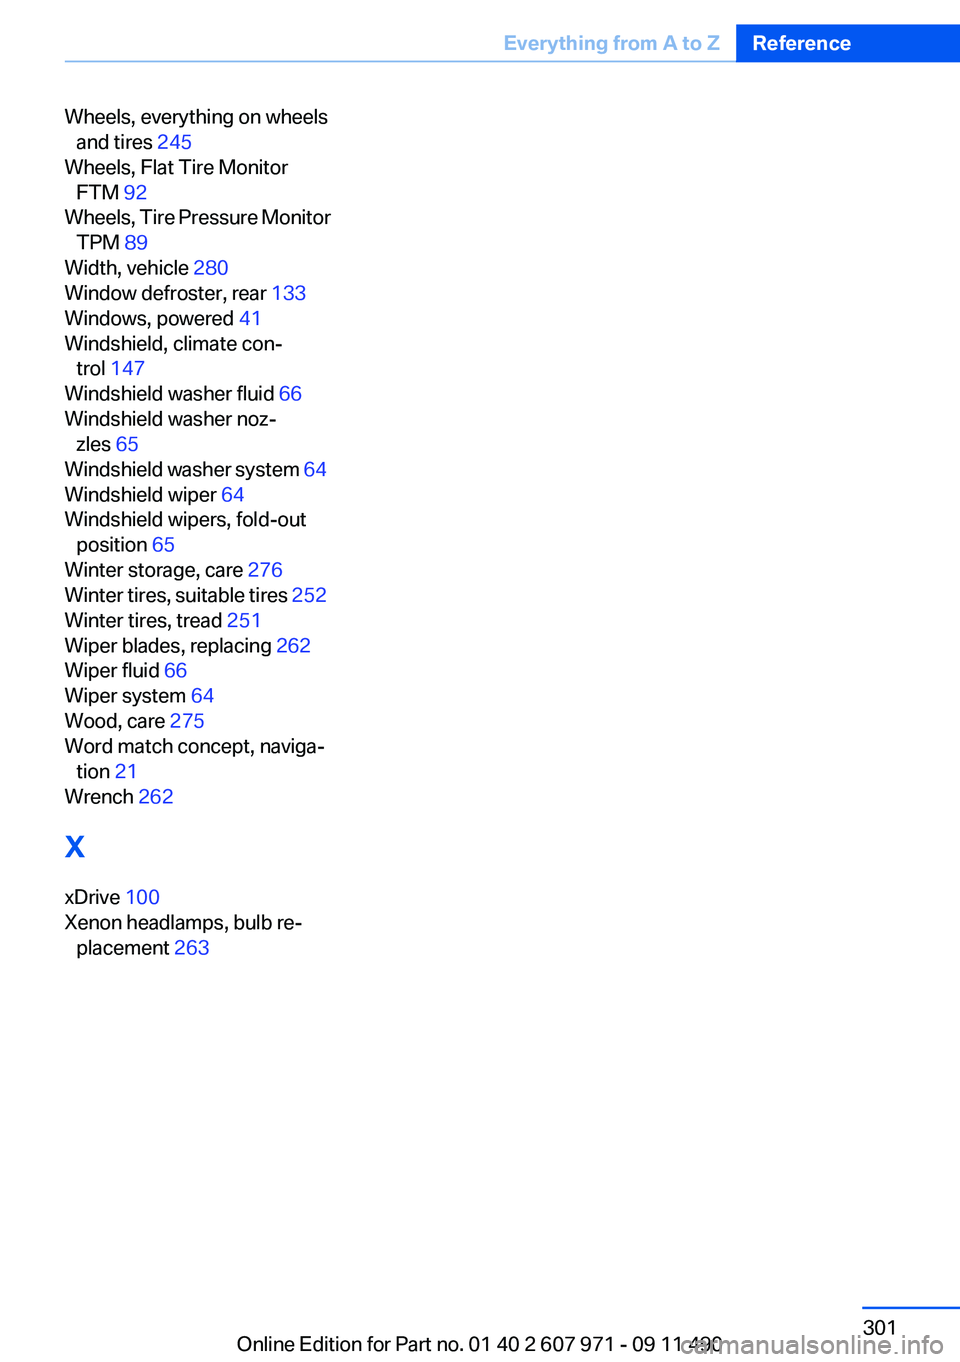
Windshield washer fluid 66
Windshield washer noz‐ zles 65
Windshield washer system 64
Windshield wiper 64
Windshield wipers, fold-out position 65
Winter storage, care 276
Winter tires, suitable tires 252
Winter tires, tread 251
Wiper blades, replacing 262
Wiper fluid 66
Wiper system 64
Wood, care 275
Word match concept, naviga‐ tion 21
Wrench 262
X
xDrive 100
Xenon headlamps, bulb re‐ placement 263 Seite 301Everything from A to ZReference301
Online Edition for Part no. 01 40 2 607 971 - 09 11 490