2012 BMW 6 SERIES instrument cluster
[x] Cancel search: instrument clusterPage 113 of 303
▷Off: the LED goes out.
The state is stored for the remote control cur‐
rently in use.
Configuring the prewarning
After the warning function is switched on, the
following can be set via the iDrive:
▷The prewarning can be switched on/off.▷The time of the prewarning can be set.
These settings have no effect on the time of the
warning from the Active Cruise Control that
prompts the driver to intervene or brake.
Display in the instrument cluster
The collision warning can be issued in the in‐
strument cluster, in the Head-up Display, and
acoustically.
Warning stages
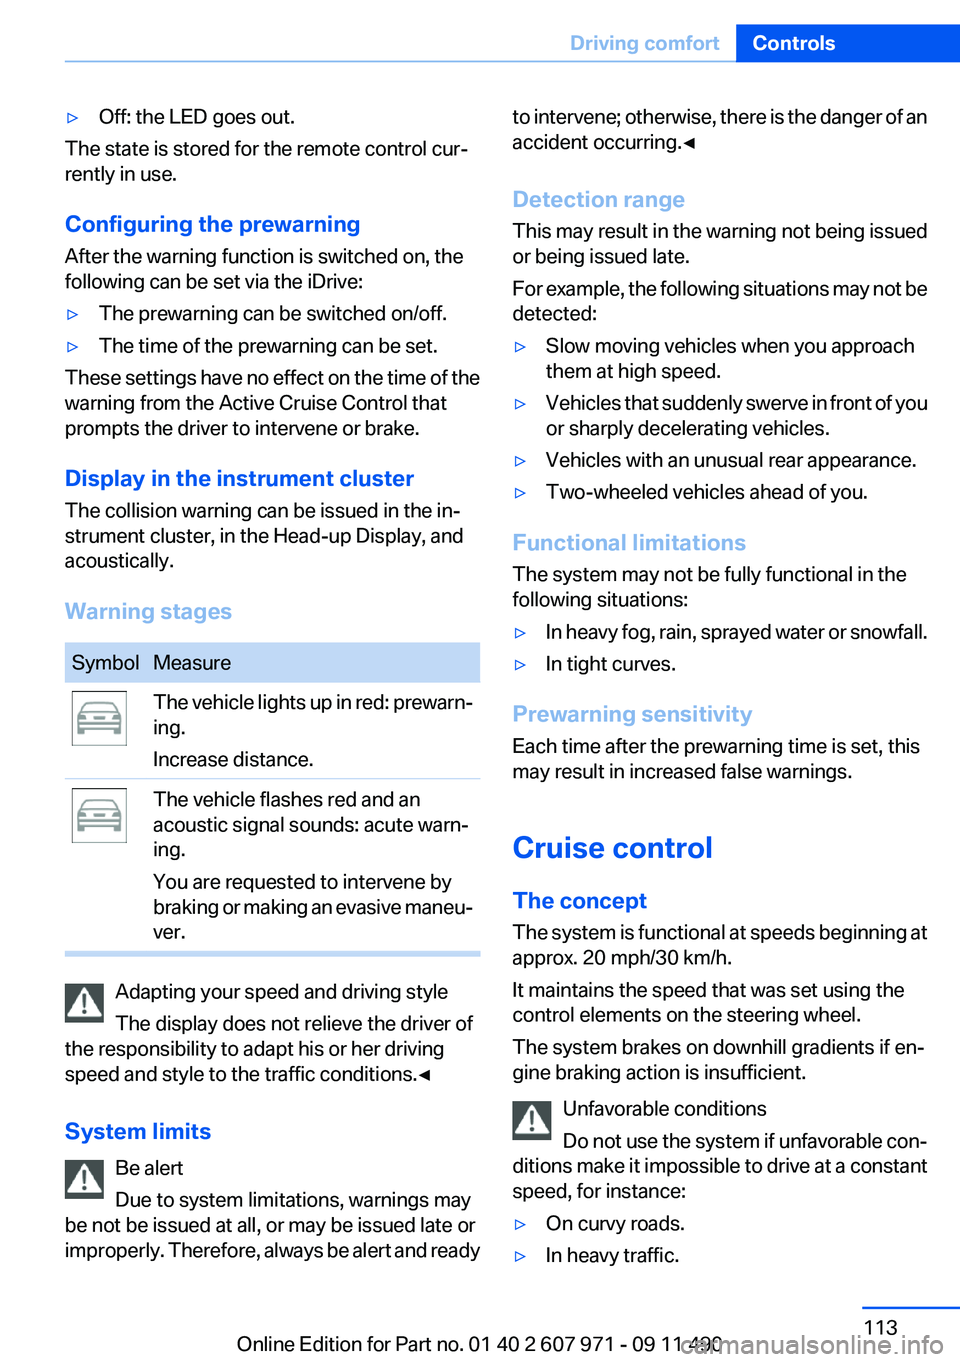
SymbolMeasureThe vehicle lights up in red: prewarn‐
ing.
Increase distance.The vehicle flashes red and an
acoustic signal sounds: acute warn‐
ing.
You are requested to intervene by
braking or making an evasive maneu‐
ver.
Adapting your speed and driving style
The display does not relieve the driver of
the responsibility to adapt his or her driving
speed and style to the traffic conditions.◀
System limits Be alert
Due to system limitations, warnings may
be not be issued at all, or may be issued late or
improperly. Therefore, always be alert and ready
to intervene; otherwise, there is the danger of an
accident occurring.◀
Detection range
This may result in the warning not being issued
or being issued late.
For example, the following situations may not be
detected:▷Slow moving vehicles when you approach
them at high speed.▷Vehicles that suddenly swerve in front of you
or sharply decelerating vehicles.▷Vehicles with an unusual rear appearance.▷Two-wheeled vehicles ahead of you.
Functional limitations
The system may not be fully functional in the
following situations:
▷In heavy fog, rain, sprayed water or snowfall.▷In tight curves.
Prewarning sensitivity
Each time after the prewarning time is set, this
may result in increased false warnings.
Cruise control
The concept
The system is functional at speeds beginning at
approx. 20 mph/30 km/h.
It maintains the speed that was set using the
control elements on the steering wheel.
The system brakes on downhill gradients if en‐
gine braking action is insufficient.
Unfavorable conditions
Do not use the system if unfavorable con‐
ditions make it impossible to drive at a constant
speed, for instance:
▷On curvy roads.▷In heavy traffic.Seite 113Driving comfortControls113
Online Edition for Part no. 01 40 2 607 971 - 09 11 490
Page 114 of 303
▷On slippery roads, in fog, snow or rain, or on
a loose road surface.
Otherwise, you could lose control of the vehicle
and cause an accident.◀
Controls
At a glance
Switching on Press the button on the steering wheel.
The marking in the speedometer is set to the
current speed.
Cruise control can be used.
Switching off Deactivated or interrupted system
If the system is deactivated or interrupted,
actively intervene by braking and, if necessary,
with evasive maneuvers; otherwise, there is the
danger of an accident occurring.◀
Press the button.
▷If active: press twice.▷If interrupted: press once.
The displays go out. The stored desired speed
is deleted.
Interrupting When active, press the button.
The system is automatically interrupted if:
▷The brakes are applied.▷The clutch pedal is depressed.▷Transmission position D is disengaged.▷DTC Dynamic Traction Control is activated
or DSC is deactivated.▷DSC is actively controlling stability.▷HDC is activated.Maintaining/storing the current speed
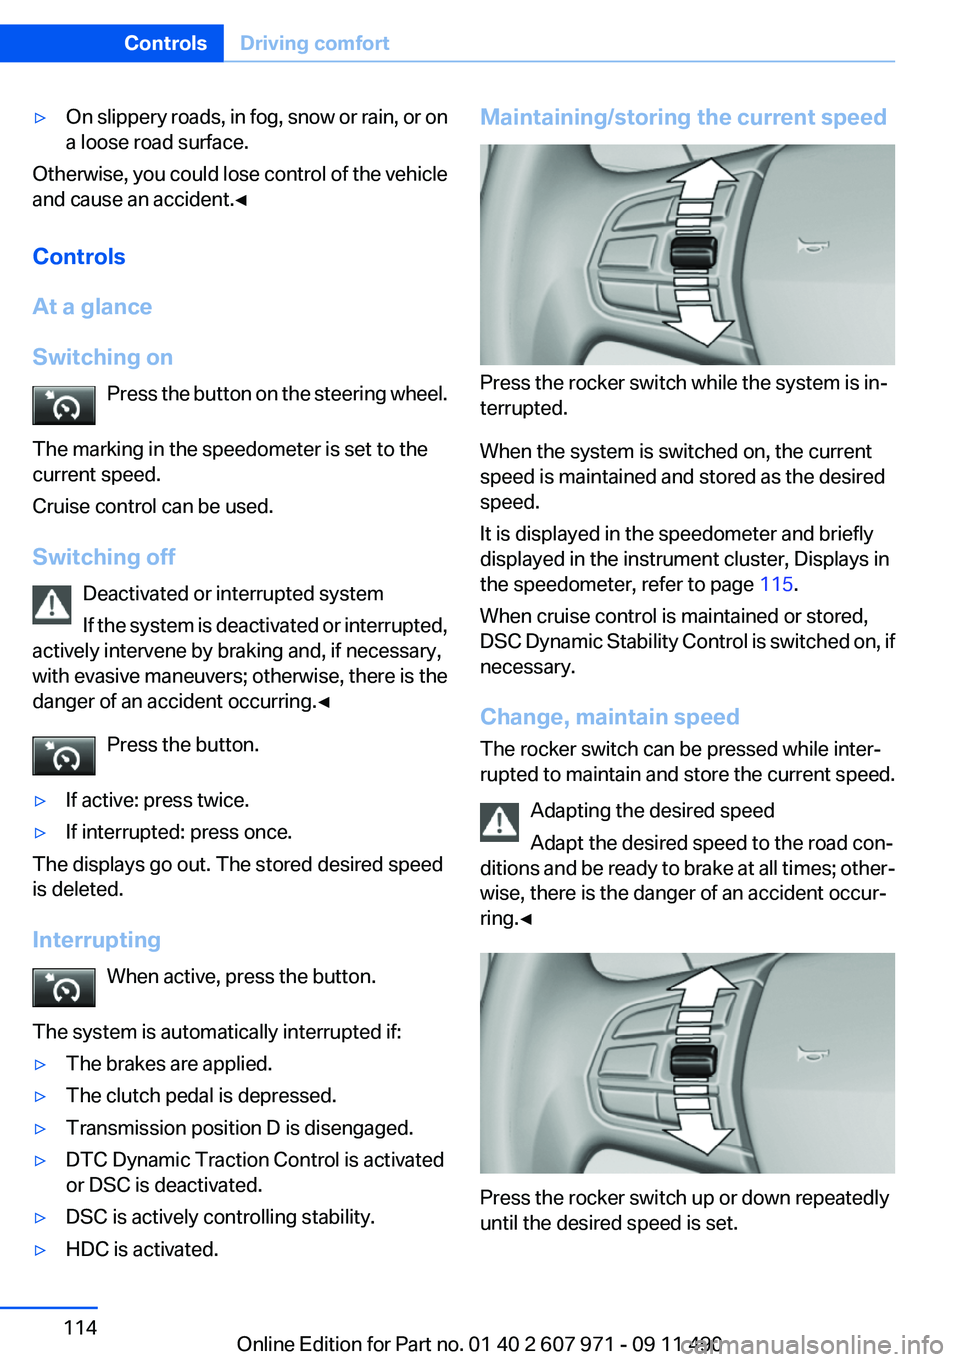
Press the rocker switch while the system is in‐
terrupted.
When the system is switched on, the current
speed is maintained and stored as the desired
speed.
It is displayed in the speedometer and briefly
displayed in the instrument cluster, Displays in
the speedometer, refer to page 115.
When cruise control is maintained or stored,
DSC Dynamic Stability Control is switched on, if
necessary.
Change, maintain speed
The rocker switch can be pressed while inter‐
rupted to maintain and store the current speed.
Adapting the desired speed
Adapt the desired speed to the road con‐
ditions and be ready to brake at all times; other‐
wise, there is the danger of an accident occur‐
ring.◀
Press the rocker switch up or down repeatedly
until the desired speed is set.
Seite 114ControlsDriving comfort114
Online Edition for Part no. 01 40 2 607 971 - 09 11 490
Page 115 of 303

If active, the displayed speed is stored and the
vehicle reaches the stored speed if the road is
clear.▷Each time the rocker switch is pressed to the
point of resistance, the desired speed in‐
creases or decreases by approx. 1 mph/
1 km/h.▷Each time the rocker switch is pressed past
the point of resistance, the desired speed
increases or decreases by a maximum of
5 mph/10 km/h.▷Pressing the rocker switch to the resistance
point and holding it accelerates or deceler‐
ates the vehicle without requiring pressure
on the accelerator. After the rocker switch is
released, the vehicle maintains its final
speed. Pressing the switch beyond the re‐
sistance point causes the vehicle to accel‐
erate more rapidly.
Resuming the desired speed
Press the button.
The stored speed is reached and maintained.
Displays in the instrument cluster
Indicator lamp Depending on how the vehicle is equip‐
ped, the indicator lamp in the instrument
cluster indicates whether the system is
switched on.
Desired speed
▷The marking lights up in
green: the system is active.▷The marking lights up in or‐
ange: the system has been
interrupted.▷The marking does not light up: the system is
switched off.Brief status display
Selected desired speed.
If --- appears briefly on the display for Check
Control messages, it is possible that the system
requirements for operation are currently not
met.
PDC Park Distance Control
The concept
In addition to the PDC Park Distance Control, the
backup camera, refer to page 118, can be
switched on.
PDC supports you when parking. Objects that
you are approaching slowly in front of or behind
your vehicle are indicated with:▷Signal tones.▷Visual display.
Measurement
Measurements are made by ultrasound sensors
in the bumpers.
The range is approx. 6 ft/2 m.
An acoustic warning is first given:
▷By the front sensors and the two rear corner
sensors at approx. 24 in/60 cm.▷By the rear middle sensors at approx. 5 ft/
1.50 m.
System limits
Check the traffic situation as well
PDC cannot serve as a substitute for the
driver's personal judgment of the traffic situa‐
tion. Check the traffic situation around the vehi‐
cle with your own eyes. Otherwise, an accident
could result from road users or objects located
outside of the PDC detection range.
Seite 115Driving comfortControls115
Online Edition for Part no. 01 40 2 607 971 - 09 11 490
Page 152 of 303
The gear shift indicator of your vehicle indicates
the most fuel efficient gear.
Use coasting conditions
When approaching a red light, take your foot off
the accelerator and let the vehicle coast to a halt.
On a downhill gradient, take your foot off the ac‐
celerator and let the vehicle roll.
The flow of fuel is interrupted while coasting.
Switch off the engine during
longer stops
Switch off the engine during longer stops, e.g.,
at traffic lights, railroad crossings or in traffic
congestion.
Fuel savings are achieved after the vehicle is
switched off for only approx. 4 seconds.
The Automatic Engine Start/Stop Function of
your vehicle automatically switches off the en‐
gine during a stop.
Switch off any functions that
are not currently needed
Functions such as seat heating and the rear win‐
dow defroster require a lot of energy and con‐
sume additional fuel, especially in city and stop-
and-go traffic.
Therefore, switch off these functions if they are
not actually needed.
Have maintenance carried out
Have vehicles maintained regularly to achieve
optimal vehicle economy and operating life.
Have the maintenance carried out by your serv‐
ice center.
Please also note the BMW Maintenance Sys‐
tem, refer to page 260.ECO PRO
The concept
ECO PRO supports a driving style that saves on
fuel consumption. For this purpose, the engine
control and comfort functions, e. g. the climate
control output, are adjusted.
In addition, context-sensitive instructions can
be displayed that assist in driving in a manner
that optimizes fuel consumption.
The extension of the range that is achieved as a
result can be displayed in the instrument cluster.
Activating ECO PRO Button should be pressed and held until
ECO PRO is displayed in the instru‐
ment cluster.
Display in the instrument cluster
ECO PRO bonus range An extension of the range can be
achieved by an adjusted driving
style.
This is displayed as the bonus
range in the instrument cluster.
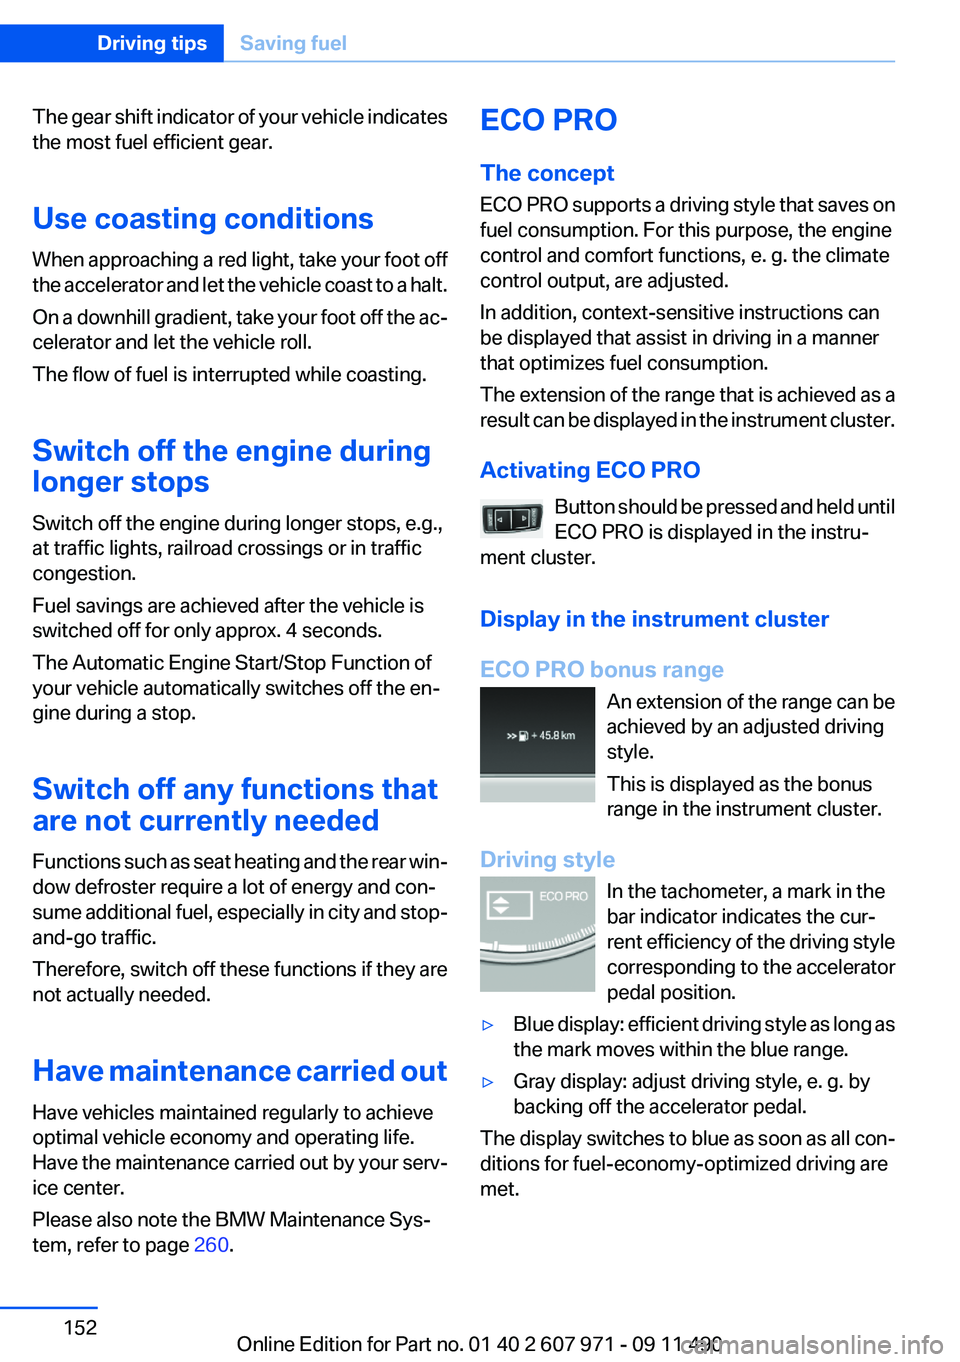
Driving style In the tachometer, a mark in the
bar indicator indicates the cur‐
rent efficiency of the driving style
corresponding to the accelerator
pedal position.▷Blue display: efficient driving style as long as
the mark moves within the blue range.▷Gray display: adjust driving style, e. g. by
backing off the accelerator pedal.
The display switches to blue as soon as all con‐
ditions for fuel-economy-optimized driving are
met.
Seite 152Driving tipsSaving fuel152
Online Edition for Part no. 01 40 2 607 971 - 09 11 490
Page 166 of 303
3."Options" Open.4."Delete all trips" or "Delete trip"
Open the last trip
1."Navigation"2."Stored trips"3."Last trip"4."Start guidance"
Destination guidance
Starting destination guidance
1."Navigation"2.Make a destination entry, refer to page 158.3."Accept destination"4."Start guidance"▷The route is shown on the Control Display.▷The distance to the destination/intermedi‐
ate destination and the estimated time of ar‐
rival are displayed in the map view.▷The arrow view is shown in the instrument
cluster, in the Head-up Display, and on the
Control Display where appropriate.
Terminating destination guidance
1."Navigation"2."Map"3. "Guidance"4."Stop guidance"
Continuing destination guidance
If the destination was not reached during the last
trip, destination guidance can be resumed.
"Resume guidance"
Route criteria
General information
▷The route calculated can be influenced by
selecting certain criteria.▷The route criteria can be changed when the
destination is entered and during destina‐
tion guidance.▷Road types are part of the navigation data
and are taken into consideration when plan‐
ning a route, e.g., avoid highways.▷The recommended route may differ from the
route you would take based on personal ex‐
perience.▷The settings are stored for the remote con‐
trol currently in use.▷Destination guidance with traffic bulletins,
refer to page 172.
Changing the route criteria
1."Navigation"2."Map"3. "Route preference"4.Select the criterion:▷ "Fast route": time-optimized route,
being a combination of the shortest pos‐
sible route and the fastest roads.▷ "ECO PRO route": optimized com‐
bination of the fastest and shortest
route.▷ "Short route": short distance, irre‐
spective of how fast or slow progress will
be.▷"Alternative routes": if available, alter‐
native routes are suggested during ac‐
tive route guidance.Seite 166NavigationNavigation166
Online Edition for Part no. 01 40 2 607 971 - 09 11 490
Page 167 of 303
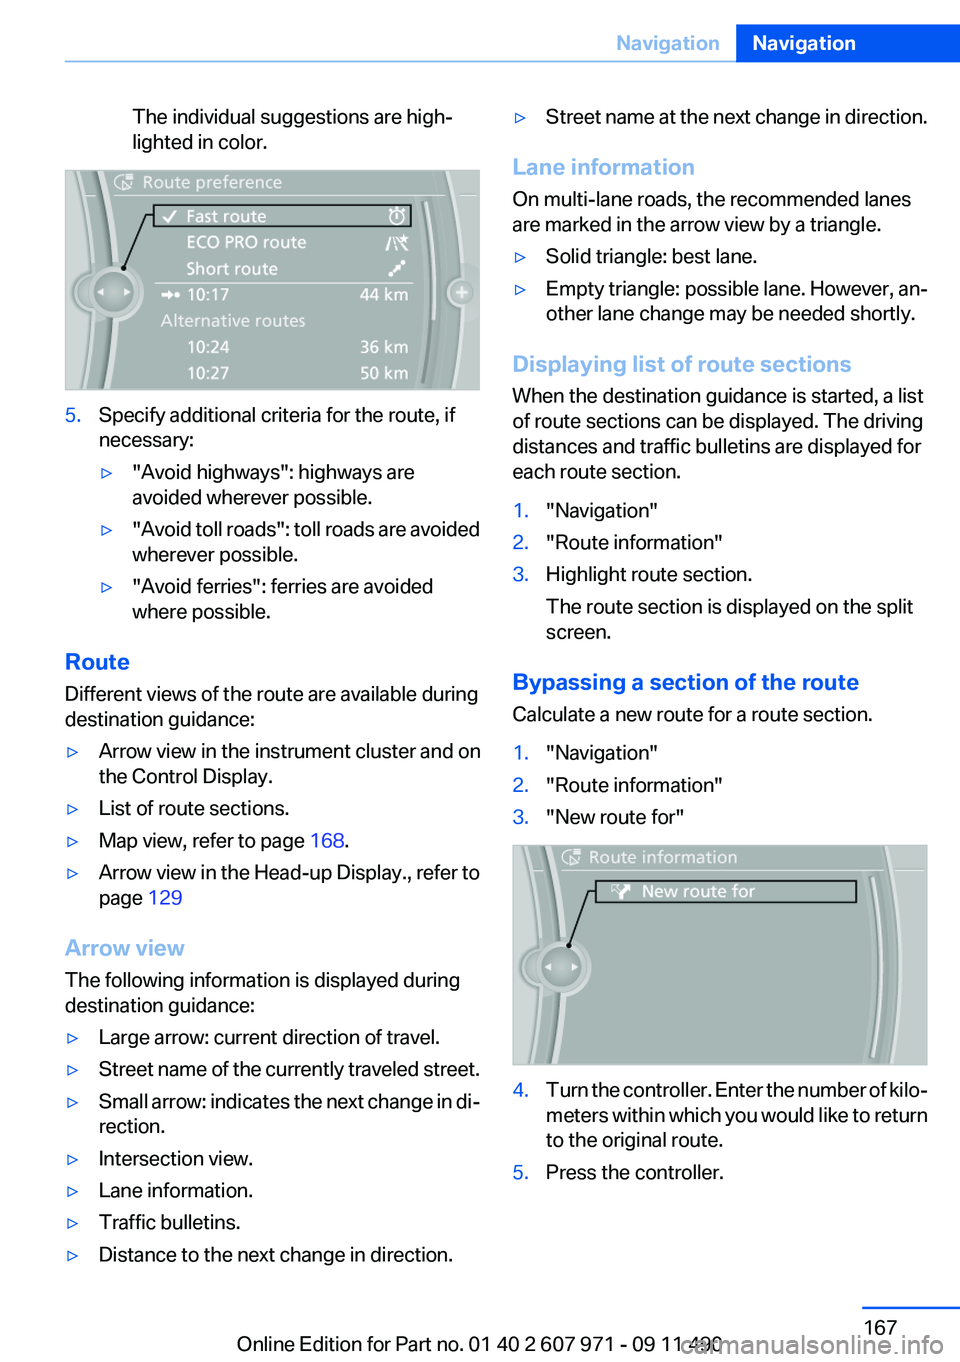
The individual suggestions are high‐
lighted in color.5.Specify additional criteria for the route, if
necessary:▷"Avoid highways": highways are
avoided wherever possible.▷" Avoid toll roads": toll roads are avoided
wherever possible.▷"Avoid ferries": ferries are avoided
where possible.
Route
Different views of the route are available during
destination guidance:
▷Arrow view in the instrument cluster and on
the Control Display.▷List of route sections.▷Map view, refer to page 168.▷Arrow view in the Head-up Display., refer to
page 129
Arrow view
The following information is displayed during
destination guidance:
▷Large arrow: current direction of travel.▷Street name of the currently traveled street.▷Small arrow: indicates the next change in di‐
rection.▷Intersection view.▷Lane information.▷Traffic bulletins.▷Distance to the next change in direction.▷Street name at the next change in direction.
Lane information
On multi-lane roads, the recommended lanes
are marked in the arrow view by a triangle.
▷Solid triangle: best lane.▷Empty triangle: possible lane. However, an‐
other lane change may be needed shortly.
Displaying list of route sections
When the destination guidance is started, a list
of route sections can be displayed. The driving
distances and traffic bulletins are displayed for
each route section.
1."Navigation"2."Route information"3.Highlight route section.
The route section is displayed on the split
screen.
Bypassing a section of the route
Calculate a new route for a route section.
1."Navigation"2."Route information"3."New route for"4.Turn the controller. Enter the number of kilo‐
meters within which you would like to return
to the original route.5.Press the controller.Seite 167NavigationNavigation167
Online Edition for Part no. 01 40 2 607 971 - 09 11 490
Page 214 of 303

notes? Reduce the data volume of the con‐
tact.▷Is the mobile phone connected as an audio
source or additional telephone? The mobile
phone must be connected as a telephone.
The phone connection quality is poor.
▷The strength of the Bluetooth signal on the
mobile phone can be adjusted, depending
on the mobile phone.▷Insert the mobile phone into the snap-in
adapter or place it in the area of the center
console.▷Adjust the volume of the microphone and
loudspeakers separately.
If all points in this list have been checked and the
required function is still not available, contact
the hotline or service center.
Controls
Adjusting the volume
Turn the knob until the desired volume is se‐
lected. The setting is stored for the remote con‐
trol currently in use.
The vehicle automatically adjusts the volume of
the microphone on the telephone and the vol‐
ume of the called party. Depending on the mo‐
bile phone, the volumes may need to be ad‐
justed. The settings can only be created during
a call and must be adjusted separately for each
telephone. The settings are deleted when the
telephone is unpaired.
1."Settings"2."Tone"3."Volume settings"4.Select the desired setting: "Microphone" or
"Loudspeak."5.To adjust: turn the controller.6.To store: press the controller.Incoming call
Receiving calls
If the number of the caller is stored in the phone
book and is transmitted by the network, the
name of the contact is displayed. Otherwise,
only the phone number is displayed.
If more than one phone number is assigned to a
contact, only the name of the contact is dis‐
played.
For calls on the additional telephone, the num‐
ber is only displayed if it is transmitted by the
network.
An incoming call to the additional telephone is
automatically rejected if there is an active call on
the other telephone.
Accepting a call
Via iDrive
"Accept"
Via the button on the steering wheel Press the button.
Via the instrument cluster
"Accept"
Rejecting a call
Via iDrive
"Reject"
Seite 214CommunicationTelephone214
Online Edition for Part no. 01 40 2 607 971 - 09 11 490
Page 215 of 303
Via the instrument cluster
"Reject"
Ending a call
Via iDrive
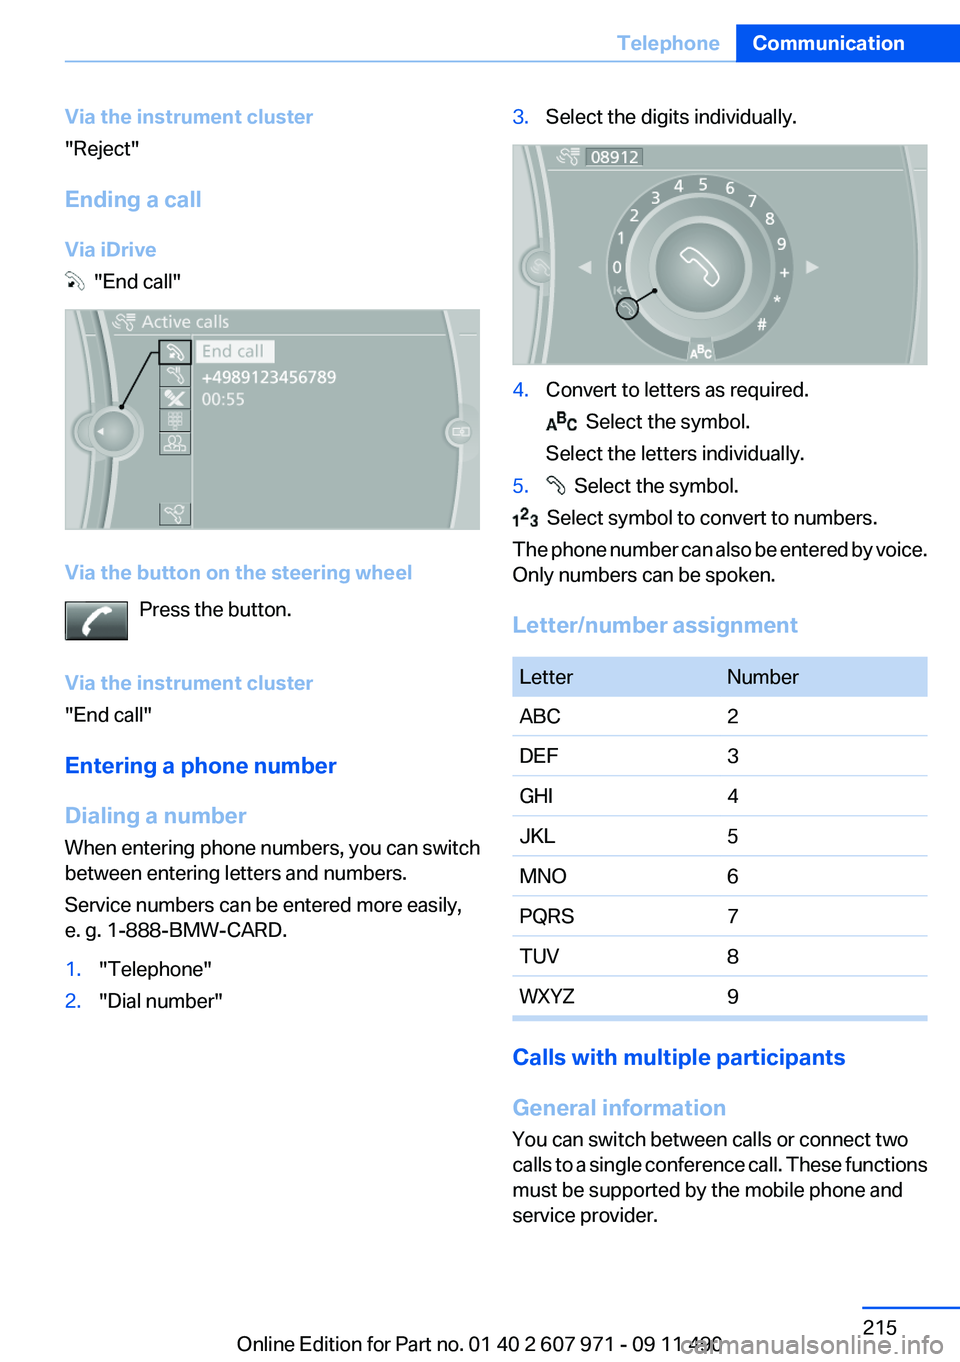
"End call"
Via the button on the steering wheel Press the button.
Via the instrument cluster
"End call"
Entering a phone number
Dialing a number
When entering phone numbers, you can switch
between entering letters and numbers.
Service numbers can be entered more easily,
e. g. 1-888-BMW-CARD.
1."Telephone"2."Dial number"3.Select the digits individually.4.Convert to letters as required.
Select the symbol.
Select the letters individually.
5. Select the symbol.
Select symbol to convert to numbers.
The phone number can also be entered by voice.
Only numbers can be spoken.
Letter/number assignment
LetterNumberABC2DEF3GHI4JKL5MNO6PQRS7TUV8WXYZ9
Calls with multiple participants
General information
You can switch between calls or connect two
calls to a single conference call. These functions
must be supported by the mobile phone and
service provider.
Seite 215TelephoneCommunication215
Online Edition for Part no. 01 40 2 607 971 - 09 11 490