2012 BMW 535I GRAN TURISMO reset
[x] Cancel search: resetPage 100 of 321
Message when the system was not
reset
A Check Control message is displayed.
The system detected a wheel change but was
not reset.
Warnings regarding the current tire inflation
pressure are not reliable.
Check the tire inflation pressure and reset the
system.
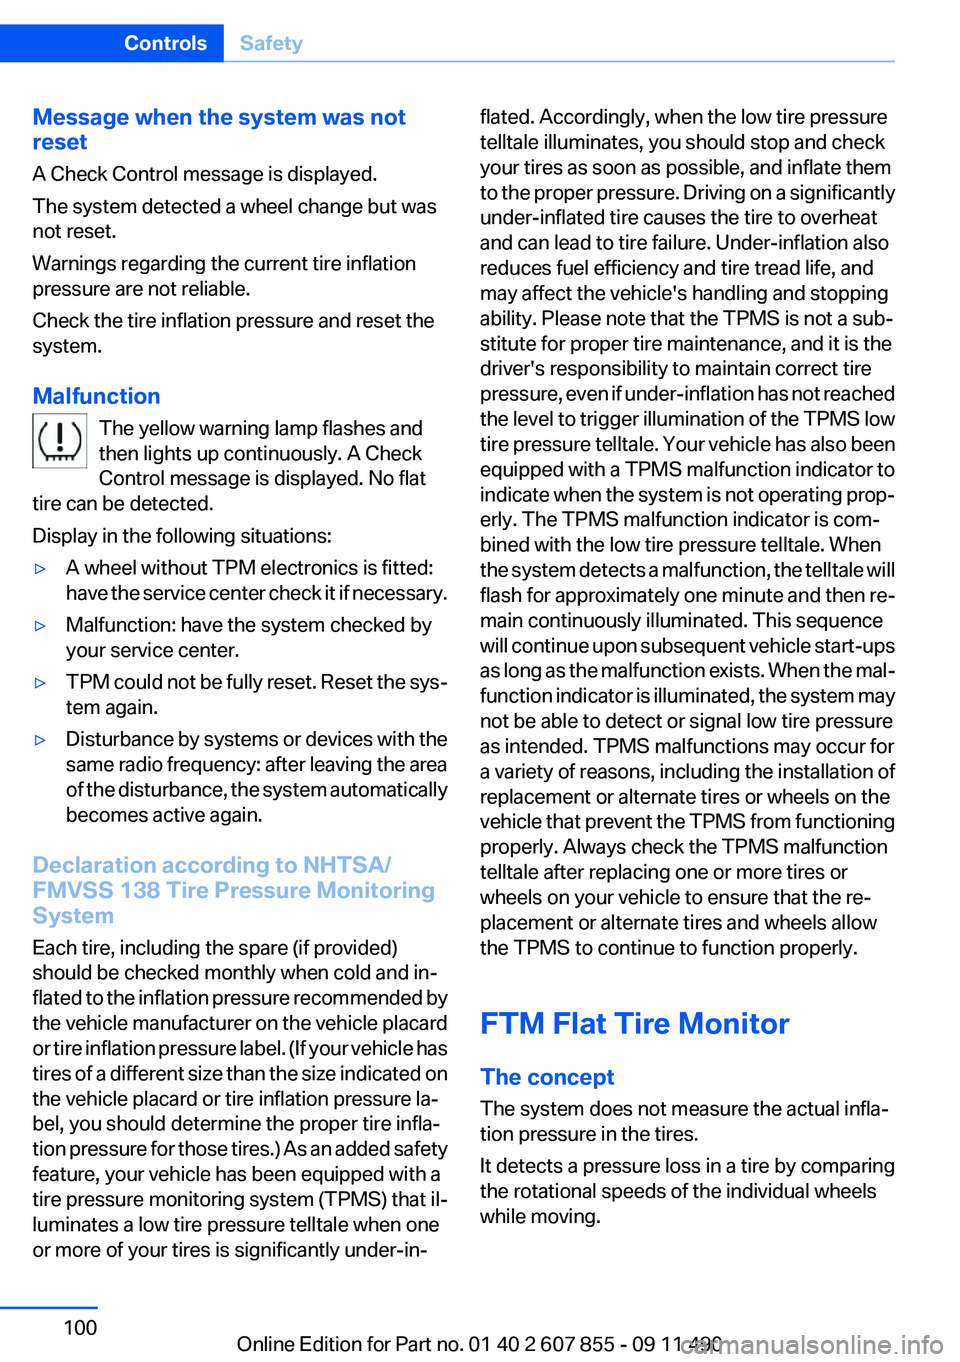
Malfunction The yellow warning lamp flashes and
then lights up continuously. A Check
Control message is displayed. No flat
tire can be detected.
Display in the following situations:▷A wheel without TPM electronics is fitted:
have the service center check it if necessary.▷Malfunction: have the system checked by
your service center.▷TPM could not be fully reset. Reset the sys‐
tem again.▷Disturbance by systems or devices with the
same radio frequency: after leaving the area
of the disturbance, the system automatically
becomes active again.
Declaration according to NHTSA/
FMVSS 138 Tire Pressure Monitoring
System
Each tire, including the spare (if provided)
should be checked monthly when cold and in‐
flated to the inflation pressure recommended by
the vehicle manufacturer on the vehicle placard
or tire inflation pressure label. (If your vehicle has
tires of a different size than the size indicated on
the vehicle placard or tire inflation pressure la‐
bel, you should determine the proper tire infla‐
tion pressure for those tires.) As an added safety
feature, your vehicle has been equipped with a
tire pressure monitoring system (TPMS) that il‐
luminates a low tire pressure telltale when one
or more of your tires is significantly under-in‐
flated. Accordingly, when the low tire pressure
telltale illuminates, you should stop and check
your tires as soon as possible, and inflate them
to the proper pressure. Driving on a significantly
under-inflated tire causes the tire to overheat
and can lead to tire failure. Under-inflation also
reduces fuel efficiency and tire tread life, and
may affect the vehicle's handling and stopping
ability. Please note that the TPMS is not a sub‐
stitute for proper tire maintenance, and it is the
driver's responsibility to maintain correct tire
pressure, even if under-inflation has not reached
the level to trigger illumination of the TPMS low
tire pressure telltale. Your vehicle has also been
equipped with a TPMS malfunction indicator to
indicate when the system is not operating prop‐
erly. The TPMS malfunction indicator is com‐
bined with the low tire pressure telltale. When
the system detects a malfunction, the telltale will
flash for approximately one minute and then re‐
main continuously illuminated. This sequence
will continue upon subsequent vehicle start-ups
as long as the malfunction exists. When the mal‐
function indicator is illuminated, the system may
not be able to detect or signal low tire pressure
as intended. TPMS malfunctions may occur for
a variety of reasons, including the installation of
replacement or alternate tires or wheels on the
vehicle that prevent the TPMS from functioning
properly. Always check the TPMS malfunction
telltale after replacing one or more tires or
wheels on your vehicle to ensure that the re‐
placement or alternate tires and wheels allow
the TPMS to continue to function properly.
FTM Flat Tire Monitor
The concept
The system does not measure the actual infla‐
tion pressure in the tires.
It detects a pressure loss in a tire by comparing
the rotational speeds of the individual wheels
while moving.Seite 100ControlsSafety100
Online Edition for Part no. 01 40 2 607 855 - 09 11 490
Page 101 of 321
In the event of a pressure loss, the diameter and
therefore the rotational speed of the corre‐
sponding wheel change. This is detected and
reported as a flat tire.
Functional requirements
The system must have been initialized when the
tire inflation pressure was correct; otherwise,
reliable signaling of a flat tire is not ensured. In‐
itialize the system after each correction of the
tire inflation pressure and after every tire or
wheel change.
System limits Sudden tire damage
Sudden serious tire damage caused by
external influences cannot be indicated in ad‐
vance.◀
A natural, even pressure loss in all four tires can‐
not be detected. Therefore, check the tire infla‐
tion pressure regularly.
The system could be delayed or malfunction in
the following situations:▷When the system has not been initialized.▷When driving on a snowy or slippery road
surface.▷Sporty driving style: slip in the drive wheels,
high lateral acceleration.▷When driving with snow chains.
Status display
The current status of the Flat Tire Monitor can
be displayed on the Control Display, e.g.,
whether or not the FTM is active.
1."Vehicle Info"2."Vehicle status"3. "Flat Tire Monitor"
The status is displayed.
Initialization
The initialization process adopts the set inflation
tire pressures as reference values for the detec‐
tion of a flat tire. Initialization is started by con‐
firming the inflation pressures.
Do not initialize the system when driving with
snow chains.1."Vehicle Info"2."Vehicle status"3. "Reset"4.Start the engine - do not drive away.5.Start the initialization with "Reset".6.Drive away.
The initialization is completed while driving,
which can be interrupted at any time.
The initialization automatically continues when
driving resumes.
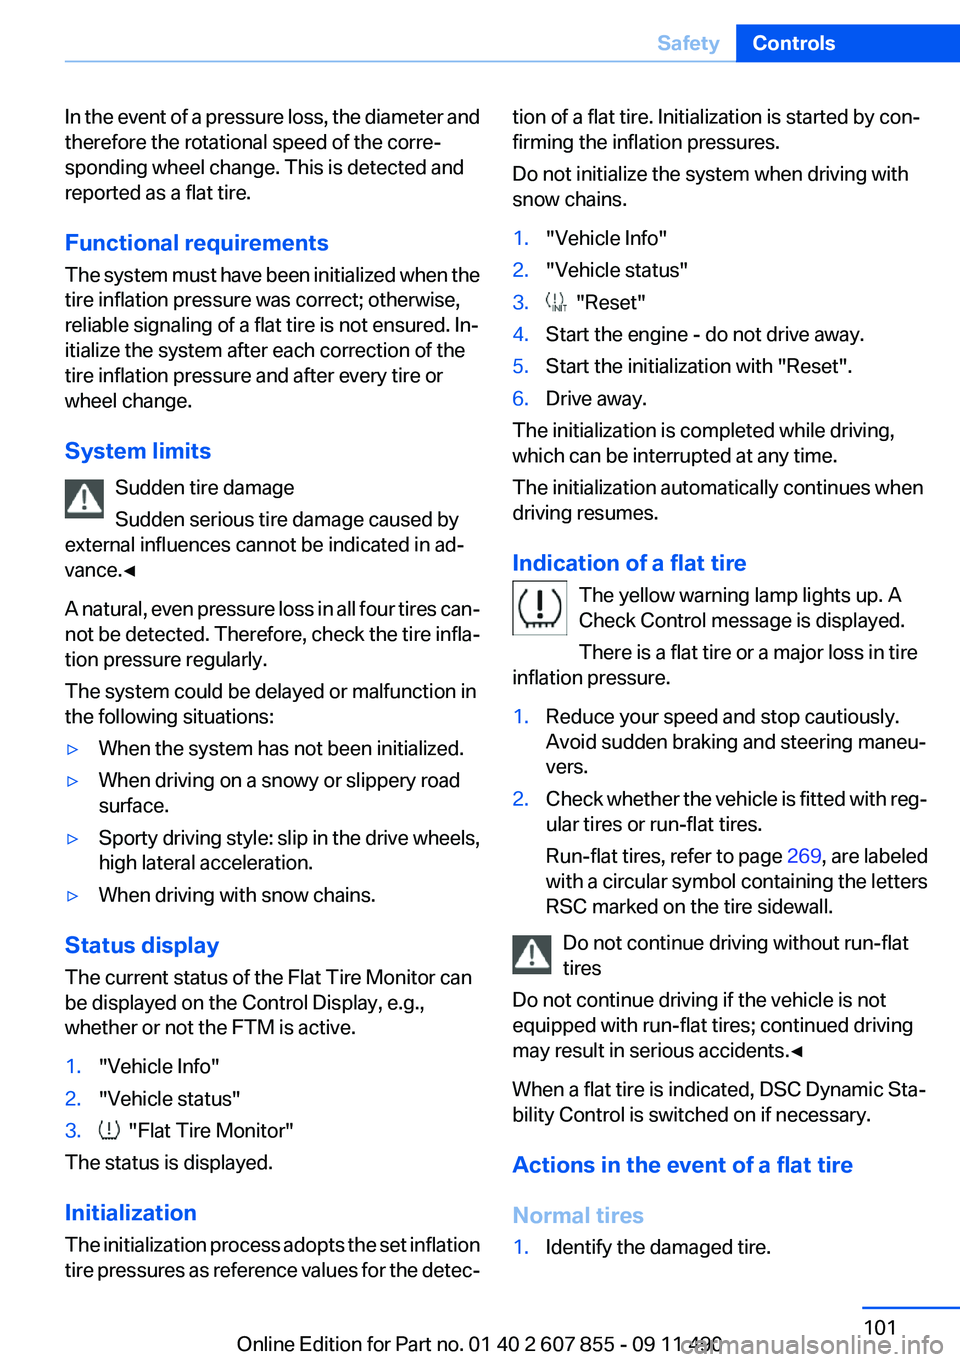
Indication of a flat tire The yellow warning lamp lights up. A
Check Control message is displayed.
There is a flat tire or a major loss in tire
inflation pressure.
1.Reduce your speed and stop cautiously.
Avoid sudden braking and steering maneu‐
vers.2.Check whether the vehicle is fitted with reg‐
ular tires or run-flat tires.
Run-flat tires, refer to page 269, are labeled
with a circular symbol containing the letters
RSC marked on the tire sidewall.
Do not continue driving without run-flat
tires
Do not continue driving if the vehicle is not
equipped with run-flat tires; continued driving
may result in serious accidents.◀
When a flat tire is indicated, DSC Dynamic Sta‐
bility Control is switched on if necessary.
Actions in the event of a flat tire
Normal tires
1.Identify the damaged tire.Seite 101SafetyControls101
Online Edition for Part no. 01 40 2 607 855 - 09 11 490
Page 141 of 321
The cooling function is switched on automati‐
cally with the AUTO program.
Intensity of the AUTO program
With the AUTO program switched on, automatic
control of the air volume and air distribution can
be adjusted.
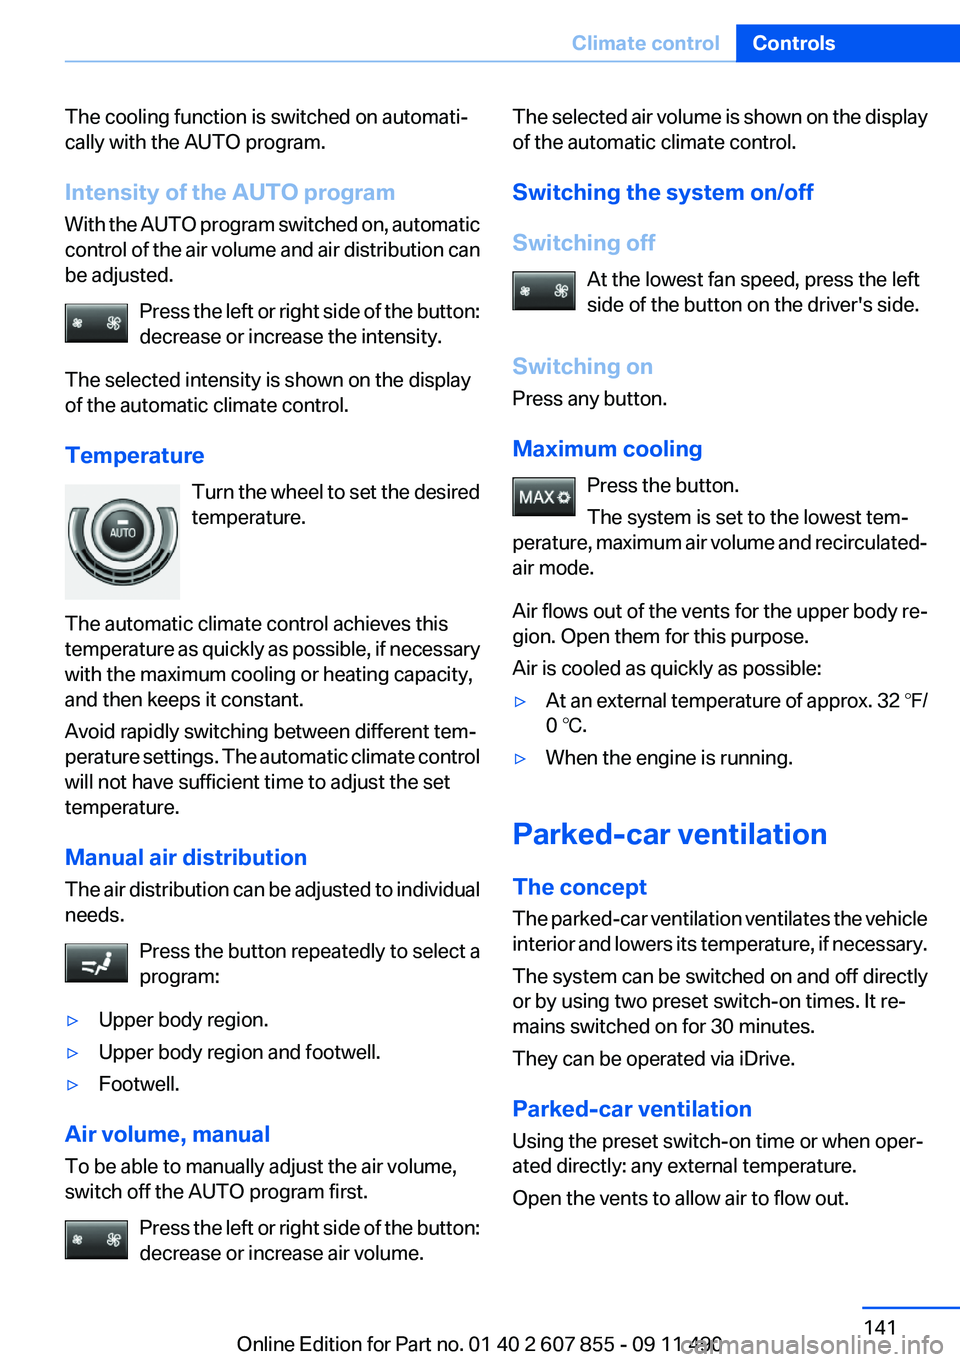
Press the left or right side of the button:
decrease or increase the intensity.
The selected intensity is shown on the display
of the automatic climate control.
Temperature Turn the wheel to set the desired
temperature.
The automatic climate control achieves this
temperature as quickly as possible, if necessary
with the maximum cooling or heating capacity,
and then keeps it constant.
Avoid rapidly switching between different tem‐
perature settings. The automatic climate control
will not have sufficient time to adjust the set
temperature.
Manual air distribution
The air distribution can be adjusted to individual
needs.
Press the button repeatedly to select a
program:▷Upper body region.▷Upper body region and footwell.▷Footwell.
Air volume, manual
To be able to manually adjust the air volume,
switch off the AUTO program first.
Press the left or right side of the button:
decrease or increase air volume.
The selected air volume is shown on the display
of the automatic climate control.
Switching the system on/off
Switching off At the lowest fan speed, press the left
side of the button on the driver's side.
Switching on
Press any button.
Maximum cooling Press the button.
The system is set to the lowest tem‐
perature, maximum air volume and recirculated-
air mode.
Air flows out of the vents for the upper body re‐
gion. Open them for this purpose.
Air is cooled as quickly as possible:▷At an external temperature of approx. 32 ℉/
0 ℃.▷When the engine is running.
Parked-car ventilation
The concept
The parked-car ventilation ventilates the vehicle
interior and lowers its temperature, if necessary.
The system can be switched on and off directly
or by using two preset switch-on times. It re‐
mains switched on for 30 minutes.
They can be operated via iDrive.
Parked-car ventilation
Using the preset switch-on time or when oper‐
ated directly: any external temperature.
Open the vents to allow air to flow out.
Seite 141Climate controlControls141
Online Edition for Part no. 01 40 2 607 855 - 09 11 490
Page 187 of 321
Multi-channel playback,
surround
Choose between stereo and multi-channel play‐
back, surround.
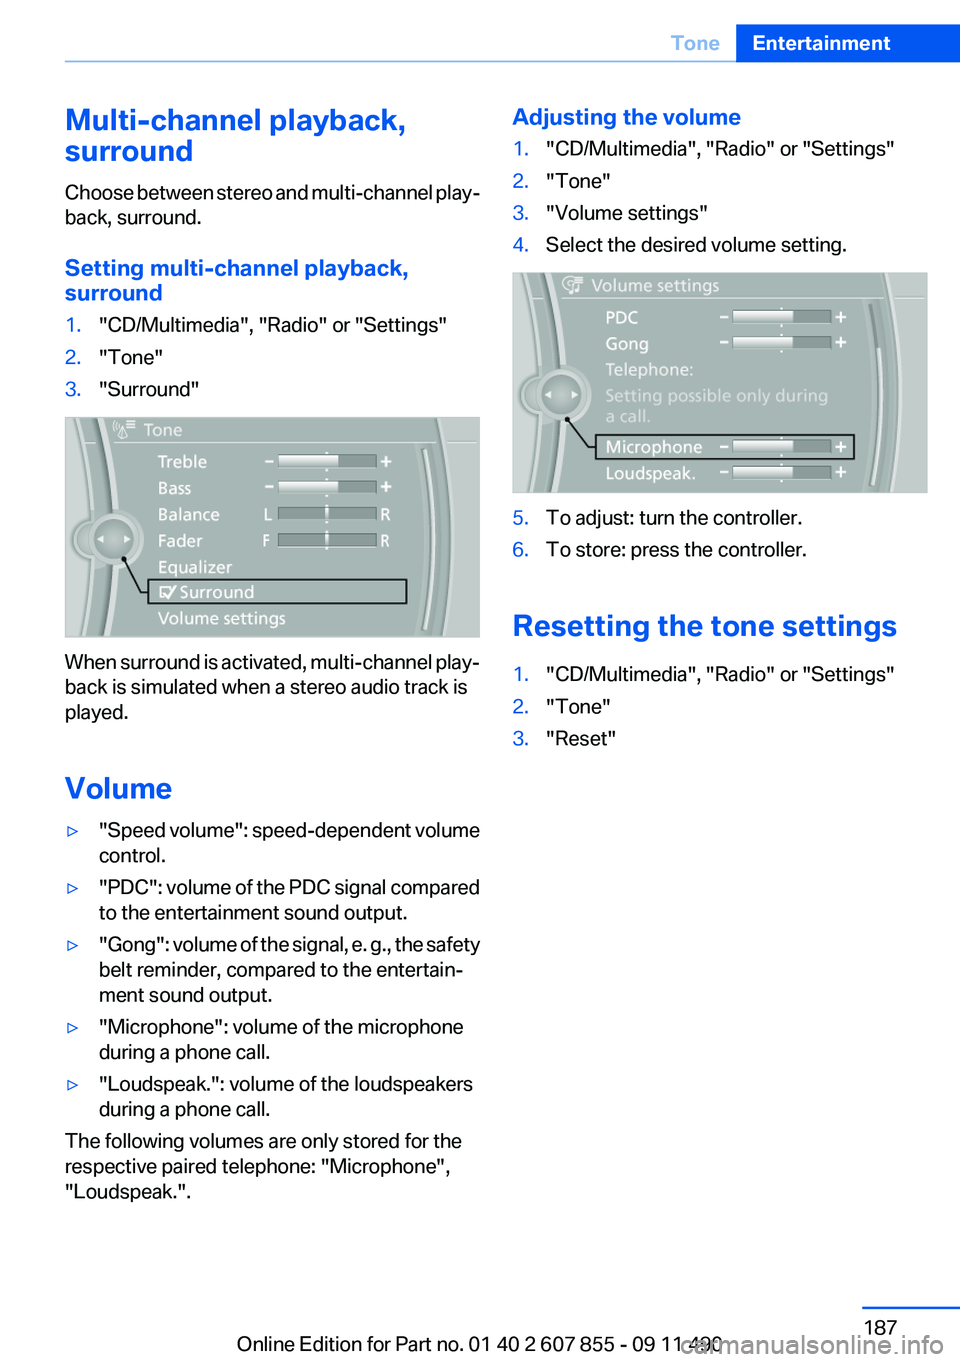
Setting multi-channel playback,
surround1."CD/Multimedia", "Radio" or "Settings"2."Tone"3."Surround"
When surround is activated, multi-channel play‐
back is simulated when a stereo audio track is
played.
Volume
▷" Speed volume": speed-dependent volume
control.▷"PDC" : volume of the PDC signal compared
to the entertainment sound output.▷"Gong" : volume of the signal, e. g., the safety
belt reminder, compared to the entertain‐
ment sound output.▷"Microphone": volume of the microphone
during a phone call.▷"Loudspeak.": volume of the loudspeakers
during a phone call.
The following volumes are only stored for the
respective paired telephone: "Microphone",
"Loudspeak.".
Adjusting the volume1."CD/Multimedia", "Radio" or "Settings"2."Tone"3."Volume settings"4.Select the desired volume setting.5.To adjust: turn the controller.6.To store: press the controller.
Resetting the tone settings
1."CD/Multimedia", "Radio" or "Settings"2."Tone"3."Reset"Seite 187ToneEntertainment187
Online Edition for Part no. 01 40 2 607 855 - 09 11 490
Page 194 of 321
The setting is stored for the remote control cur‐
rently in use.
Deleting favorites1."Satellite radio"2. "Manage favorites"3.Highlight the desired favorite.4.Open "Options".5."Delete entry"
Traffic Jump
Traffic and weather information for a selected
region is broadcast every few minutes.
Selecting a region
1."Radio"2."Satellite radio"3.Open "Options".4."Set jump"5.Select the desired region.
The region is stored for the remote control cur‐
rently in use.
Activating/deactivating the jump
1."Radio"2."Satellite radio"3. "Jump to:"
Information for the selected region is broadcast
as soon as it is available.
A new panel opens.
Canceling the Traffic Jump: "Cancel".
SymbolMeaning Information will be broadcast shortly. Information is currently being broad‐
cast.
Select one of the symbols to deactivate Traffic
Jump.
Automatic update
About twice a year, Sirius performs an update of
the channel names and positions. The update
takes place automatically and may take several
minutes.
Notes▷Reception may not be available in some sit‐
uations, such as under certain environmen‐
tal or topographic conditions. The satellite
radio has no influence on this.▷The signal may not be available in tunnels or
underground garages next to tall buildings
or near trees, mountains or other powerful
sources of radio interference.
Stored stations
General information
It is possible to store up to 40 stations.
Calling up a station
1."Radio"2."Presets"3.Select the desired station.
Storing a station
The station currently selected is stored.
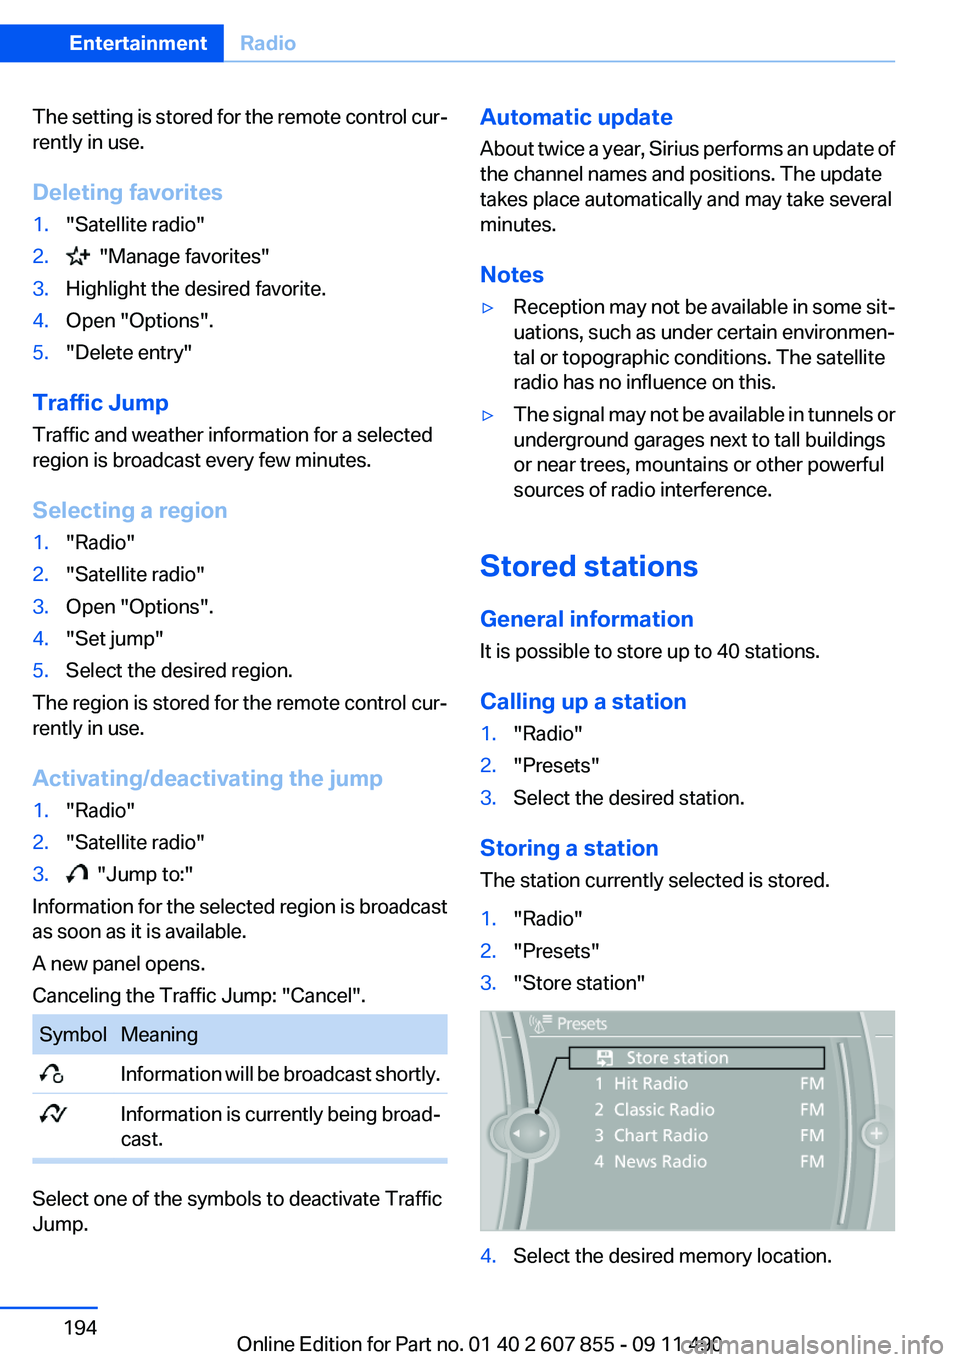
1."Radio"2."Presets"3."Store station"4.Select the desired memory location.Seite 194EntertainmentRadio194
Online Edition for Part no. 01 40 2 607 855 - 09 11 490
Page 195 of 321
The list of stored stations is stored for the re‐
mote control currently in use.
The stations can also be stored on the program‐
mable memory buttons, refer to page 20.
Deleting a station1."Radio"2."Presets"3.Select the desired station.4."Options" Open.5."Delete entry"Seite 195RadioEntertainment195
Online Edition for Part no. 01 40 2 607 855 - 09 11 490
Page 212 of 321
peratures; refer to the audio device operating
instructions.
Depending on the configuration of the audio
files, e.g., bit rates greater than 256 kbit/s, the
files may not play back correctly in each case.
Information on connection▷The connected audio device is supplied with
a max. power of 500 mA if supported by the
device. Therefore, do not additionally con‐
nect the device to a socket in the vehicle;
otherwise, playback may be compromised.▷Do not use force when plugging the con‐
nector into the USB interface.▷Do not connect devices such as fans or
lamps to the USB audio interface.▷Do not connect USB hard drives.▷Do not use the USB audio interface to re‐
charge external devices.
Bluetooth audio
At a glance
▷Music files on external devices such as audio
devices or mobile phones can be played
back via Bluetooth.
Use of a mobile phone as an audio source,
refer to page 227.▷The sound is output on the vehicle loud‐
speakers.▷The volume of the sound output is depend‐
ent on the device. If necessary, adjust the
volume on the device.▷Up to four external devices can be paired
with the vehicle.
Requirements
▷The device is suitable. Information under
www.bmwusa.com/bluetooth.▷The device is ready for operation.▷The ignition is switched on.▷Bluetooth is activated on the vehicle, refer to
page 227, and on the device.▷Bluetooth presettings must be made on the
device, such as for a connection without
confirmation or visibility; refer to the device
operating instructions.▷A number with at least four and a maximum
of 16 digits is defined as the Bluetooth pass‐
key. It is only required once for pairing.
Pairing and connecting
Pairing a device
To avoid becoming distracted and posing
an unnecessary hazard both to your own vehi‐
cle's occupants and to other road users, only
pair the device while the vehicle is stationary.◀
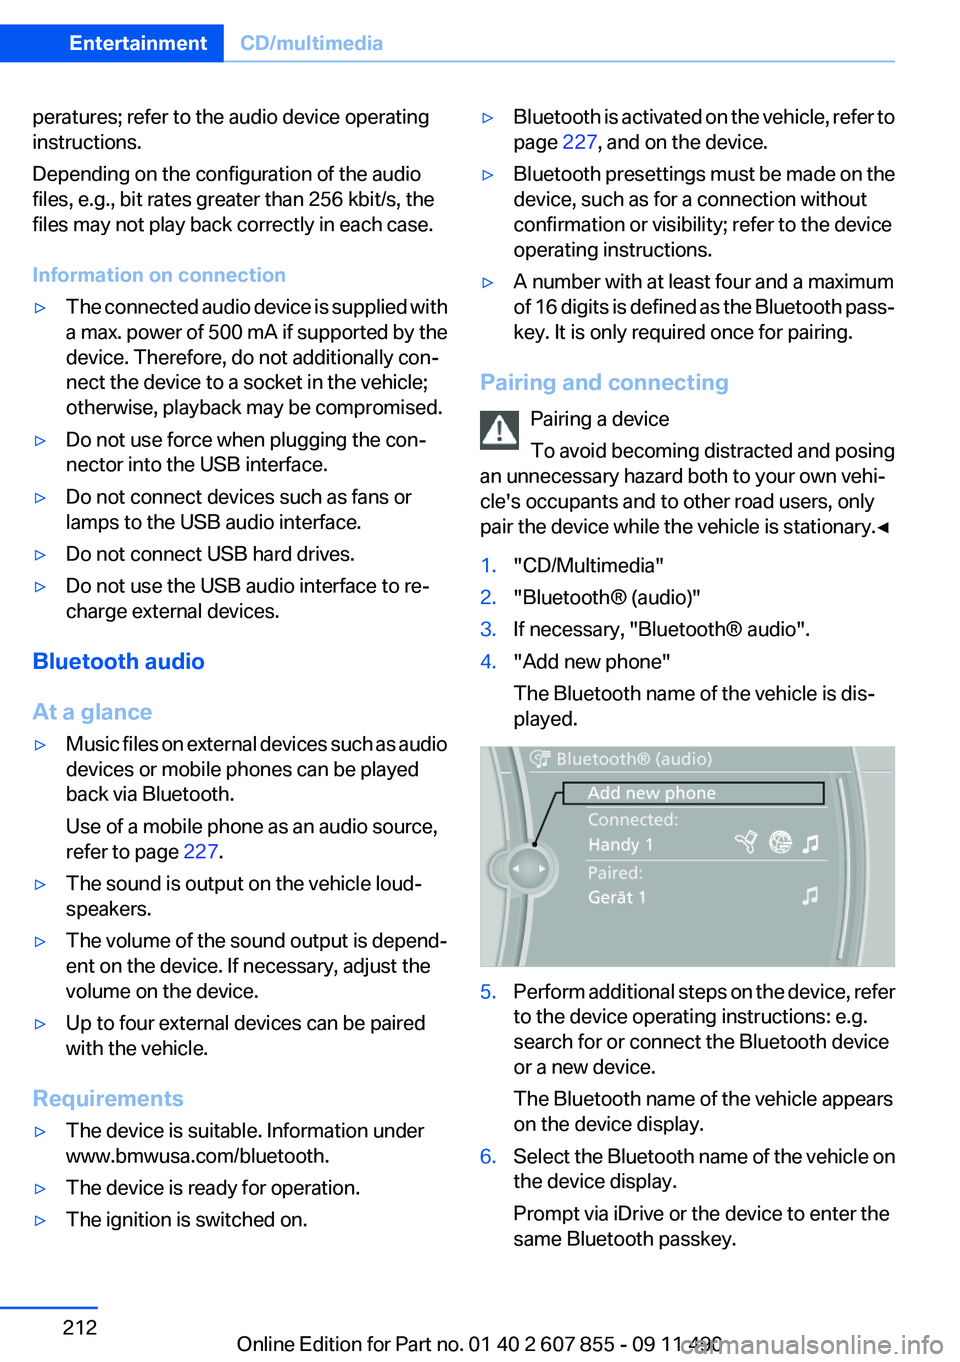
1."CD/Multimedia"2."Bluetooth® (audio)"3.If necessary, "Bluetooth® audio".4."Add new phone"
The Bluetooth name of the vehicle is dis‐
played.5.Perform additional steps on the device, refer
to the device operating instructions: e.g.
search for or connect the Bluetooth device
or a new device.
The Bluetooth name of the vehicle appears
on the device display.6.Select the Bluetooth name of the vehicle on
the device display.
Prompt via iDrive or the device to enter the
same Bluetooth passkey.Seite 212EntertainmentCD/multimedia212
Online Edition for Part no. 01 40 2 607 855 - 09 11 490
Page 227 of 321
Notes
At high temperatures, the charge function of the
mobile phone can be limited where appropriate
and the functions are no longer executed.
When the mobile phone is used via the vehicle,
heed the operating manual of the mobile phone.
Pairing/unpairing the mobile
phone
General information
The following functions are available:▷Use of a mobile phone as a telephone.▷Use of a mobile phone as an additional tele‐
phone.▷Use of a mobile phone as an audio source.▷Use of an audio device as an audio source,
refer to page 212.
Requirements
▷The mobile phone is suitable.▷The mobile phone is ready for operation.▷Bluetooth is activated in the vehicle and on
the mobile phone.▷Bluetooth presettings may need to be made
on the mobile phone, e.g., for a connection
without confirmation or visibility, refer to the
mobile phone operating instructions.▷Deactivate Bluetooth audio if necessary.▷A number with at least four and a maximum
of 16 digits was defined as the Bluetooth
passkey. It is only required once for pairing.▷The ignition is switched on.
Activating/deactivating Bluetooth
Bluetooth is not permitted everywhere. Comply
with all safety guidelines and regulations.
1."Telephone"2."Options" Open.3."Bluetooth®"Additional functions
Activating/deactivating the additional
functions
Activate the functions before pairing to be able
to use them in the vehicle. Information on suit‐
able mobile phones, refer to page 226, that sup‐
port these functions.1."Telephone"2."Bluetooth® (phone)"3."Options" Open.4."Configure Bluetooth®"5.Select the desired additional function.▷"Additional telephone"▷"Office"▷"Bluetooth® audio"6."OK"
As long as an additional function is deactivated,
it cannot be assigned to a telephone.
Additional telephone
A mobile phone can be used as an additional
telephone.
The additional telephone can be used to accept
incoming calls, refer to page 230. While a call is
active on the additional telephone, incoming
calls are displayed on the Control Display.
Audio source
A mobile phone can be used as an audio source.
Pairing and connecting cell phone Pairing the mobile phone
To avoid becoming distracted and posing
an unnecessary hazard both to your own vehi‐
cle's occupants and to other road users, only
pair the mobile phone while the vehicle is sta‐
tionary.◀
Seite 227TelephoneCommunication227
Online Edition for Part no. 01 40 2 607 855 - 09 11 490