2012 BMW 335I Sport
[x] Cancel search: SportPage 106 of 325
This results in a sporty steering response. In ad‐
dition, it becomes easier to steer during parking
and maneuvering.
Driving Experience Switch
The concept
The Driving Experience Switch can be used to
adjust the certain characteristics of the vehicle.
Various programs can be selected for this pur‐
pose. The Driving Experience Switch and the
DSC OFF buttons can each be used to activate
a program.
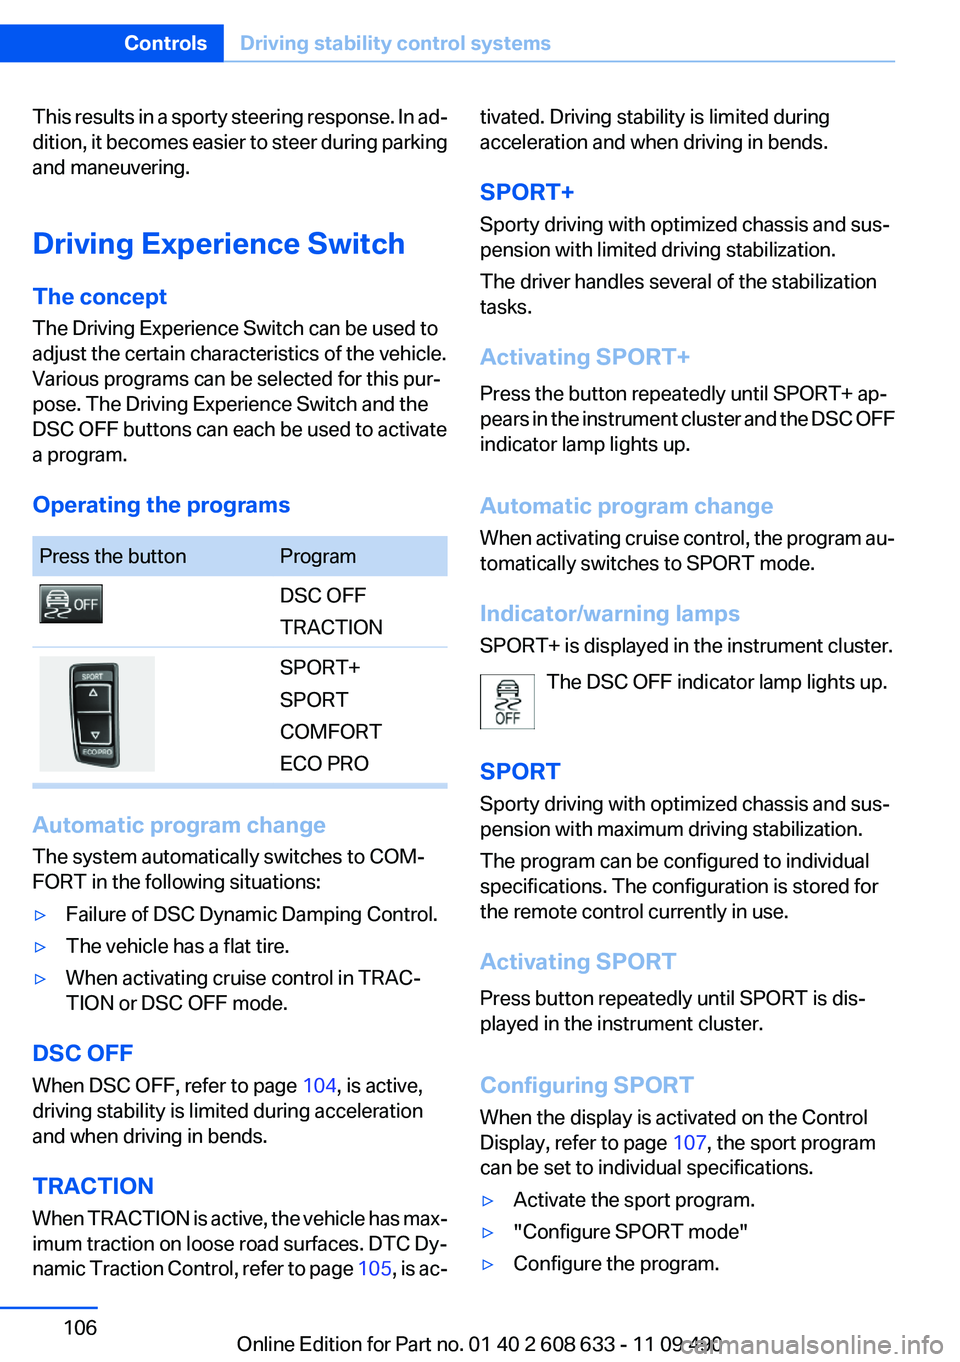
Operating the programsPress the buttonProgramDSC OFF
TRACTIONSPORT+
SPORT
COMFORT
ECO PRO
Automatic program change
The system automatically switches to COM‐
FORT in the following situations:
▷Failure of DSC Dynamic Damping Control.▷The vehicle has a flat tire.▷When activating cruise control in TRAC‐
TION or DSC OFF mode.
DSC OFF
When DSC OFF, refer to page 104, is active,
driving stability is limited during acceleration
and when driving in bends.
TRACTION
When TRACTION is active, the vehicle has max‐
imum traction on loose road surfaces. DTC Dy‐
namic Traction Control, refer to page 105, is ac‐
tivated. Driving stability is limited during
acceleration and when driving in bends.
SPORT+
Sporty driving with optimized chassis and sus‐
pension with limited driving stabilization.
The driver handles several of the stabilization
tasks.
Activating SPORT+
Press the button repeatedly until SPORT+ ap‐
pears in the instrument cluster and the DSC OFF
indicator lamp lights up.
Automatic program change
When activating cruise control, the program au‐
tomatically switches to SPORT mode.
Indicator/warning lamps
SPORT+ is displayed in the instrument cluster.
The DSC OFF indicator lamp lights up.
SPORT
Sporty driving with optimized chassis and sus‐
pension with maximum driving stabilization.
The program can be configured to individual
specifications. The configuration is stored for
the remote control currently in use.
Activating SPORT
Press button repeatedly until SPORT is dis‐
played in the instrument cluster.
Configuring SPORT
When the display is activated on the Control
Display, refer to page 107, the sport program
can be set to individual specifications.▷Activate the sport program.▷"Configure SPORT mode"▷Configure the program.Seite 106ControlsDriving stability control systems106
Online Edition for Part no. 01 40 2 608 633 - 11 09 490
Page 107 of 325
Optionally, the sport program can be configured
before it is activated:1."Settings"2."SPORT mode"3.Configure the program.
This configuration is retrieved when the sport
program is activated.
COMFORT
For a balanced tuning with maximum driving sta‐
bilization.
Activating COMFORT
Press button repeatedly until COMFORT is dis‐
played in the instrument cluster.
In certain situations, the system automatically
changes to the NORMAL program, automatic
program change, refer to page 106.
ECO PRO
Consistent tuning to minimize fuel consumption
for maximum range with maximum driving sta‐
bilization.
Comfort functions and the engine controller are
adjusted.
The program can be configured to individual
specifications.
Activating ECO PRO Press button repeatedly until ECO PRO
is displayed in the instrument cluster.
Configuring ECO PRO1.Activate ECO PRO.2."Configure ECO PRO"
or
1."Settings"2."Driving mode"3."Configure ECO PRO"
Make the desired settings.
Displays
Program selection Pressing the button displays a list
of the selectable programs.
Selected program The selected program is dis‐
played in the instrument cluster.
Display on the Control Display
Program changes can be displayed on the Con‐
trol Display.
1."Settings"Seite 107Driving stability control systemsControls107
Online Edition for Part no. 01 40 2 608 633 - 11 09 490
Page 132 of 325

movement after the gear change when the
vehicle is stationary.▷When parking in parking spaces on the driv‐
er's side, the corresponding turn signal must
be set.
Interrupting manually
The parking assistant can be interrupted at any
time by:
▷Grasping the steering wheel and steering
yourself.▷ " Parking Assistant" Select the symbol on
the Control Display.
Interrupting automatically
The procedure is interrupted automatically:
▷If the vehicle speed exceeds approx. 6 mph/
10 km/h.▷On snow-covered or slippery road surfaces
if necessary.▷If doors are open.
A Check Control message is displayed.
Continuing
An interrupted parking procedure can be con‐
tinued if necessary.
Follow the instructions on the Control Display to
do this.
Switching off
The system can be deactivated as follows:
▷Press the button.▷Switch off the ignition.
Malfunction
A Check Control message is displayed.
The parking assistant failed. Have the system
checked.
System limits
Changes to the parking space
Changes to the parking space after it was
measured are not taken into account by the sys‐
tem.
Therefore, always be alert and ready to inter‐
vene; otherwise, there is the danger of an acci‐
dent occurring.◀
Transporting loads
Loads that extend beyond the perimeter
of the vehicle are not taken into account by the
system during the parking procedure.
Therefore, always be alert and ready to inter‐
vene; otherwise, there is the danger of an acci‐
dent occurring.◀
Curbs
The parking assistant may steer the vehi‐
cle over or onto curbs.
Therefore, always be alert and ready to inter‐
vene; otherwise, the wheels, tires, or the vehicle
may become damaged.◀
No parking assistance
The parking assistant does not provide assis‐
tance in parking.▷In tight curves.
Functional limitations
The system may not be fully functional in the
following situations:
▷When sensors are dirty or iced over.▷In heavy fog, rain or snowfall.▷On bumpy road surfaces such as gravel
roads.▷When leaves or snow has collected in the
parking space.
Limits of ultrasonic measurement
The detection of objects can reach the physical
limits of ultrasonic measurement, e.g.:
Seite 132ControlsDriving comfort132
Online Edition for Part no. 01 40 2 608 633 - 11 09 490
Page 147 of 325

4.Pull the corresponding lever in the cargo
area to release the rear seat backrest.5.The unlocked rear seat backrest moves for‐
ward slightly. Fold the backrest forward by
the head restraint.
Closing
1.Return the rear seat backrest to the upright
seating position and engage it.
Ensure that the lock is securely en‐
gaged
When folding back the backrest, be sure that
it locks in place securely. If it is not properly
engaged, transported cargo could enter the
passenger compartment during braking or
evasive maneuvers and endanger the vehi‐
cle occupants.◀2.Release the latch plate from the fixture on
the rear window shelf and insert it into the
belt lock of the center safety belt. Make sure
you hear the latch plate engage.
To secure cargo, refer to page 160, with nets or
draw straps, the cargo area is fitted with lashing
eyes.
Folding down the middle section1.Fold in the middle head restraint.2.Reach into the recess and pull the middle
section forward.Seite 147Interior equipmentControls147
Online Edition for Part no. 01 40 2 608 633 - 11 09 490
Page 150 of 325

Connection for an external audio
device
This can be used to connect an external audio
device, such as an MP3 player.
▷AUX-IN port, refer to page 210.▷USB audio interface, refer to page 210.
Storage compartment in the
rear
Storage compartment is located in the rear cen‐
ter console.
Cupholders
Notes Shatter-proof containers and no hot
drinks
Use light and shatter-proof containers and do
not transport hot drinks. Otherwise, there is the
increased danger of injury in an accident.◀
Unsuitable containers
Do not forcefully push unsuitable contain‐
ers into the cupholders. This may result in dam‐
age.◀
Front
Storage tray for front cupholders
The cupholder with the storage tray can be used
for additional storage. To do this, place the stor‐
age tray in the cupholder.
Only use the storage tray for small objects, such
as keys or the remote control.
When not in use, stow the storage tray in the
glove compartment net. Insert the storage tray
into the net so that the top surface faces up.
Note the trapezoidal shape of the net and tray.
Rear
In the center armrest.
Pull the center armrest forward at the strap.
To open: press the button.
To close: push both covers back in, one after the
other.
Pushing back the covers
Push back the covers before folding up the
center armrest; otherwise, the cupholder could
become damaged.◀
Seite 150ControlsStorage compartments150
Online Edition for Part no. 01 40 2 608 633 - 11 09 490
Page 151 of 325
Clothes hooks
The clothes hooks are located in the grab han‐
dles in the rear.
Do not obstruct view
When suspending clothing from the
hooks, ensure that it will not obstruct the driver's
vision.◀
No heavy objects
Do not hang heavy objects from the hooks;
otherwise, they may present a danger to pas‐
sengers during braking and evasive maneu‐
vers.◀
Storage compartments in the
cargo area
Left storage compartment
A storage compartment is located on the left
side.
Net
Small objects can be stowed in the net on the
left side.
Right storage compartment
Located on the right side is a storage compart‐
ment for the onboard vehicle tool kit, refer to
page 279, and first aid kit, refer to page 291.Hooks/multi-function hook
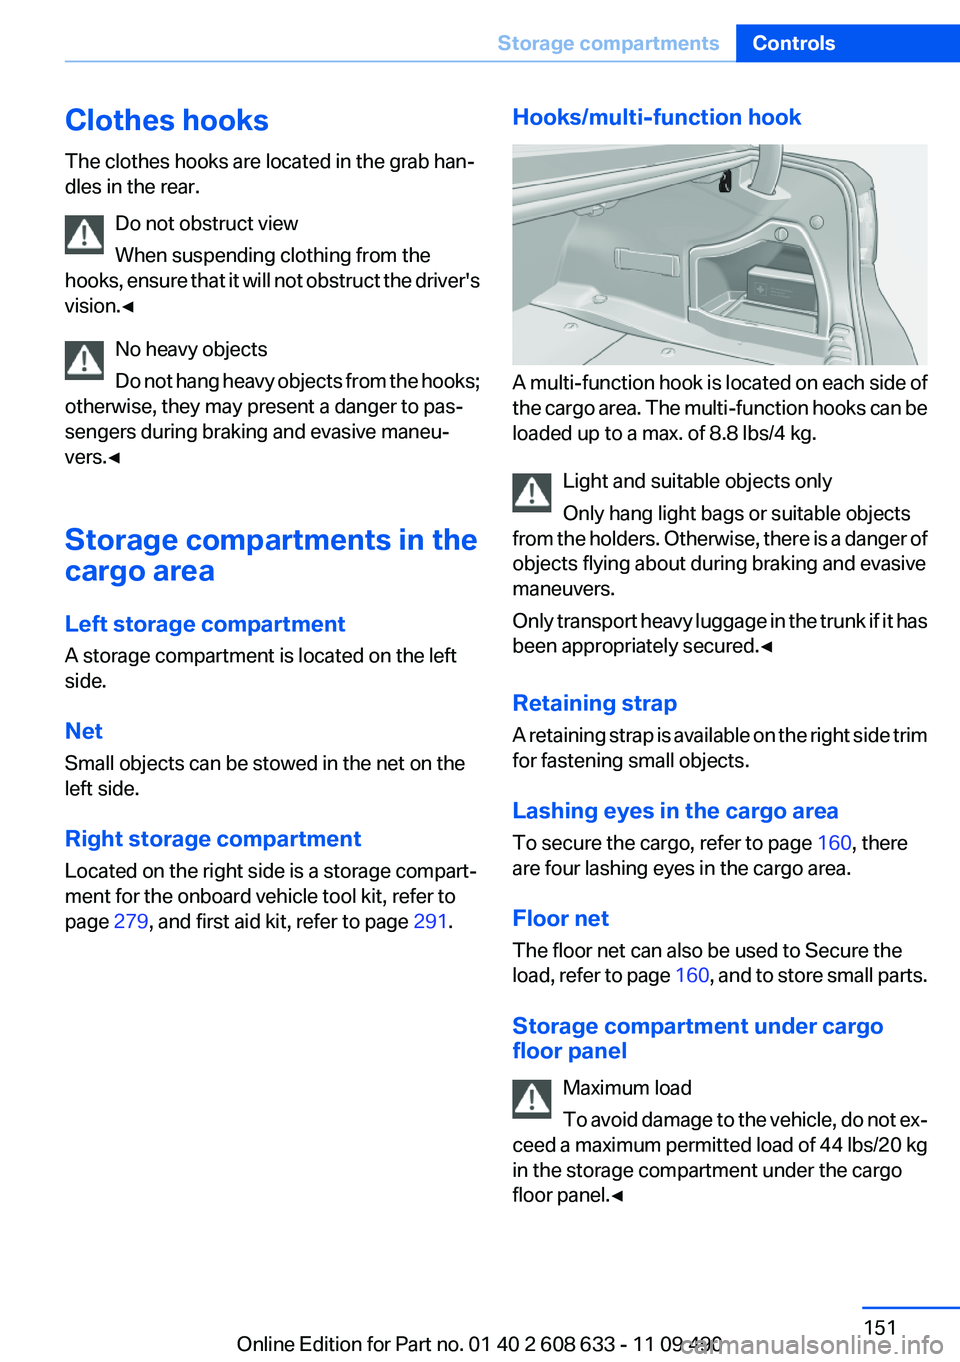
A multi-function hook is located on each side of
the cargo area. The multi-function hooks can be
loaded up to a max. of 8.8 lbs/4 kg.
Light and suitable objects only
Only hang light bags or suitable objects
from the holders. Otherwise, there is a danger of
objects flying about during braking and evasive
maneuvers.
Only transport heavy luggage in the trunk if it has
been appropriately secured.◀
Retaining strap
A retaining strap is available on the right side trim
for fastening small objects.
Lashing eyes in the cargo area
To secure the cargo, refer to page 160, there
are four lashing eyes in the cargo area.
Floor net
The floor net can also be used to Secure the
load, refer to page 160, and to store small parts.
Storage compartment under cargo
floor panel
Maximum load
To avoid damage to the vehicle, do not ex‐
ceed a maximum permitted load of 44 lbs/20 kg
in the storage compartment under the cargo
floor panel.◀
Seite 151Storage compartmentsControls151
Online Edition for Part no. 01 40 2 608 633 - 11 09 490
Page 159 of 325
LoadingVehicle equipment
All standard, country-specific and optional
equipment that is offered in the model series is
described in this chapter. Therefore, equipment
is also described that is not available in a vehicle,
e. g., because of the selected optional equip‐
ment or country variant. This also applies for
safety-related functions and systems.
General information Overloading the vehicle
To avoid exceeding the approved carrying
capacity of the tires, never overload the vehicle.
Overloading can lead to overheating and in‐
creases the rate at which damage develops in‐
side the tires. This could result in a sudden loss
of tire inflation pressure.◀
No fluids in the trunk
Make sure that fluids do not leak into the
trunk; otherwise, the vehicle may be damaged. ◀
Determining the load limit1.Locate the following statement on your ve‐
hicle’s placard:▷The combined weight of occupants and
cargo should never exceed XXX kg or
YYY lbs. Otherwise, damage to the ve‐hicle and unstable driving situations may
result.2.Determine the combined weight of the
driver and passengers that will be riding in
your vehicle.3.Subtract the combined weight of the driver
and passengers from XXX kilograms or YYY
pounds.4.The resulting figure equals the available
amount of cargo and luggage load capacity.
For example, if the YYY amount equals
1,000 lbs and there will be four 150 lbs pas‐
sengers in your vehicle, the amount of avail‐
able cargo and luggage load capacity is
400 lbs: 1,000 lbs minus 600 lbs = 400 lbs.5.Determine the combined weight of luggage
and cargo being loaded on the vehicle. That
weight may not safely exceed the available
cargo and luggage load capacity calculated
in Step 4.
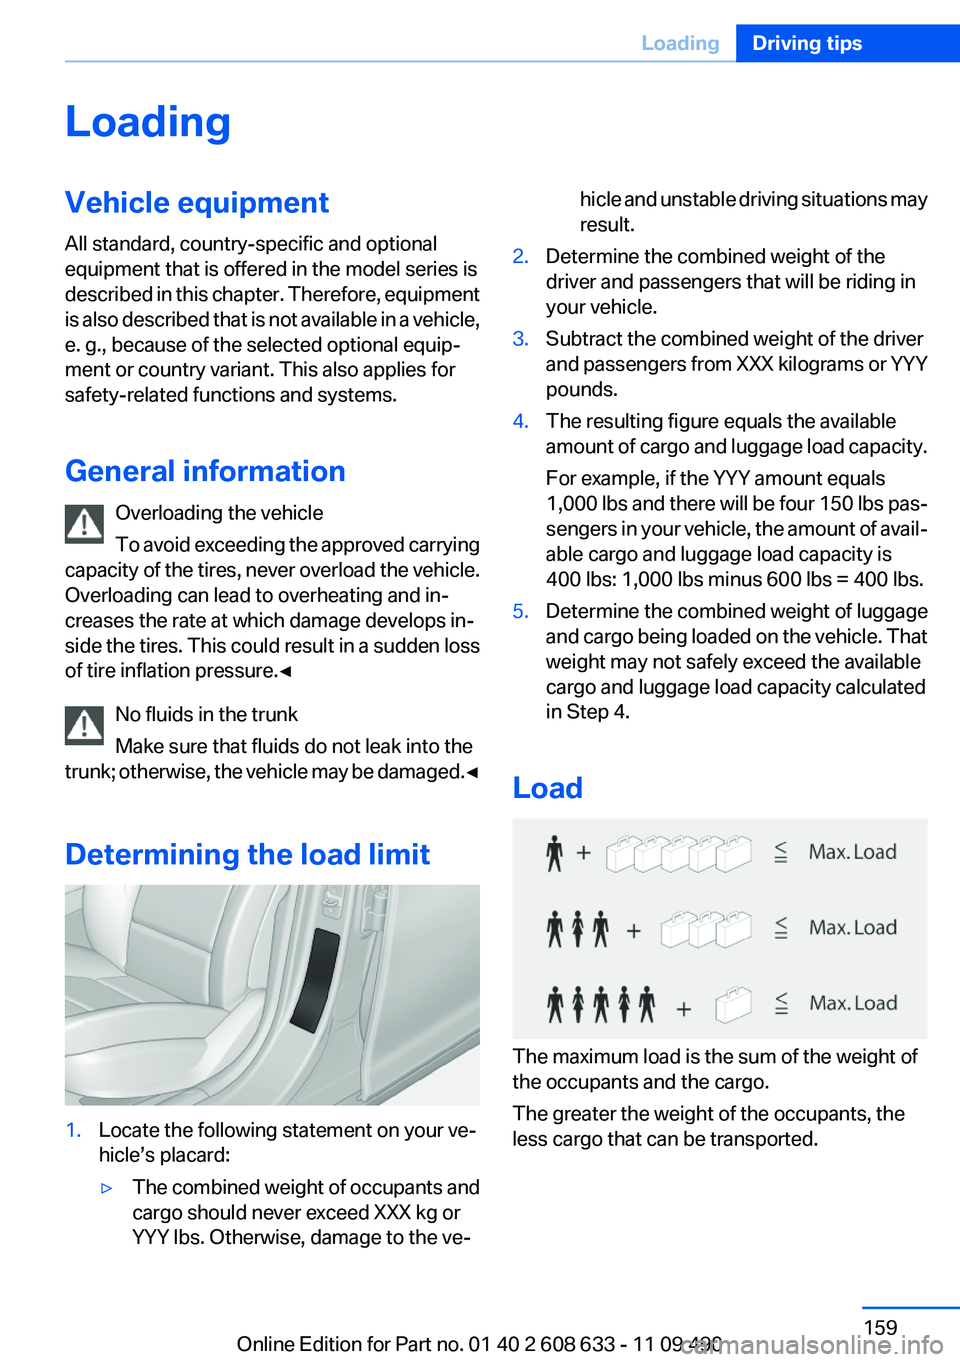
Load
The maximum load is the sum of the weight of
the occupants and the cargo.
The greater the weight of the occupants, the
less cargo that can be transported.
Seite 159LoadingDriving tips159
Online Edition for Part no. 01 40 2 608 633 - 11 09 490
Page 195 of 325
Timeshift menuSymbolFunction Go to the live broadcast Playback/pause Next track Previous track Fast forward Reverse Automatic timeshift deactivated/ac‐
tivated
Automatic timeshift
When the function is activated, audio playback
is stopped automatically in the event of:
▷Incoming and outgoing telephone calls.▷Activation of the voice activation system.▷Muting.
The audio playback then continues with a time
delay.
To activate:
1."Radio"2."Satellite radio"3. "Replay - Time shift"4. "Automatic time shift"
To deactivate: "Automatic time shift".
Storing favorites
Up to 30 favorites can be stored in the favorites
list. Available favorites are artist, track, game,
league, and team.
Storing the artist, track, or game
It is only possible to store favorites that are cur‐
rently being broadcast. The channel information
must be available.1."Radio"2."Satellite radio"3.If necessary, open "All channels" or the de‐
sired category.4.Select the desired channel.5.Press the controller again.6.Select the artist, track, or game.
Storing the league or team
Leagues or teams can be added to the favorites
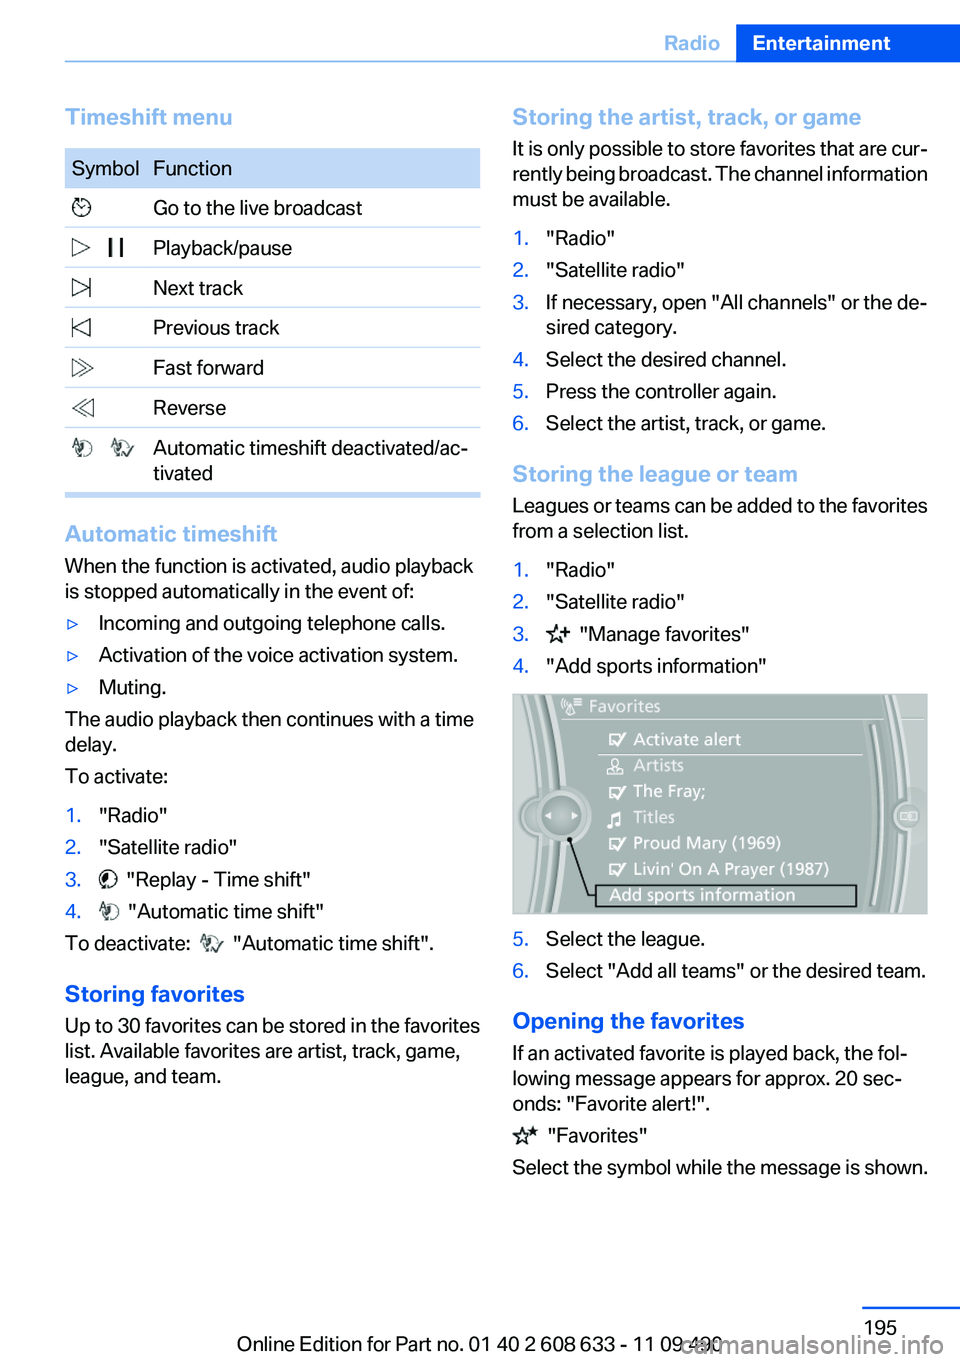
from a selection list.
1."Radio"2."Satellite radio"3. "Manage favorites"4."Add sports information"5.Select the league.6.Select "Add all teams" or the desired team.
Opening the favorites
If an activated favorite is played back, the fol‐
lowing message appears for approx. 20 sec‐
onds: "Favorite alert!".
"Favorites"
Select the symbol while the message is shown.
Seite 195RadioEntertainment195
Online Edition for Part no. 01 40 2 608 633 - 11 09 490