Page 182 of 324

181
Driving
This chapter discusses driving, refueling, and information on items such as accessories.
Before Driving
Driving Preparation .......................... 182
Maximum Load Limit........................ 185
Towing a Trailer
Towing Preparation .......................... 187
Driving Safely with a Trailer .............. 189
Towing Your Vehicle ........................ 190
When Driving
Starting the Engine .......................... 191
Precautions While Driving................. 193
Automatic Transmission ................... 194Shifting ............................................ 195
Shifting ............................................ 199
Cruise Control ................................. 201
VSA
® (Vehicle Stability Assist), aka ESC
(Electronic Stability Control), System ...... 204
TPMS (Tire Pressure Monitoring System) ... 206
Tire Pressure Monitoring System (TPMS) -
Required Federal Explanation ........... 208
Braking
Brake System ................................... 210
ABS (Anti-lock Brake System) ........... 212Automatic transmissionManual transmission
Brake Assist System ......................... 213
Parking Your Vehicle
When Stopped ................................ 214
Parking ............................................ 214
Refueling
Fuel Information .............................. 215
How to Refuel ................................. 216
Fuel Economy.................................... 218
Improving Fuel Economy .................. 218
Accessories and Modifications
Accessories ...................................... 219
Modifications................................... 219
Page 183 of 324

182Driving
Before DrivingDriving PreparationCheck the following items before you start driving.
•Make sure there are no obstructions on the windows, door mirrors, exterior
lights, or other parts of the vehicle.
uRemove any frost, snow, or ice.
uRemove any snow on the roof, as this can slip down and obstruct your field of
vision while driving. If frozen solid, remove ice once it has softened.
uWhen removing ice from around the wheels, be sure not to damage the wheel
or wheel components.
•Make sure the hood is securely closed.
uIf the hood opens while driving, your front view will be blocked.
•Make sure the tires are in good condition.
uCheck air pressure, check for damage and excessive wear.
2Checking and Maintaining Tires P. 259
•Make sure there are no people or objects behind or around the vehicle.
uThere are blind spots from the inside.■
Exterior Checks
1Exterior Checks
NOTICEWhen doors are frozen shut, use warm water around
the door edges to melt any ice. Do not try to force
them open, as this can damage the rubber trim
around the doors. When done, wipe dry to avoid
further freezing.
Do not pour warm water into the key cylinder.
You will be unable to insert key if the water freezes in
the hole.
Page 184 of 324

Continued
183
uuBefore DrivinguDriving Preparation
Driving
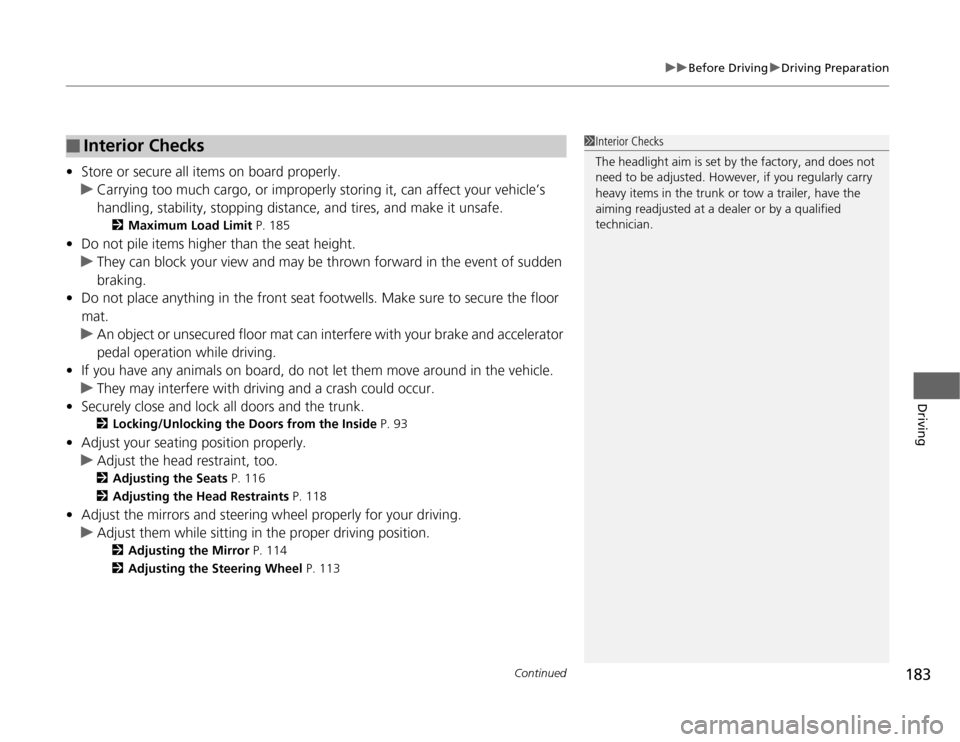
•Store or secure all items on board properly.
uCarrying too much cargo, or improperly storing it, can affect your vehicle’s
handling, stability, stopping distance, and tires, and make it unsafe.
2Maximum Load Limit P. 185
•Do not pile items higher than the seat height.
uThey can block your view and may be thrown forward in the event of sudden
braking.
•Do not place anything in the front seat footwells. Make sure to secure the floor
mat.
uAn object or unsecured floor mat can interfere with your brake and accelerator
pedal operation while driving.
•If you have any animals on board, do not let them move around in the vehicle.
uThey may interfere with driving and a crash could occur.
•Securely close and lock all doors and the trunk.
2Locking/Unlocking the Doors from the Inside P. 93
•Adjust your seating position properly.
uAdjust the head restraint, too.
2Adjusting the Seats P. 116
2Adjusting the Head Restraints P. 118
•Adjust the mirrors and steering wheel properly for your driving.
uAdjust them while sitting in the proper driving position.
2Adjusting the Mirror P. 114
2Adjusting the Steering Wheel P. 113
■
Interior Checks
1Interior Checks
The headlight aim is set by the factory, and does not
need to be adjusted. However, if you regularly carry
heavy items in the trunk or tow a trailer, have the
aiming readjusted at a dealer or by a qualified
technician.
Page 194 of 324

193
uuWhen DrivinguPrecautions While Driving
Driving
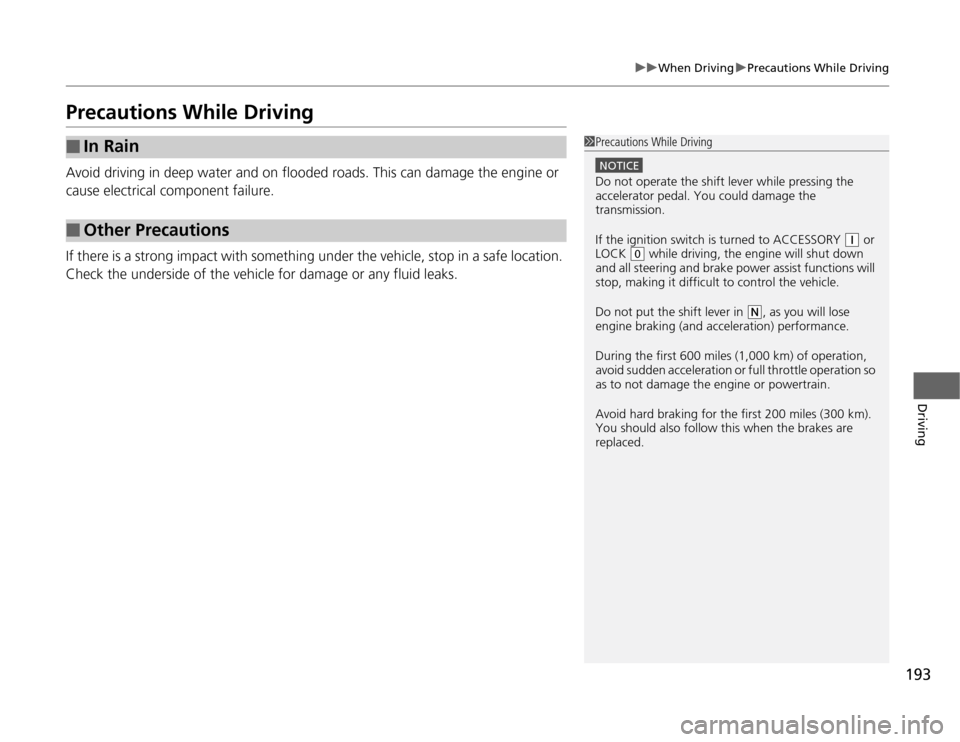
Precautions While DrivingAvoid driving in deep water and on flooded roads. This can damage the engine or
cause electrical component failure.
If there is a strong impact with something under the vehicle, stop in a safe location.
Check the underside of the vehicle for damage or any fluid leaks.■
In Rain
■
Other Precautions
1Precautions While Driving
NOTICEDo not operate the shift lever while pressing the
accelerator pedal. You could damage the
transmission.
If the ignition switch is turned to ACCESSORY
(q
or
LOCK
(0
while driving, the engine will shut down
and all steering and brake power assist functions will
stop, making it difficult to control the vehicle.
Do not put the shift lever in
(N
, as you will lose
engine braking (and acceleration) performance.
During the first 600 miles (1,000 km) of operation,
avoid sudden acceleration or full throttle operation so
as to not damage the engine or powertrain.
Avoid hard braking for the first 200 miles (300 km).
You should also follow this when the brakes are
replaced.
Page 196 of 324
195
uuWhen DrivinguShifting
Continued
Driving
ShiftingChange the shift position in accordance with your driving needs.■
Shift lever positionsAutomatic transmission models
1Shifting
You cannot turn the ignition switch to LOCK
(0
and
remove the key unless the shift lever is in
(P
.
The vehicle may move forward very slightly even in
(N
while the engine is cold.
Depress the brake pedal firmly and, when necessary,
apply the parking brake.
Park
Used when parking or starting the
engine
Reverse
Used when reversing
Neutral
Used when idling
Drive
Used for:●Normal driving (gears change
between 1st and 5th automatically)●Temporarily driving in the sequential
mode
Drive (S)
Used for:●Automatically changing gears
between 1st and 4th (4th gear is used
only at high speed)●Driving in the sequential mode
Page 199 of 324

uuWhen DrivinguShifting
198Driving
■
Second gear lock mode
If you pull the
(+
paddle shifter while stopped or driving at 6 mph (10 km/h) or less,
the gear position will be locked in 2nd gear. This makes it easier to pull away on
slippery surfaces such as snow covered roads.
To cancel the 2nd gear lock mode, pull the
(-
paddle shifter, or move the shift lever
from
(S
to
(D
.
■
Sequential Shift Mode Operation
1Sequential Shift Mode Operation
Each paddle shift operation makes a single gear
change.
To change gears continuously, release the paddle
shifter before pulling it again for the next gear.
Recommended Shift Points
Use this table as a guideline for efficient fuel
economy and effective emission control.
If the gear position indicator blinks when you try to
shift up or down, this means your vehicle speed is not
in its allowable gear shifting range.
Slightly accelerate to shift up and decelerate to shift
down while the indicator is blinking.Shift Up Normal Acceleration
1st to 2nd
15 mph (24 km/h)
2nd to 3rd 25 mph (40 km/h)
3rd to 4th
40 mph (64 km/h)
4th to 5th 45 mph (72 km/h)
(-
Paddle Shifter
(Shift down)
(+
Paddle Shifter
(Shift up)
Downshifting when pulling
the
(-
paddle shifter.
(Changes to a lower gear)Upshifting when pulling
the
(+
paddle shifter
(Changes to a higher gear)
Page 201 of 324
200
uuWhen DrivinguShifting
Driving
The manual transmission has a lockout mechanism that stops you from accidentally
shifting into
(R
from a forward gear while the vehicle is moving at a certain speed.
If you cannot shift to
(R
when the vehicle is stopped, do the following:
1.Depress the clutch pedal, move the shift
lever all the way to the left, and shift to
(R
.
2.If you still cannot shift into
(R
, apply the
parking brake, and turn the ignition switch
to ACCESSORY
(q
or LOCK
(0
.
3.Depress the clutch pedal and shift into
(R
.
4.Keep depressing the clutch pedal and start
the engine.
Have the vehicle checked by a dealer if you
have to go through this procedure repeatedly.
■
Reverse Lockout
Page 211 of 324

210Driving
BrakingBrake SystemUse the parking brake to keep the vehicle stationary when parking.
To apply:
Pull the lever fully up without pressing the
release button.
To release:
1.Pull the lever slightly, and press and hold
the release button.
2.Lower the lever down all the way, then
release the button.■
Parking Brake
1Parking Brake
NOTICERelease the parking brake fully before driving. The
rear brakes and axle can be damaged if you drive
with the parking brake applied.
If you start driving without fully releasing the parking
brake, a buzzer sounds as a warning, and RELEASE
PARKING BRAKE appears on the multi-information
display.
Always apply the parking brake when parking.
To prevent the parking brake from freezing when the
outside temperature is extremely cold, do not apply
it, but do the following:
Put the shift lever in
(P
, then use a block or other
wheel chock to stop the wheels from turning.
Put the shift lever in
(R
or
(1
, then use a block or
other wheel chock to stop the wheels from turning.
Automatic transmission modelsManual transmission models